There has been some progress and I have started this now. It is indeed a painting challenge and I haven't really got going yet.
So far everything has been done solely with revell aqua paints.
the deck
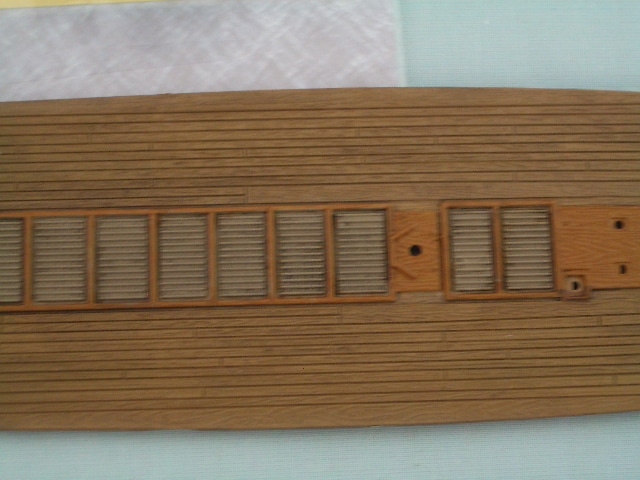
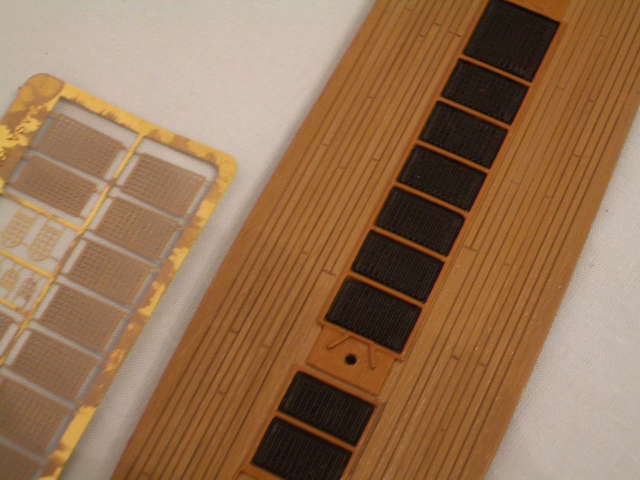
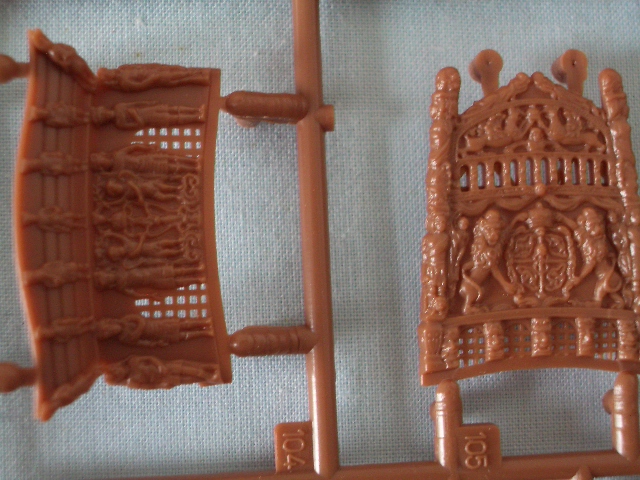
this is a replacement aftermarket set of gratings, which I am going to use, and will as you see in later photos, paint over the gratings black to take this. The arched windows go in the stern and you will see those pieces later in this post.

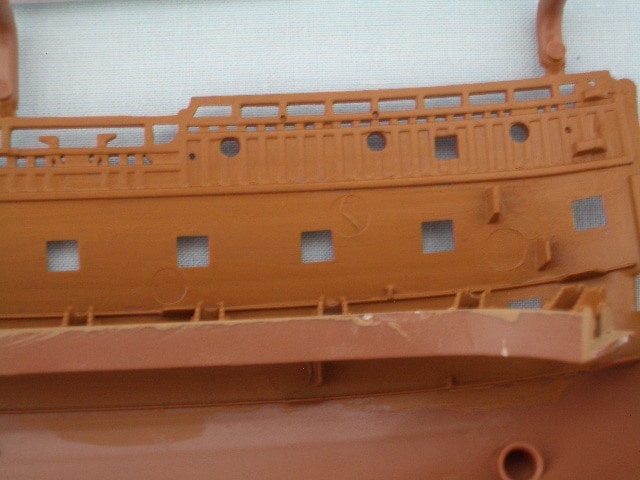
the hull sides contain a fair number of sink holes, but thankfully most of these (all those in these images) are hidden once deck gets fitted. Thankfully there are only two which I have really had to deal with.
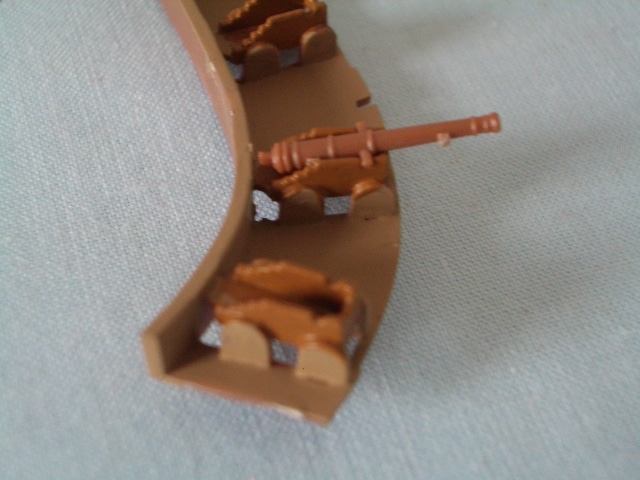
gun carriages - having full carriages and open ports is a nice touch.
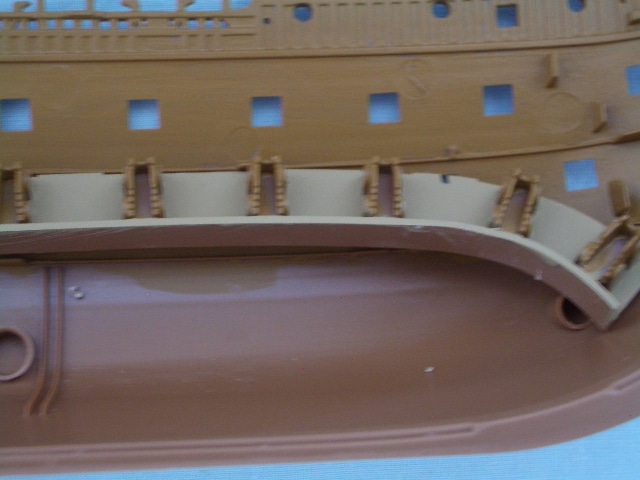
these gun carriage strip pieces fit in very well, and have locating tabs
The deck has now had some futher work - the existing gratings blackened over and the deck has had some thinned paint washes to bring out the decking and grain. It may not be too easy to see in these images
However, before I added the washes, which have taken a long time to do, the deck was the solid plain beige colour, you can see on the gun carriage parts!

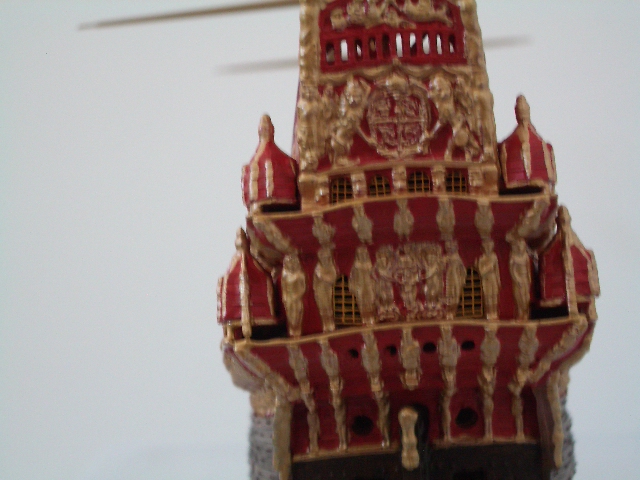
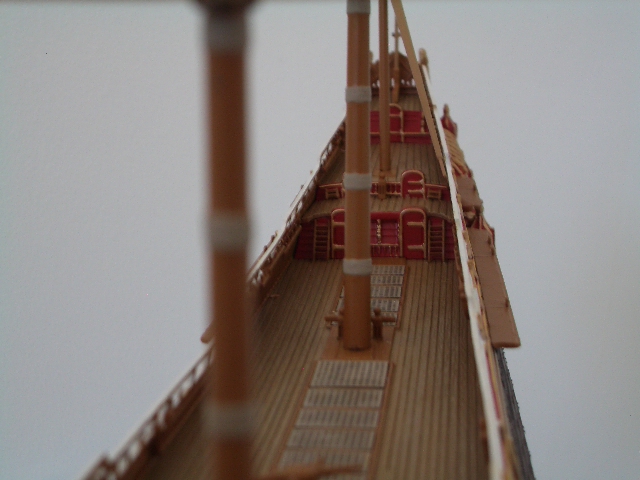
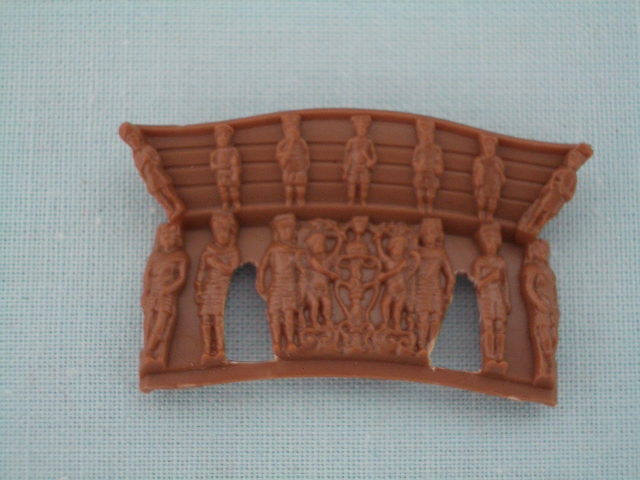
the two pieces of detail on the stern, into which I am fitting the etch windows.
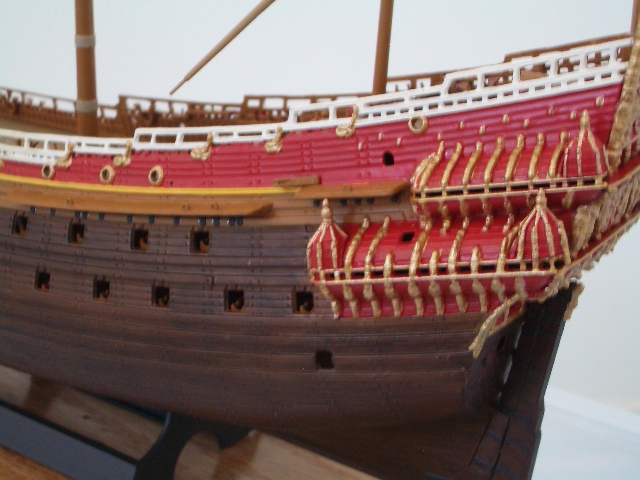
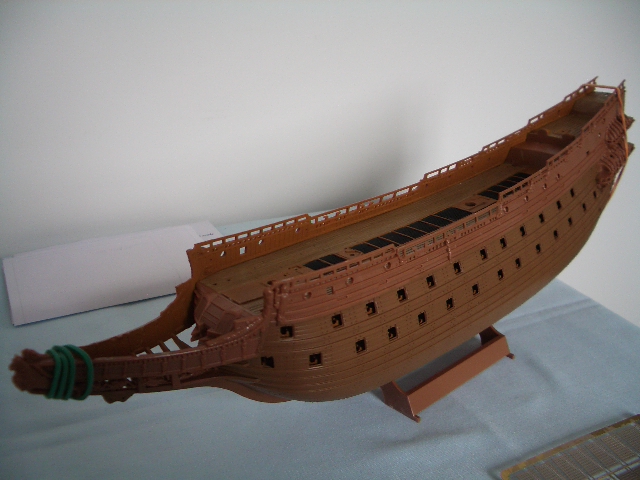
The hull all now glued up, and waiting for some painting.
Before getting to the stage I was in, from the last photo, I spent time trialling painting options for the final paint scheme,
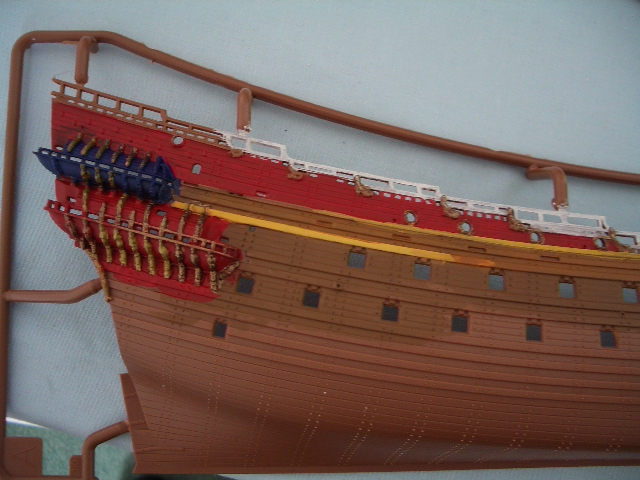
I decided that I am not going to be going for as detailed a colour scheme as the instructions suggest. The detailed figures etc are so small that it is just going to become a massive mess of dobs of different colours.
Instead, I will be using a single gold/bronze mix for all the figures and detail, and will use red where Revell suggest it. (Older kits such as the Airfix one, used blue, but it is only relatively recently that new information came to light on use of red not blue). I will incorporate white for handrails, and a little yellow for a wale on the side.
I plan to use the suggested colours for the various browns that Revell name in the colour guide, and will then add some washes to get a wood effect, such as on the inner bulwarks and outer hull sides when more of it is all together later.
This piece was, then given a liberal coat of dettol to remove the paint, before fixing in the gun carriages and glueing the hull together.
Anyhow ...That is where I am now..... more in a few weeks time!