This happens to be an original boxing, not the 1976 boxing, but the only difference is the box not the plastic.

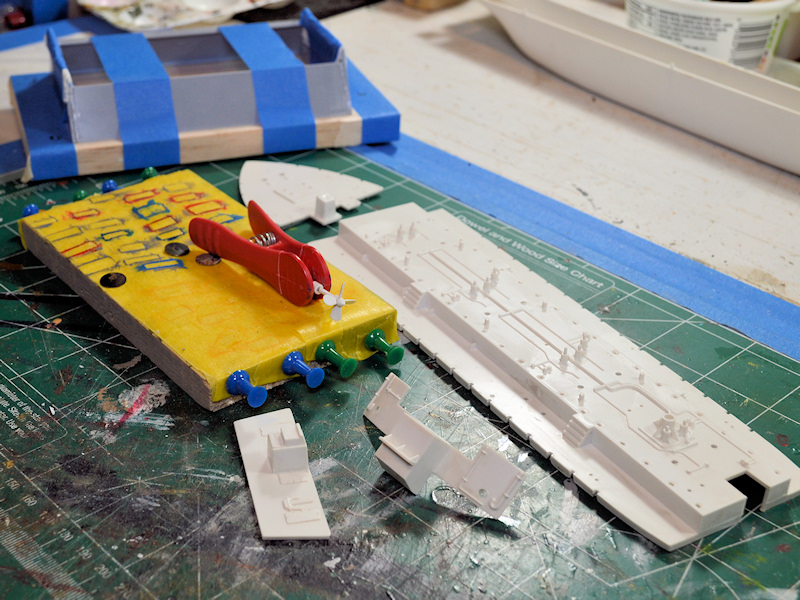
Parts are in good shape -- all have been bathed. A number are off the sprue and I didn't take them out of the baggie for the photo. I am missing 5 of the 6 life rings and may have two pipes short-shot; nothing fatal at all.


The instructions are old-style -- parts have names, not numbers -- and the painting instructions are very detailed.


The only thing unusable are the decals but I had no idea what I might be getting in the kit above and so found a ArkModels frog-spawn for spares. It has good decals. It also has part numbers on the sprues and the instructions -- an effort to make up for having NO actual build or paint instructions, just numbered parts and arrows. Has some flash on the parts also. Does have all 6 life rings.
Anyway, it's out and I'll get started in the next couple days.