DAZZ BOOT!

If it goes on or under the wet stuff and doesn't fly, it's in here.
User avatar
Dazzled
Modelling Gent and Scholar
Posts: 9592
Joined: October 1st, 2011, 11:08 pm
Location: Mid Glamorgan, South Wales
Contact:

DAZZ BOOT!

Post by Dazzled »

OK, so those of you who have viewed my Honda CB1100R build will know that I'm getting a bit cheesed off with it. Everything seems to be going wrong at the moment and thus taking longer than it should. The upside of this enforced waiting/drying time, and the fact that I'm on sick leave at the moment with a torn bicep, means that I'm making some progress with other kits, although moving them on and off my rather cramped model bench is a little fraught with risk. I've made a bit of progress with my unfinished Airfix Swordfish but my use of enamels has also left me with the necessity to allow extended drying times.

So, what does a chap (or chapess) do when he suddenly finds himself with a lot of unexpected free time on his hands, the inability to do anything strenuous, doctors orders to keep warm and a number of unfinished kits to keep him occupied.

That's right folks.....he starts something new :)

In this case a little number I picked up a short while back (about a year I think) on sale in the Ian Allen bookshop in Cardiff at a price that was rude to refuse.
Image

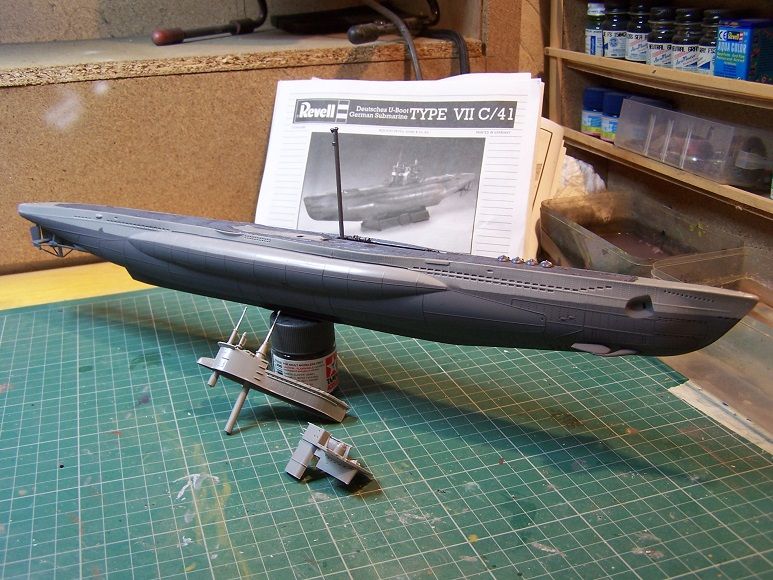
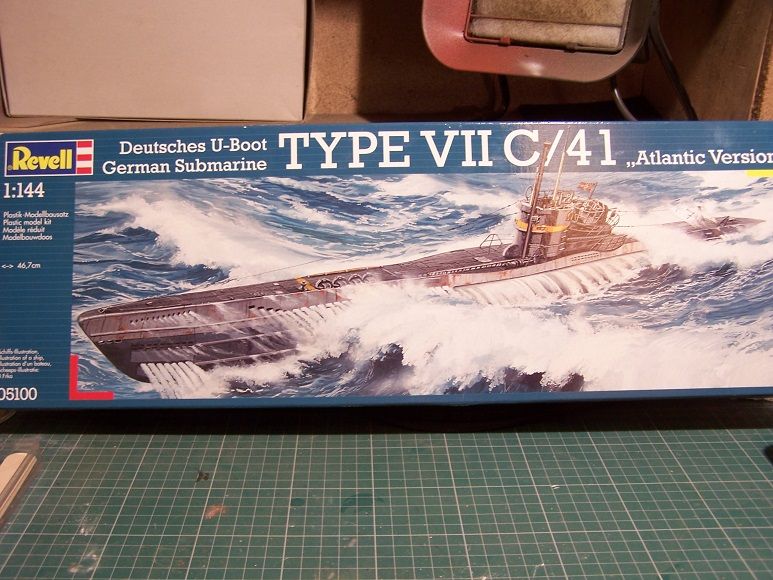
Revell's 1/144 Type VIIc U-Boat.

I've built a number of ships and boats before but never a submarine so this is something of a new modelling experience for me.

The kit, it appears, dates from 2005 although some of the features seem a little more basic than one would expect from such a relatively modern kit.
Image

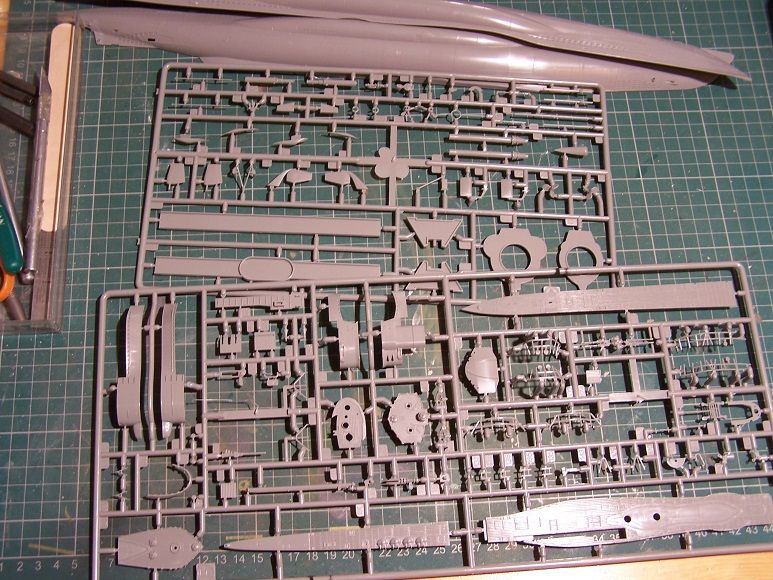
The basic contents are 2 sprues of fairly soft grey plastic plus a pair of hull halves with raised rivets and lines. There's also a small decal sheet allowing 4 different boats to be built. Each option listed contains a very short piece of info about the relevant boat. The instructions themselves are typical of Revell's offerings in this period although the recycled toilet paper appears to be of a higher quality than normal.

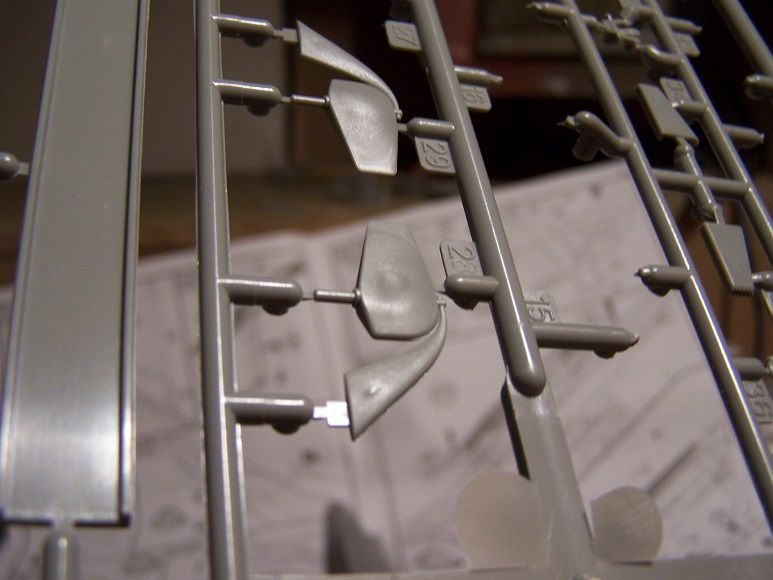
There's a bit of flash present although, to be fair, much of this is on the sprue itself rather than the parts. There are also a couple of sink marks.
Image

They're not particularly bad or difficult to deal with. Basic modelling skills are quite enough here.

Construction proceeded swiftly, starting with the hull halves.
Image

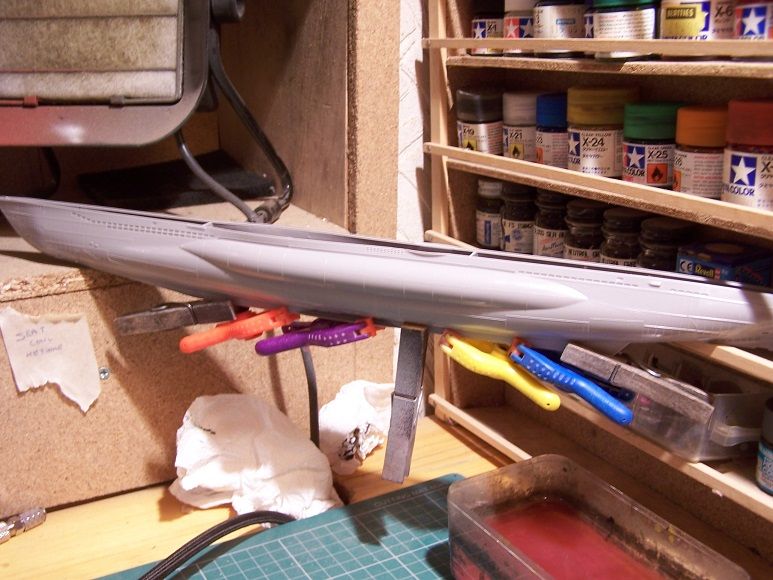
These were joined together with gap filling cyano glue and clamped together to set. There were few fit issues, just the need to fix the halves together piece by piece rather than try to glue it up all at once. It's also important to remember to insert the aft torpedo tube at this point.

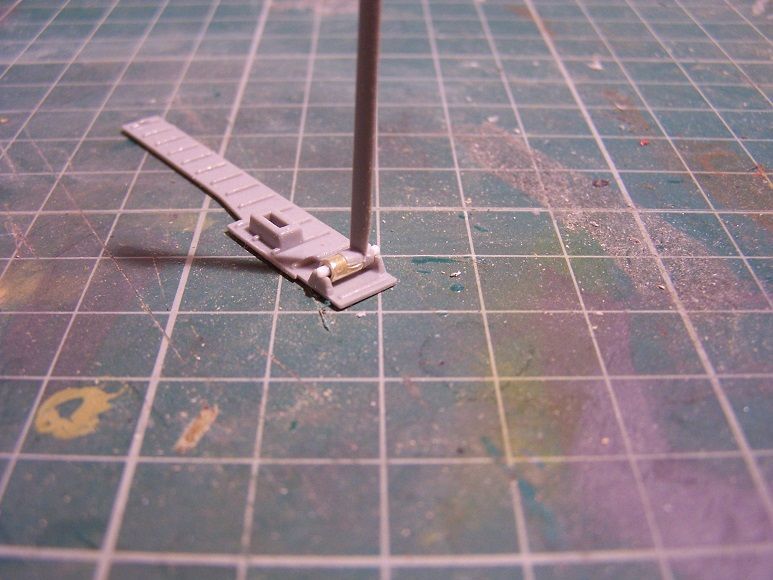
With the hull setting up I turned to the main decks. The first part to deal with is the Snorkel and it's housing.
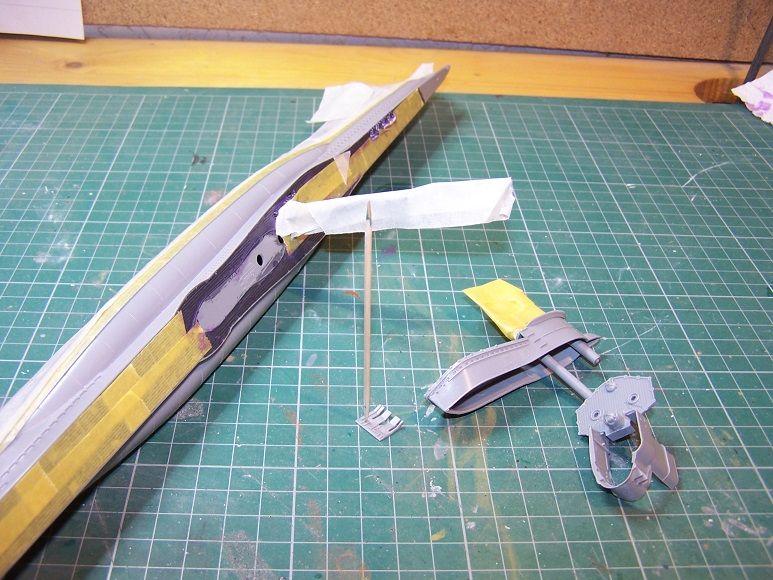
Image

You may have noticed the nice shiny bit at the base of the Snorkel. This wasn't with the kit. This was the result of Dazzled, naturally, dropping the relevant part on the floor. Not so much a case of the Carpet monster but the Laminate Floor Troll gobbling this up so it will never be seen again. It became a group effort trying to locate this but to no avail. I even dropped a piece of injector tab of roughly the same size onto the floor at the same point. Even though I watched it land and bounce, it too disappeared. I'm now convinced that there's a dimensional wormhole under my model bench through which those interdimensional model making aliens steal our parts............... Where's me tablets? :roll:

Anyhow, plastic rod and brass tube made a replacement that in my own, admittedly, biased opinion looks better than the original. It's just a shame that it's almost invisible when installed.

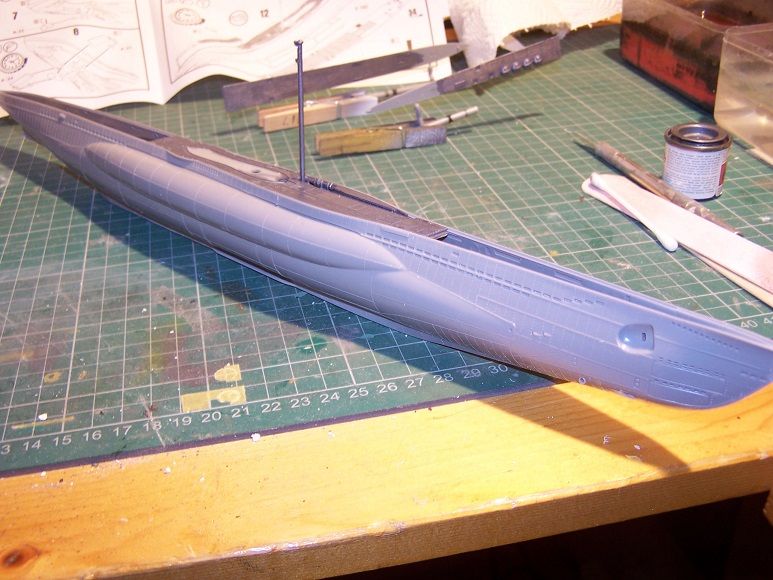
After the hull was fully set up and the seams filled and sanded back I attached the centre section of the main deck following a coat of Humbrol Metalcote Polished Steel. The same colour was used for all the deck sections.
Image

A quick buff brings this up to a very nice finish.

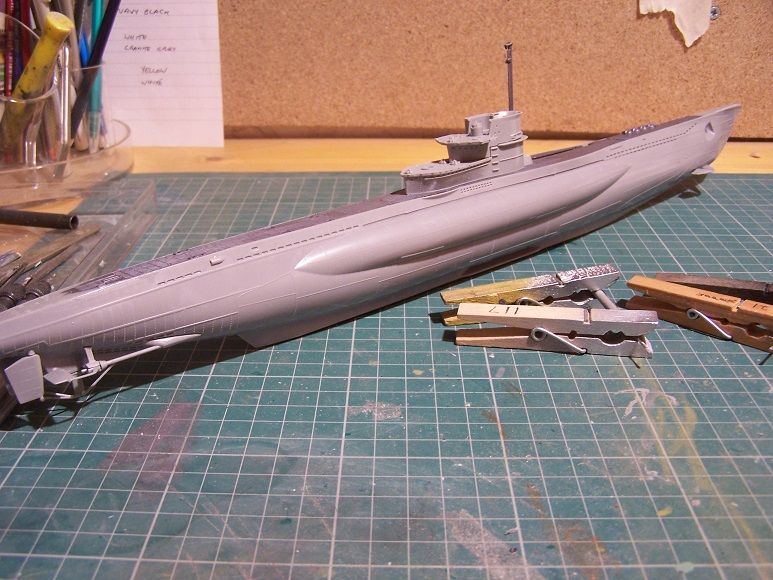
A day of drying was followed up with attachment of the prop shafts and diving planes/rudders plus a start on the basic structure of the conning tower.
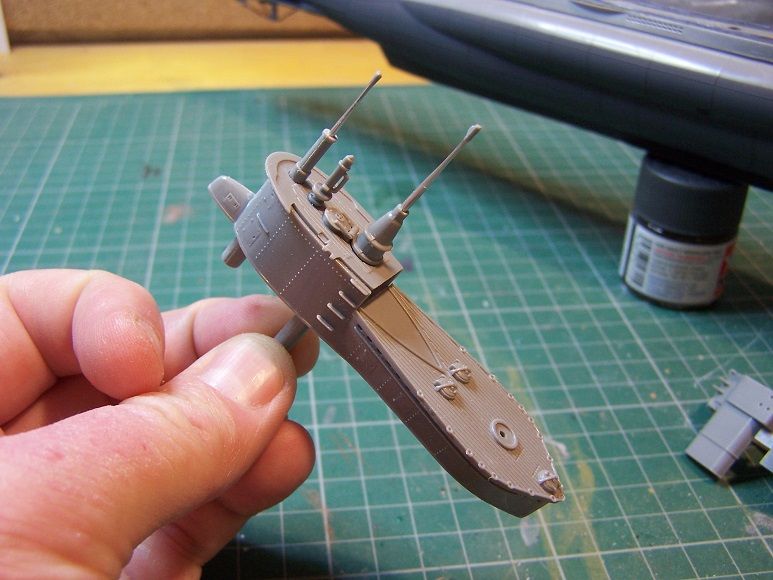
Image

The tower is just placed on loosely at the moment. It's actually in 2 pieces, upper and lower sections and I have to say that the fit between these appears to be very good indeed. Also visible, clamped together by the clothes pegs, are the periscopes which will soon be ready to attach.

It's an encouraging kit so far and I'm rather enjoying the change :)
COLD WAR S.I.G. LEADER

Wherever there's danger, wherever there's trouble, wherever there's important work to be done....I'll be somewhere else building a model!
User avatar
Ian
Blitzbau hero
Posts: 5137
Joined: May 4th, 2011, 10:01 am

Re: DAZZ BOOT!

Post by Ian »

If you'd glued some weights into the bottom of the hull you could have played with it in the bath. As it is it will just roll over now.
I'm a mostly full-time modeller put a part-time poster....
User avatar
Dazzled
Modelling Gent and Scholar
Posts: 9592
Joined: October 1st, 2011, 11:08 pm
Location: Mid Glamorgan, South Wales
Contact:

Re: DAZZ BOOT!

Post by Dazzled »

I think I'll stick to my rubber duck. ;-)
COLD WAR S.I.G. LEADER

Wherever there's danger, wherever there's trouble, wherever there's important work to be done....I'll be somewhere else building a model!
User avatar
JohnRatzenberger
Why is he so confused ?
Posts: 15727
Joined: April 5th, 2011, 3:42 pm
Location: Living on a sandbar - Nags Head, NC.

Re: DAZZ BOOT!

Post by JohnRatzenberger »

The aftermarket guys were salivating over that one and there's hundreds of dollars/pounds of bits & pieces to fix it up with .... I like your approach !!
John Ratzenberger :???:
It's my model and I'll do what I want with it.
User avatar
TomW
Modelling Gent and Scholar
Posts: 2279
Joined: May 1st, 2011, 8:09 am
Location: Devizes, Wiltshire

Re: DAZZ BOOT!

Post by TomW »

Very nice so far Dazzled, the kit looks to be the same as my 1/72 one you saw at Telford, though at half the size. Revell have even supplied the same working features. Keep up the good work.

Regards

Tom
Veni, Venari, Vamoosi

Coastal Command SIG Leader 2012 - 2016

We'll call him Dinghy Watts...... - Paul Bradley

2016 A:B = 29:11
2015 A:B = 38:14
2014 A:B = 25:9
2013 A:B = 20:17
2012 A:B = I didn't keep score
2011 A:B = 39:11
2010 A:B = 51:10
ShaunW
NOT the sheep
Posts: 26180
Joined: November 26th, 2011, 6:11 pm
Location: Pontefract West Yorkshire

Re: DAZZ BOOT!

Post by ShaunW »

This is coming on very well and is a great looking boat. I would imagine that the 1/72nd scale version of this kit is near big enough to climb in and sail round the local park lake :grin:
Doing - Tamiya 1/35th Universal Carrier.

Work is the curse of the modelling classes!
IPMS#12300
User avatar
IvanV22
Modelling Gent and Scholar
Posts: 1205
Joined: January 24th, 2012, 9:36 am
Location: Norway

Re: DAZZ BOOT!

Post by IvanV22 »

Looking good! You’ll probable find the missing part when you are finished with the kit.
Best from Ivan
User avatar
Dazzled
Modelling Gent and Scholar
Posts: 9592
Joined: October 1st, 2011, 11:08 pm
Location: Mid Glamorgan, South Wales
Contact:

Re: DAZZ BOOT!

Post by Dazzled »

Thanks gents.

The kit is pretty nice. Easy to clean up and good fit. I've made a little progress including painting the main hull colour, although there's still a little filling and touching up to do. I've been wrestling with my Chinook for the last couple of days and this U-boat kit has been a relief compared to what may be Airfix's worst modern kit :roll: .

I'll post a proper update in a day or two.

Darryl
COLD WAR S.I.G. LEADER

Wherever there's danger, wherever there's trouble, wherever there's important work to be done....I'll be somewhere else building a model!
User avatar
Dazzled
Modelling Gent and Scholar
Posts: 9592
Joined: October 1st, 2011, 11:08 pm
Location: Mid Glamorgan, South Wales
Contact:

Re: DAZZ BOOT!

Post by Dazzled »

Today hasn't been a bad day model-wise. I've put the rather unpleasant Chinook aside in favour of a relaxing hour or three with the U-boat and it's been a favourably productive time.

I finished spray painting the lower hull base colour of Tamiya XF-24 (dark grey) and removed the masking.

Image

I also assembled some parts, including the periscopes, into the conning tower.

Image

It's a nicely detailed and easy to assemble structure that is a credit to Revell.

There was some bleed through after the first round of painting but this wasn't an issue as I reverse masked the model for the upper hull colour, Tamiya XF-24 (light sea grey).

Image

I also prepared the main conning tower parts for painting while I was about it.

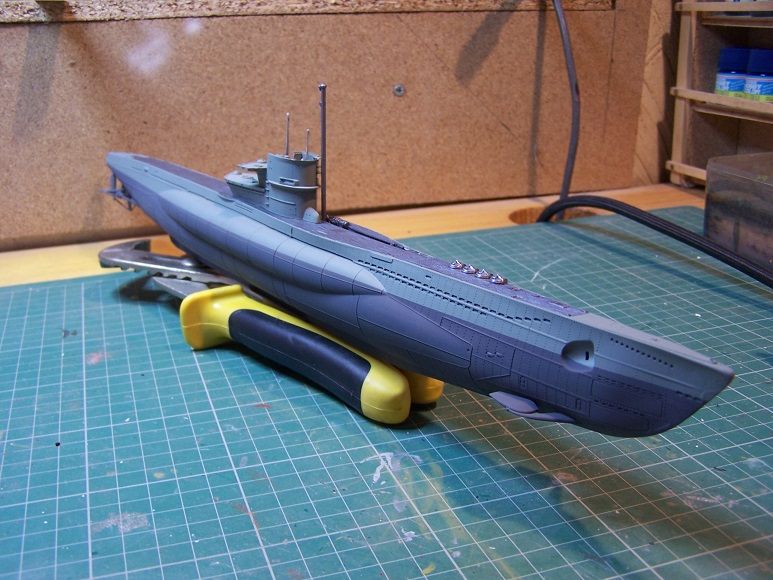
Post painting, and the advantages of acrylic paints came to the fore when I was quickly able to remove the masking and handle the model.

Image

I trial fitted the conning tower again in case of paint interference with the base joint.

One thing I really like about the way Revell have designed this kit is......

Image

.....the way the periscope tubes form positive locations for the conning tower. It was a great help for the next stage which was to permanently attach the base of the conning tower.

Image

It went down very nicely and easily. This meant that it was time to add some more Humbrol Metalcote polished steel to the appropriate sections of the deck and other bits. Also visible in the picture is the, as yet, unfinished stand that comes with the kit. Well I couldn't keep perching the model on top of my water pump pliers could I? :roll:

And finally...

Image

...some other bits of bridge and surrounding structure painted and ready to go on.

The guns are under assembly and a few other bits are painted too. It's all going along quite nicely at the moment.
COLD WAR S.I.G. LEADER

Wherever there's danger, wherever there's trouble, wherever there's important work to be done....I'll be somewhere else building a model!
User avatar
Clashcityrocker
Modelling Gent and Scholar
Posts: 10795
Joined: May 1st, 2011, 12:31 am
Location: Adelaide. South Australia

Re: DAZZ BOOT!

Post by Clashcityrocker »

Looking good.

Nigel
User avatar
Dazzled
Modelling Gent and Scholar
Posts: 9592
Joined: October 1st, 2011, 11:08 pm
Location: Mid Glamorgan, South Wales
Contact:

Re: DAZZ BOOT!

Post by Dazzled »

I've been happily popping along with Dazz Boot for the last couple of days and things are going pretty well. I've made a slight adjustment to the hull paintjob (photos soon) and been assembling and painting some of the add on bits (guns, bridge fittings etc.)

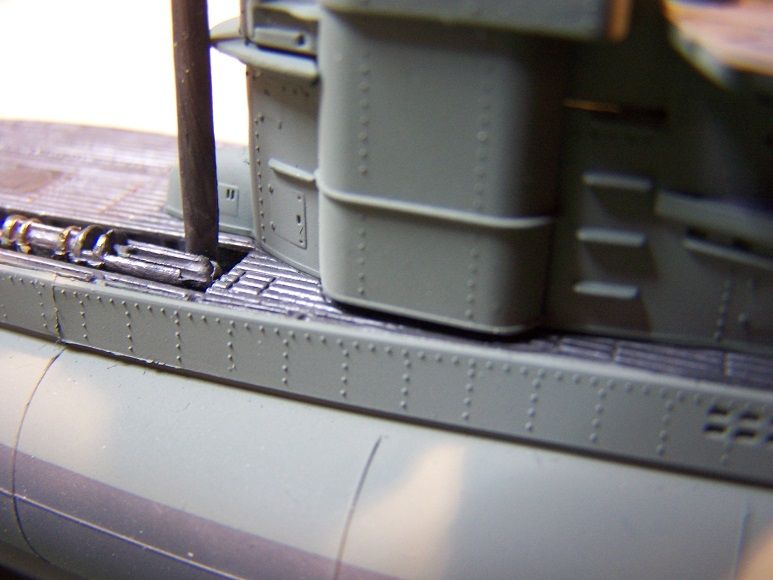
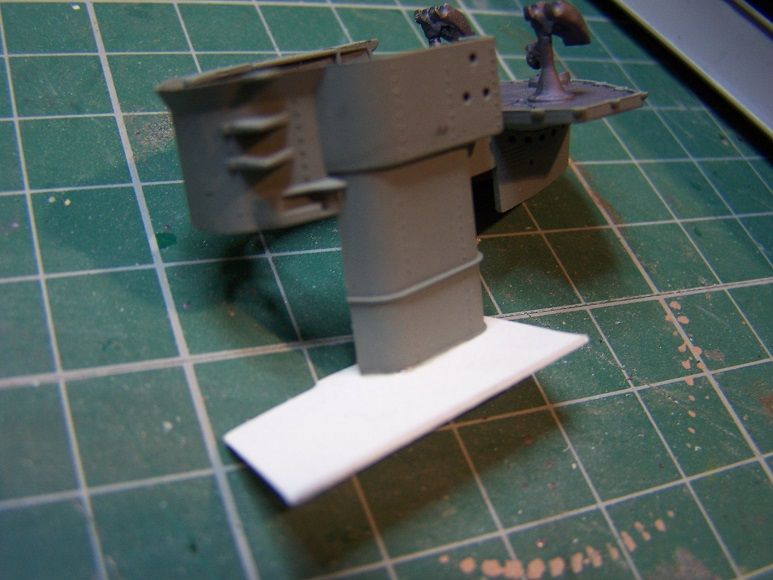
And I've found a slight issue with this otherwise very nice kit. It's only a small thing and easy to put right.

Image

The base of the side part of the upper bridge piece is a little short, leaving a gap where it butts up to the deck.

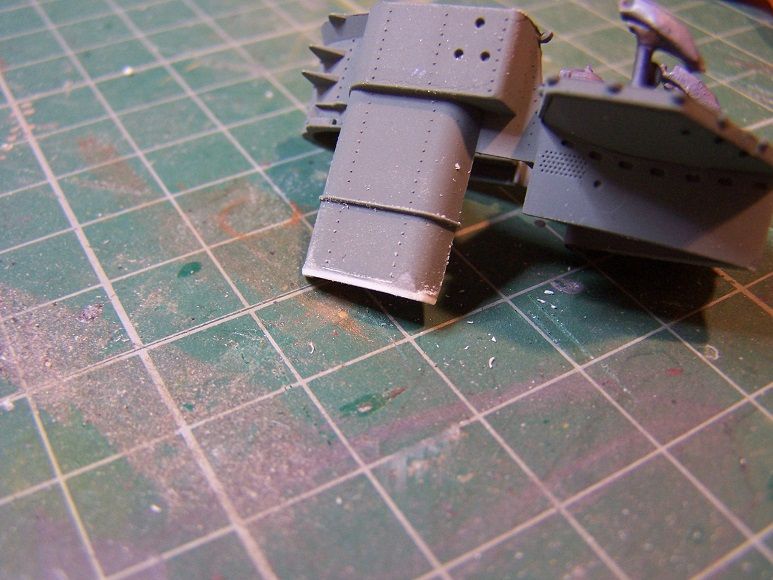
So, a bit of plasticard of a suitable thickness was applied.

Image

And trimmed to shape...

Image

Easy enough to correct. A swift touch up to cover up my little addition and, after a suitable drying period this will be ready for more work.

Well it wouldn't be right if it was just a "box shaker" would it?
COLD WAR S.I.G. LEADER

Wherever there's danger, wherever there's trouble, wherever there's important work to be done....I'll be somewhere else building a model!
User avatar
Dazzled
Modelling Gent and Scholar
Posts: 9592
Joined: October 1st, 2011, 11:08 pm
Location: Mid Glamorgan, South Wales
Contact:

Re: DAZZ BOOT!

Post by Dazzled »

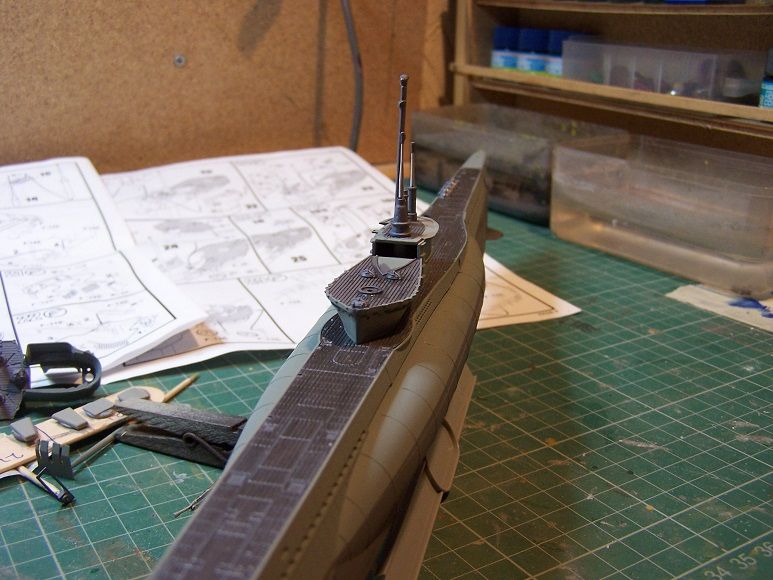
Progress on the U-boat has slowed slightly while I apply the yellow stripes around the conning tower and on the deck fore and aft. I'm sure we all know how it is with yellow paint :roll: . I'm using enamel paint and I'm waiting for the second coat to dry. There's at least one more coat to go.

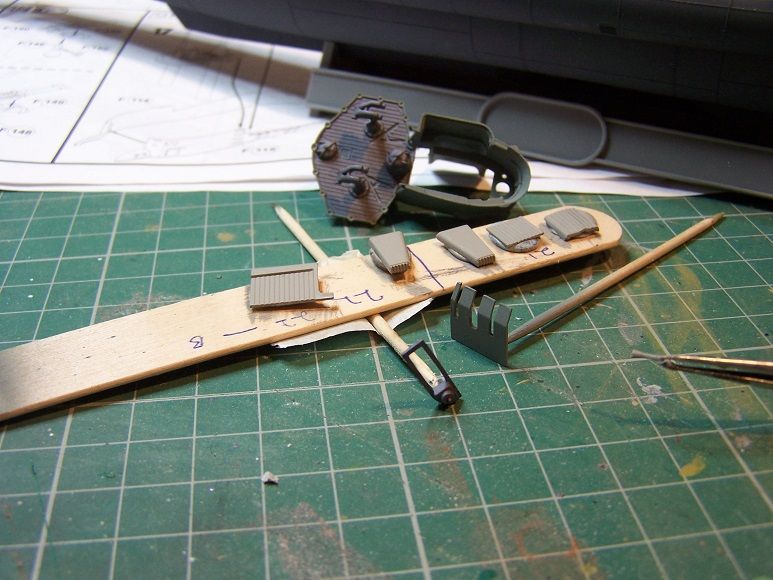
I have been getting on with other bits in the meantime. I did a Dazzled Special and dropped another bit through the wormhole under the bench so I had to get the bag of brass and plastic strip again and make another :oops: .

Other parts have been going a bit better though.

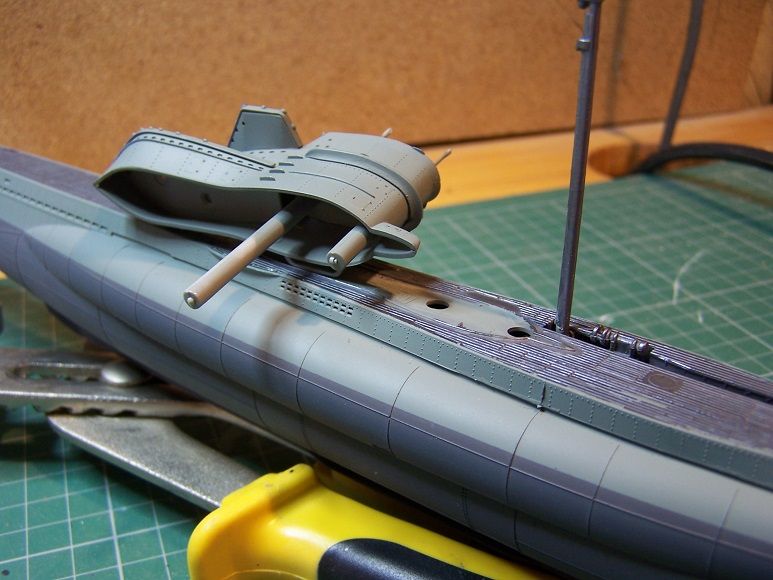
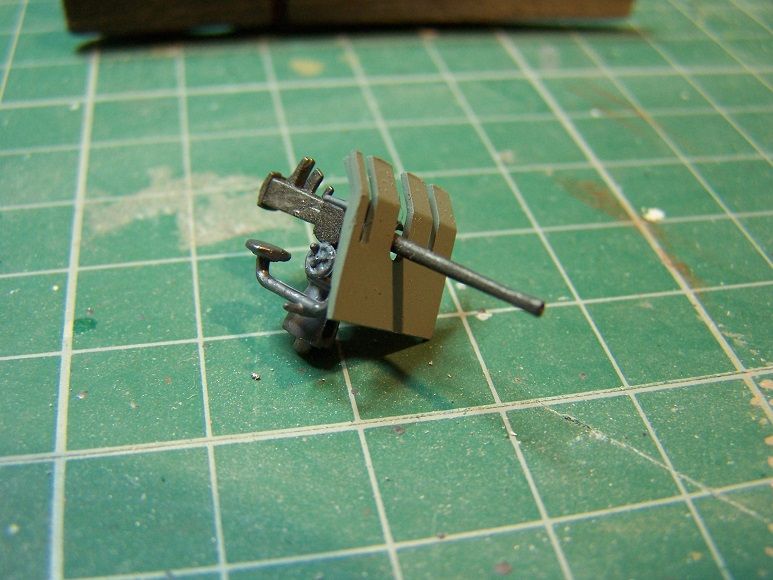
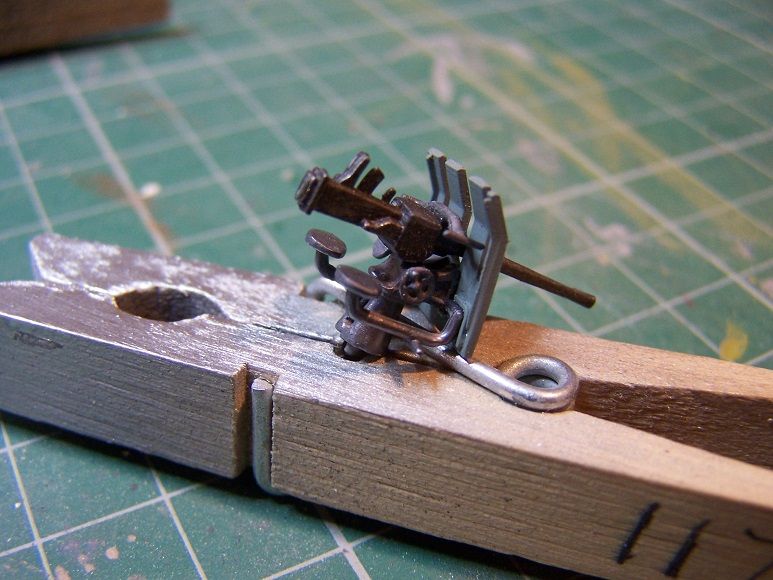
The main gun is a nice little model on it's own.

Image

Image

It's just little bits like this at the moment but progress is progress ;-) .
COLD WAR S.I.G. LEADER

Wherever there's danger, wherever there's trouble, wherever there's important work to be done....I'll be somewhere else building a model!
User avatar
BlohmWolf
Modelling Gent and Scholar
Posts: 2355
Joined: May 15th, 2013, 11:21 pm
Location: Down under, TAS.

Re: DAZZ BOOT!

Post by BlohmWolf »

Looking really nice. I think I should one day build my revell XXI (with interior). This is inspiration right here!
"Can not finish a model at all"

"You can get more of what you want, with a kind word and a wallet, than just a kind word".

Currently Building: FROG Wildcat, Fokker DR1 Red baron and some other things...
User avatar
jssel
Still crazy after all these years
Posts: 11992
Joined: April 5th, 2011, 3:42 pm

Re: DAZZ BOOT!

Post by jssel »

Loving this build. Terrific work.
Besting 60 years of mediocre building of average kits in the stand off scale
ShaunW
NOT the sheep
Posts: 26180
Joined: November 26th, 2011, 6:11 pm
Location: Pontefract West Yorkshire

Re: DAZZ BOOT!

Post by ShaunW »

Keep at her Dazzer, this is a great build 8-)
Doing - Tamiya 1/35th Universal Carrier.

Work is the curse of the modelling classes!
IPMS#12300
Post Reply

Return to “Ships, Boats and Submarines”