Dirk's 1/72 Frankin Defiant

Lots of possibilities in this Classic British Kit ....
Runs 29 September to 28 October.
GB Leader: jRatz
User avatar
Dirkpitt289
NUMA's Auto Mechanic
Posts: 8724
Joined: May 2nd, 2011, 1:55 am
Location: New jersey USA
Contact:

Dirk's 1/72 Frankin Defiant

Post by Dirkpitt289 »

This is my first attempt at this and I have no clue how its going to turn out but I gotta give it a try. No resin parts here. I'm going to do it old school and graft the nose from another kit. In this case a Spitfire Vb.

Airfix The Kit

Image

As you all know this kit is pretty old and this one shows it. There isn't a lot of flash but the details such as the rudder have softened and lost some detail. There is also some warping of the parts.

Image

The Donor kit

Image

The parts I will be using from the Spitfire will be the three pieces make up the nose

Image

As you know there is no cockpit but I want to make this in flight with the aerials deployed so I will have to scratch something together.

Image
.... Dirk

Beware of the DOG's of WAR

My Youtube Channel
https://www.youtube.com/user/ModelingGu ... rid&view=0
User avatar
JohnRatzenberger
Why is he so confused ?
Posts: 15734
Joined: April 5th, 2011, 3:42 pm
Location: Living on a sandbar - Nags Head, NC.

Re: Dirk's 1/72 Frankin Defiant

Post by JohnRatzenberger »

I assume you got a copy of the Rimmel article from Jssel ? It uses a Spitfire nose for correction.

And,of course, now you've done it .... O_T will be sneeking snipped off Mustang noses into every photo ....
John Ratzenberger :???:
It's my model and I'll do what I want with it.
User avatar
Dirkpitt289
NUMA's Auto Mechanic
Posts: 8724
Joined: May 2nd, 2011, 1:55 am
Location: New jersey USA
Contact:

Re: Dirk's 1/72 Frankin Defiant

Post by Dirkpitt289 »

The time has come to get cracking on this one

Image

Pre-op

Image

Post-op

Image

While the patient was still on the table we made a few cuts to the back end as well.

Image

Here's a comparison of the two nose sections

Profile
Image

Nose on (Scuse the pun)

Image

Seeing how the remaining pieces fit together

Image

I will need to do a little more work before i will be able to get the new nose to fit. For starters I will need to thin down the fuselage.

Before

Image

After

Image

Image

Thanks for looking
.... Dirk

Beware of the DOG's of WAR

My Youtube Channel
https://www.youtube.com/user/ModelingGu ... rid&view=0
User avatar
JohnRatzenberger
Why is he so confused ?
Posts: 15734
Joined: April 5th, 2011, 3:42 pm
Location: Living on a sandbar - Nags Head, NC.

Re: Dirk's 1/72 Frankin Defiant

Post by JohnRatzenberger »

:lol: :lol:
John Ratzenberger :???:
It's my model and I'll do what I want with it.
User avatar
splash
Senior Service Rotorhead
Posts: 13828
Joined: May 1st, 2011, 11:02 am
Location: Somerset England

Re: Dirk's 1/72 Frankin Defiant

Post by splash »

That's brave Dirk, will it live?

I'm now thinking what have i signed up for, this is major work not just a new paint job.

Regards Splash
My work bench is starting to look like Portsmouth Naval Dockyard.
User avatar
Dirkpitt289
NUMA's Auto Mechanic
Posts: 8724
Joined: May 2nd, 2011, 1:55 am
Location: New jersey USA
Contact:

Re: Dirk's 1/72 Frankin Defiant

Post by Dirkpitt289 »

This is going to be one of the most extensive builds I've done in the way of attempting corrections.
.... Dirk

Beware of the DOG's of WAR

My Youtube Channel
https://www.youtube.com/user/ModelingGu ... rid&view=0
User avatar
JohnRatzenberger
Why is he so confused ?
Posts: 15734
Joined: April 5th, 2011, 3:42 pm
Location: Living on a sandbar - Nags Head, NC.

Re: Dirk's 1/72 Frankin Defiant

Post by JohnRatzenberger »

Splash, you need only do what you want and how you want.
I'm not convinced one couldn't get a decent 'nose job' just with some putty and sanding. The thing is to get it too look a bit more Spitfire-Merlinish. Fin, rudder, and tail planes are minor padding & shaping. Remember it'll still look like a Defiant.
John Ratzenberger :???:
It's my model and I'll do what I want with it.
User avatar
JamesPerrin
Looks like his avatar
Posts: 13687
Joined: April 5th, 2011, 8:09 pm
Location: W. Yorkshire
Contact:

Re: Dirk's 1/72 Frankin Defiant

Post by JamesPerrin »

Straight on with both feet, but why have you needed to thin the fuselage?
jRatz wrote:Remember it'll still look like a Defiant.
Everyone seems to say that in defence of the kit, but the Defiant itself doesn't look like any other aircraft!* ;-)


*(apart from at night, early in its career when the enemy mistook it for a conventional fighter).
Classic British Kits SIG Leader Better to fettle than to fill
(2024 A:B 5:2) (2023 13:8:7) (2022 21:11) (2021 15:8) (2020 8:4:4)
User avatar
Dirkpitt289
NUMA's Auto Mechanic
Posts: 8724
Joined: May 2nd, 2011, 1:55 am
Location: New jersey USA
Contact:

Re: Dirk's 1/72 Frankin Defiant

Post by Dirkpitt289 »

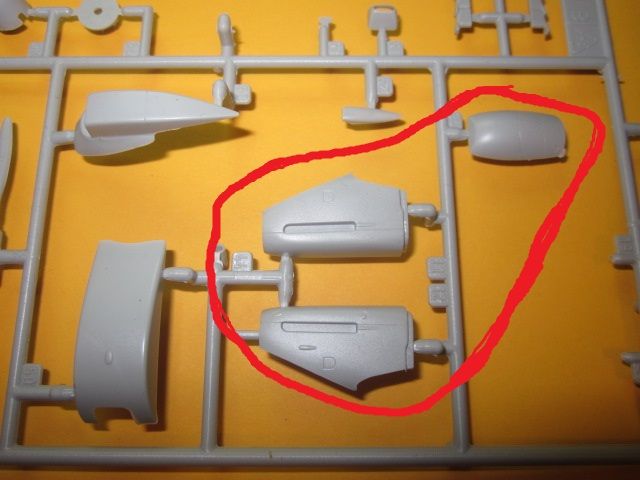
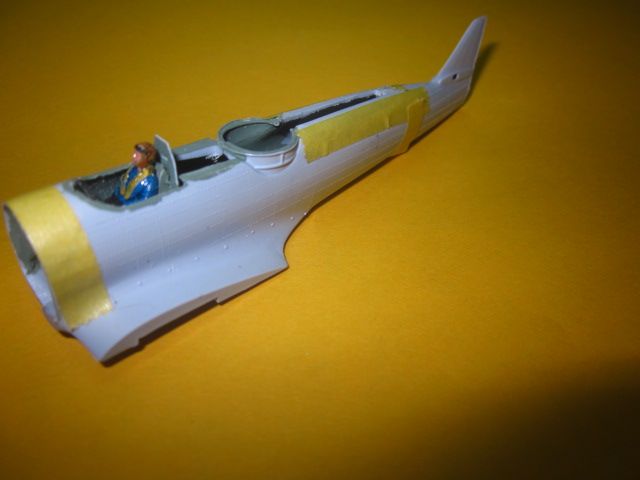
Moving forward with the Defiant we all know she has no interior what so ever. In my opinion going crazy without some sort of vac-form canopy would be silly but then again I've been known to be quite silly at times. I will do my best to keep such details at a minimum. Here is where I got.

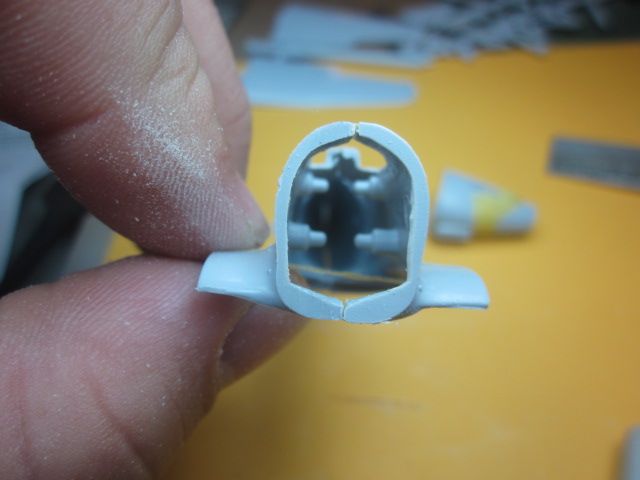
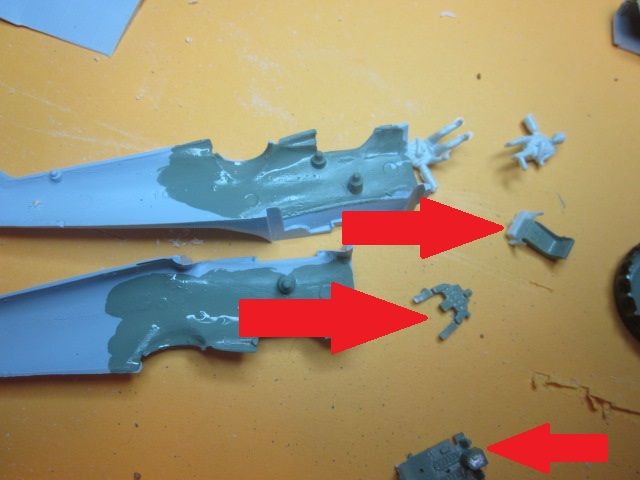
I cheated a bit with the interior. I started by painting the interior walls RAF Interior green. In stead of scratching the bits I stole them from a Me109 parts kit. What I used was the instrument panel, the pilot seat and the cockpit floor.
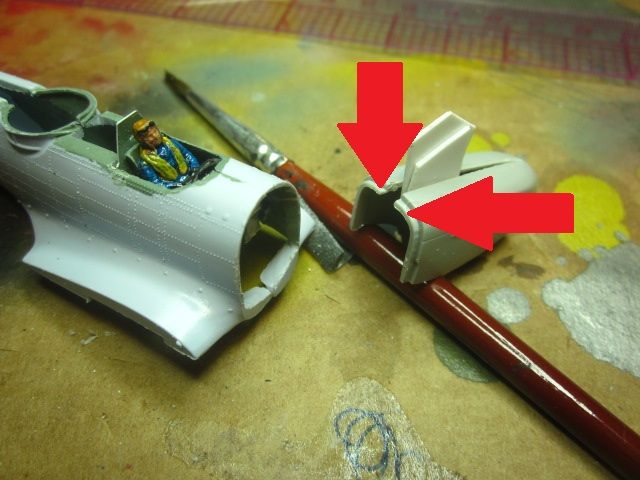
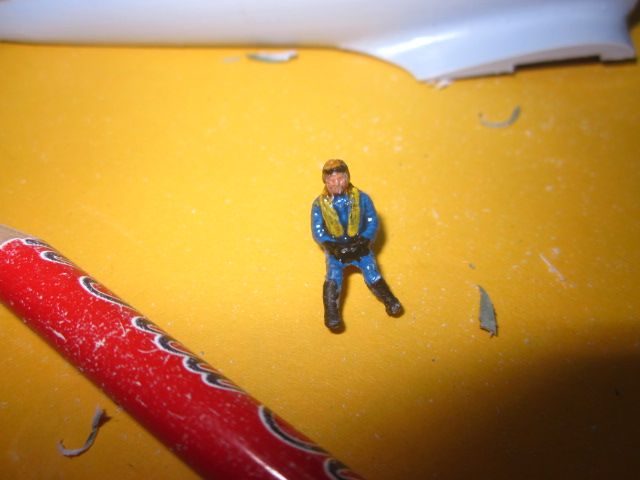
Image

The pilot

Image

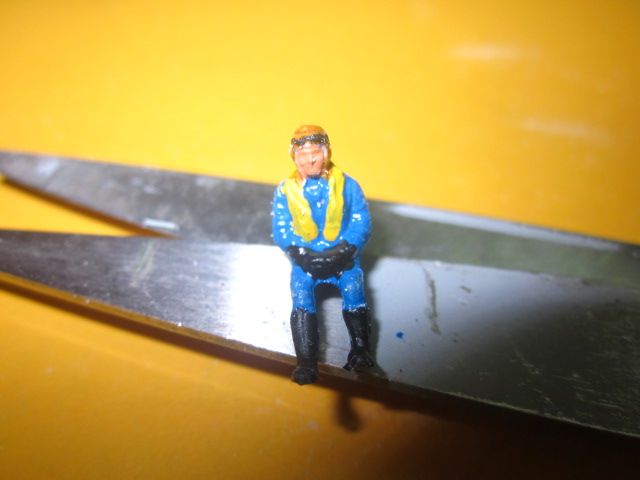
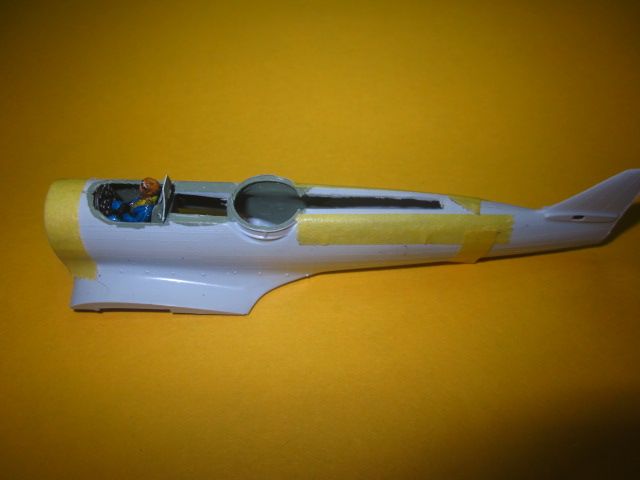
The pilot finished with a wash. In order to get him to fit into the cockpit I chad to spread his legs a bit. That's why he looks a little goofy

Image

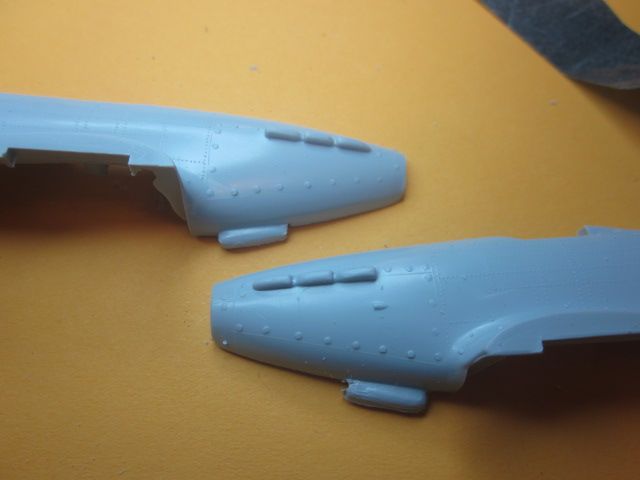
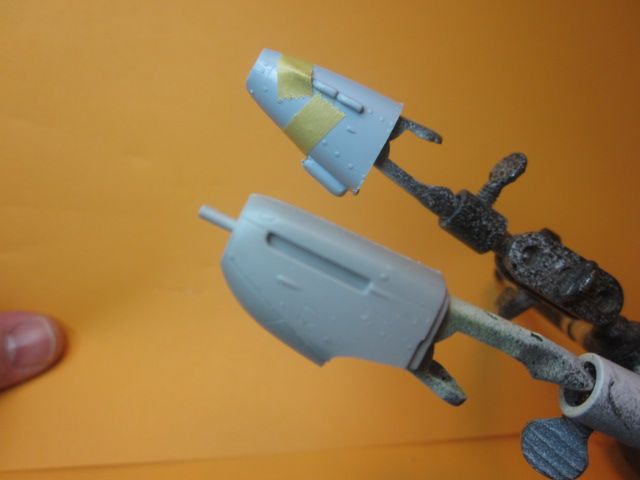
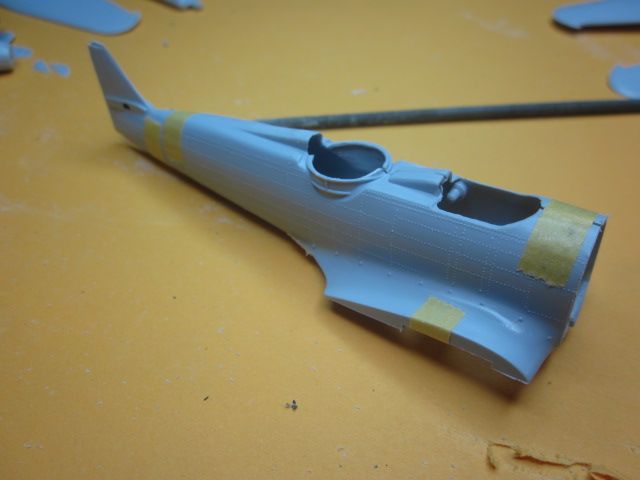
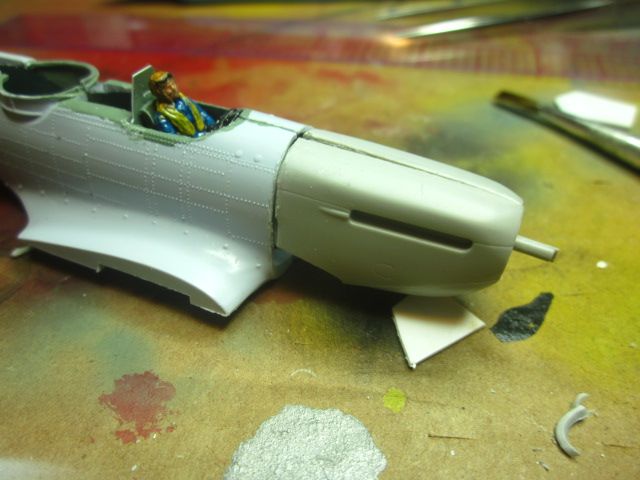
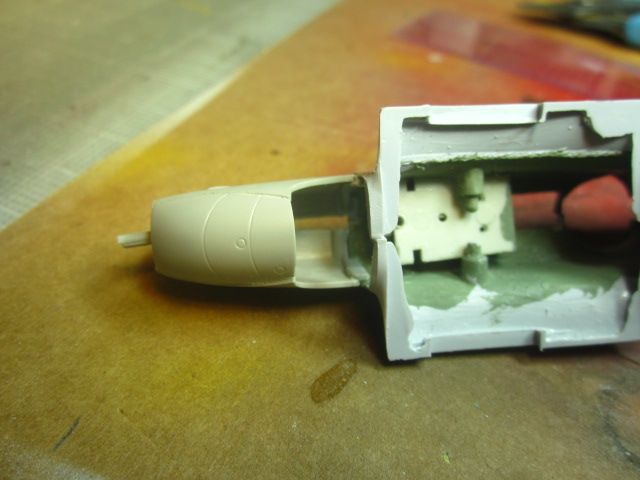
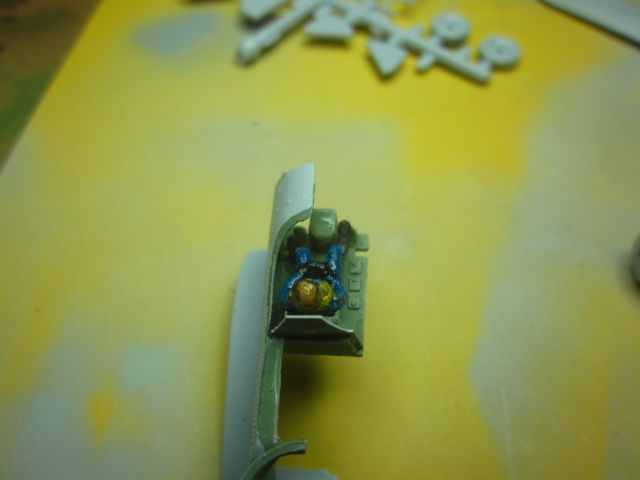
Here's how it looks. Note the IP has not been installed yet. I'm having a hard tome mounting it but I think I found a solution. I scratched a bulkhead wall behind the pilots seat. The issue with that is now the uber thick canopy wont fit. If I was to shave down the bulkhead to fit the canopy it will look REALLY silly. I'm going to table that issue for the time being.

Image

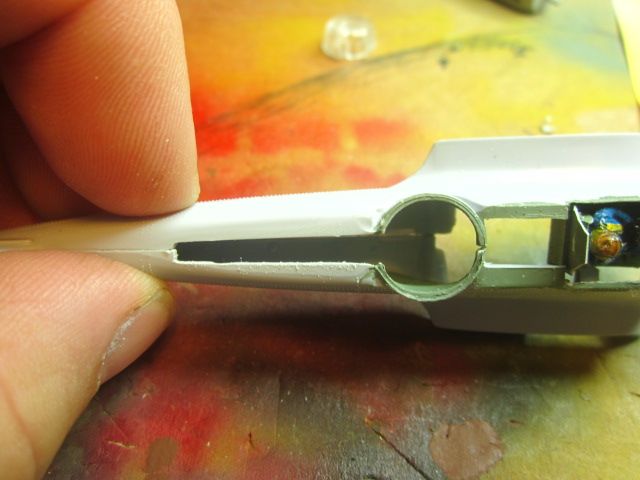
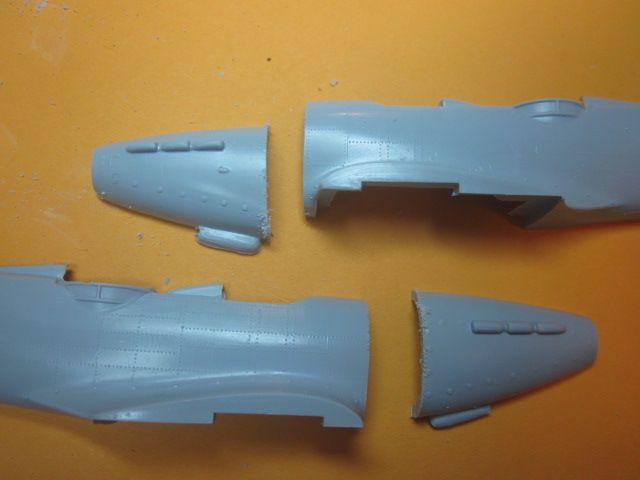
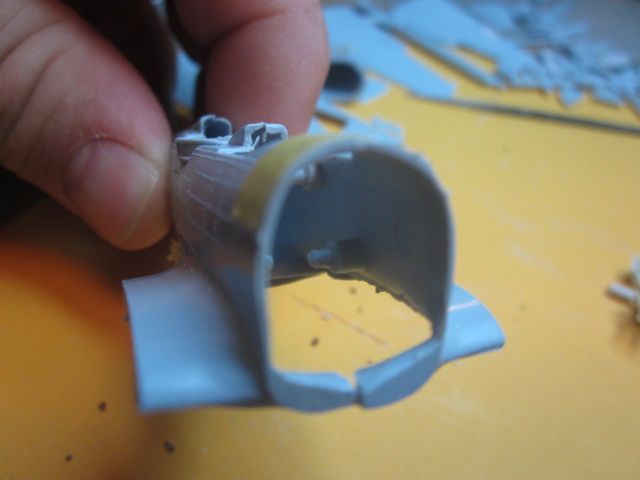
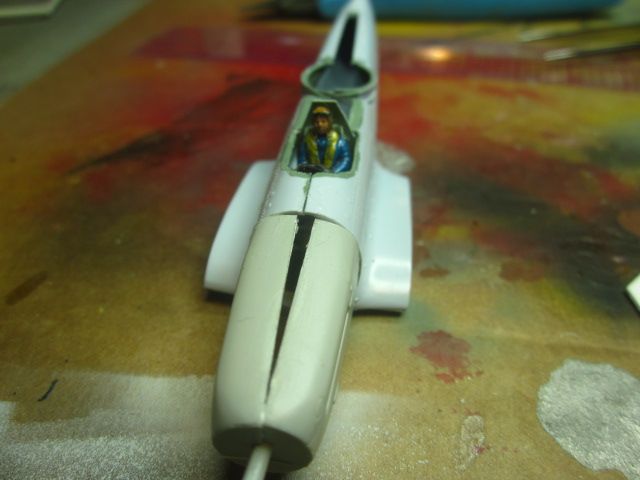
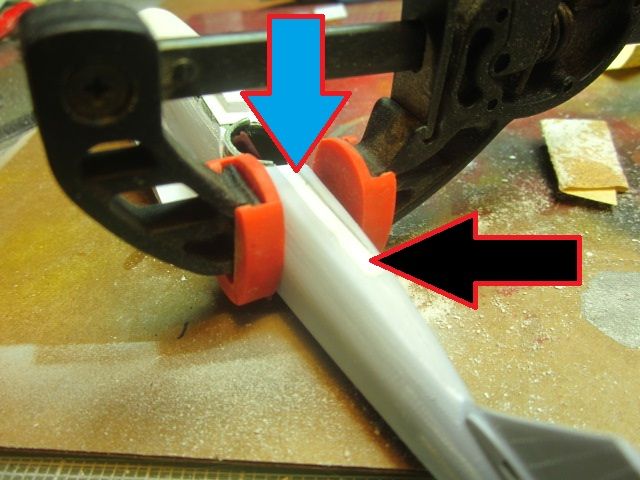
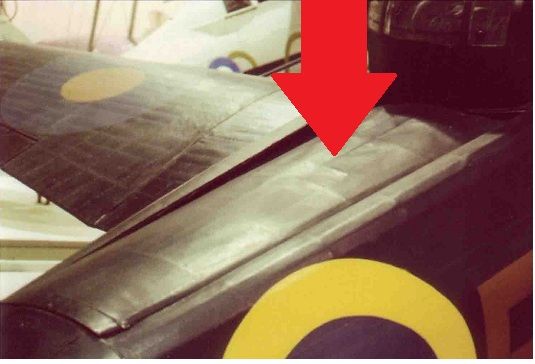
Here you can see where more surgery took place. I removed the radio and the shelf behind the pilot. I am planning on making this in flight so I want to lower the rear part of the fuselage. OT has a great photo of this in his build thread.

http://uamf.org.uk/viewtopic.php?f=220&t=4870

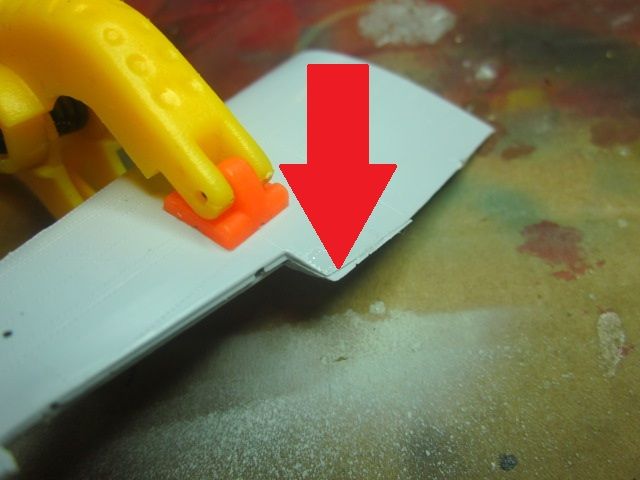
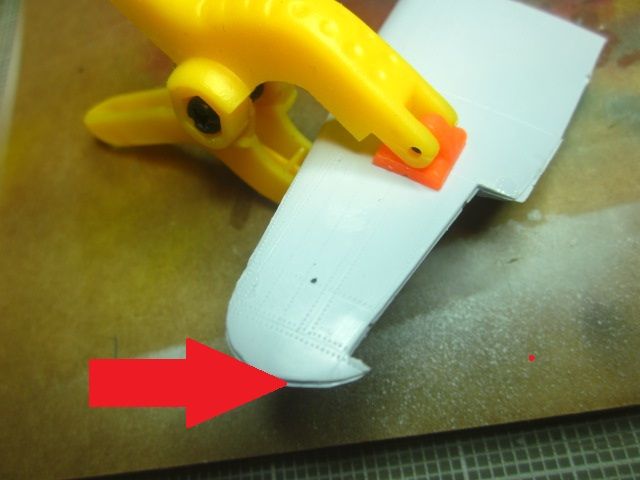
Here is where we are. After looking at the photos from OT I need to widen the area a little more

Image
.... Dirk

Beware of the DOG's of WAR

My Youtube Channel
https://www.youtube.com/user/ModelingGu ... rid&view=0
User avatar
Martin R
Modelling Gent and Scholar
Posts: 4695
Joined: May 1st, 2011, 7:53 am

Re: Dirk's 1/72 Frankin Defiant

Post by Martin R »

Dirk,

I admire you your resolve and skill - but I have no desire to emulate you on this particular kit!

regards,

Martin
User avatar
JohnRatzenberger
Why is he so confused ?
Posts: 15734
Joined: April 5th, 2011, 3:42 pm
Location: Living on a sandbar - Nags Head, NC.

Re: Dirk's 1/72 Frankin Defiant

Post by JohnRatzenberger »

I think you'll find the rear of the cockpit behind the pilot also lowers so turret can turn 360(ish).
John Ratzenberger :???:
It's my model and I'll do what I want with it.
User avatar
Old_Tonto
Modelling Gent and Scholar
Posts: 8063
Joined: May 1st, 2011, 7:41 pm
Location: Middlesbrough, Peoples Republic of Teesside.

Re: Dirk's 1/72 Frankin Defiant

Post by Old_Tonto »

That is looking very good Dirk. Glad the pictures helped. :lol:
2023 - A:0 B:0 C:0
Current Projects:
East German Air Force (1956-90)
South African Air Force (1958-93)
User avatar
Dirkpitt289
NUMA's Auto Mechanic
Posts: 8724
Joined: May 2nd, 2011, 1:55 am
Location: New jersey USA
Contact:

Re: Dirk's 1/72 Frankin Defiant

Post by Dirkpitt289 »

Fuselage halves joined together

Image

Image
.... Dirk

Beware of the DOG's of WAR

My Youtube Channel
https://www.youtube.com/user/ModelingGu ... rid&view=0
User avatar
Martin R
Modelling Gent and Scholar
Posts: 4695
Joined: May 1st, 2011, 7:53 am

Re: Dirk's 1/72 Frankin Defiant

Post by Martin R »

Looking good, Dirk!

I'm keen to see what it looks like with your Spit nose added.

regards,

Martin
User avatar
Dirkpitt289
NUMA's Auto Mechanic
Posts: 8724
Joined: May 2nd, 2011, 1:55 am
Location: New jersey USA
Contact:

Re: Dirk's 1/72 Frankin Defiant

Post by Dirkpitt289 »

The time has come to attach the Spitfire nose.

Image

Here is the new Spitfire Vb nose. The lips on the new nose will need to be trimmed down to get a proper fit due to the differences in the shape of the nose and the fuselage

Image

Image

Image

This gaping hole will be filled with two part putty

Image

Two part Putty for filling the holes

Image

Image

It appears I forgot to take a photo of the after shot. Oh well as the putty was drying I moved on to the wings. Note the poor fit

Image

Image

New rear shelf and radio installed

Image

Installed the rear fuselage. Its hard to see in these photos but according to the photos of this area the piece does not drop down flush. It hinges down from the farthest point near the tail of the aircraft and lies slightly below the main fuselage. So at the black arrow its flush, at the blue arrow its slightly lower forming a lip.

Image

Image

Thanks for looking
.... Dirk

Beware of the DOG's of WAR

My Youtube Channel
https://www.youtube.com/user/ModelingGu ... rid&view=0
Locked

Return to “Airfix Defiant SKGB”