It is a nicely detailed kit Shaun but, like I said, it has a few things you'd expect more on a limited run kit than a mainstream one.
Anyway, on with the build.
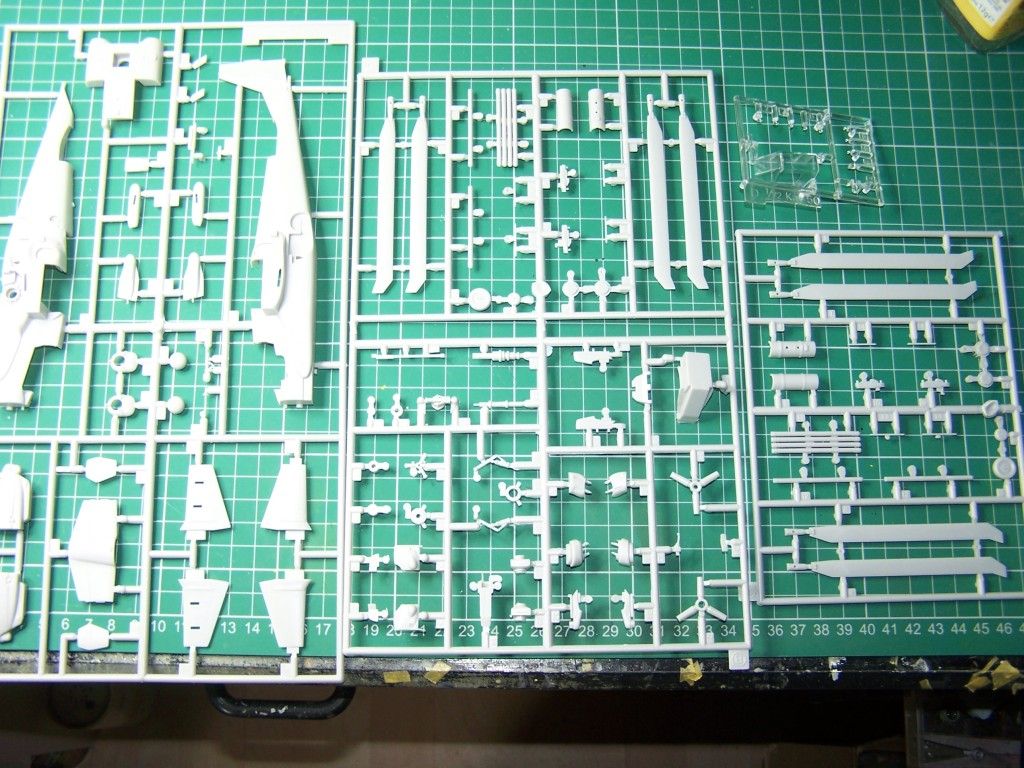
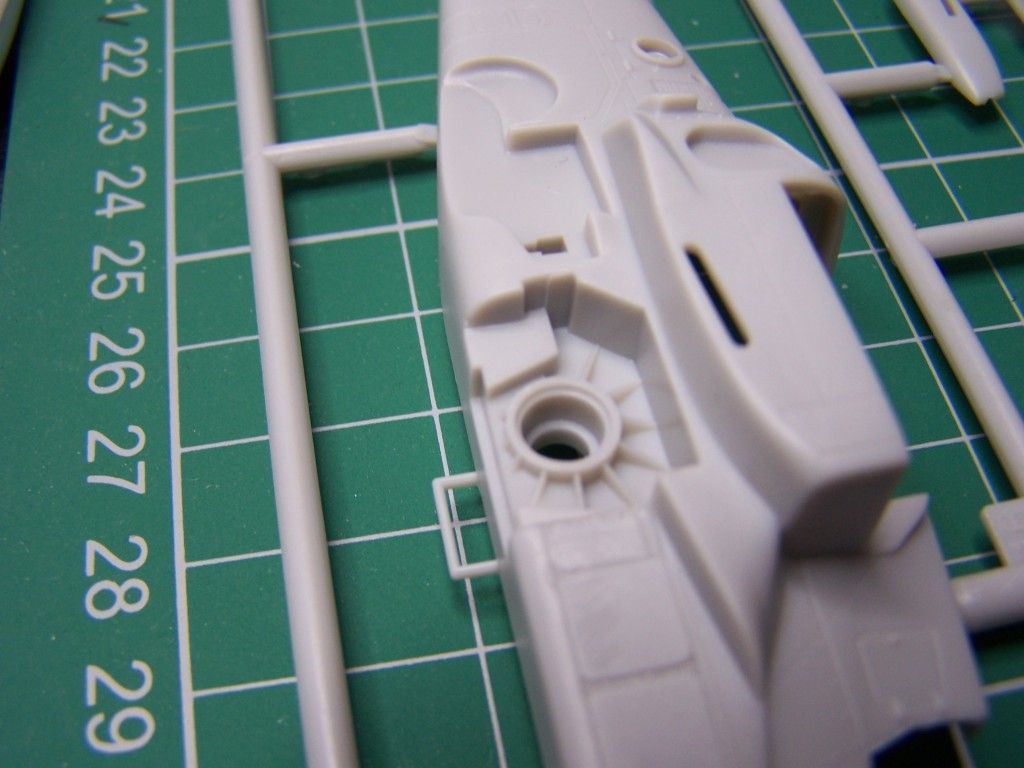
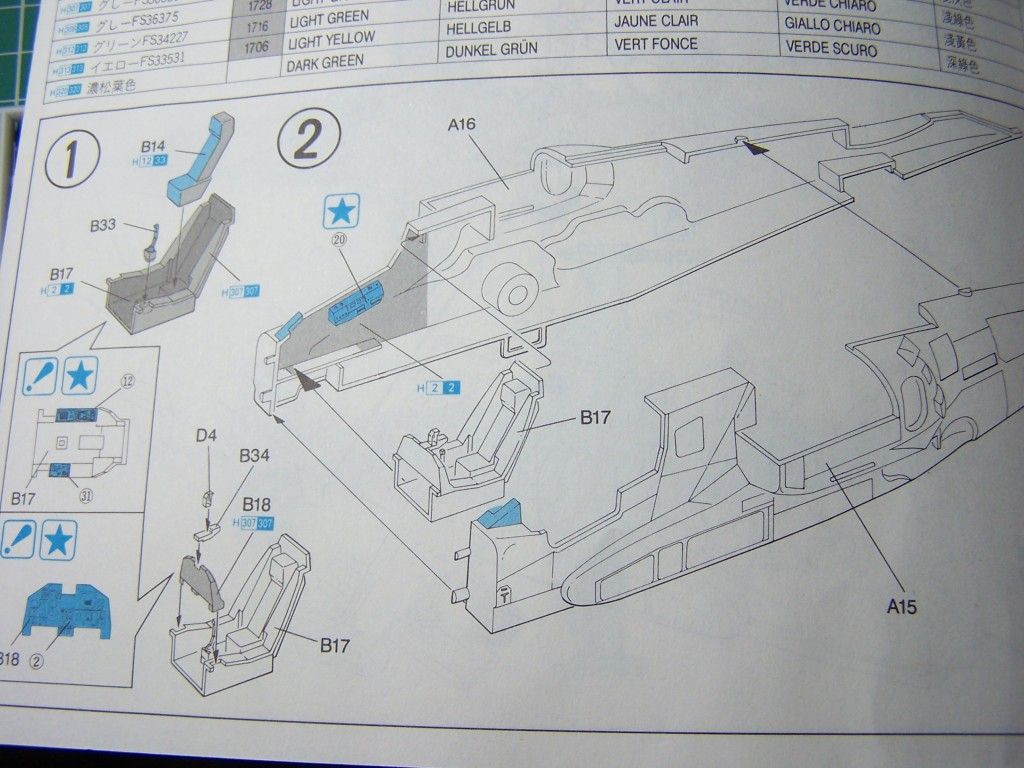
Despite splitting the kit up into subassembly parts I, inevitably, started with the cockpit. This went together in a couple of hours and was pretty painless. The Hokum's cockpit is a bit of a black hole with no option in the kit to open it up. I don't fancy hacking it about to facilitate this so I'm going for a closed up 'copter and, subsequently, I won't be making a handbag job of the interior. All I've added is a few foil strips to represent seat belts and applied a bit of paint. The decals for the control panels are pretty good although the main instrument panel is a little on the large side. It all went together though, and into the fuselage which was closed up and stuck together with a combination of Liquid Poly, superglue and clamps.
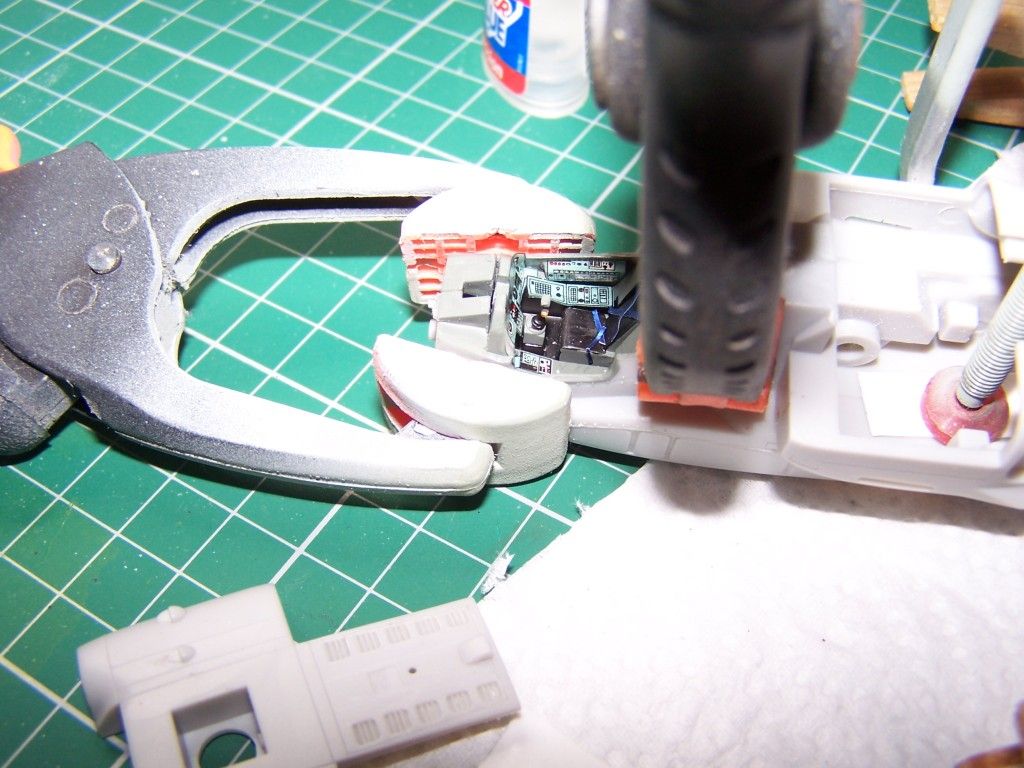
Also visible in the picture is the piece of plasticard, superglued and held down with the red-ended clamp, I used to keep the belly halves level. It looks good now and I hope it'll still look good when everything dries and gets unclamped.
This is how far along I am now.
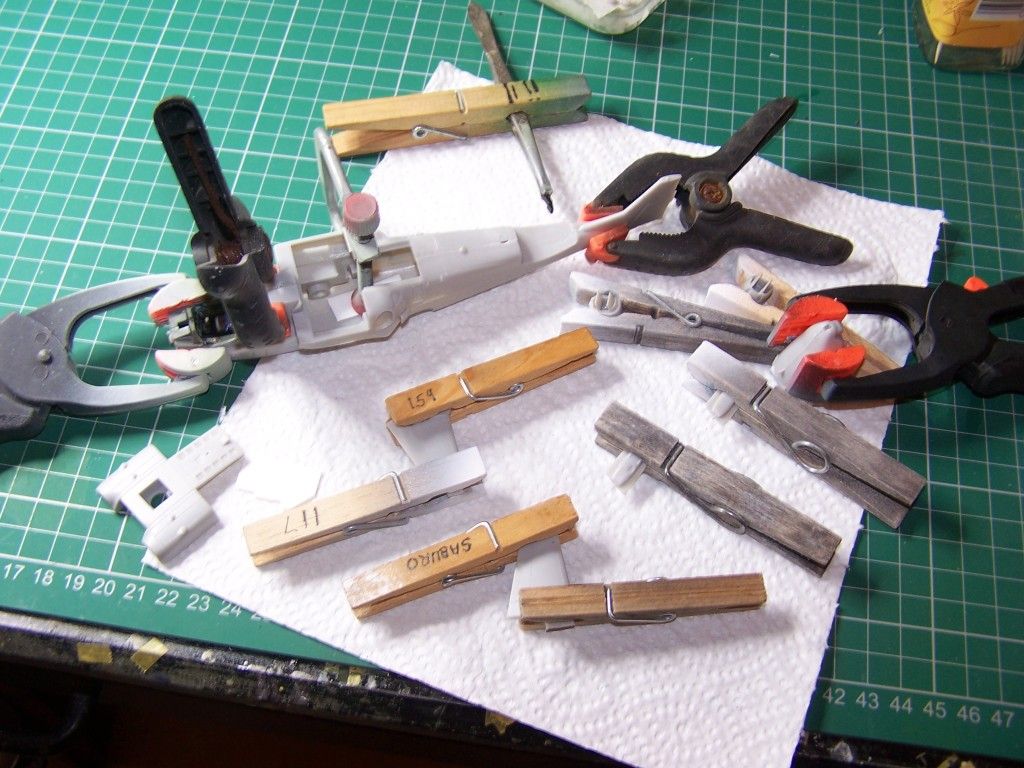
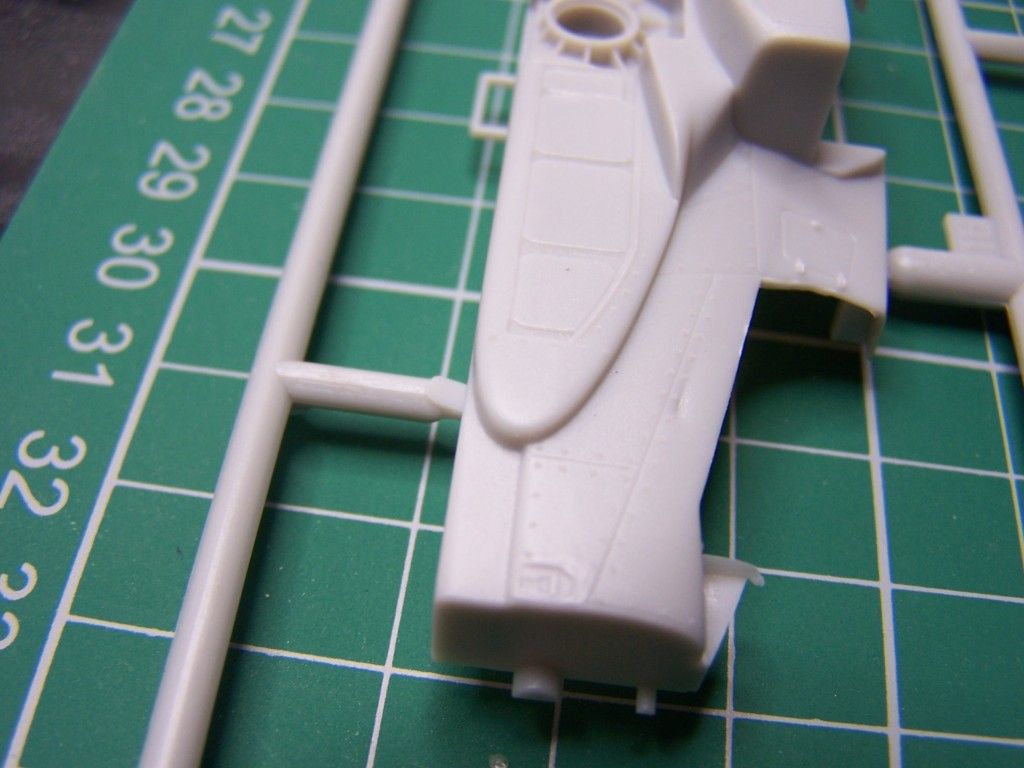
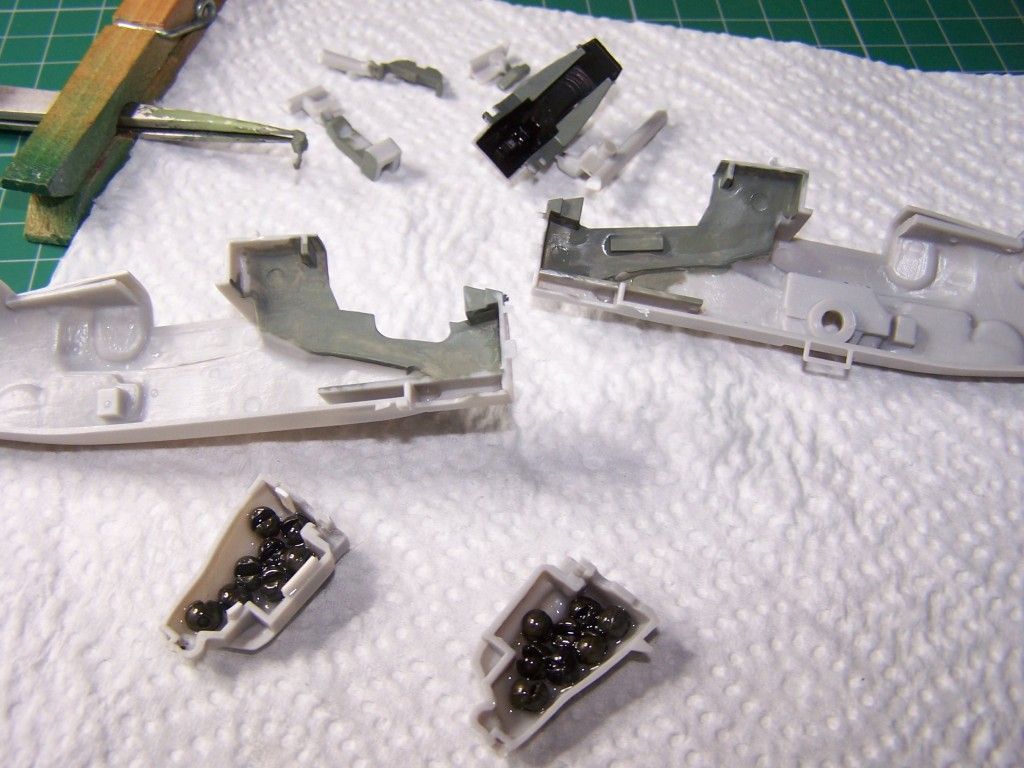
Fuselage clamped, stub wing components together and exhaust halves together. These don't actually look so great so I'll be getting creative with the filler later on. There's also a gunsight mount pegged in a pair of tweezers painted and ready to fit.
That's enough for tonight. Earlier, while rummaging about in the garage, I discovered a full crate of Belgian beer I'd forgotten about

So that's my evening sorted