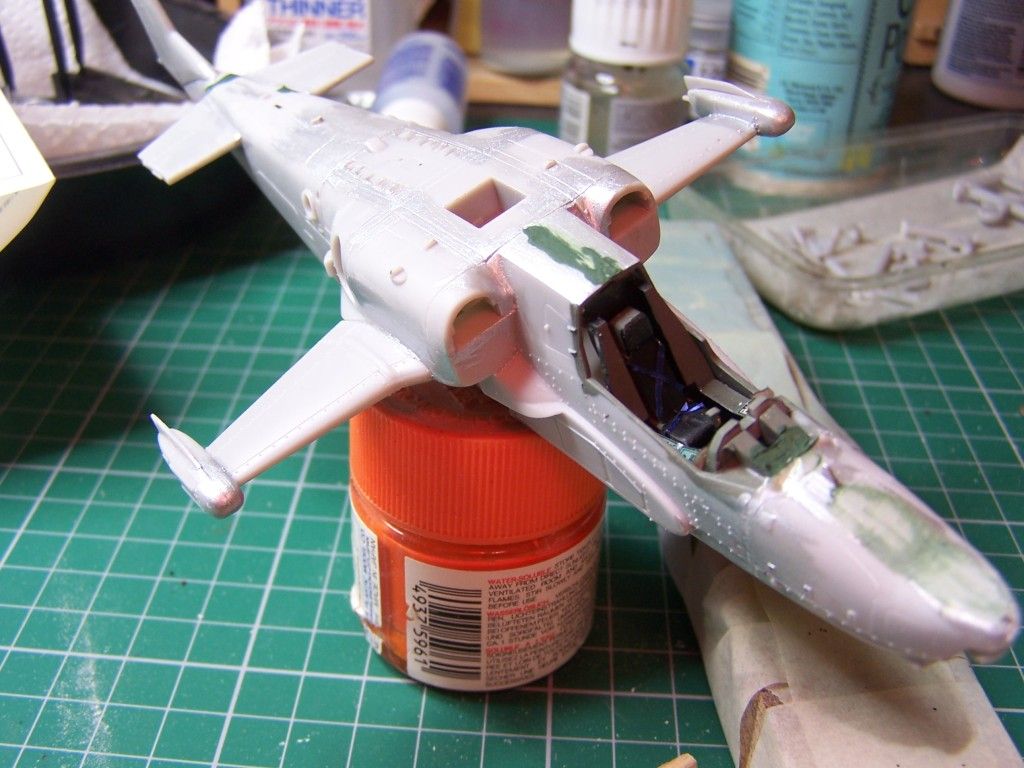
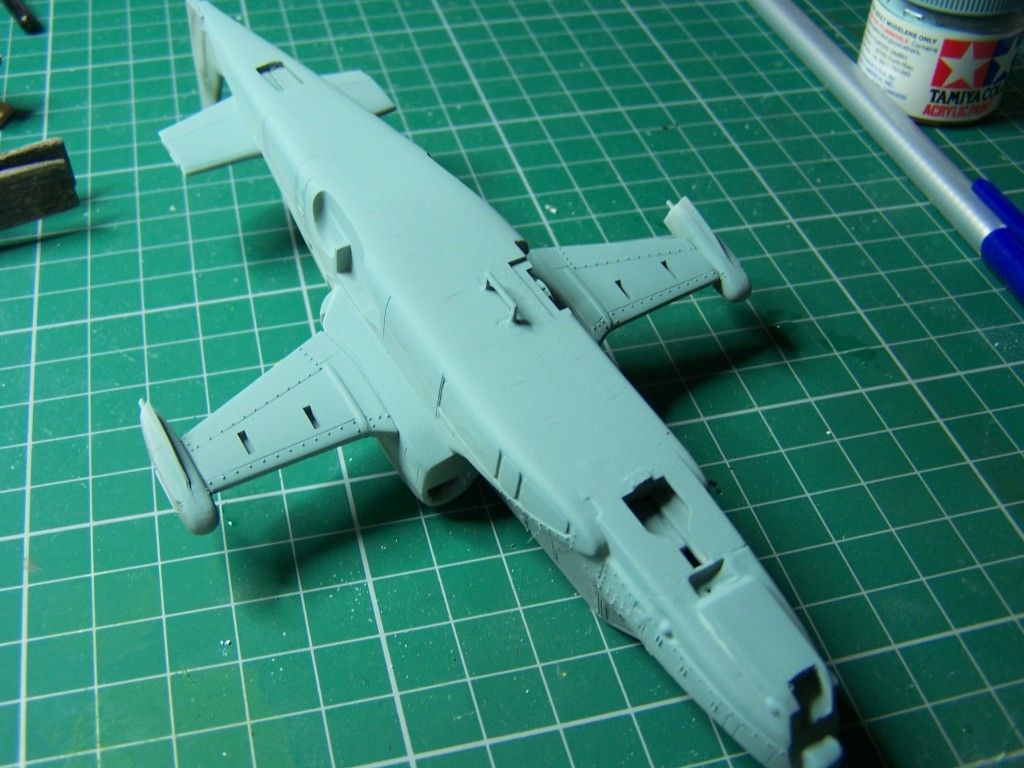
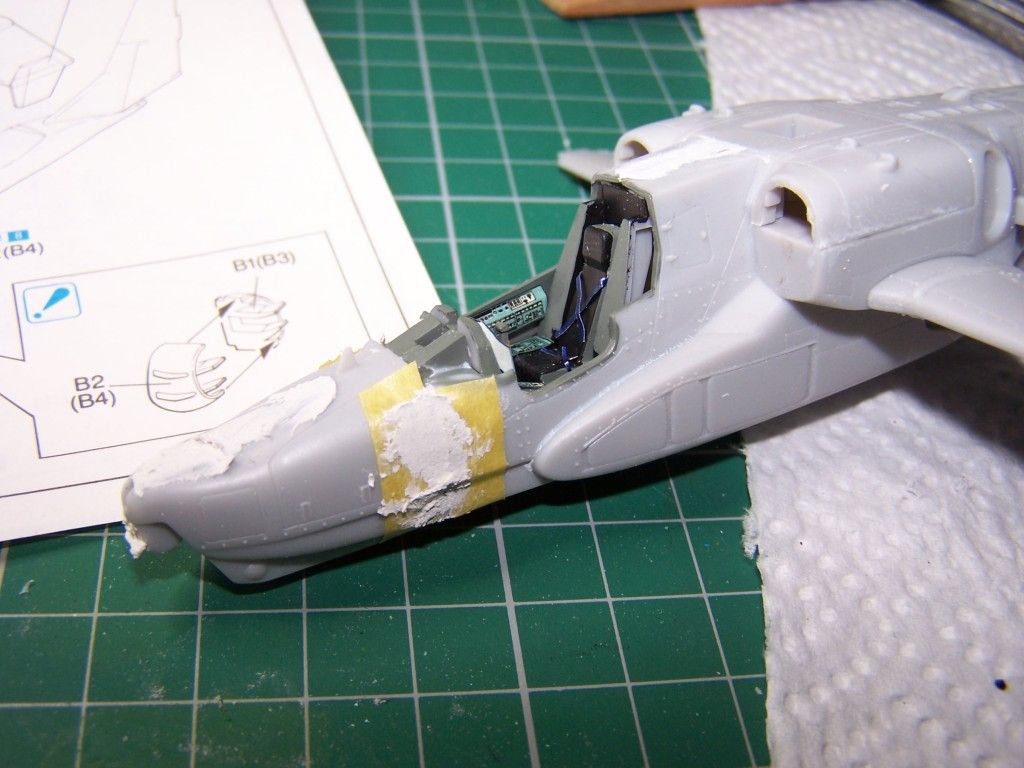
Having got the clamps off I did a bit of fettling and attached the nose using Zap-a-Gap followed, inevitably, by filler.
In fact, filler is a bit of a theme with this kit.
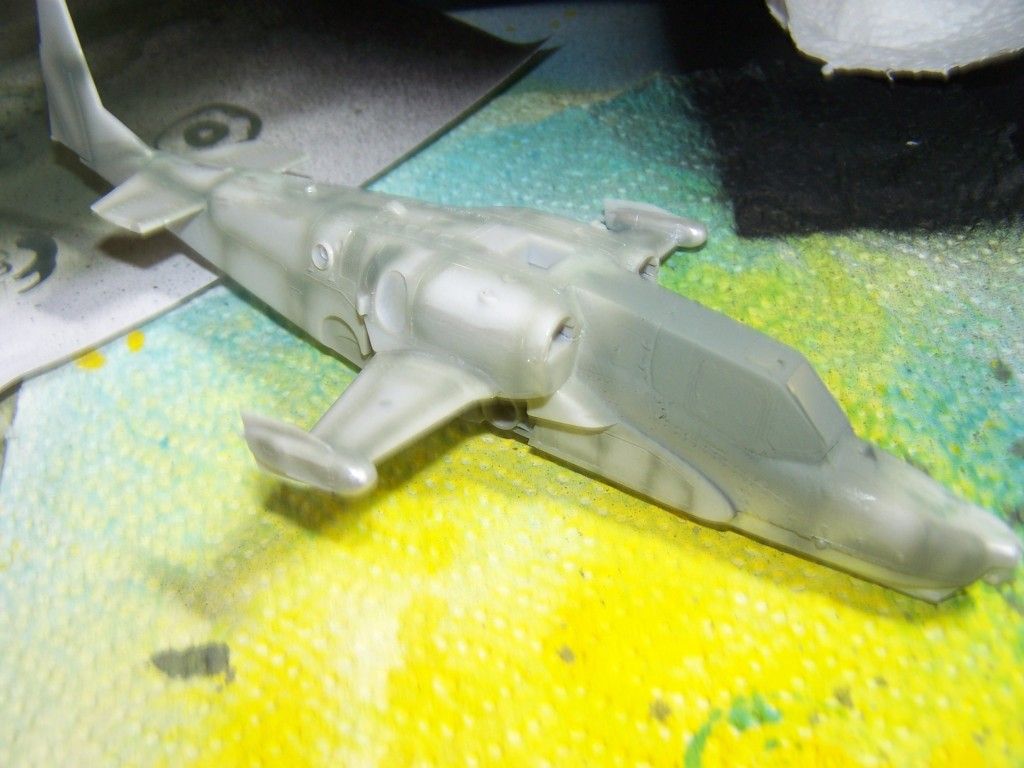
As the picture shows, I've also got the stub wings on. These weren't a bad fit actually with the glue handily filling any small gaps
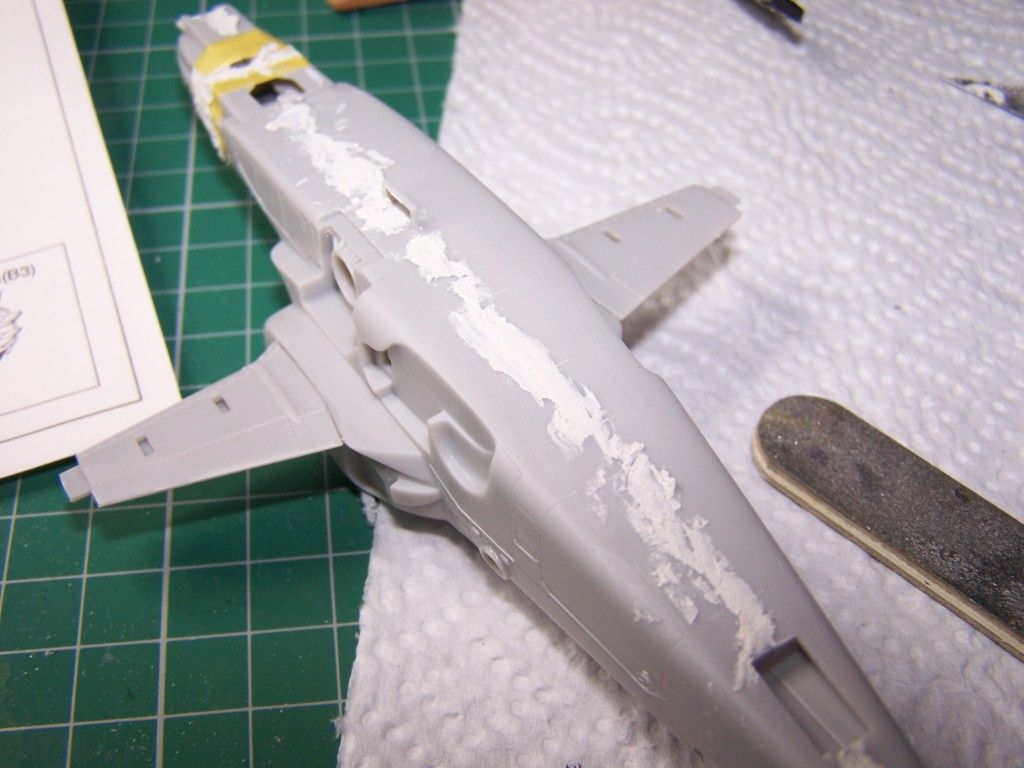
I also put the top of the fuselage on. I didn't add any extra weight inside the fuselage as I did a quick "sit" check with the main u/c legs dry fitted and the weight in the nose seemed more than adequate. It's a shame about the fit of this panel though
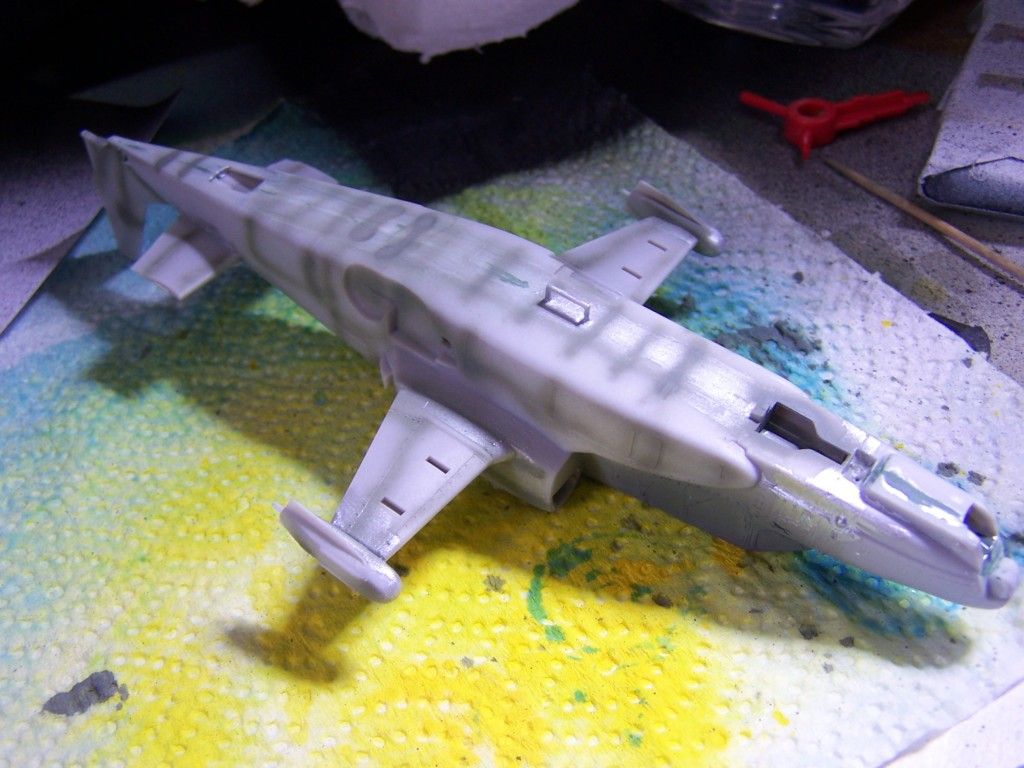
Another fit issue was the "tailplane", if that's the right term. It sat proud of the fuselage when dry fitted so a little sanding and scraping was in order.
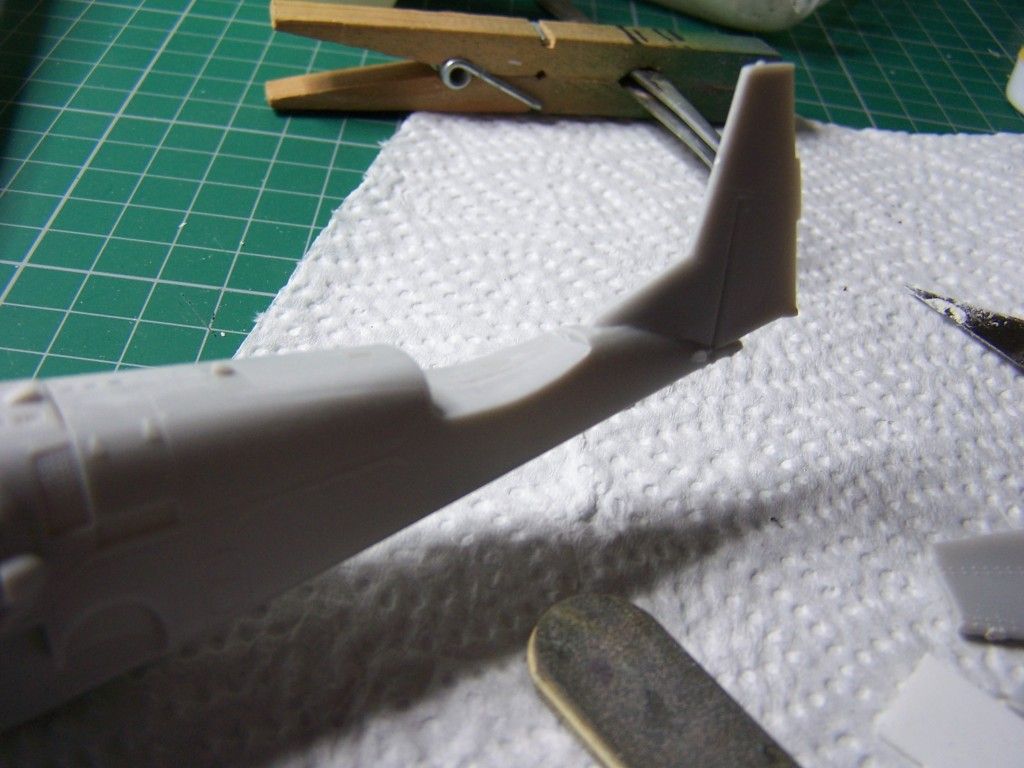 .
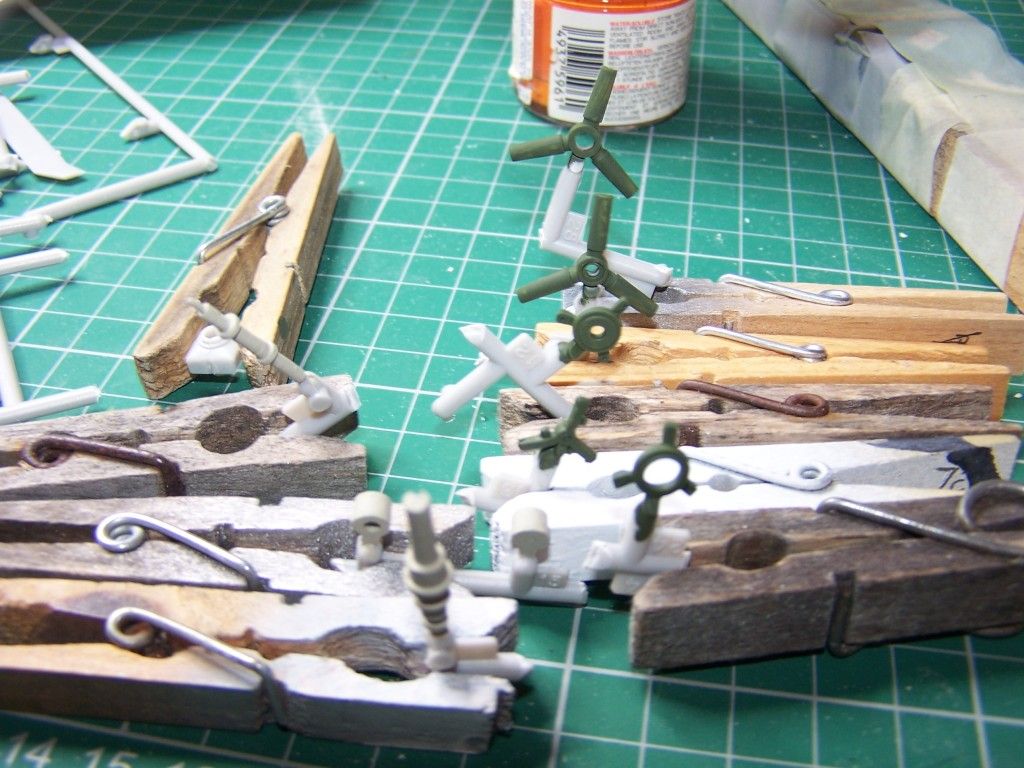
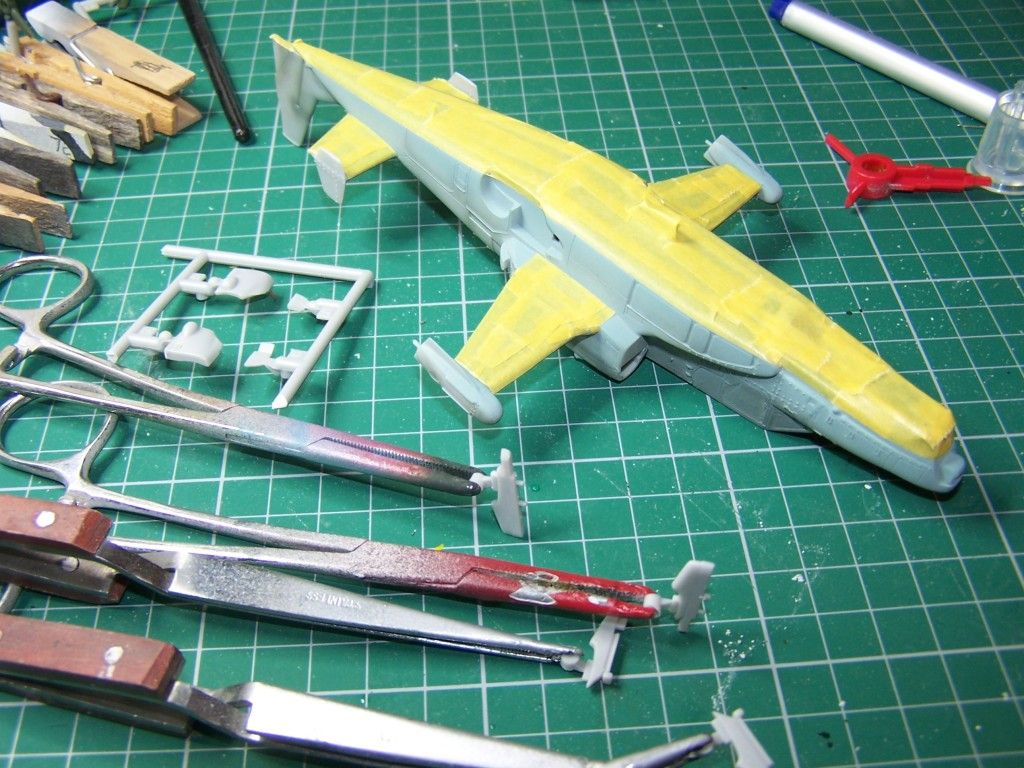
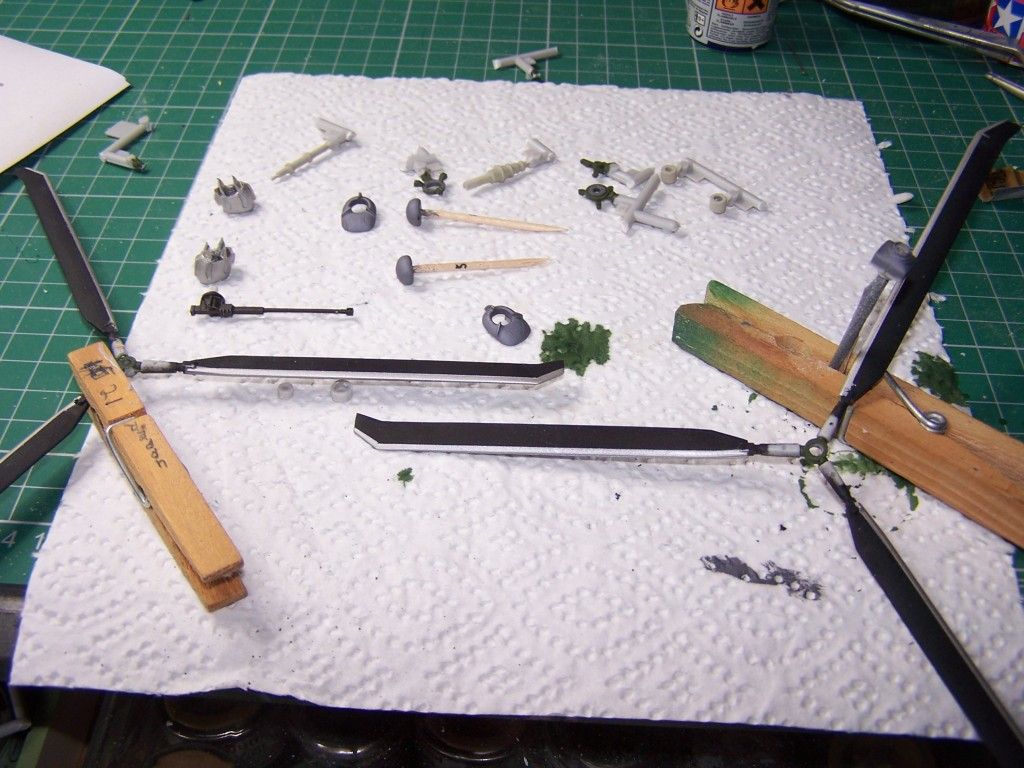
.After this it was back to the assembling. The offending tailplane piece was attached, as were the flare dispenser pods on the stub wing tips. Then I set about the nerve racking task of cleaning up the rotor blades. I did quite well with only a minor smear of Zap-a-Gap needed on one to correcet a bit of overzealous sanding ( thank heavens there were spares in the kit
So at the end of the latest session...
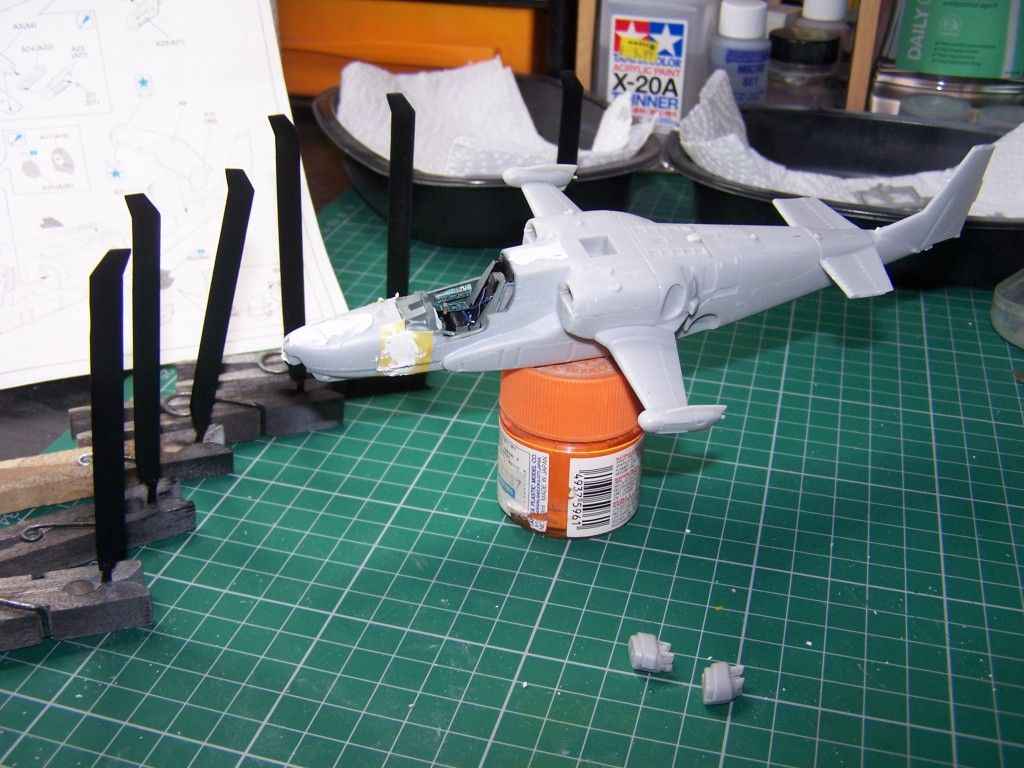
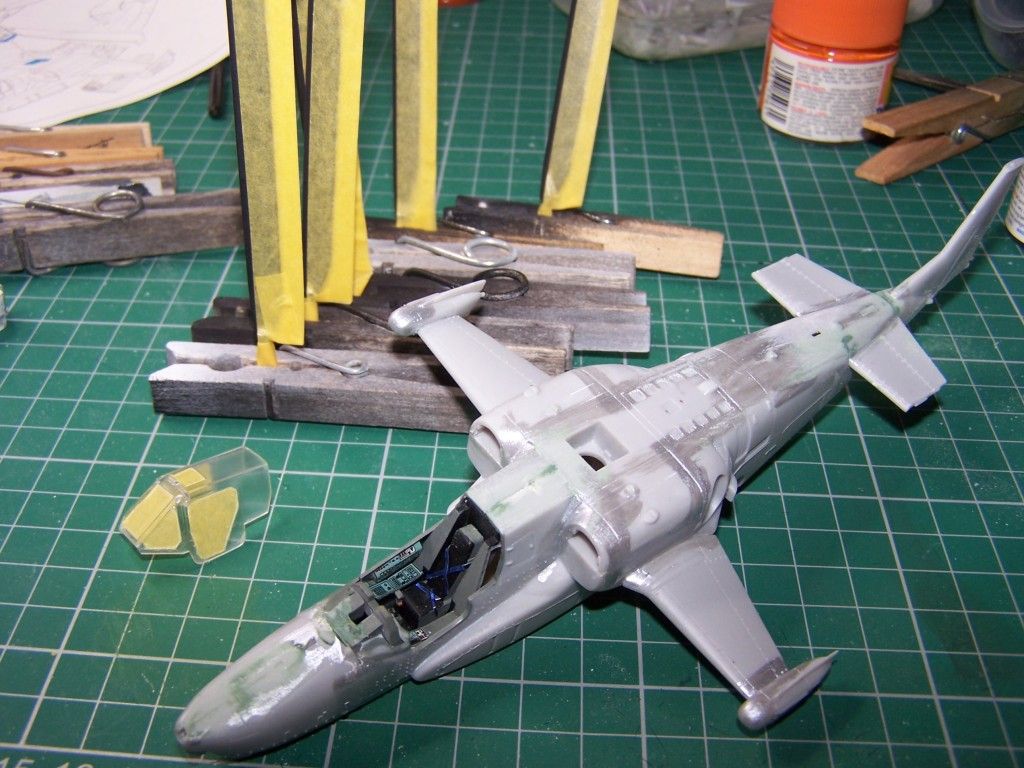
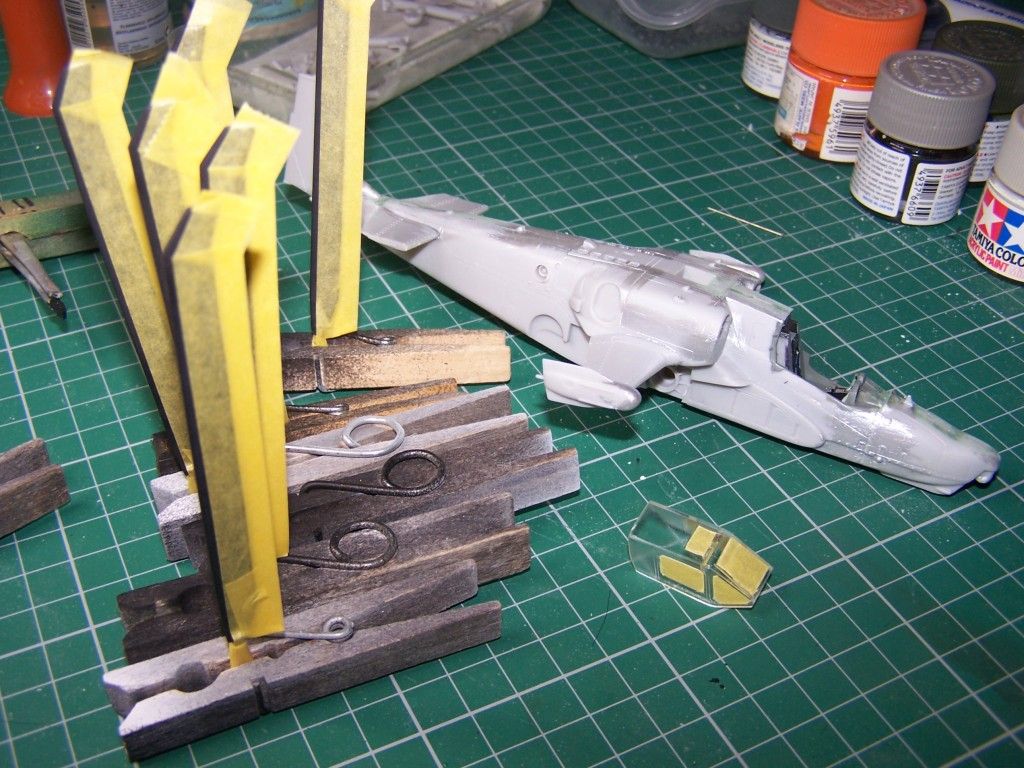
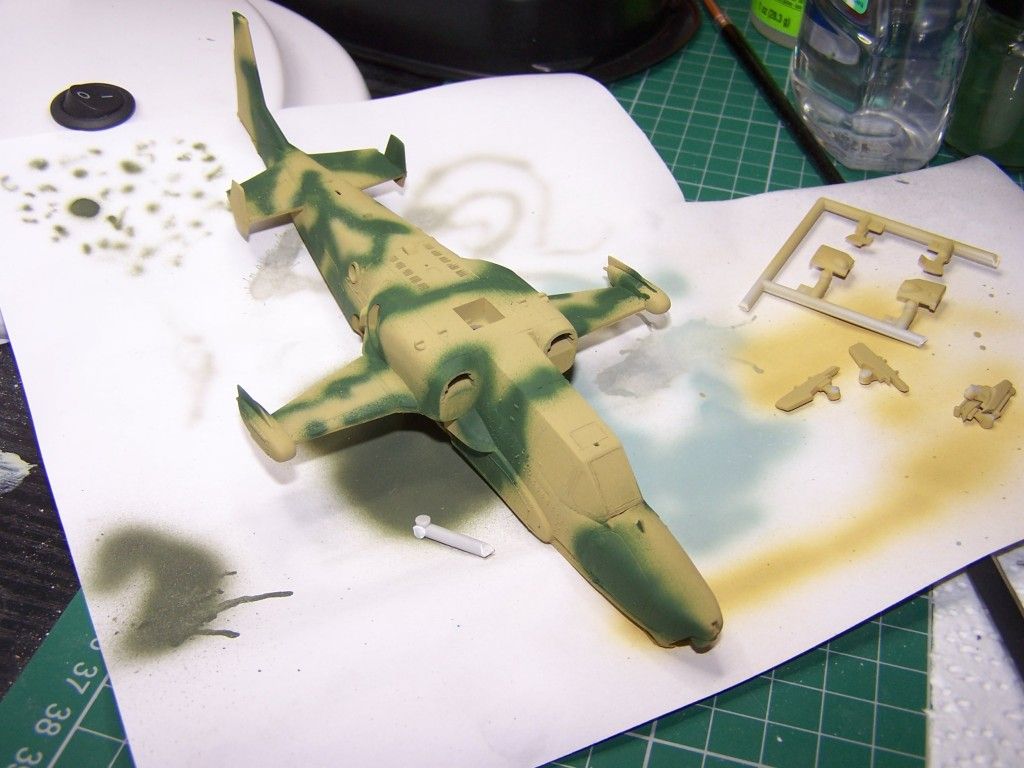
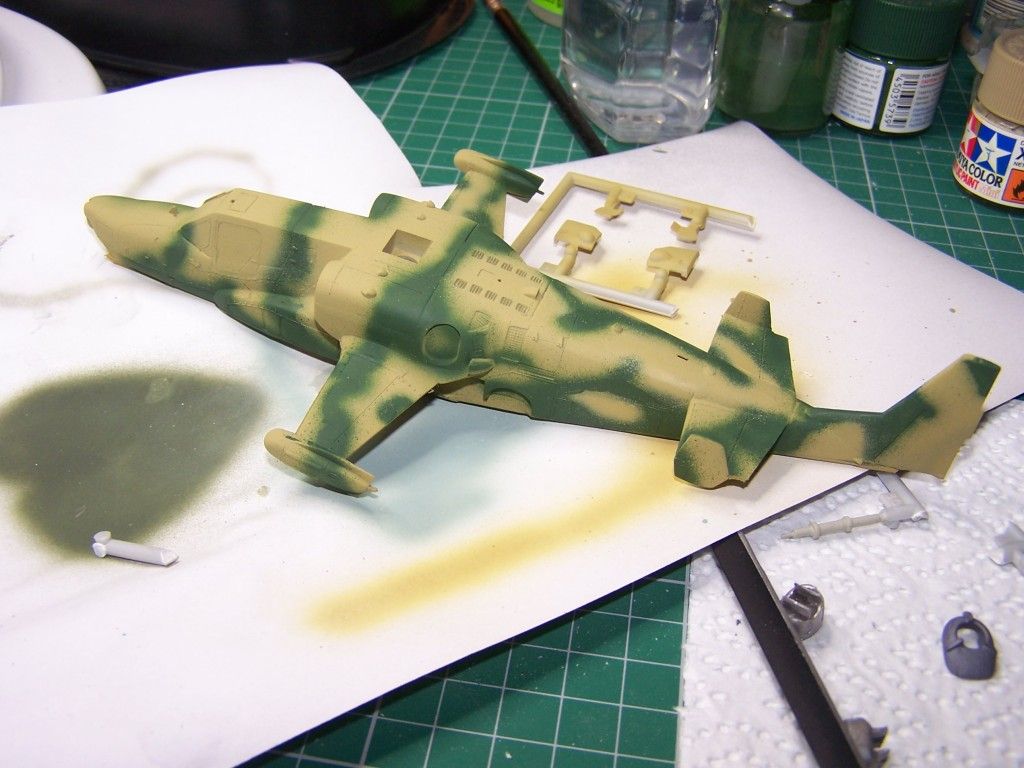
I gave the rotors a coat of matt black from a rattle can and mounted them to dry. The model is filled and ready for more attention (and probably filler
Look out for future updates, which will feature:
Enter Sand (ing) man.
Fun with rotor heads and,
How to avoid throwing badly moulded exhausts accross the room.
Plus, the regular favourite, a grown man sobbing uncontrollably after dropping a vital part on the floor and seeing it disappear completely