Still at home shaking off the last of the old. At least managed to catch up on the loss sleep from the previous night, but means a late modelling start

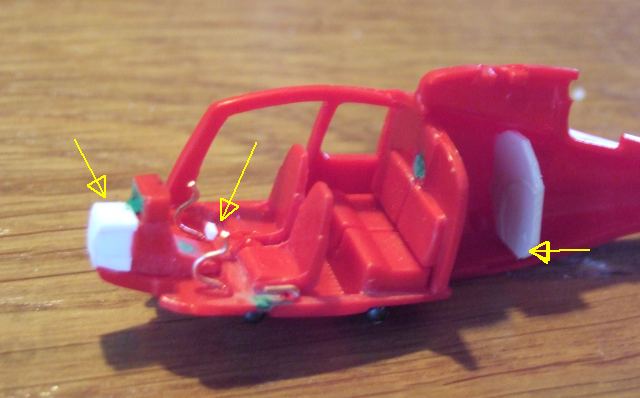
I got the fuselage together last night, I've dry fitted the undercarriage and it looks like we've avoided the sit on the tail. Didn't need as much weight as I thought. I used shot under the floor and against the rear bulkhead. Though this morning a couple of the little so-and-sos had found there way to the tip of the tail.
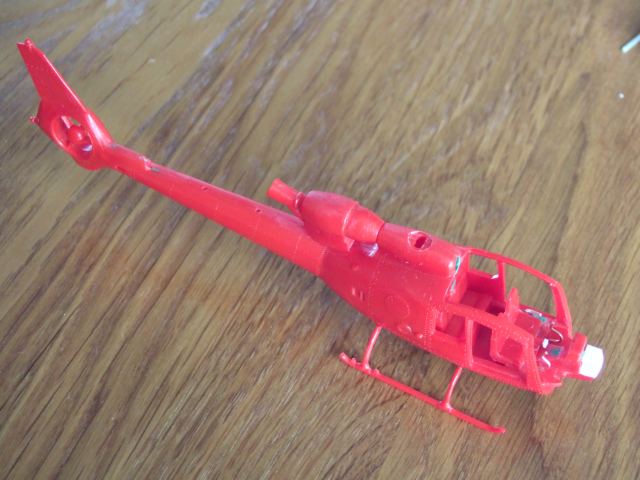
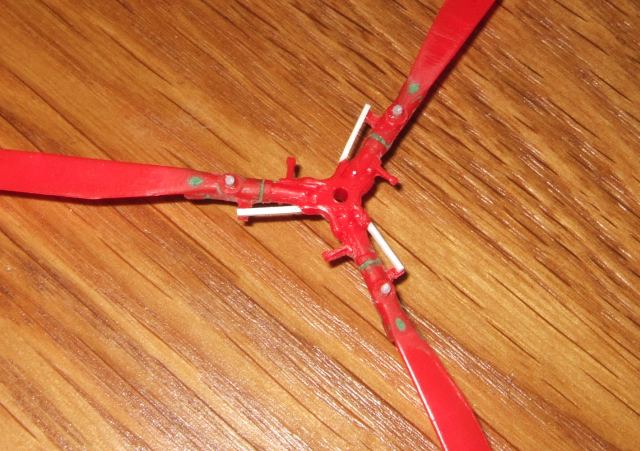
The rotor head is unfortunately a little crude in it's detail. The outermost sticky out bits are not quite really they but I've used them to act as the brackets for some braces that are evident. The blade pin stick up proud as well. These are noticeable because each set of rotor components is colour coded so that during maintenance the parts are put back into the same location to keep the rotor's balance.
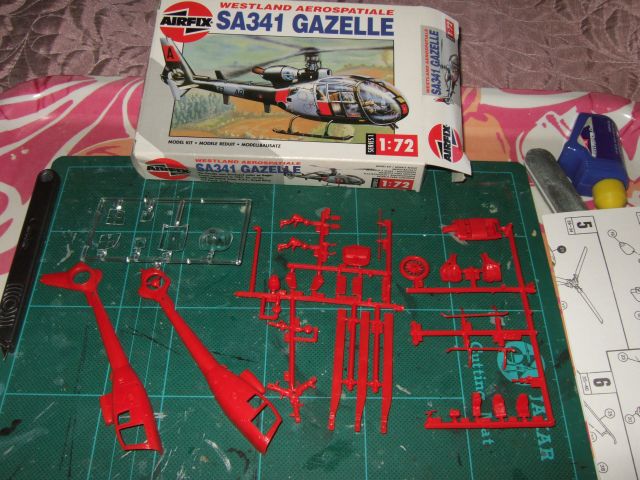
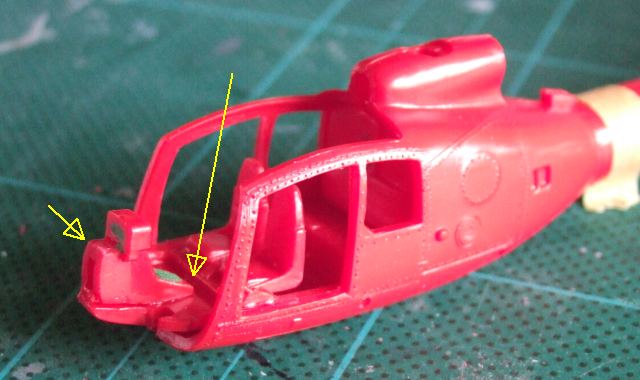
Sorry for the variation in photo quality, sometimes if I use the flash the red saturates and you can't see any details.