Interrupted by a family issue, back home now.
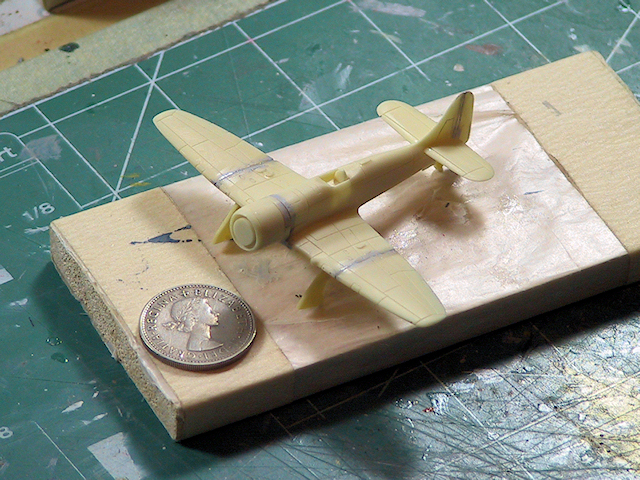
Here we are with the main parts cut and mostly sanded smooth. Note the jewelers saw and the smaller one from the Hasegawa Tri-tool set.
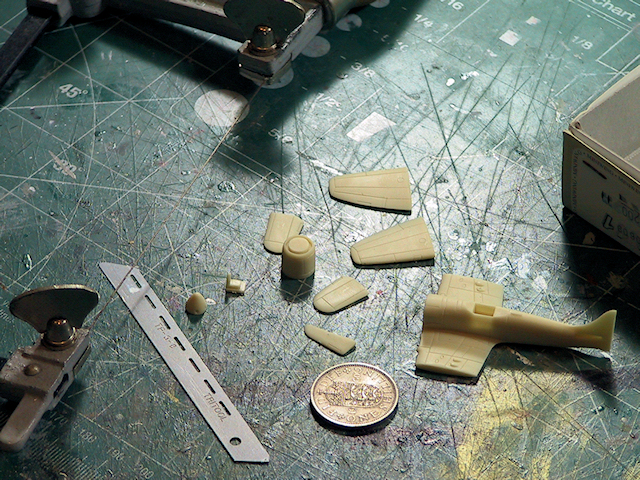
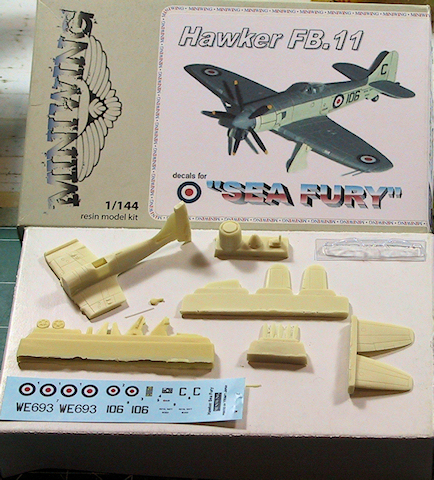
Like many resin kits, the instructions are minimal. I have figured out that the little round circles on one side of each wing outer panel must be fuel fillers, so I now know which side is up. The outer wing panels should have some dihedral (?) but how much is not given. Also there is no indication of how to align the cowling panels to the fuselage. I also need to know cockpit interior and wheel well colors.
I have peeked at your (larger) kits to get an idea.
-- figured out cowl alignment
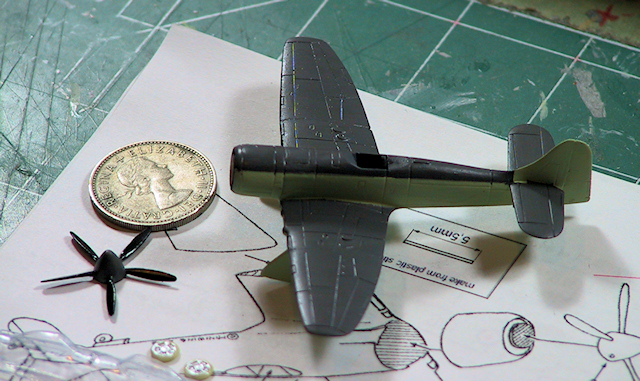
-- the round things are not fuel fillers but significantly misplaced landing lights; I think they disappear & I turn the wings over.
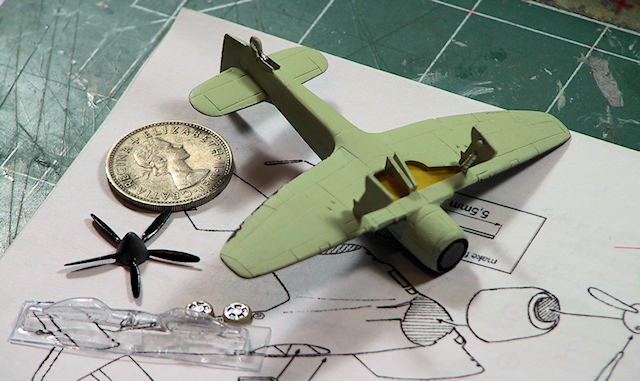
-- cockpit black
-- wheel wells yellow, silver doors, etc
-- dihedral, not much
Other than that, it's pretty good resin. Only a few air/pin holes to fix, almost no flash so far, mounted well to the pour blocks and easy to remove. There is a IP decal as well as a seatbelt decal.