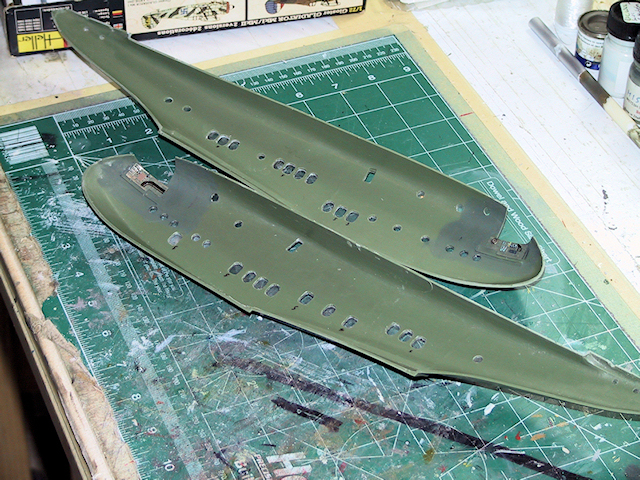
I cleaned windows, they are much better now, in most places. Then I applied the masks. Remember how the ports on the hull and the parts supplied and the instructions didn't match ? Well neither did the masks, but I made it work.
Next, I put alignment tabs, staggered on each side of top of hull - I discussed that earlier after test fitting. Then I got out the bulkhead and spar to verify they fit. Spar was easy. The instructions gave a location 160mm back of the cockpit rear wall and 5mm forward of the last triple window for the bulkhead. Cool, except the cockpit location isn't all that firm and the dimensions don't work regardless, 160mm taking you back somewhere in the middle of the window triplet. I used the 5mm as a base and slid it around to fit neatly.
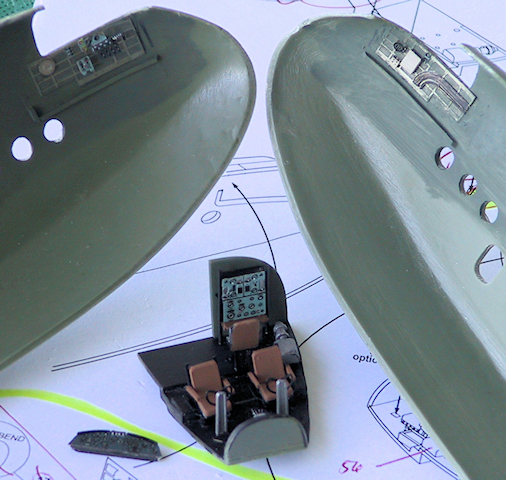
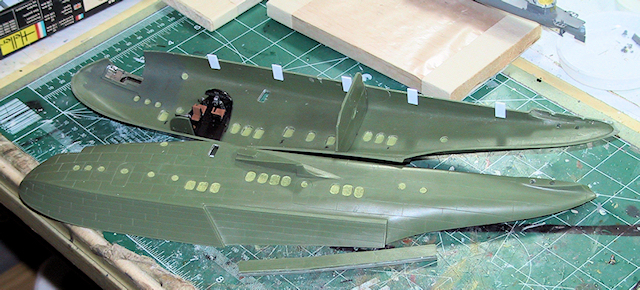
Then I made another test fit, with cockpit and had more problems. The instructions seem to want you to work with the right fuselage half, but the better cockpit locator is on the left side, except the floor doesn't lay nicely along the wall. I did a bit of sanding to make that better, then taped in the floor, made the fit, and taped the hull together.
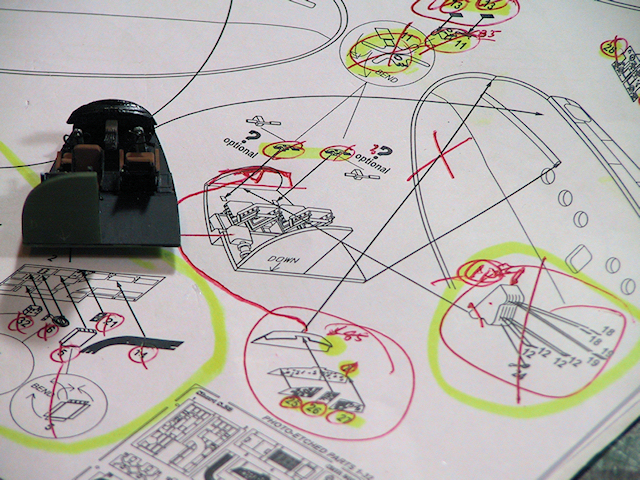
The IP doesn't fit. I went back to the instructions, this had bothered me before because the location of the throttle quadrant made no sense. If you care to look you'll see the instructions clearly show the cockpit assembly with the throttle quadrant against the forward wall and the IP attached somewhere at the fuselage join. After a bit of play, I determined what really should have happened is to attach the IP to the forward wall, then attach the quadrant to that, and have all of that as one assembly. There are some red-X and red-Arrows on the instructions that show all this …. (enjoy )
Once all the glue dries well, I'll go back and make all that work, and we can move on ….