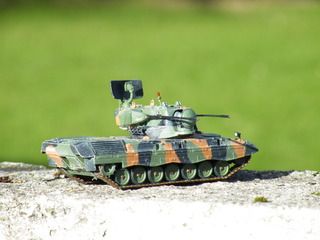
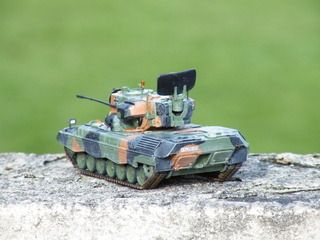
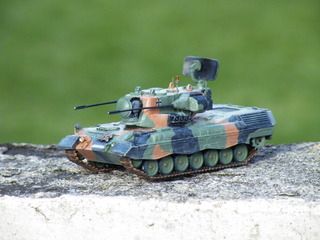
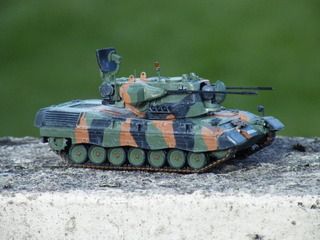
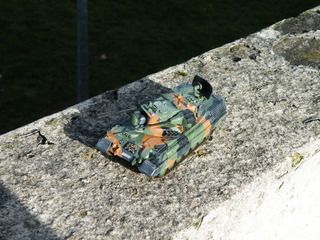
The finished item
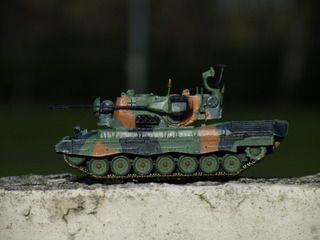
The main jobs this week have been to straighten the gun barrels and aerials.
I retried the recommended method of immersing in boiling water, gently dressing straight, then immersing in cold water to recure. The slight warp looks less bad than it did, but is still noticeable to me (the modeller is never satisfied) but given my lack of experience with resin, I'll let myself get away with it. The guns where then glued onto the turret, positioning carefully in order to conceal the greater sag on the right hand gun.
The aerials are cut from a piece of wire, slightly to thick but all I have at the moment. Consulting several photographs, showed aerials of several different lengths, so I chose my favourite, on purely aesthetic grounds. I glued it in using the gel glue, which when cured received a dab of ModelColor Black Grey to represent the rubber mount and Knarloc Green for the antennae.
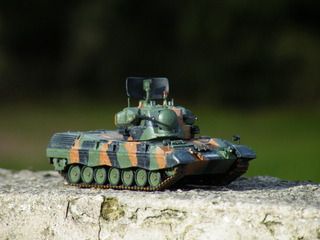
The turret finished, I have not glued it into place for purely storage reasons. The turret itself looks generally fairly faithful, apart from its lack of depth. I've not measured it, but judging by the position of the cross decal it appears to be about 1.5-2mm to shallow above the guns (I've already mentioned the lack of slope on the front of turret).
My next German tank I will try using Citadel Skrag Brown instead of Humbrol Matt 62. The Humbrol paint is pretty well spot on colour wise for factory fresh German armour, but dries very uneven and patchy. Speaking to the proprietor of a model shop I visit, he tells me that Humbrol have been having problems with quality control from their Chinese suppliers, can anyone confirm if this true, or is it just one of those paints that does not like being used?
My only real self criticism, being the front mud flaps not glued on straight. This I think can be put down to my lack of experience with resin, in that the glue I was using to start with did not seem to like the resin and took an age to cure, giving the parts time to move (what do they say about a bad workman?). I may try to do something about that in future, once I know what I can do about it without risking damaging the model, any one any suggestions?
Conclusion, despite the turret, a nice model of one of my favourite tanks.
Criticism welcome.


