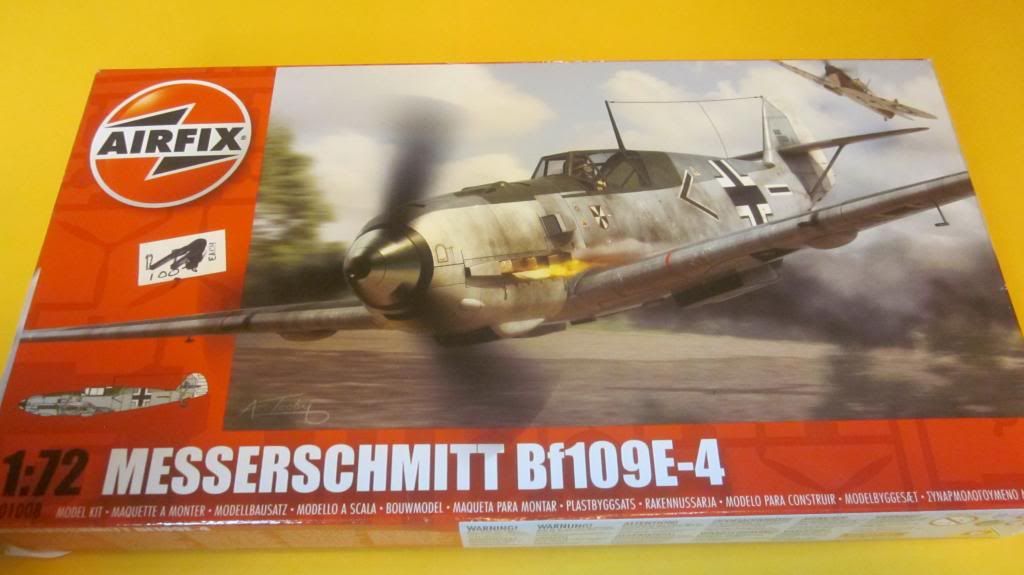
On to the kit.
I love the box are on all the Airfix kits. It's eye candy for the modeler. I can't help myself but buy them despite what may lie inside. This kit doesn't disappoint at all.
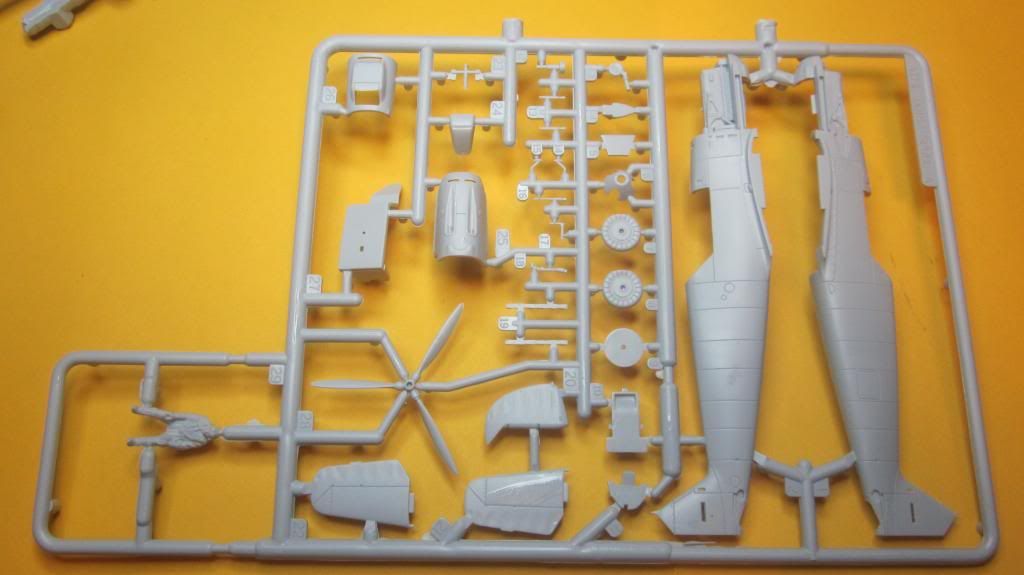
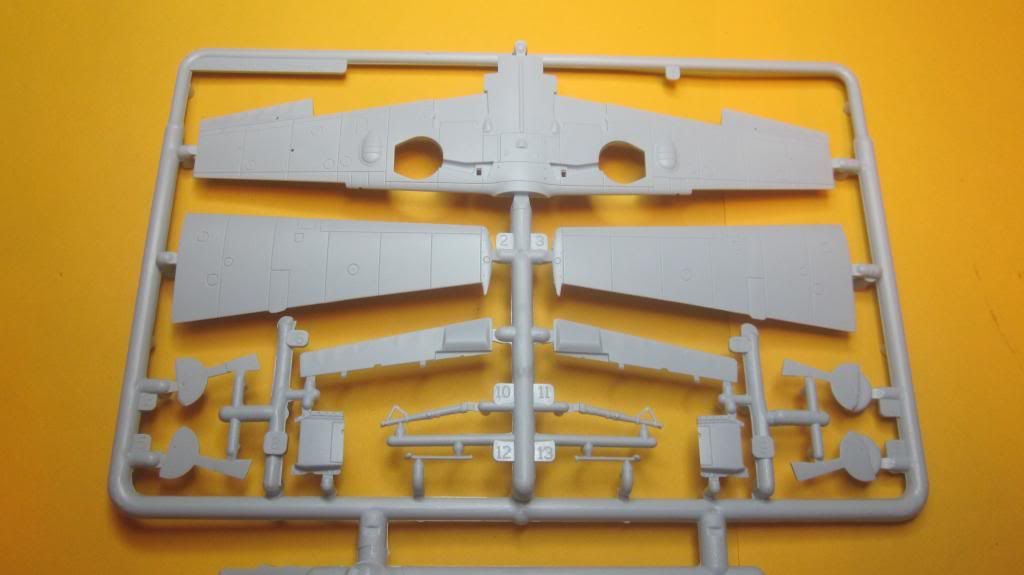
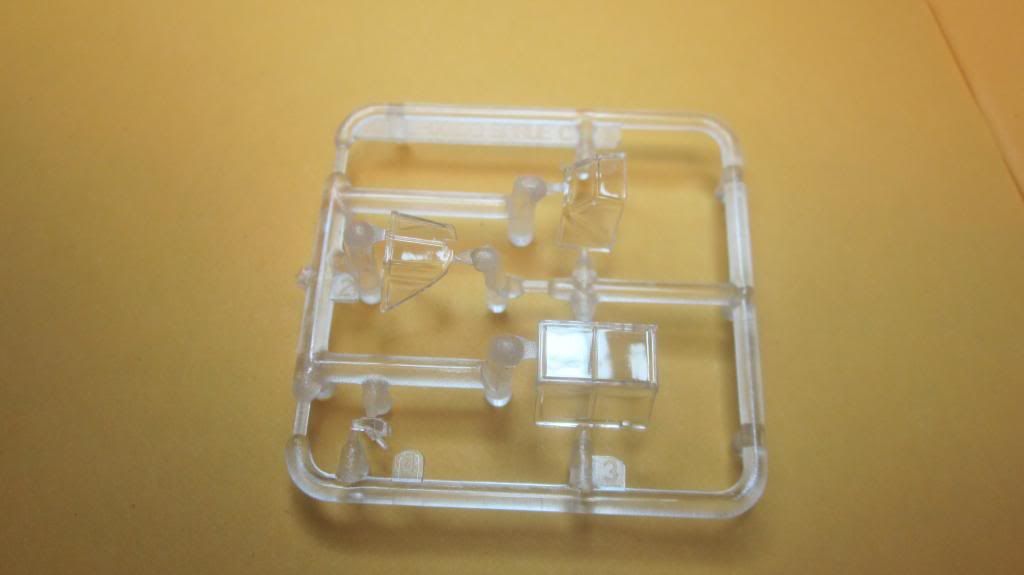
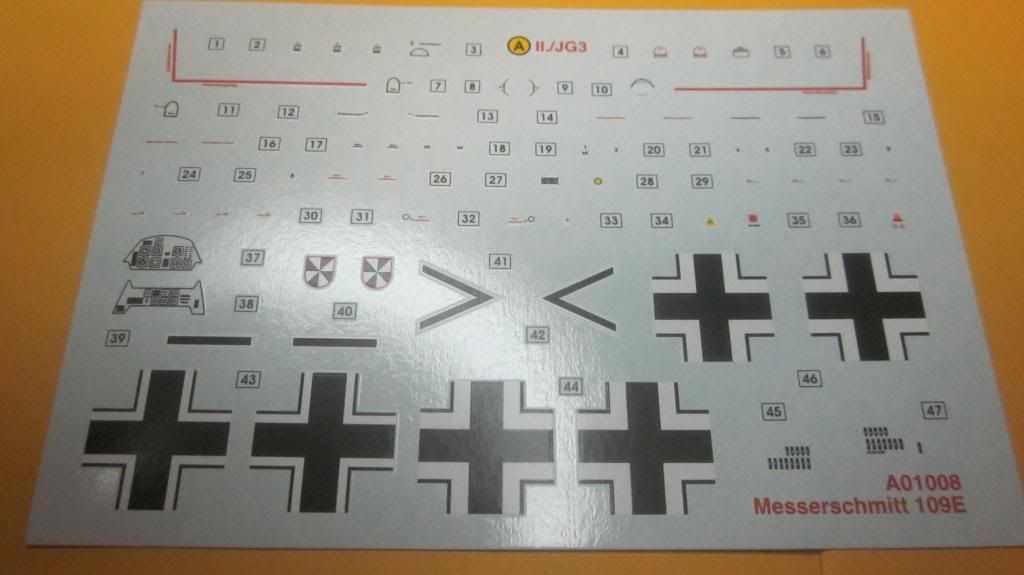
The kit has 46 very light grey plastic parts on 2 sprues, 4 clear plastic parts on one sprue, decals for one aircraft plus a 4 page foldout instructions with history and 14 build diagrams. Paint and decal instructions are on the box rear. I know most of you guys are use to using Humbrol colors and know their codes like the back of your hand but its a hassle for someone like me who needs to constantly look up the codes. Does it really cost that much to print out the words "Black" "Blue" "Red" etc....
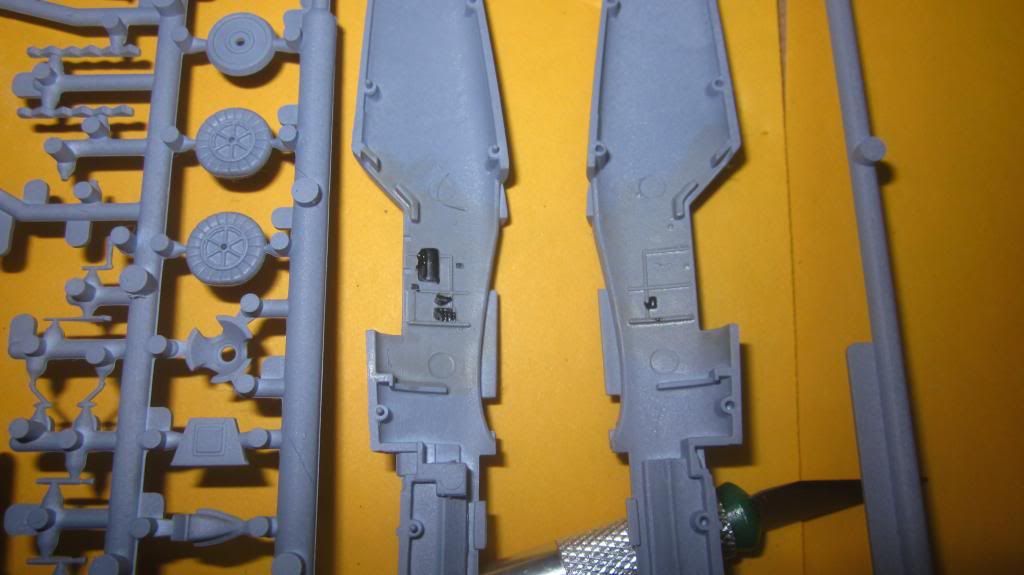
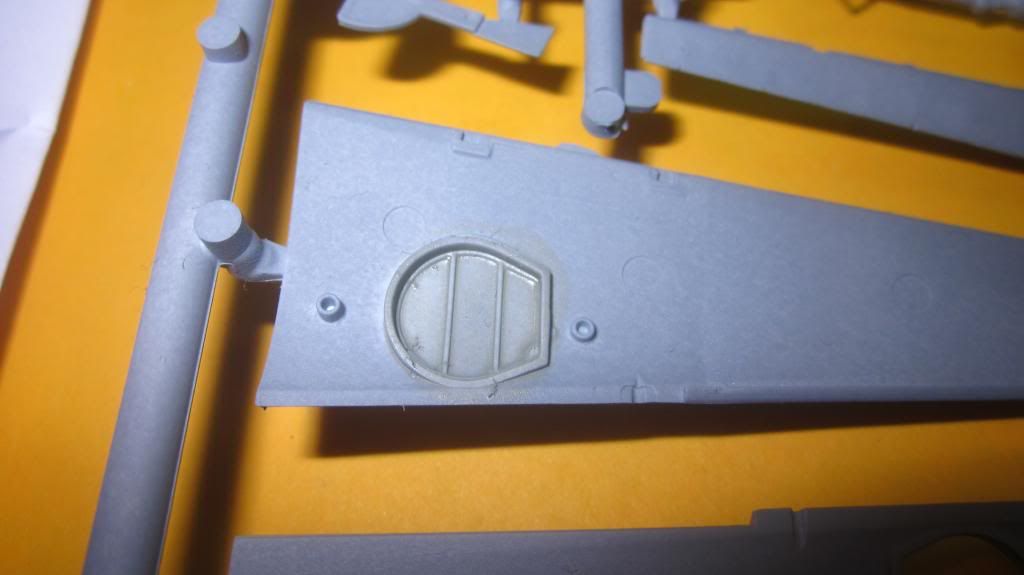
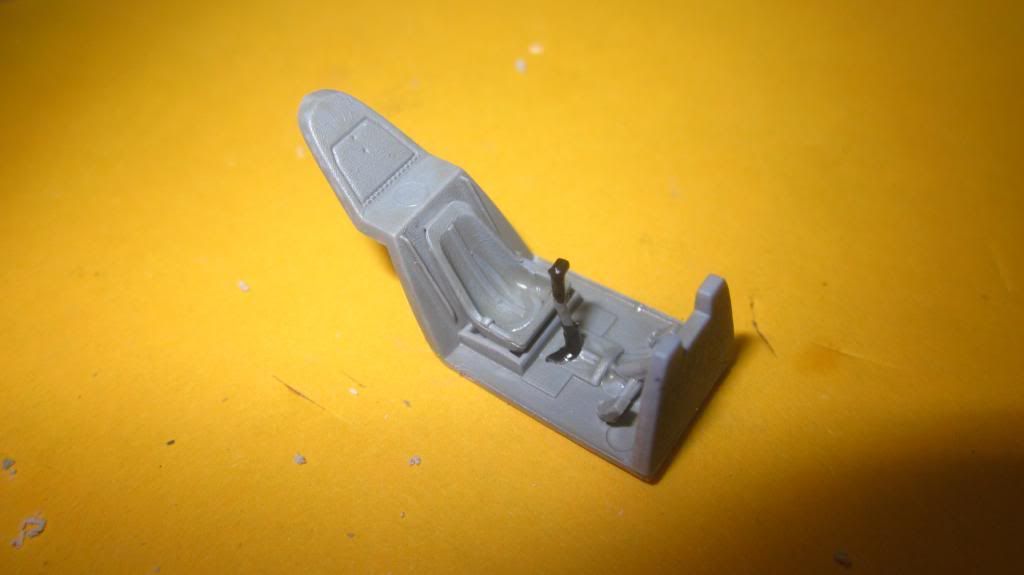
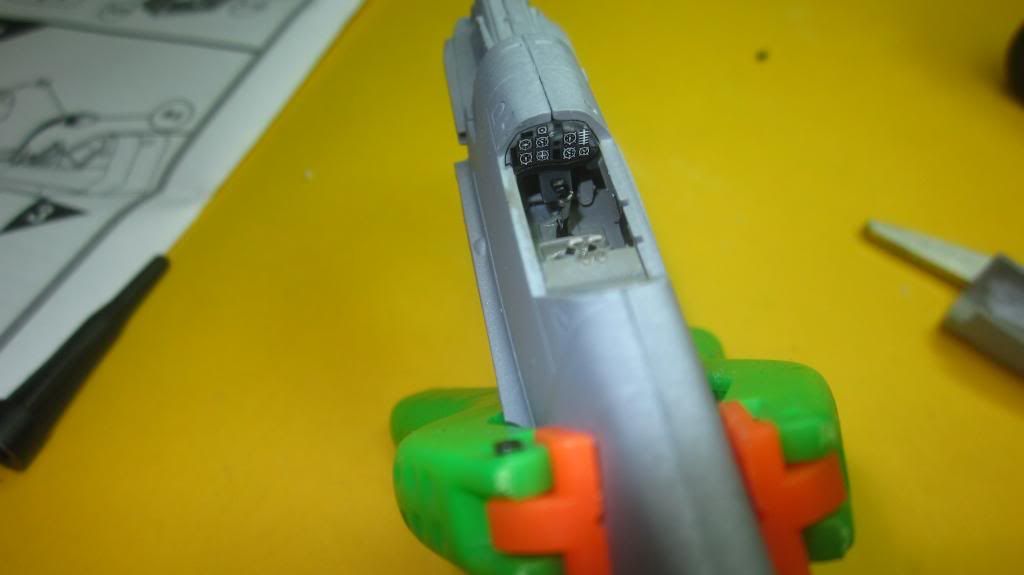
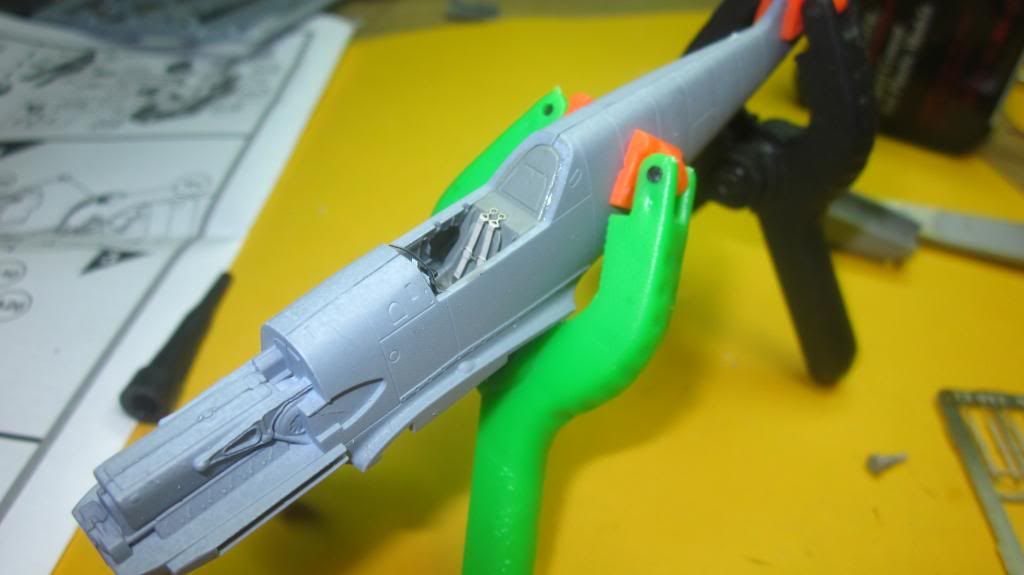
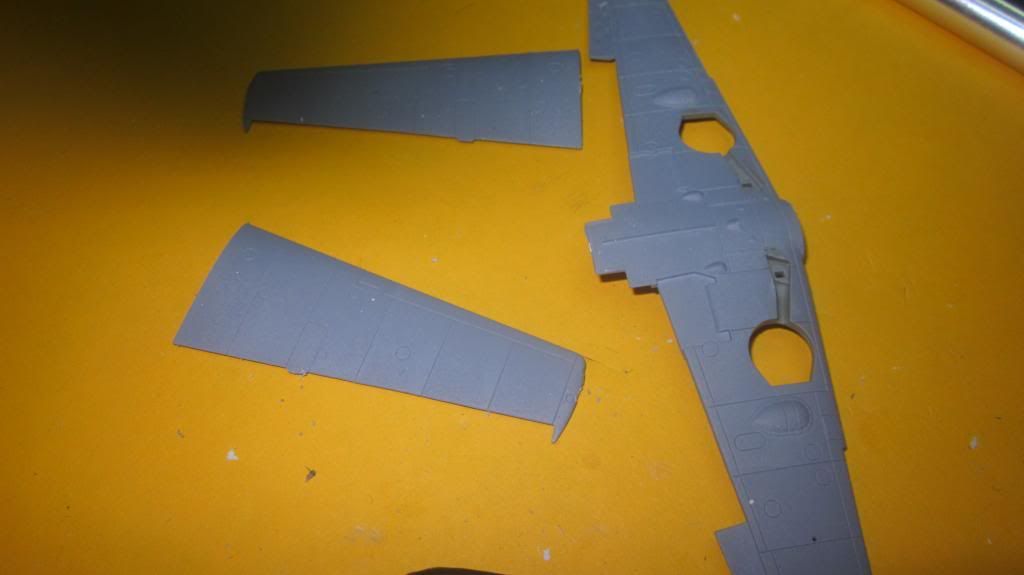
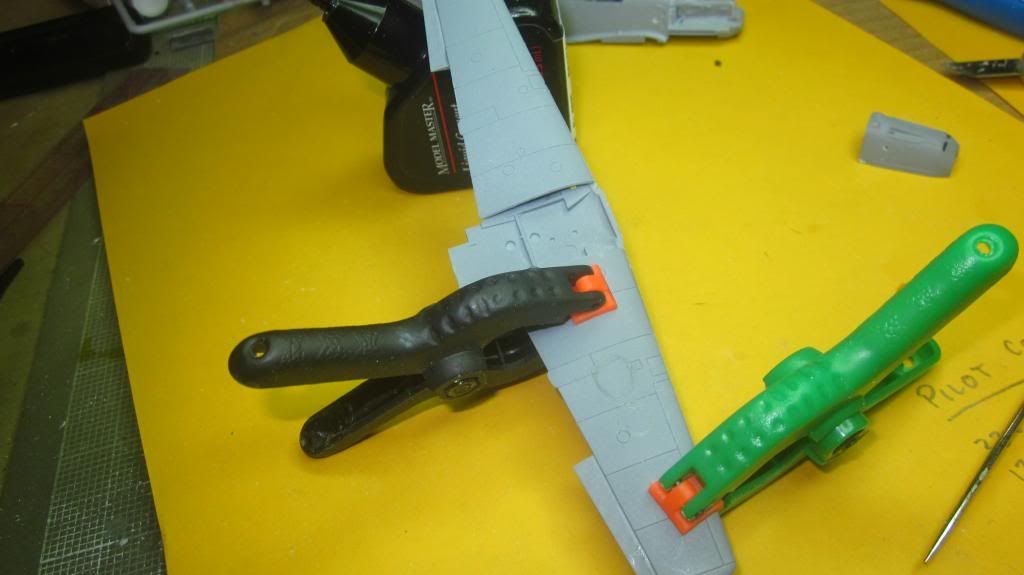
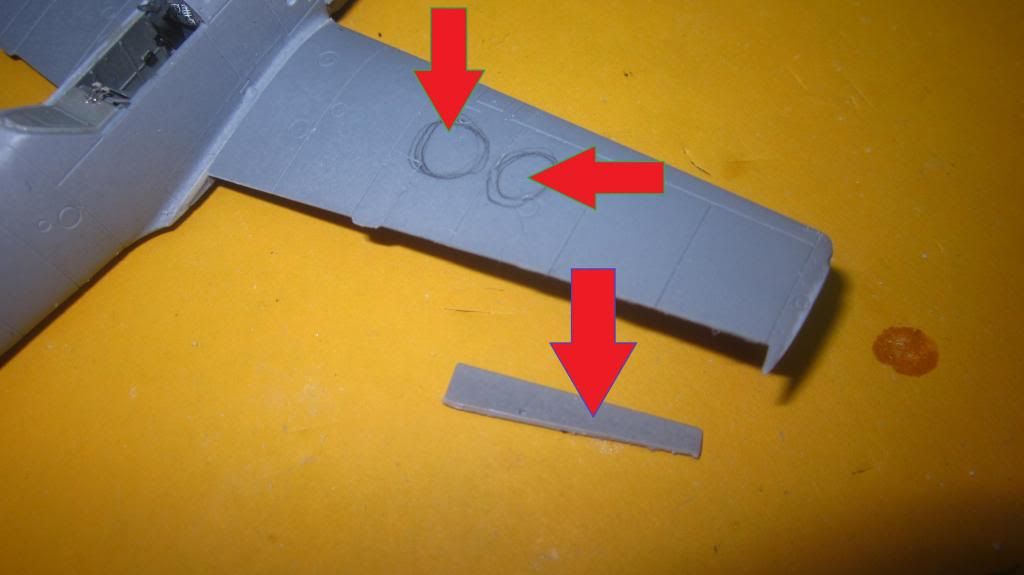
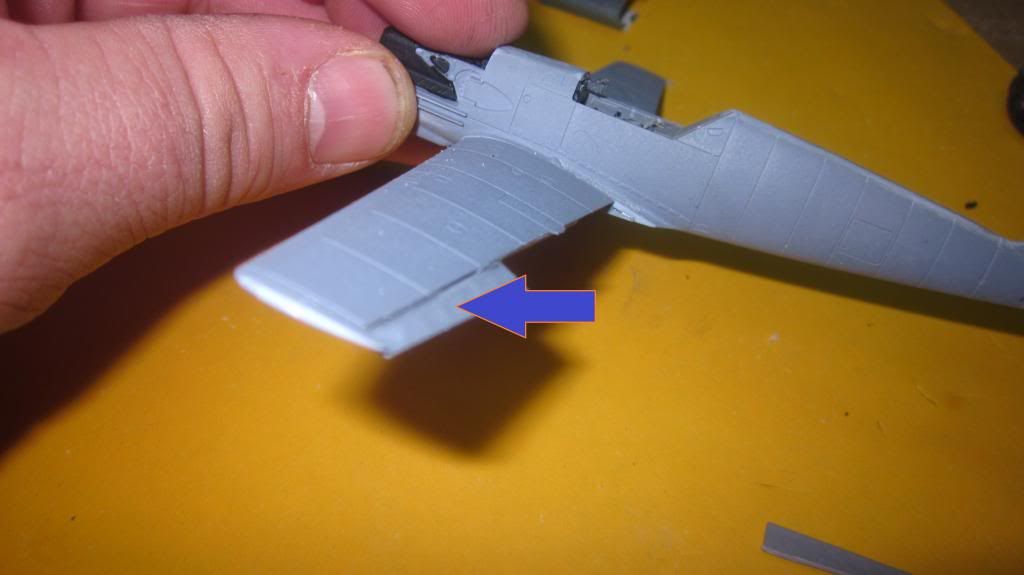
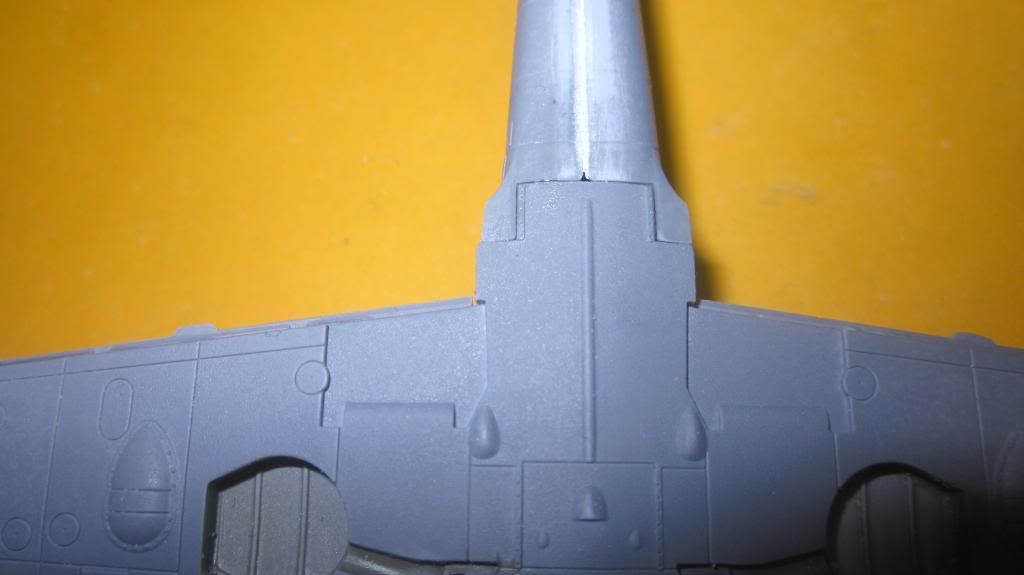
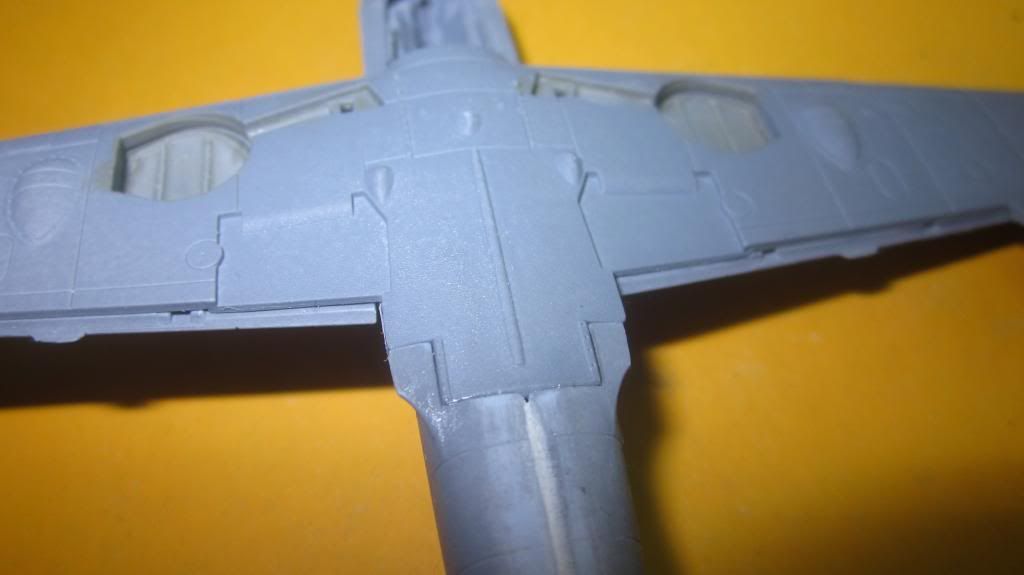
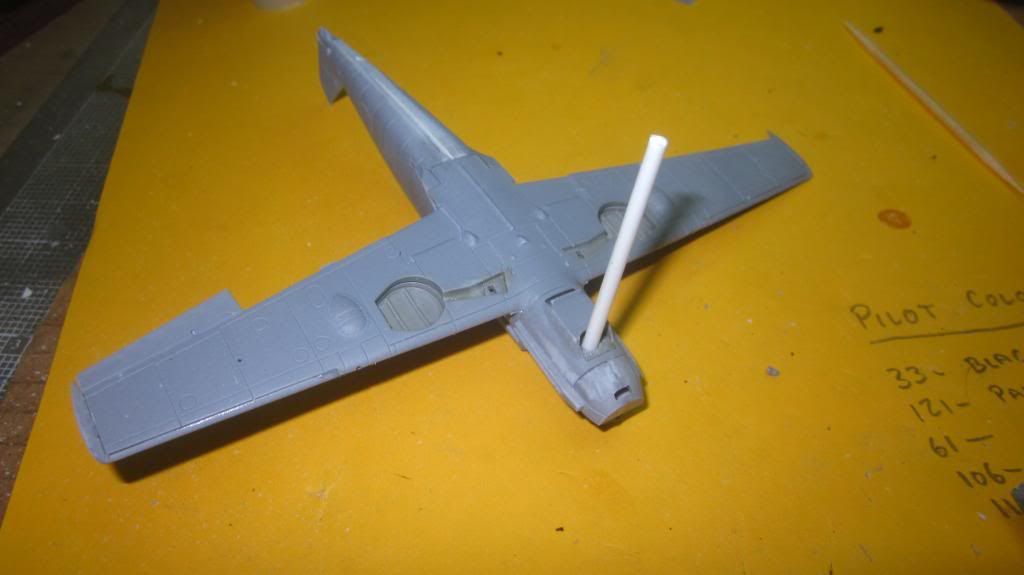
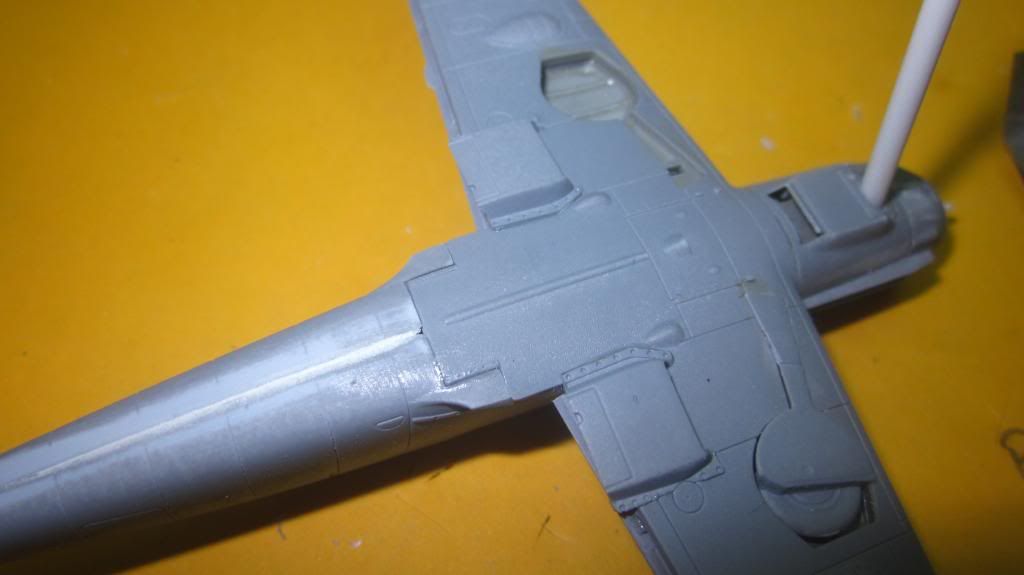
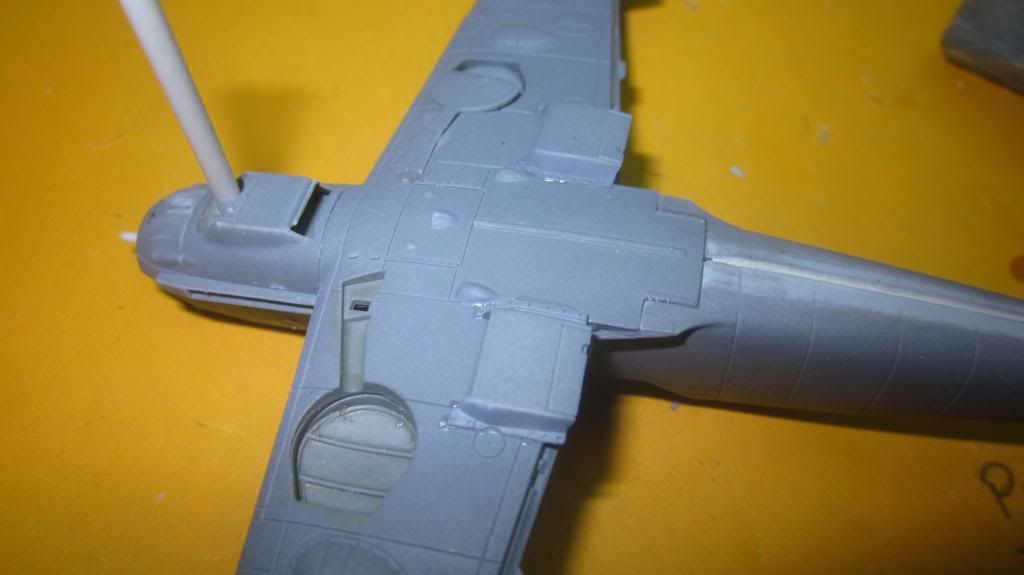
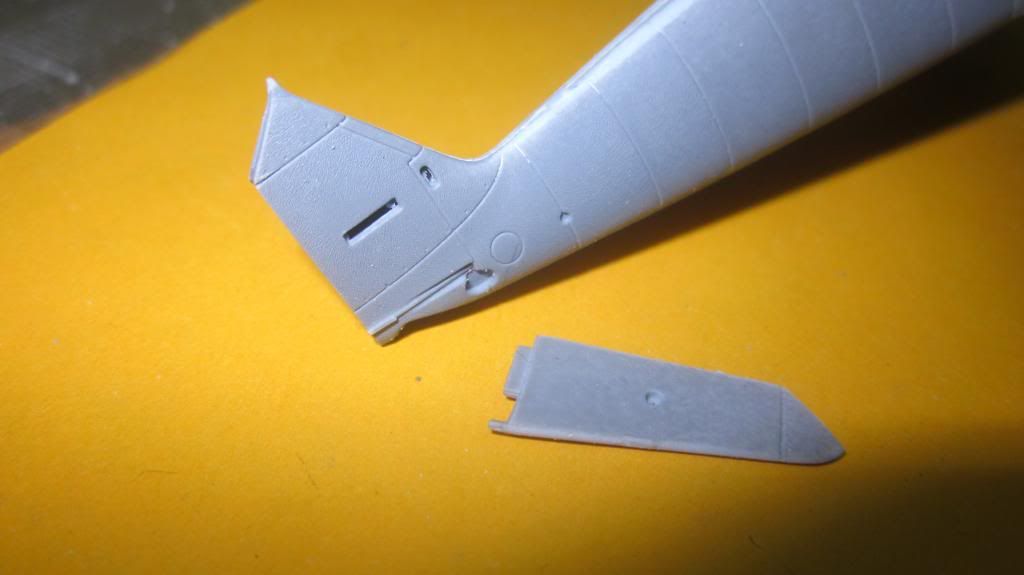
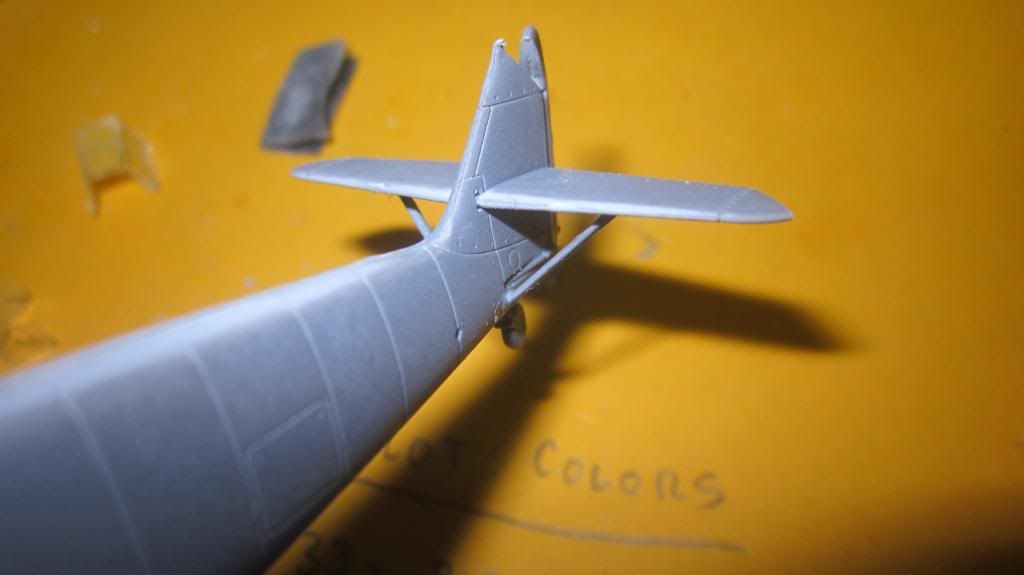
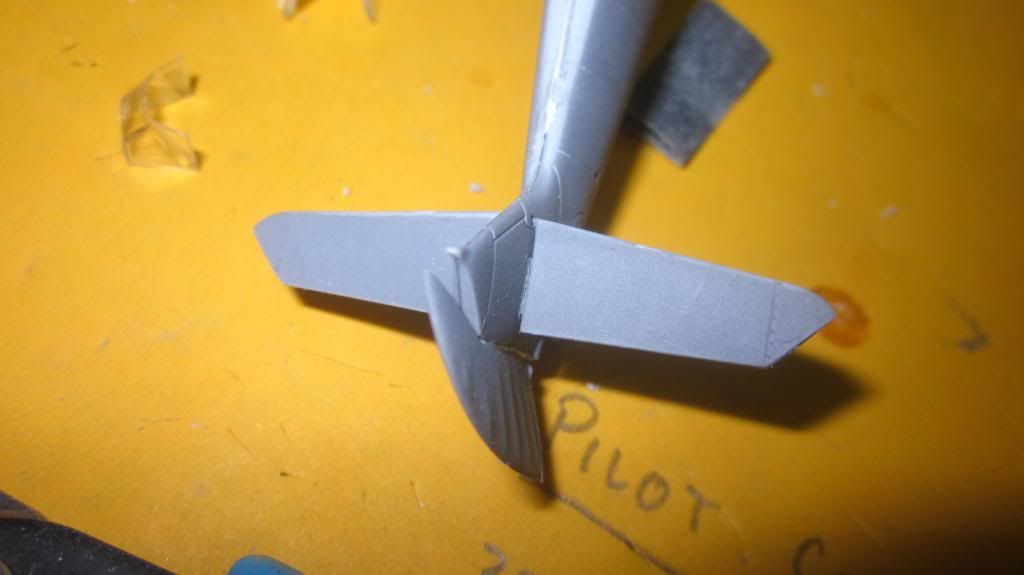
Overall shape and level of detail in the cockpit and wheel wells is excellent. It's a far cry from the older Airfix kits which just had a hole for a cockpit. The new kit also has the flaps separate from the wings which makes it easier for people who want to drop flaps. The canopy comes in three very thin pieces.
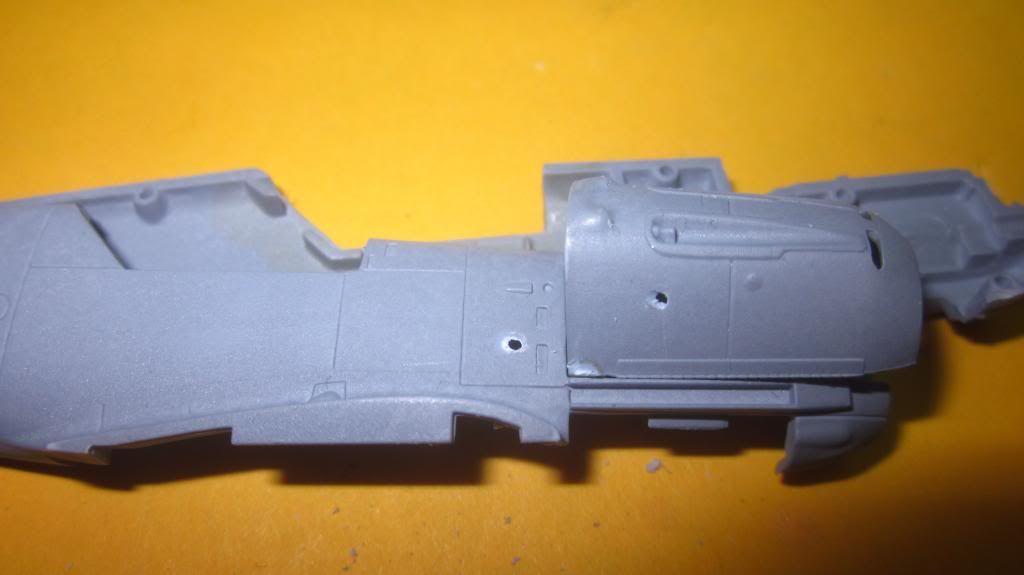
I'm not thrilled about this kit only coming with one decal option unlike most of their newer kits that have two and three options. I was surprised to see that Airfix molded the two fuselage halves with an engine. It's not highly detailed but I'm sure someone with some creativity could make a decent cowling off dio. The only problem is that the machine guns are molded into the top cowl and not on the engine. The prop looks a little anorexic. My last criticism is that the IP has no detail at all. In its place they supplied a decal which is ok by me but its white and the IPs in these were black. Granted its a minor thing and I can live with it but it was something that stood out to me.
I already love this kit and I haven't even built it yet.
Construction has begun on the cockpit but the camera was dead so photos should follow some time tonight.