Airfix 1/72 Stuka Ju87/B **FINISHED**
Posted: April 21st, 2013, 9:45 pm
So here it is my kick off build for the 2012 CBK SIG SMW "My first CBKs" Display!
As a little kid the Stuka seemed to hold sway in my mind above to the usual Spitfires, 109s etc. I've not idea where we bought it from it might have been a gift from my uncle in the RAF who often bought me model kits. What I do remember is my dad taking me to the local supermarket ( I think it was the Co-op) and buying a pack of paint that came in little phials. So this was the first kit I painted and finished with the decals. I remember being proud of it but when it was done it didn't occur to me to play with it or anything else and it sat on top of the fridge with a pile of other stuff until it got pushed down the back. The paints suffered a similar fate being left in another pile of stuff on top of the boiler. When I came to use them again they had dried up - I distinctly remember trying to apply the cruddy paint to another kit of which i have no recollection. My mum said well you shouldn't have left them on top of the boiler, as if this was obvious to a 7 year old, though I have never since left any paints on any boiler!
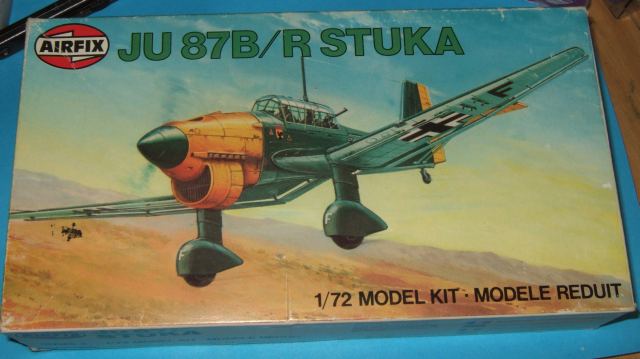
I got the correct period boxing circa 1979 from Chris of Kits-Kits a couple of Huddersfield shows ago as I always intended to take this trip down memory lane. I would have liked to have said the bombs and explosions on the art work were what drew me to it but at the time it would have been this sanitised version that I got my hands on.
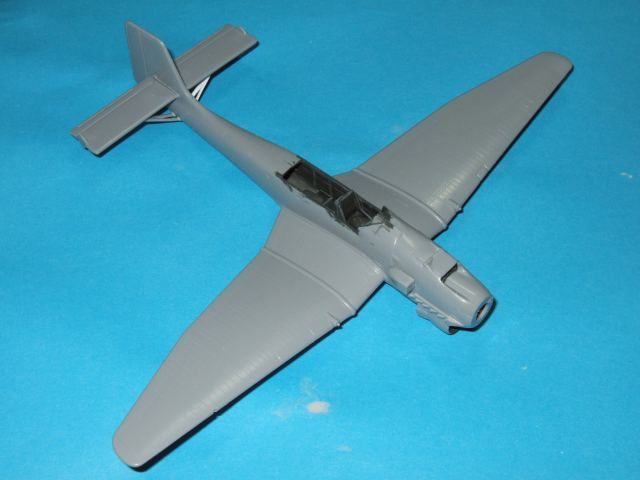
Always and advantage of getting older boxing, the parts are all nice and crisply moulded with very fine panel lines and rivets all over. You don't though get the benefit of of Airfix's currently lovely decal sheets.
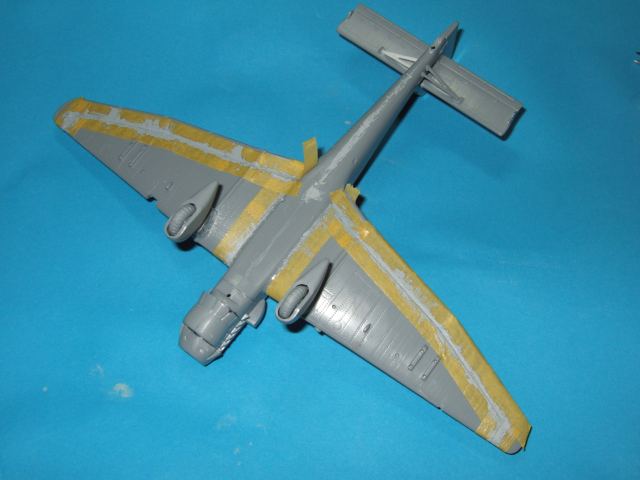
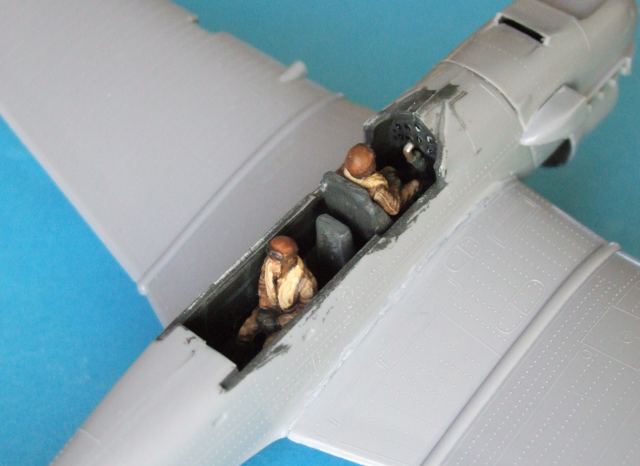
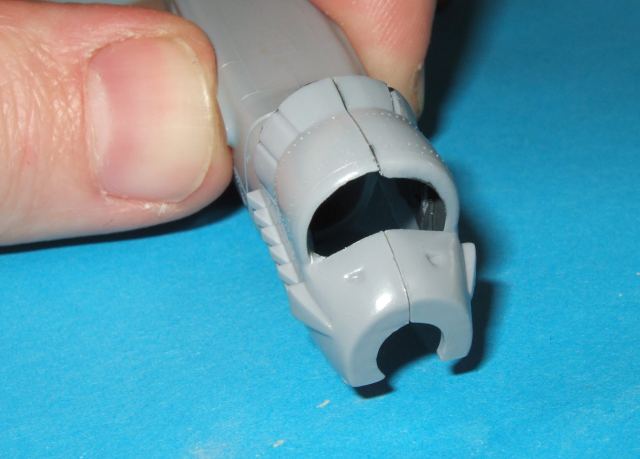
I'm not planning on adding much to the kit but will be improving the finesse of some of the parts. Pretty much all of which centre around the various intakes.
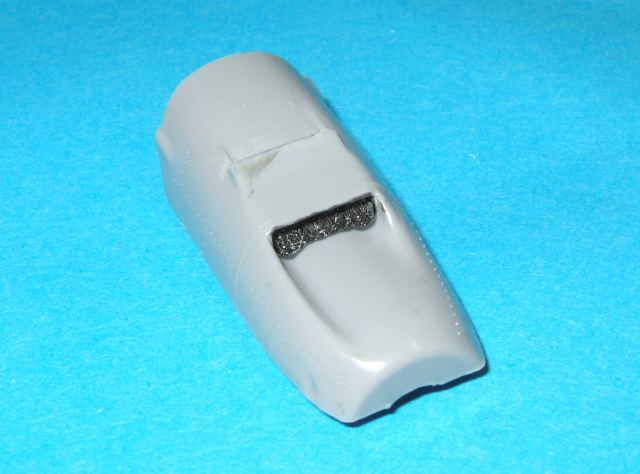
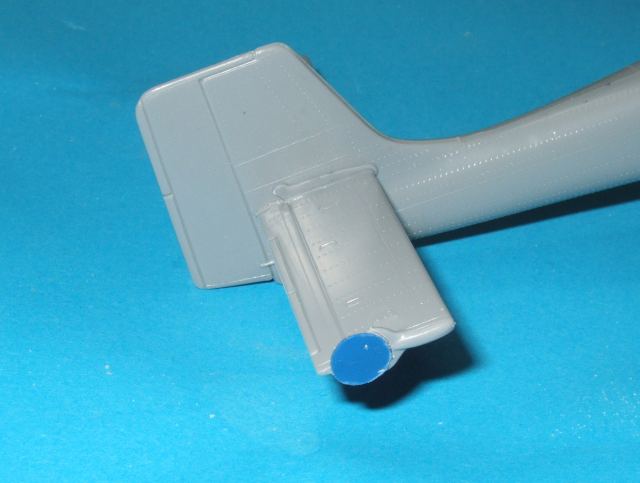
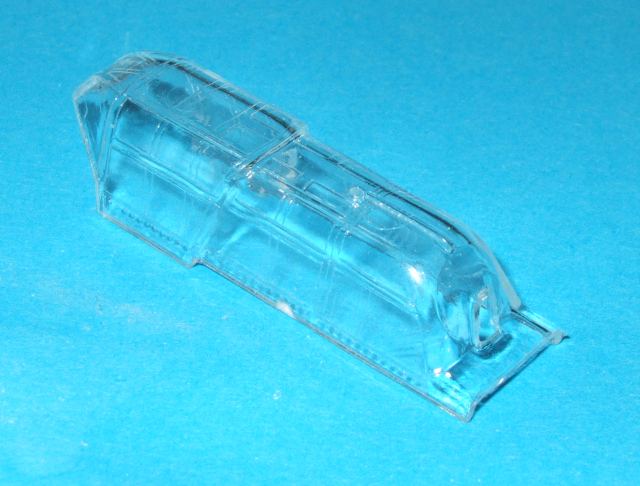
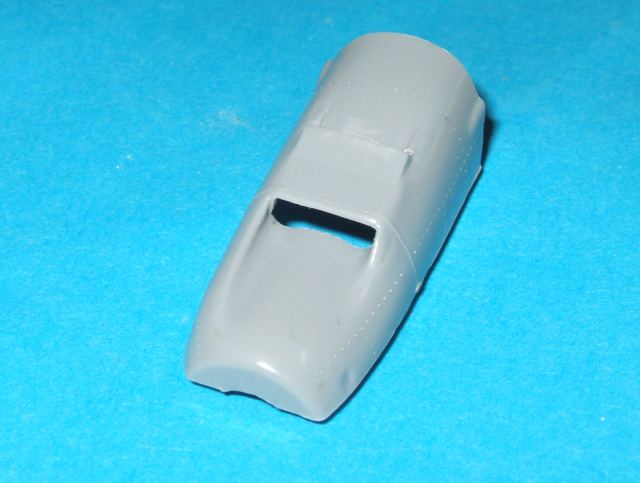
The top cowling has a intake for what I guess in an oil cooler, the front of which is open but the rear slit is mould closed.
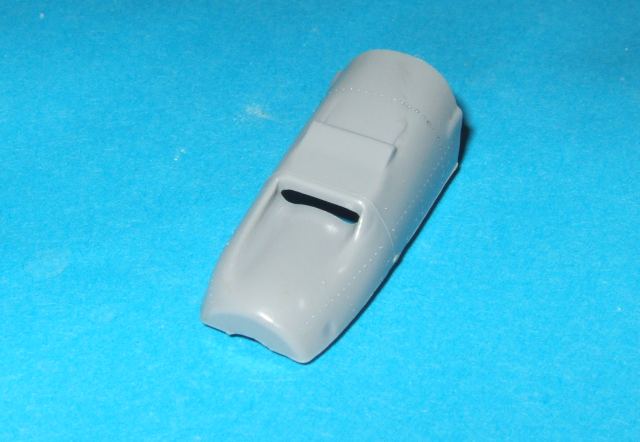
A few minutes work with a sharp pointy knife and a file improve things immensely. The intake is now begging to have a oil cooler added!
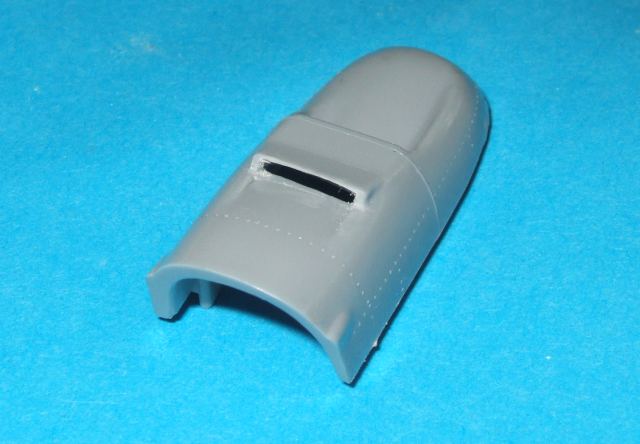
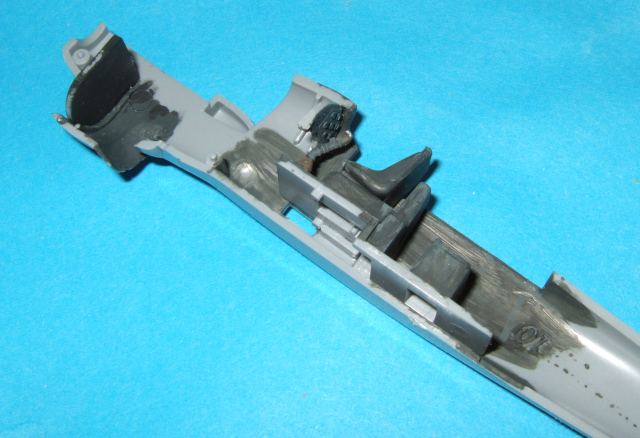
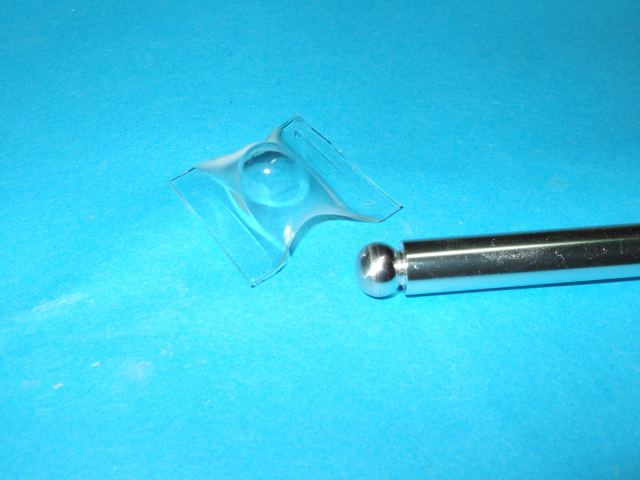
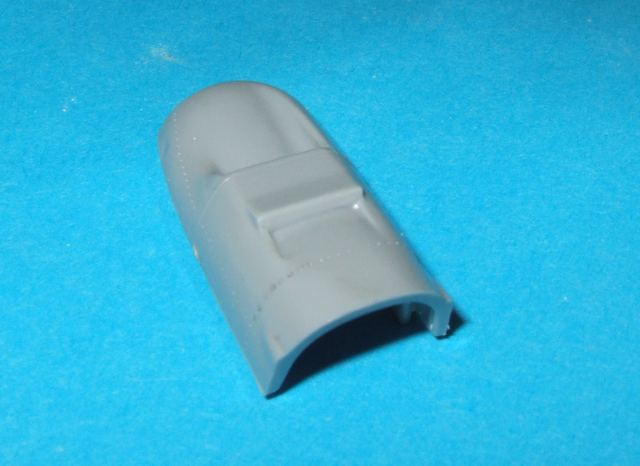
The big distinctive chin intake for the radiator needs to thinned down. You can't thin it quite as much as required as this would start to cut it back, however it can be significantly improved.
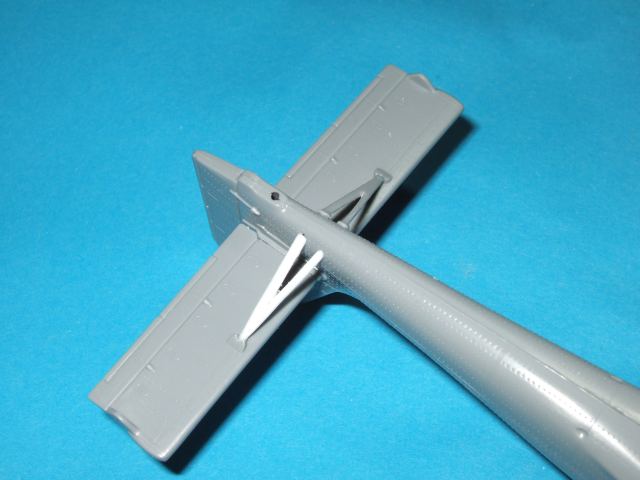
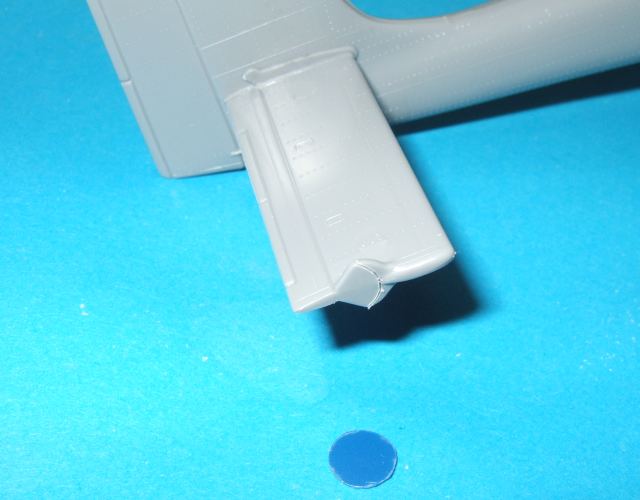
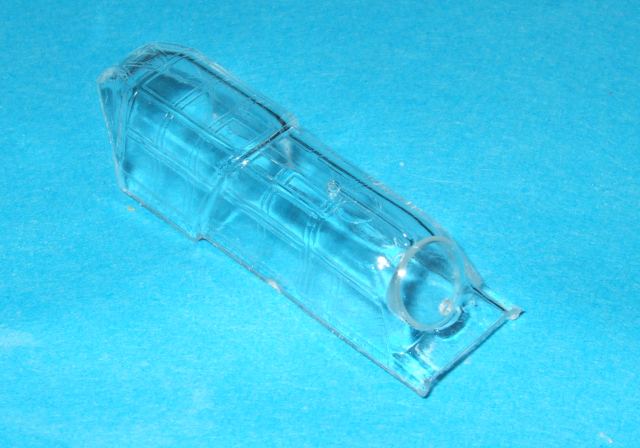
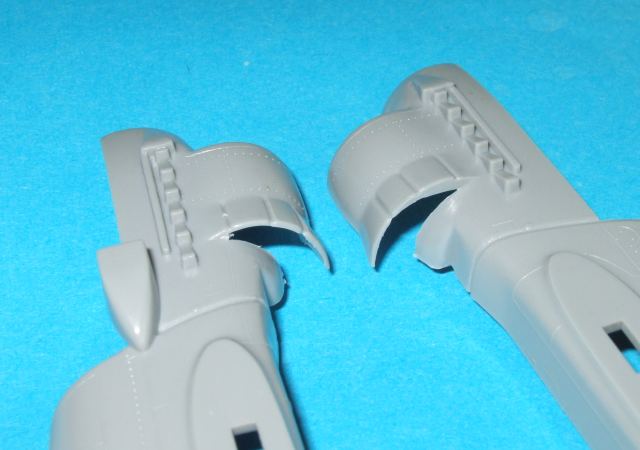
At the rear things are much better but the trailing edge thickens as it meets the fuselage. Again trimming with a sharp knife improves it within a few secs.
As a little kid the Stuka seemed to hold sway in my mind above to the usual Spitfires, 109s etc. I've not idea where we bought it from it might have been a gift from my uncle in the RAF who often bought me model kits. What I do remember is my dad taking me to the local supermarket ( I think it was the Co-op) and buying a pack of paint that came in little phials. So this was the first kit I painted and finished with the decals. I remember being proud of it but when it was done it didn't occur to me to play with it or anything else and it sat on top of the fridge with a pile of other stuff until it got pushed down the back. The paints suffered a similar fate being left in another pile of stuff on top of the boiler. When I came to use them again they had dried up - I distinctly remember trying to apply the cruddy paint to another kit of which i have no recollection. My mum said well you shouldn't have left them on top of the boiler, as if this was obvious to a 7 year old, though I have never since left any paints on any boiler!
I got the correct period boxing circa 1979 from Chris of Kits-Kits a couple of Huddersfield shows ago as I always intended to take this trip down memory lane. I would have liked to have said the bombs and explosions on the art work were what drew me to it but at the time it would have been this sanitised version that I got my hands on.
Always and advantage of getting older boxing, the parts are all nice and crisply moulded with very fine panel lines and rivets all over. You don't though get the benefit of of Airfix's currently lovely decal sheets.
I'm not planning on adding much to the kit but will be improving the finesse of some of the parts. Pretty much all of which centre around the various intakes.
The top cowling has a intake for what I guess in an oil cooler, the front of which is open but the rear slit is mould closed.
A few minutes work with a sharp pointy knife and a file improve things immensely. The intake is now begging to have a oil cooler added!
The big distinctive chin intake for the radiator needs to thinned down. You can't thin it quite as much as required as this would start to cut it back, however it can be significantly improved.
At the rear things are much better but the trailing edge thickens as it meets the fuselage. Again trimming with a sharp knife improves it within a few secs.