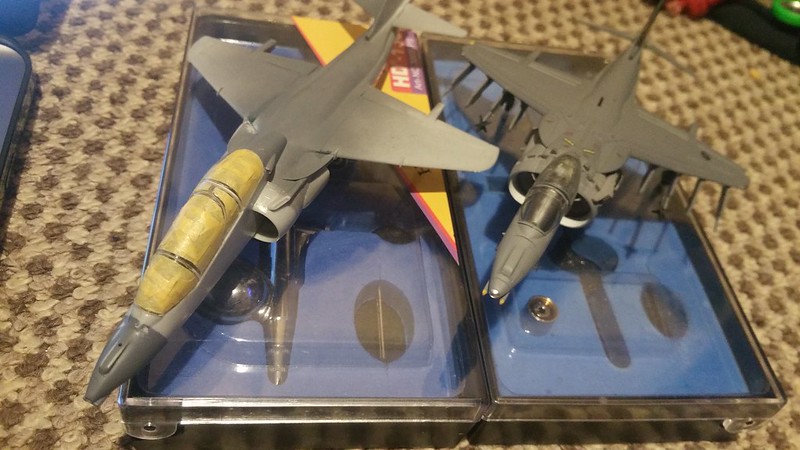
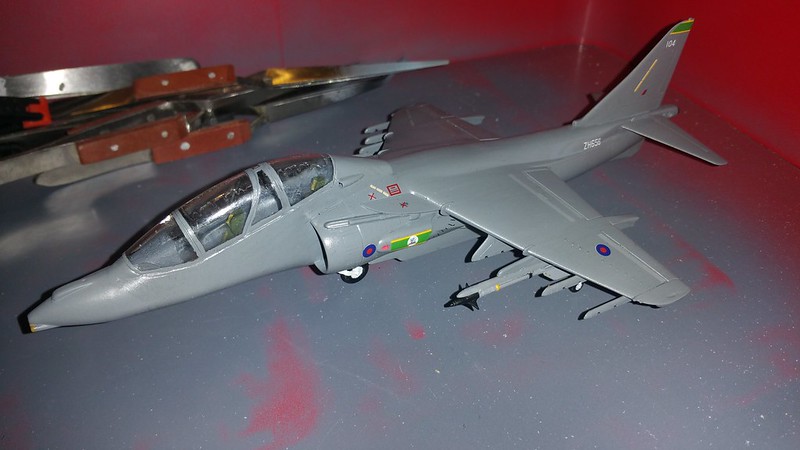
Heres what the T.10 is at:
All the weapons pilons have been glued into place, the sidewinders and adapters have been glued on:
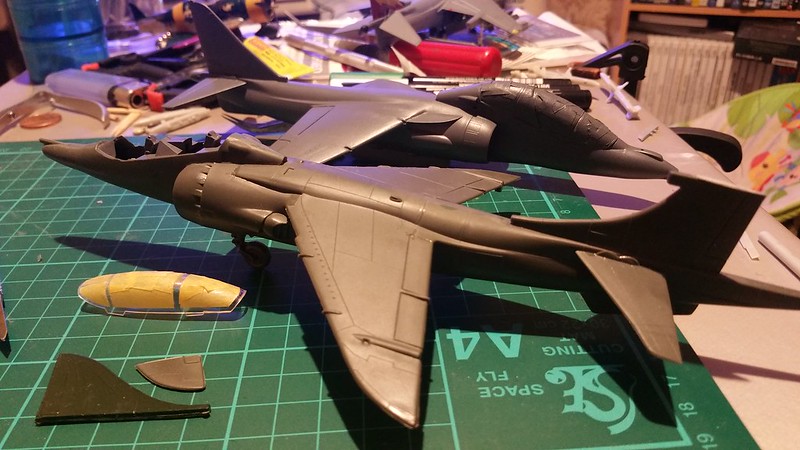
Then I Painted and loaded the ferry tanks and ordinance today.
You'll have to excuse the yellow stripes on the bombs, I've never been good at weapon detail, I'm even worse with weapon decals!

My Mrs was shocked and asked "could you get anymore onto that Harrier!?"
The answer is no so my target has been achieved!
Who's going to be the first person to tell me Harriers cant carry that amount of weight?
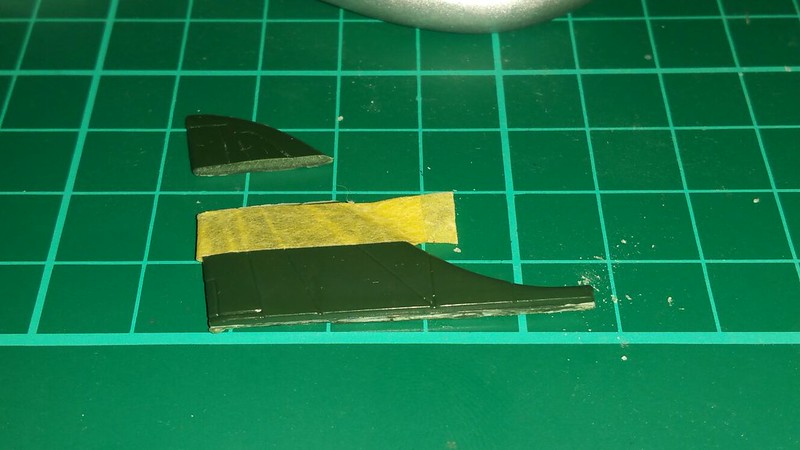
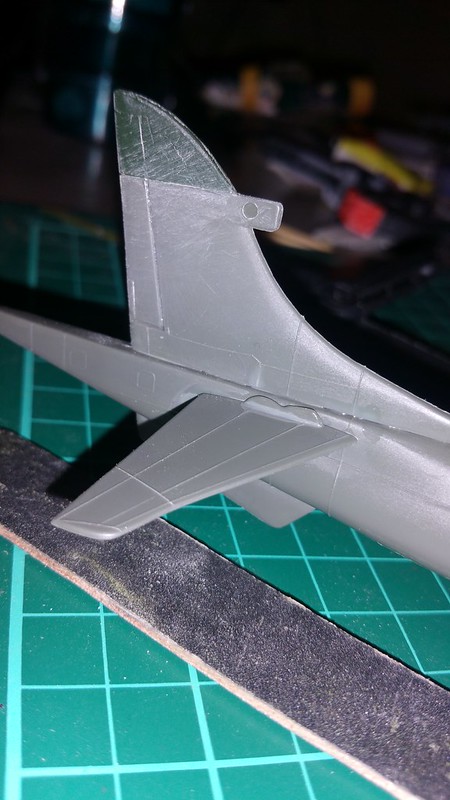
Now into another Shelf Queen!
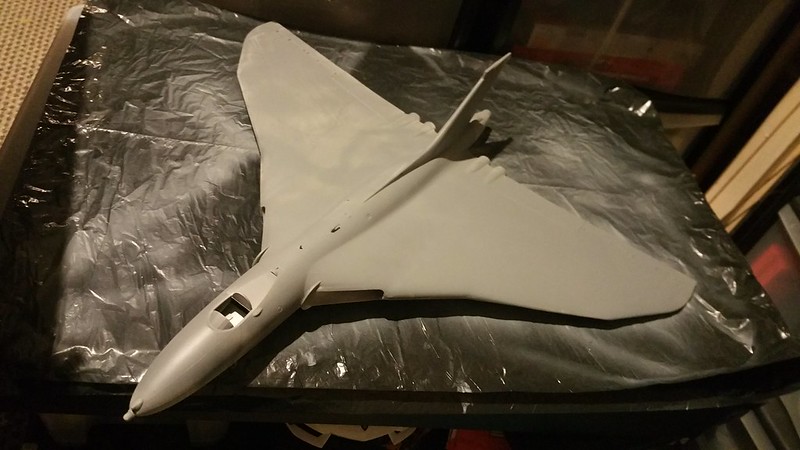
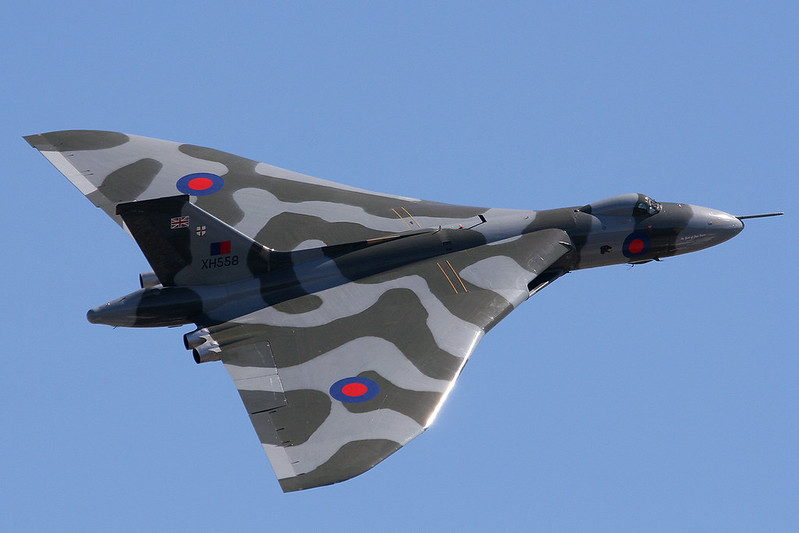
Today I went against what I said about an unofficial birthday blitz build and got the old Vulcan out.
I'm going for the "Fresh out of the paintshop" look XH558 wore in this pic:
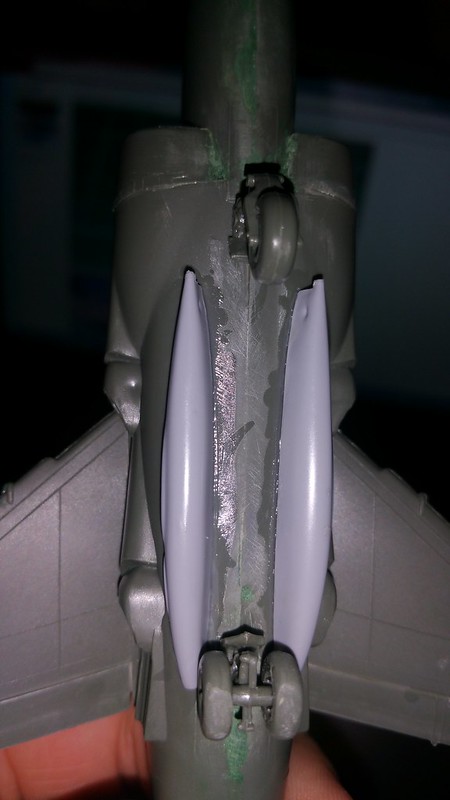
So onto the model.
After many trials and having her time as my fleet "buster" I sanded her smooth:
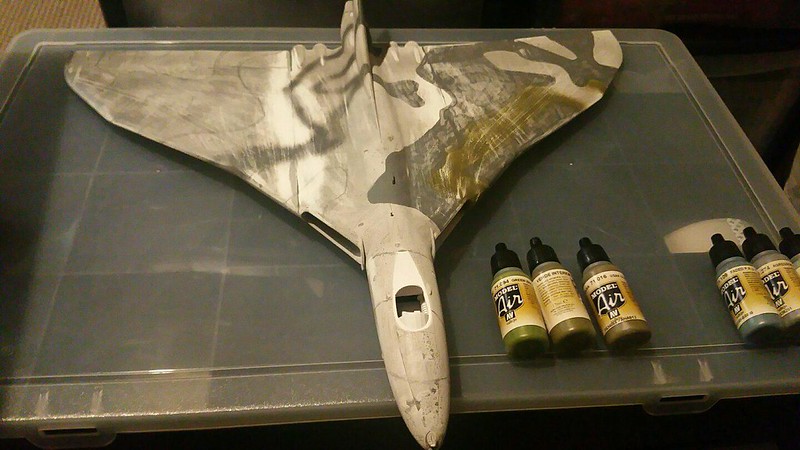
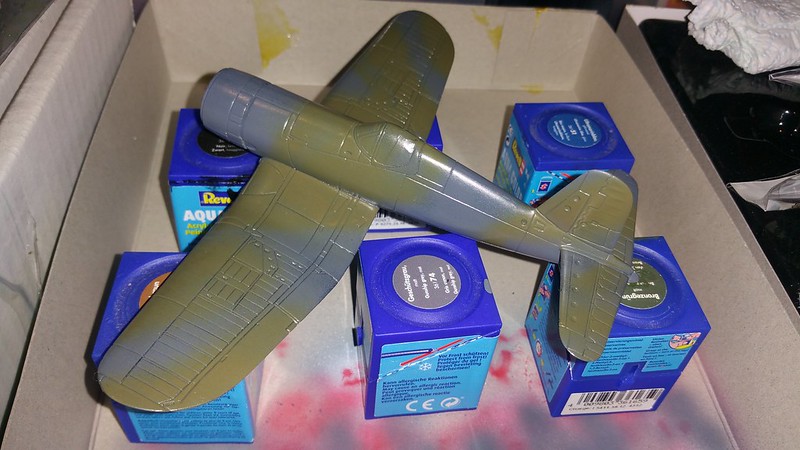
I'm currently deciding what shade of green to use along side Aggressor Grey.
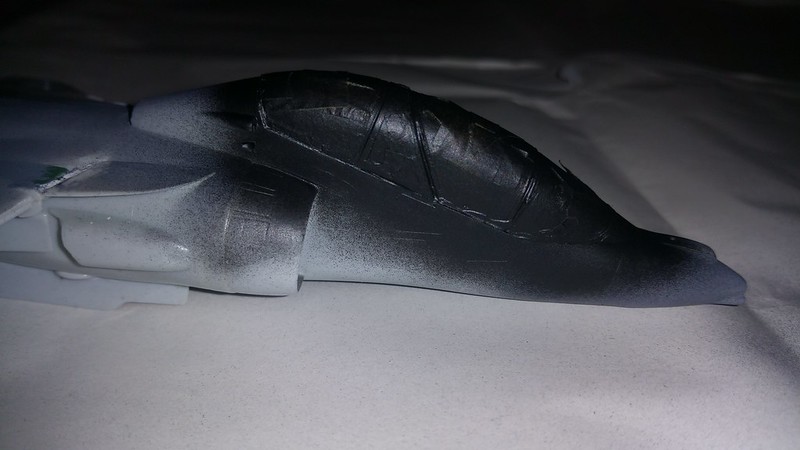
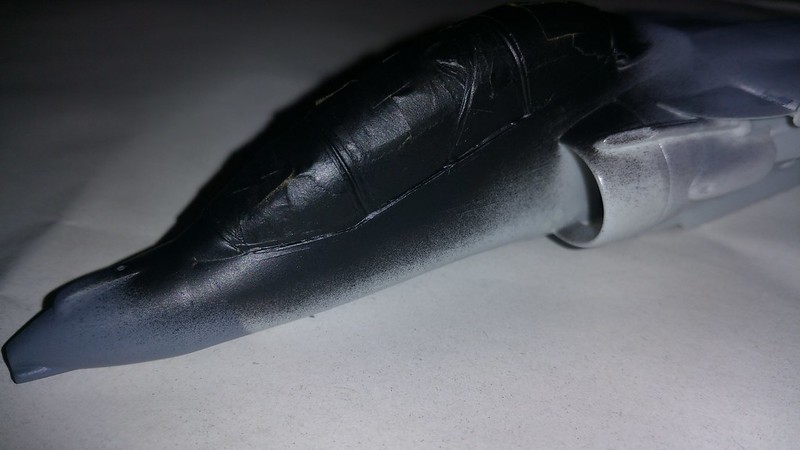
1st coat applied: