Page 10 of 13
Re: Shelf Of Doom SB *1st June - 1st June* - One Year Clean
Posted: November 30th, 2017, 11:32 pm
by Crashpilot
I finished the varnishing right now, so she´s done!
I used decals for a Mk II on this Spit Mk I, to make it more "credible", I sanded the pointed spinner to be blunt, to look like in pics of the real thing.
This is a shot of my "spray booth":

more shots under Aviation modelling tomorrow
Re: Shelf Of Doom SB *1st June - 1st June* - One Year Clean
Posted: December 2nd, 2017, 1:55 am
by IronMan129
Nice finish Crash!
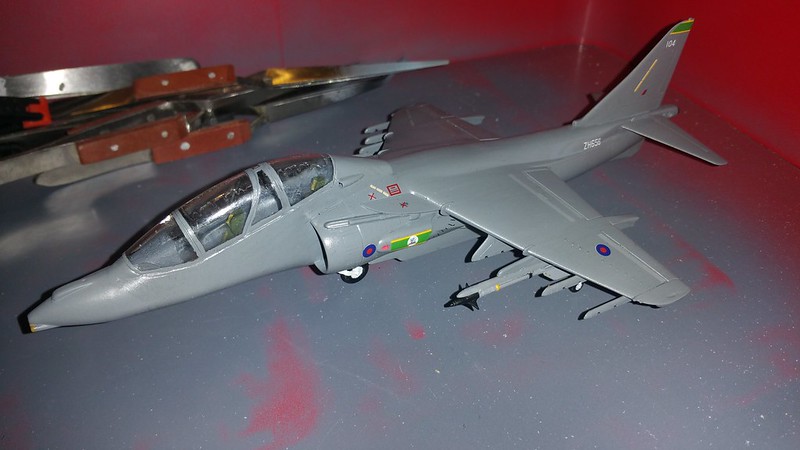
I managed to finally get the canopy masked and to actually fit after alot of adjustments!
Re: Shelf Of Doom SB *1st June - 1st June* - One Year Clean
Posted: December 3rd, 2017, 12:38 am
by IronMan129
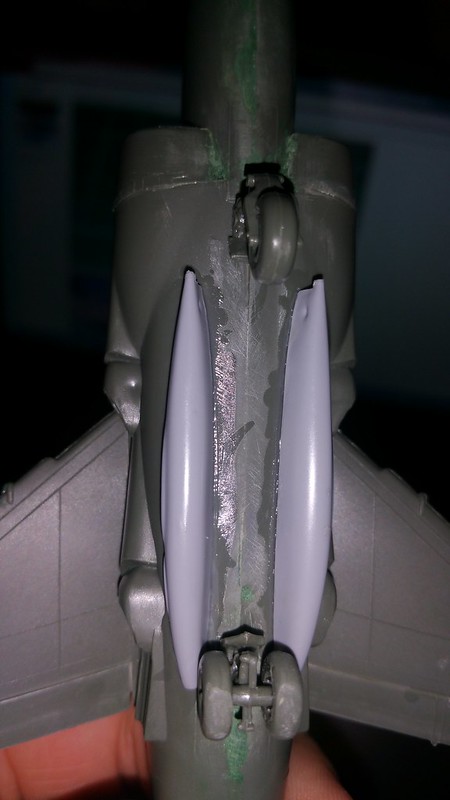
Tonights job was cleaning up around the canopy after the PVA dried.

I had to conduct minor surgery to get the clear parts to fit.
With it being a 4 piece canopy and them being ever so slightly warped it was a very tricky job whilst doing my best not to break or crack them.
I know its not the cleanest but its the best I'll be able to achieve:
More to follow.
Re: Shelf Of Doom SB *1st June - 1st June* - One Year Clean
Posted: December 4th, 2017, 11:43 am
by Old_Tonto
Looks very good from here Mav. What make is it?
Re: Shelf Of Doom SB *1st June - 1st June* - One Year Clean
Posted: December 4th, 2017, 7:08 pm
by IronMan129
Thanks OT!
Its an Italeri TAV-8B.
Re: Shelf Of Doom SB *1st June - 1st June* - One Year Clean
Posted: December 5th, 2017, 7:05 pm
by Crashpilot
Nice progress!
I don´t know yet when I´ll find the time for the next s.o.d.-plane?
Re: Shelf Of Doom SB *1st June - 1st June* - One Year Clean
Posted: December 9th, 2017, 11:08 pm
by IronMan129
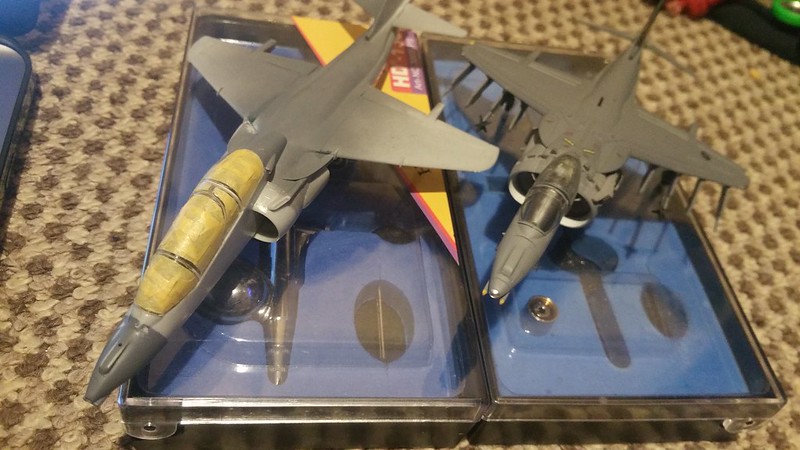
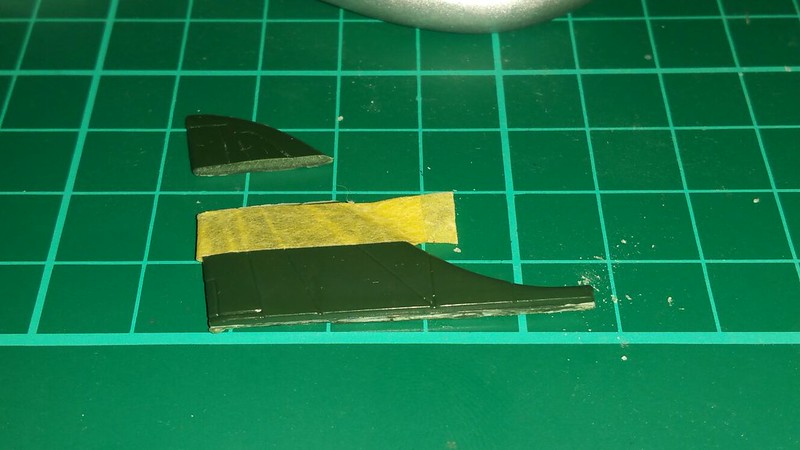
I decided against my better judgment to carry out some major surgery on the T.4's tail as I've seen a photo I like the look of and would like to have her the same so I started by cutting off the top section of the donar tail:
Once I had that right I cut the model's tail section off(side note the T.10 has had an all over covering of grey):
Then glued them together and sanded:
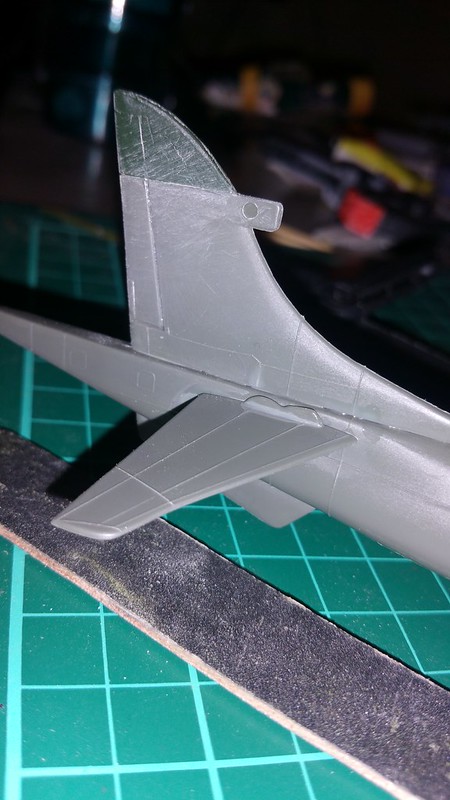
I'm quite pleased with the result and regardless of the look it is smooth to the touch.
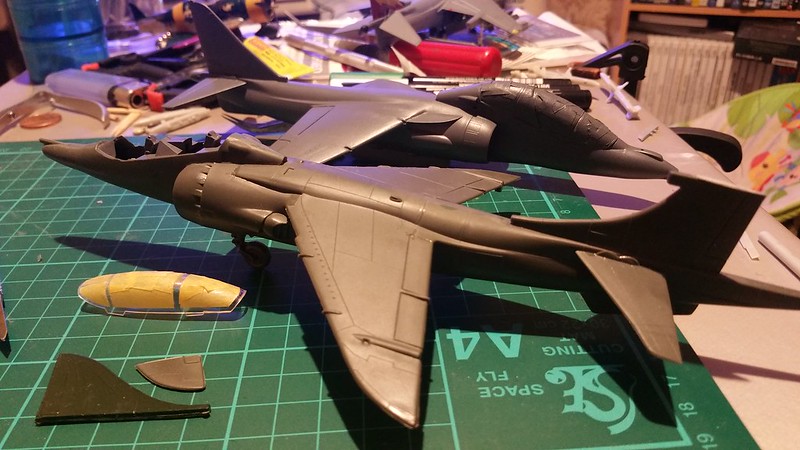
Last but hopefully not the last bit of progress I'll be making tonight The fuselage gun pods were added:
Re: Shelf Of Doom SB *1st June - 1st June* - One Year Clean
Posted: December 11th, 2017, 1:02 am
by IronMan129
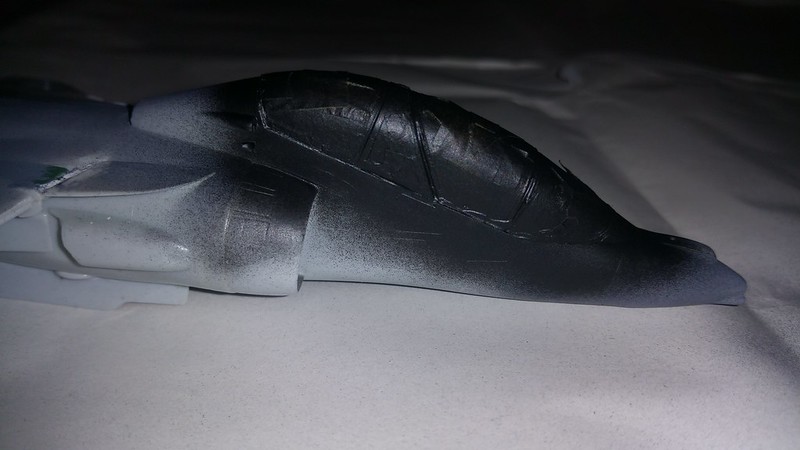
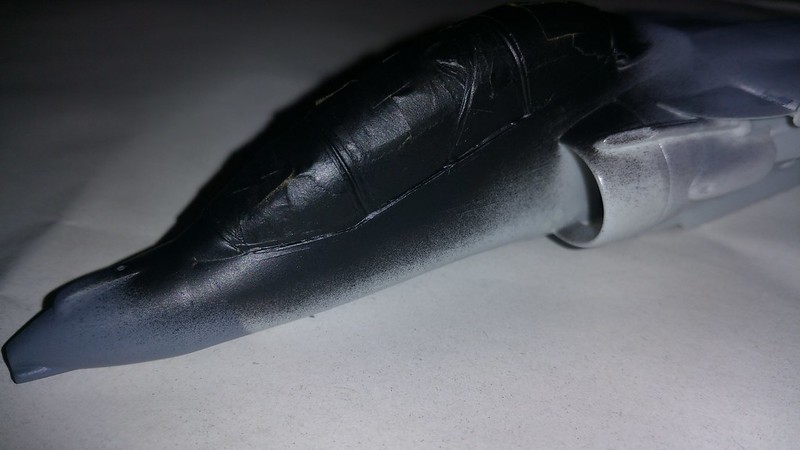
Tonight I got the Airbrush out for a spin.
I was doing ok until the Airbrush clogged and spat random amounts of paint all over the nose of the T.12 so I'm gonna have to leave the paint to cure for a few days then sand and repeat.


Re: Shelf Of Doom SB *1st June - 1st June* - One Year Clean
Posted: December 11th, 2017, 7:11 am
by gnomemeansgnome
Oh I hate when that happens....nice work though and Harriers are smart looking birds, regardless.
Re: Shelf Of Doom SB *1st June - 1st June* - One Year Clean
Posted: December 15th, 2017, 11:48 am
by Old_Tonto
That is a bummer Mav. Happens to be me all the time!
That tail surgery looks rather good as indeed do both models.
I am making very slow progress on the Starfighter but decalling is just about complete.

As you can see from this image not all the decals meet in the correct place so some touch up will be needed.
This is where i got up to last noght:

I just need to paint a small panel behind the canopy a 'Tan' colour (I don't know what it is for!) and then there is quite a few bit to touch up especially on the dark blue band.
Once that is done I plan to use some white decals paper for the canopy framing.
Wish me luck.

Re: Shelf Of Doom SB *1st June - 1st June* - One Year Clean
Posted: December 15th, 2017, 12:23 pm
by IronMan129
Thanks OT!
That's the first time I've tried major modelling surgery and it didn't go too badly.
F-104 is looking pretty nice!
I cant see were the decals don't meet so it cant be that bad :D
Looking forward to seeing her complete

.
Re: Shelf Of Doom SB *1st June - 1st June* - One Year Clean
Posted: December 16th, 2017, 9:38 pm
by IronMan129
More time has been spent on the T.10, I finished her paintwork and put a layer of Klear on:

The seam line on the bottom of the fuselage was left as I'm going to be adding a pylon and ordinance so there would be no point and there's a grove for it to settle into.(My way of hiding the fact I'm lazy.)
Re: Shelf Of Doom SB *1st June - 1st June* - One Year Clean
Posted: December 17th, 2017, 2:28 am
by gnomemeansgnome
Heh heh, I do that too sometimes. And that Starfighter looks amazing, and with the NASA kit really looks like it should have gone into space.
Re: Shelf Of Doom SB *1st June - 1st June* - One Year Clean
Posted: January 30th, 2018, 6:21 pm
by IronMan129
Heres what the T.10 is at:
All the weapons pilons have been glued into place, the sidewinders and adapters have been glued on:
Then I Painted and loaded the ferry tanks and ordinance today.
You'll have to excuse the yellow stripes on the bombs, I've never been good at weapon detail, I'm even worse with weapon decals!

My Mrs was shocked and asked "could you get anymore onto that Harrier!?"
The answer is no so my target has been achieved!
Who's going to be the first person to tell me Harriers cant carry that amount of weight?
Now into another Shelf Queen!
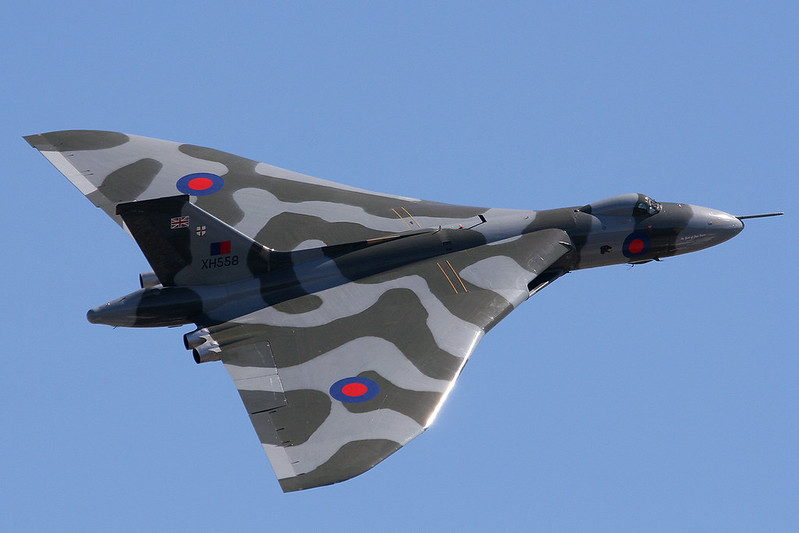
Today I went against what I said about an unofficial birthday blitz build and got the old Vulcan out.
I'm going for the "Fresh out of the paintshop" look XH558 wore in this pic:
So onto the model.
After many trials and having her time as my fleet "buster" I sanded her smooth:
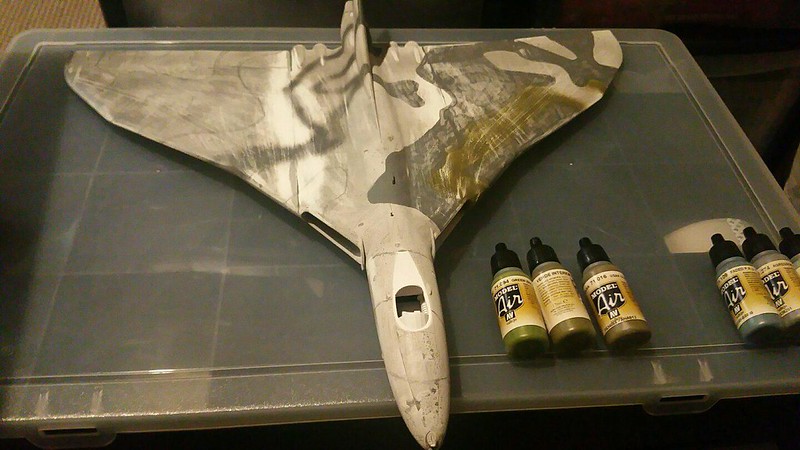
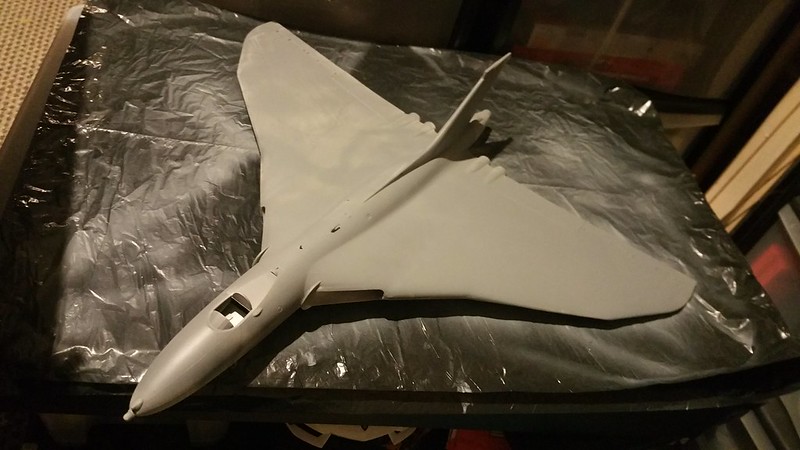
I'm currently deciding what shade of green to use along side Aggressor Grey.
1st coat applied:
Re: Shelf Of Doom SB *1st June - 1st June* - One Year Clean
Posted: February 7th, 2018, 4:41 pm
by IronMan129
After two failed GB attempts I decided to just slowly work on my Shelf of Doom projects.
I've only done a little work by finishing off the F4U Corsair's paintwork and applying the first coat of Clear before the decals go on.
I heard on YouTube the best result is to apply about 4 coats of clear in order to properly protect the paint.
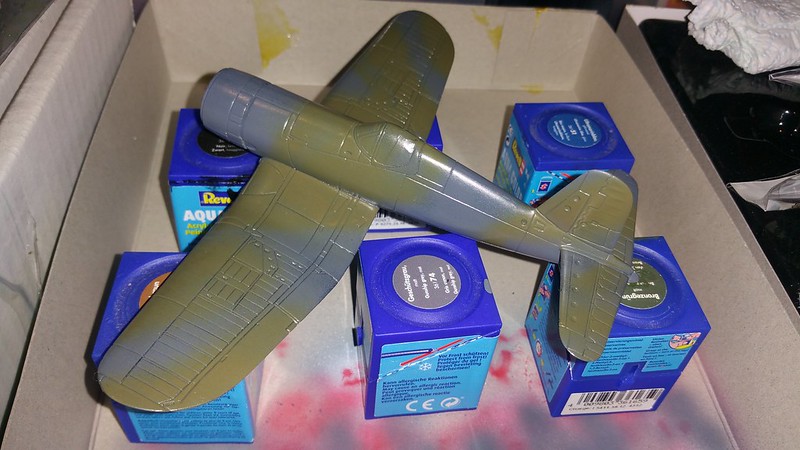
The decals I'm using are unused RAF Spitfire decals slightly tweeked but it doesn't get to me with not being a rivet counter!