Honda CB1100R

Time to pimp them rides!
syd-baines
Modelling Gent and Scholar
Posts: 1050
Joined: September 10th, 2013, 4:22 pm

Honda CB1100R

Post by syd-baines »

hello again i have gone back to my first love of motorcycles and after looking through my stash of kits for a while i decided to build the honda cb1100r it is an old kit so i would be
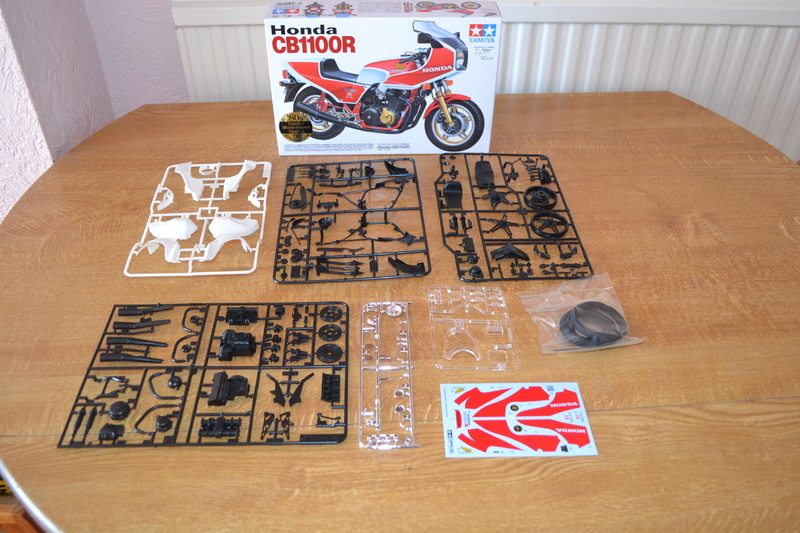
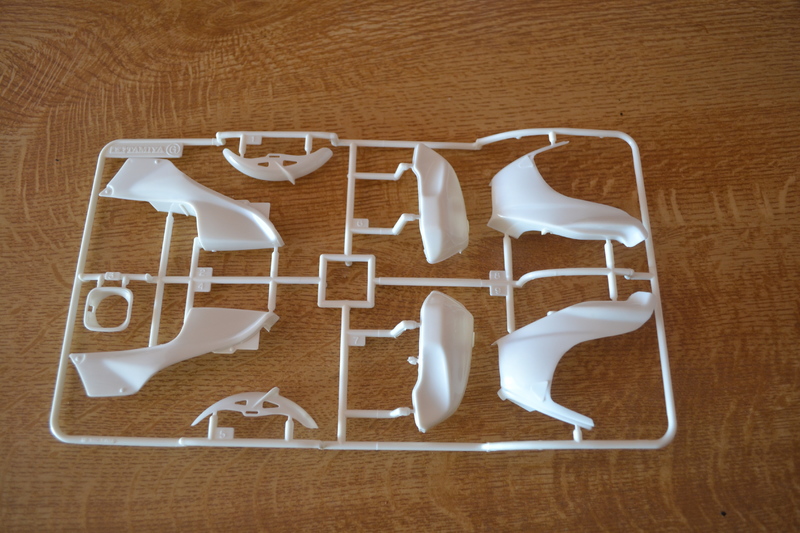
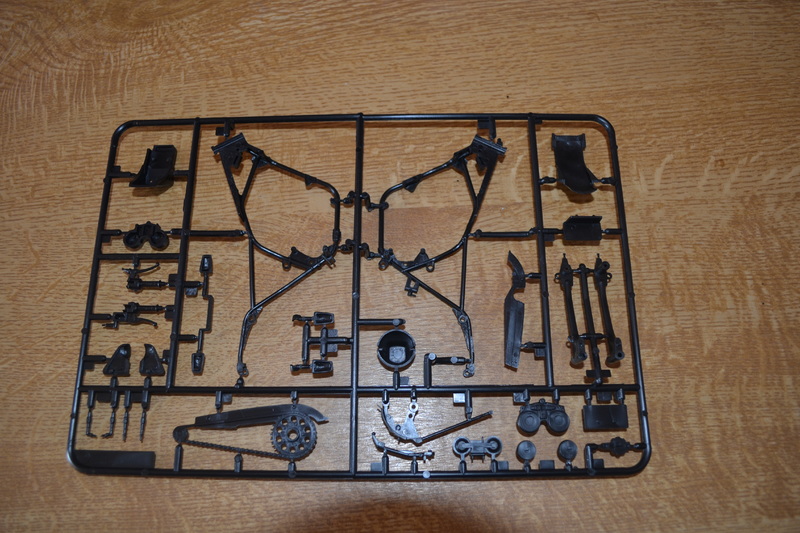
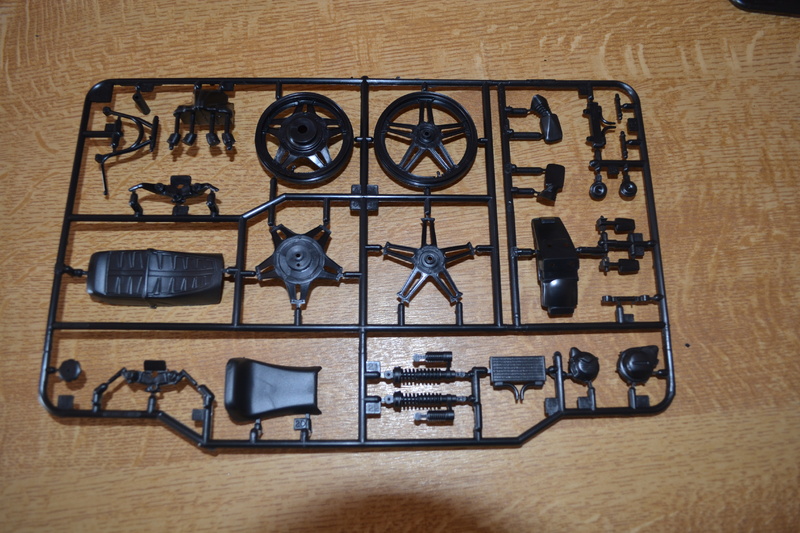
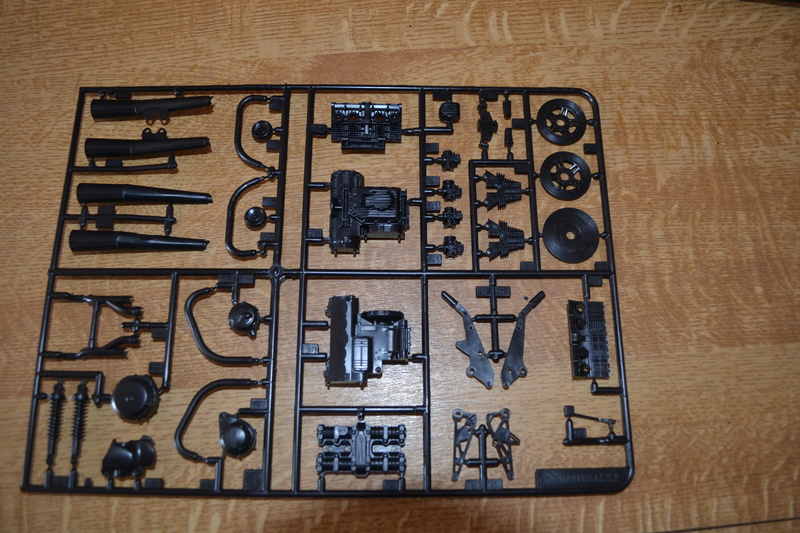
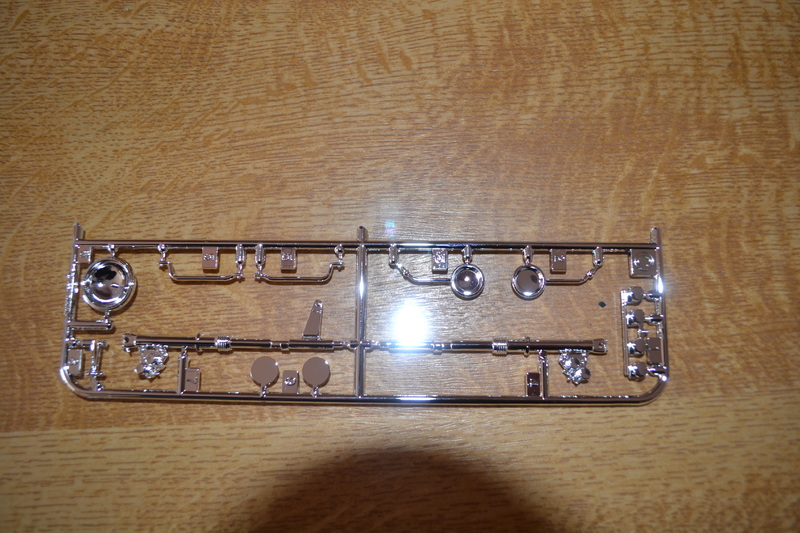
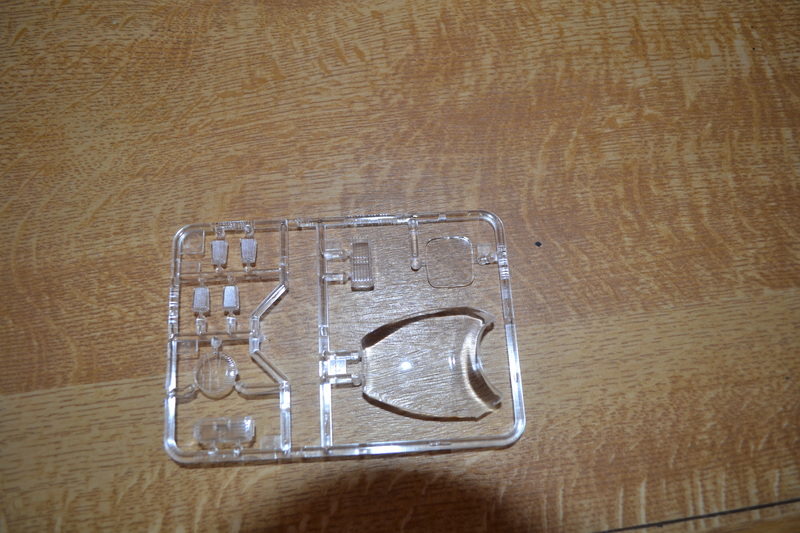
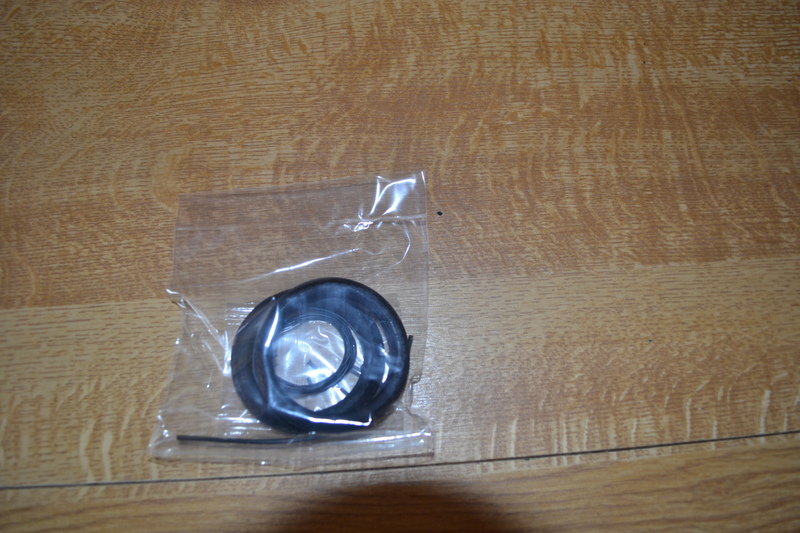
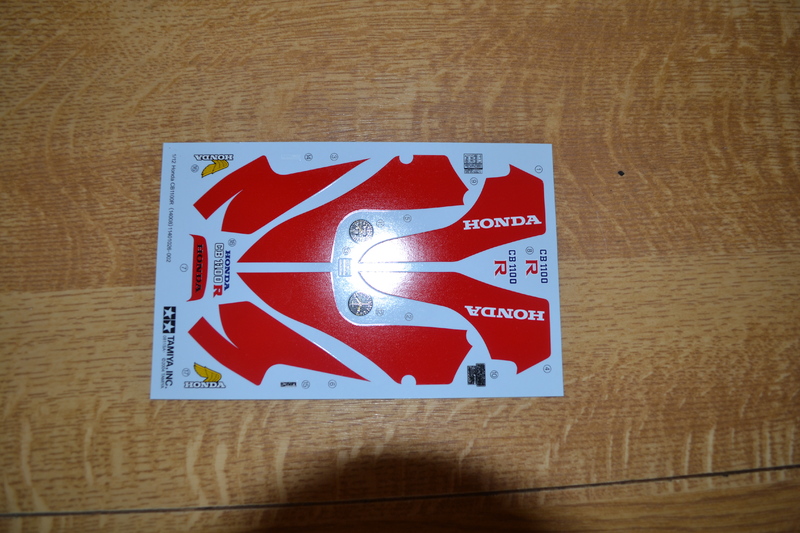
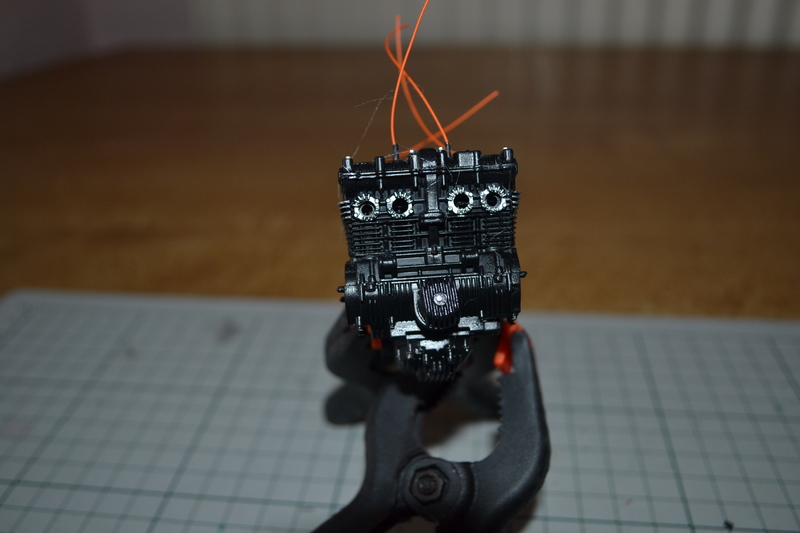
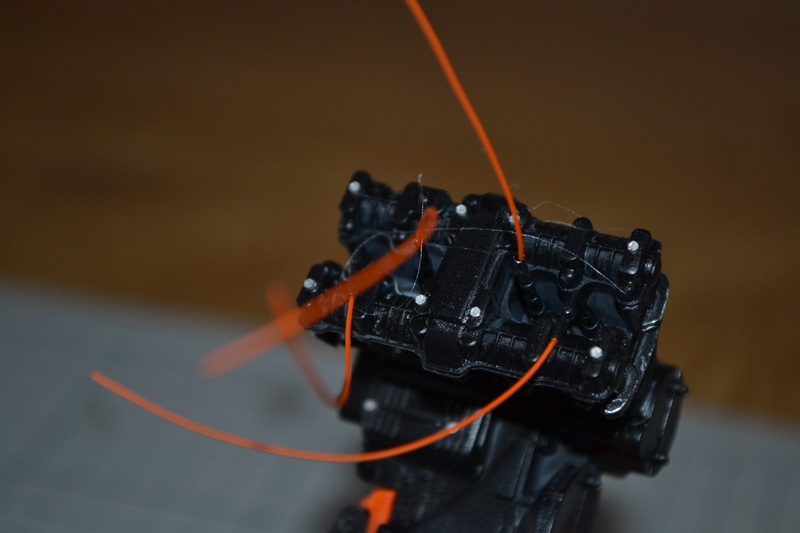
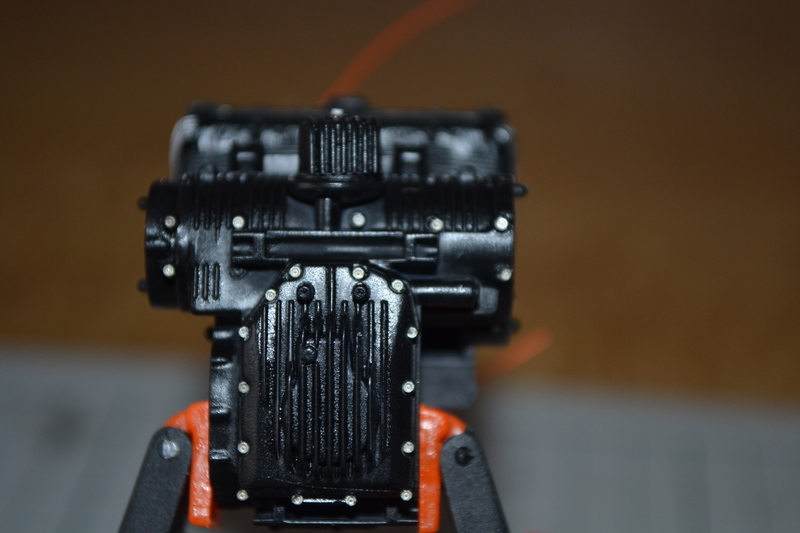
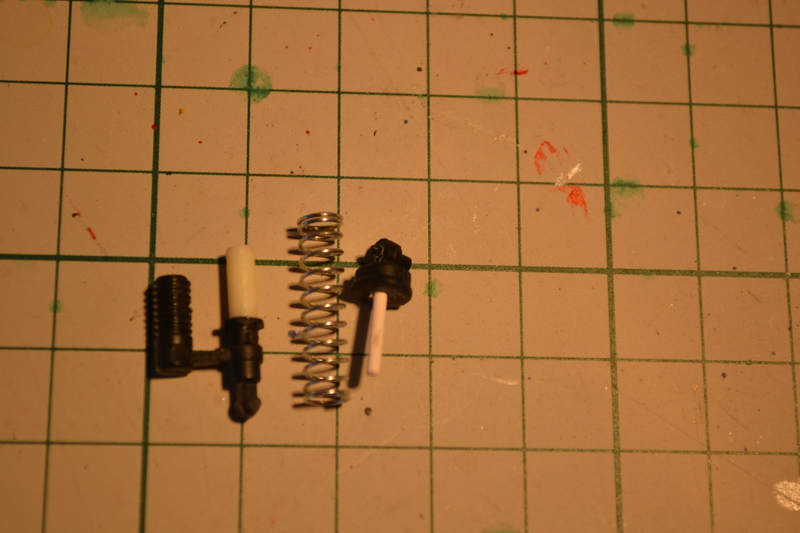
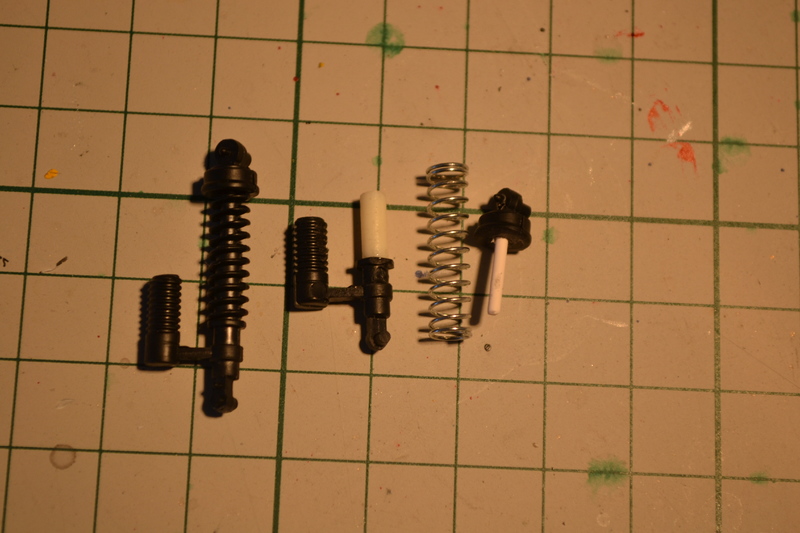
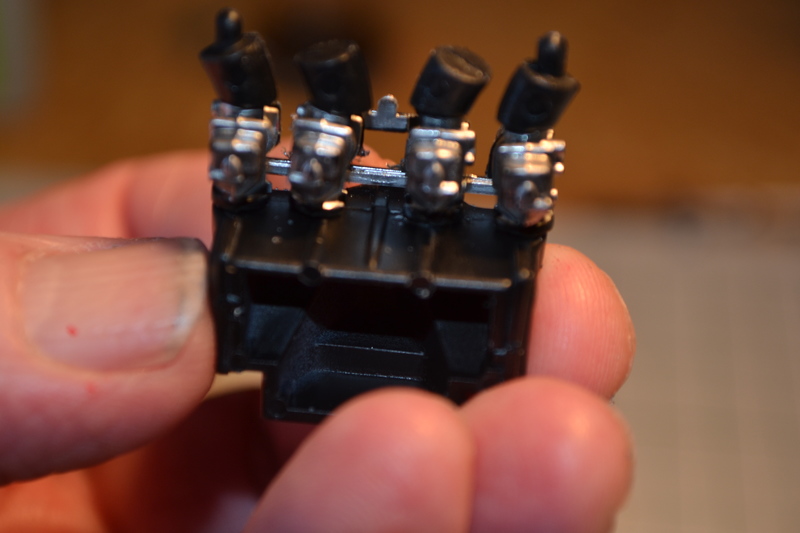
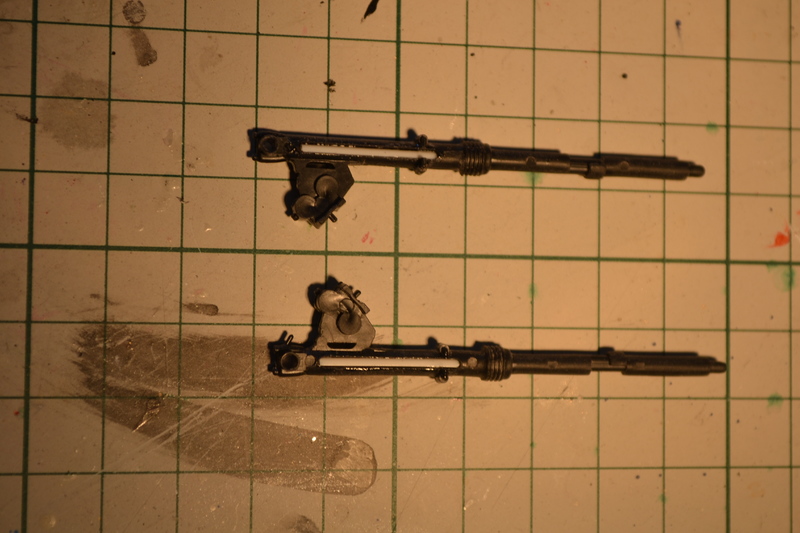
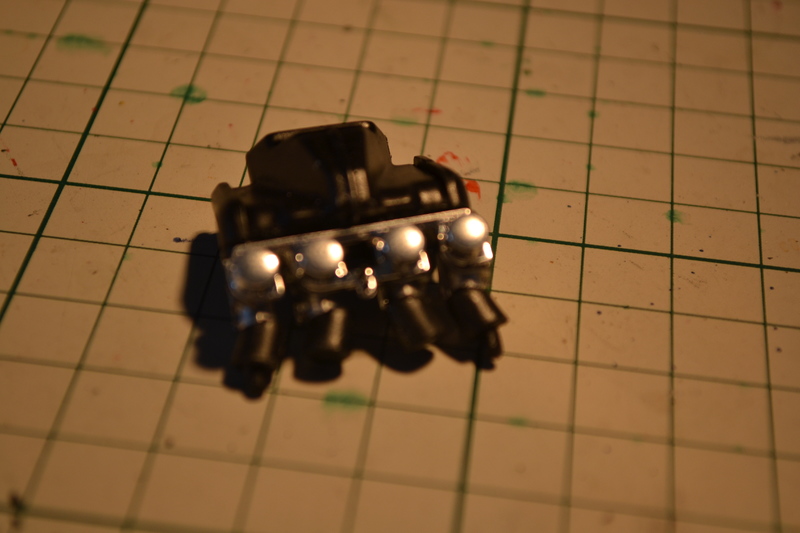
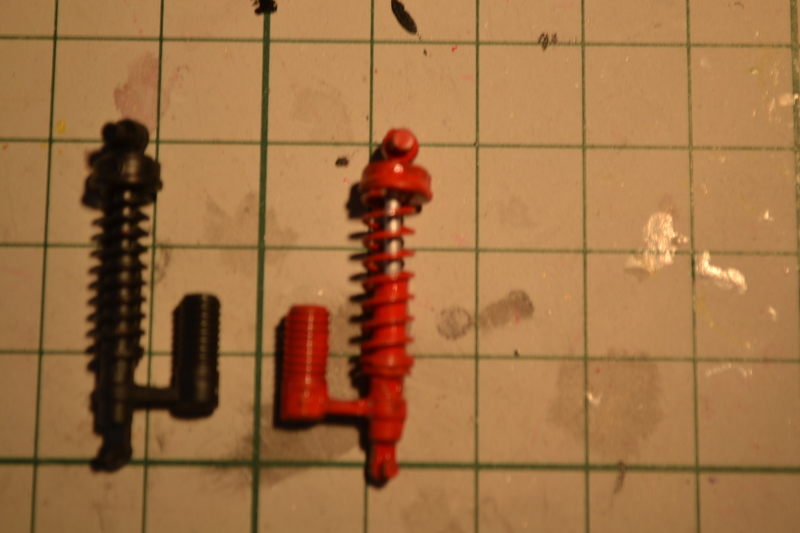
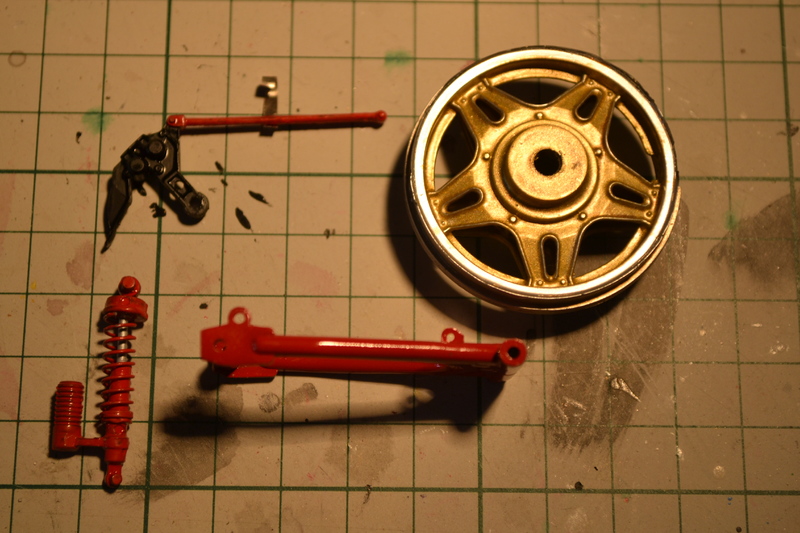
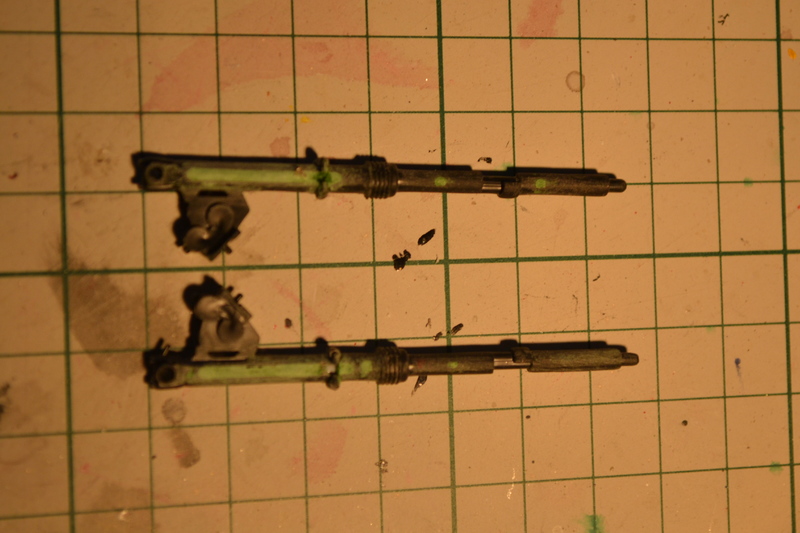
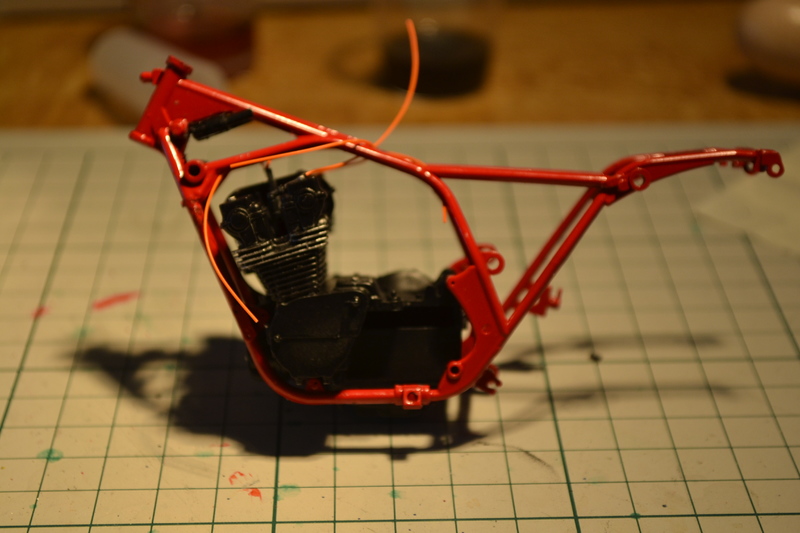
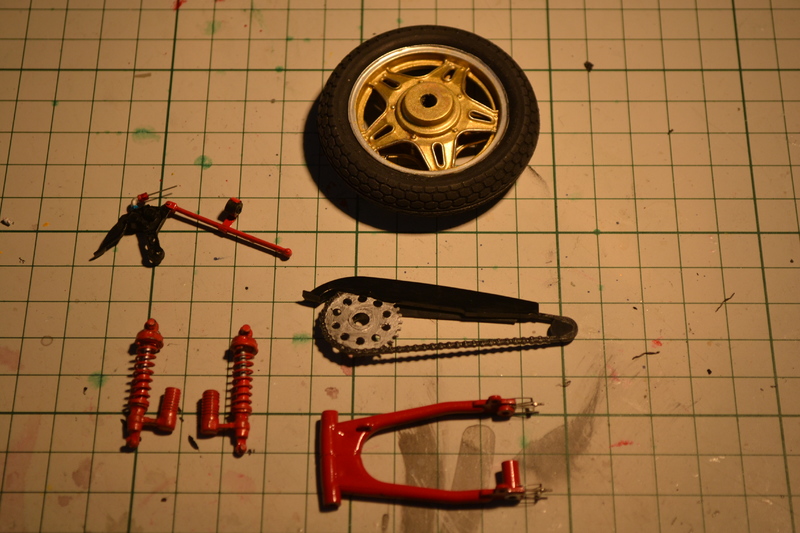
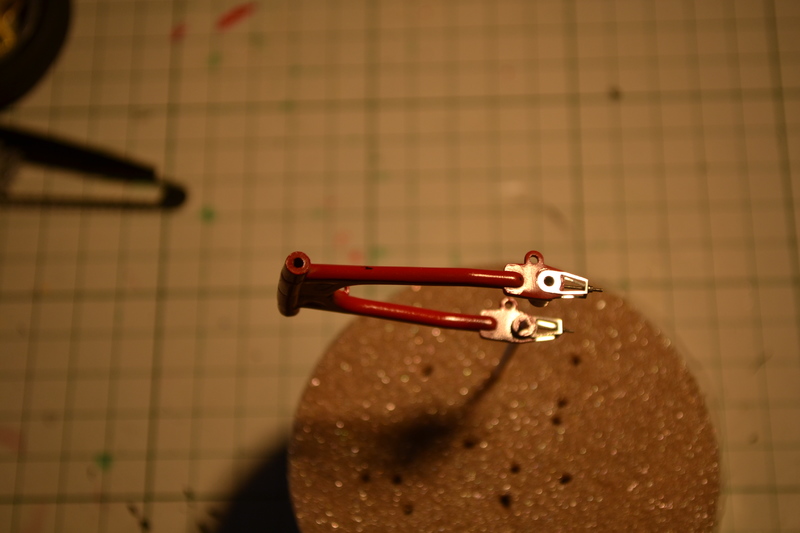
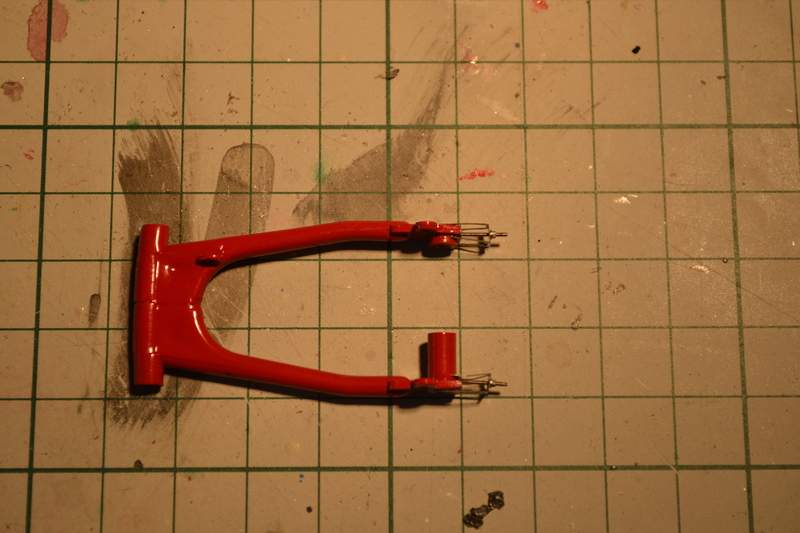
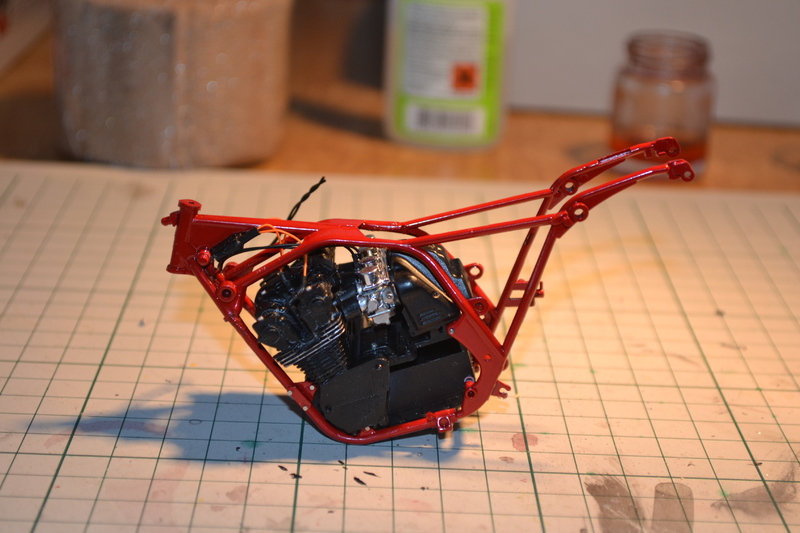
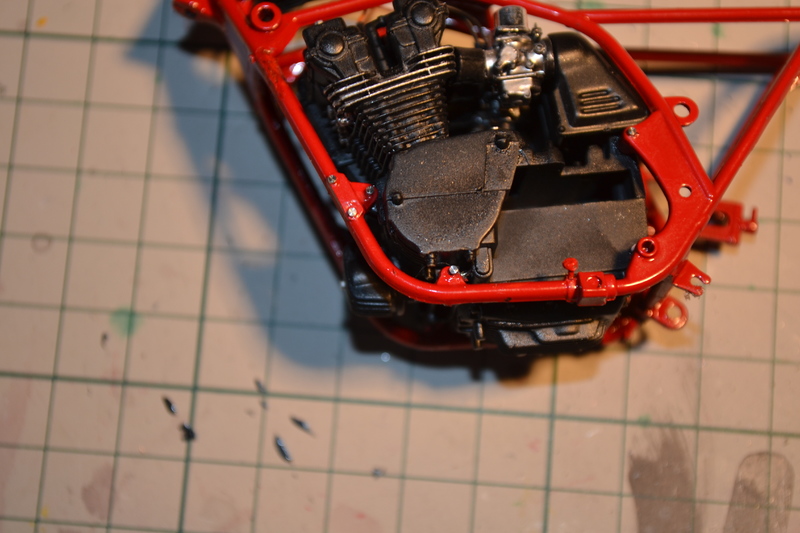
surprised if it has not been featured before, but looking at the kit i have decided that there is some improvements that could be made to some of the parts and after my last build i have got the customizing bug so i am going try my hand at a custom paint job as well as try and improve some of the parts, it is an old kit so some of the parts may not fit although it is a tamiya kit the earlier ones did have a problem with fit i will start with the photos of the parts i have also started with the engine here is the photos so far
Image

Image

Image

Image

Image

Image

Image

Image

Image

Image
User avatar
Clashcityrocker
Modelling Gent and Scholar
Posts: 10817
Joined: May 1st, 2011, 12:31 am
Location: Adelaide. South Australia

Re: Honda CB1100R

Post by Clashcityrocker »

Look forward to this. Seems to be a nice kit.

Nigel
gbrwn56
The Bug Has Well And Truly Bitten
Posts: 493
Joined: June 5th, 2015, 12:29 am
Location: Livingston, Scotland

Re: Honda CB1100R

Post by gbrwn56 »

Should be a very nice build, looking forward to see it.
George B.
syd-baines
Modelling Gent and Scholar
Posts: 1050
Joined: September 10th, 2013, 4:22 pm

Re: Honda CB1100R

Post by syd-baines »

i have started on the engine i built the engine minus the clutch and the rest of the side covers as i have also glued the frame together i should be able to squeeze the engine in without the covers on
i tried this on another bike and it worked, anyway back to the engine, i cut the molded nut heads off, then drilled some very fine holes where i cut them off ready to put some hexagon rivets, i then sprayed it with tamiya x18 semi gloss black i then dry brushed some tamiya xf16 matt aluminium on the top fin edges and painted the exhaust flanges with humbrol silver enamel as it is finer than tamiya i then put the rivets on i also put some photo etched bolts round the sump, i am going to do the same with the engine side covers i have already painted them two with black enamel and two with gold enamel both colours are gloss the instructions tell you to paint semi gloss black but i wanted them shiny as i hope to custom paint the body work, i also put thinner plug leads on anyway here is the engine so far

Image

Image

Image

Image
User avatar
Clashcityrocker
Modelling Gent and Scholar
Posts: 10817
Joined: May 1st, 2011, 12:31 am
Location: Adelaide. South Australia

Re: Honda CB1100R

Post by Clashcityrocker »

Off to a great start Syd.

Nigel
User avatar
Dazzled
Modelling Gent and Scholar
Posts: 9592
Joined: October 1st, 2011, 11:08 pm
Location: Mid Glamorgan, South Wales
Contact:

Re: Honda CB1100R

Post by Dazzled »

Looking great so far Syd. There is indeed another build thread of this kit on the forum.

http://uamf.org.uk/viewtopic.php?f=24&t=6965

I built it back in 2013. It's not without issues but it does build up into quite a nice model. The biggest problem I had was with the decals but if you're going for a custom paint job this shouldn't be a concern.

Looking forward to seeing this progress 8-)
COLD WAR S.I.G. LEADER

Wherever there's danger, wherever there's trouble, wherever there's important work to be done....I'll be somewhere else building a model!
syd-baines
Modelling Gent and Scholar
Posts: 1050
Joined: September 10th, 2013, 4:22 pm

Re: Honda CB1100R

Post by syd-baines »

thanks for the comments guys i am working on the back end at the moment i have cut the rear shocks and going to rebuild them because the slider inside the spring are difficult to paint so i am rebuilding it and putting a separate spring on i have found some model springs in my spares box so using them also i want to make the brake pipe guides so there is a lot of work to do i sorry i have not got any photos at the moment, Dazzled you said you built this model in 2013 did you have any issues with the fit of parts i have had a look at the faring and the headlight housing seems to be a bad fit it looks as if i might have to fit an fill it before i paint the faring although the instructions leave it till later the decals does not bother me as i will not be using them once again thanks photos soon hopefully
syd-baines
Modelling Gent and Scholar
Posts: 1050
Joined: September 10th, 2013, 4:22 pm

Re: Honda CB1100R

Post by syd-baines »

just a quick update i have been working on the rear shocks, i have striped the chrome off the front forks and filled the cavity at the back of the lower fork legs first with some half round plastic rod then with putty letting it dry overnight before sanding, the air box and carbs are ready to go on when engine is in the frame, Dazzled i had a look at your build of this model it is a very good looking model there is some issues with the fit of parts i now know to put the headlight housing in before painting the faring and also pleased i not using the decals if my model turns out half as good as yours i will be happy, here are the photos so far

Image

Image

Image

Image

Image
ShaunW
NOT the sheep
Posts: 26188
Joined: November 26th, 2011, 6:11 pm
Location: Pontefract West Yorkshire

Re: Honda CB1100R

Post by ShaunW »

This is great stuff Syd. The 1100R is one of Honda's best motorcycles of the 1980s IMHO and I bet decent original machines fetch a few quid in the classic bike market nowadays.
Doing - Tamiya 1/35th Universal Carrier.

Work is the curse of the modelling classes!
IPMS#12300
syd-baines
Modelling Gent and Scholar
Posts: 1050
Joined: September 10th, 2013, 4:22 pm

Re: Honda CB1100R

Post by syd-baines »

i have been at the model desk again and built up the new rear shock, i have also filled in and sanded the front forks i am now working on the swing arm i have cut the wheel adjusters off and i am going to use some photo etch ones the rear wheel is painted i have also made a brake pipe guide from some spare photo etch also i have put the engine in the frame got to cut the spark plug leads to lenth and fix them in the coils
Image
the new made shock next to the kit part


Image
i found some thing on the internet on how to diamond cut wheels which i did to this wheel i think it is on youtube if you google diamond cut wheels i am sure you will find it


Image

Image
User avatar
iggie
Modelling Gent and Scholar
Posts: 23436
Joined: July 31st, 2013, 11:04 am
Location: North Somercotes, Lincolnshire
Contact:

Re: Honda CB1100R

Post by iggie »

Not my thing modelling bikes, but I have to say it looks fantastic

The little ring of fins around the exhaust pipe connections from the exhaust manifold are very familiar to me having previously owned a 400/4 Super Sports 8-)
Best wishes

Jim
If you can walk away from a landing, it's a good landing. If you use the airplane the next day, it's an outstanding landing
"Never put off till tomorrow, what you can do the day after tomorrow"
User avatar
Clashcityrocker
Modelling Gent and Scholar
Posts: 10817
Joined: May 1st, 2011, 12:31 am
Location: Adelaide. South Australia

Re: Honda CB1100R

Post by Clashcityrocker »

Nice work Syd.

Nigel
ShaunW
NOT the sheep
Posts: 26188
Joined: November 26th, 2011, 6:11 pm
Location: Pontefract West Yorkshire

Re: Honda CB1100R

Post by ShaunW »

Nice one Syd, it's great watching this build unfold.
Doing - Tamiya 1/35th Universal Carrier.

Work is the curse of the modelling classes!
IPMS#12300
syd-baines
Modelling Gent and Scholar
Posts: 1050
Joined: September 10th, 2013, 4:22 pm

Re: Honda CB1100R

Post by syd-baines »

thanks for the comments guys it is really encouraging, i am busy with the swing arm at the moment, i have put the wheel adjusters on the rear of the swing arm
put the tyre on the wheel painted the chain made up the other shock and made a brake pipe guide and fixed it on the arm from the brake caliper, i have also put the air box complete with carbs in the frame

Image

Image

Image
the adjuster is a threaded rod with a minute nut which will unscrew and screw up

Image

Image

Image
the air box and carbs was a bit tight to get in but i managed it anybody that is thinking of building a motorcycle and building the frame up first i would leave the top of the carbs off till the air box and carbs are in the frame, later tamiya kits you do build the frame up first, also note the hex, rivets for the engine mounts and also the attachment for the side stand spring
ShaunW
NOT the sheep
Posts: 26188
Joined: November 26th, 2011, 6:11 pm
Location: Pontefract West Yorkshire

Re: Honda CB1100R

Post by ShaunW »

Oh yes, that looks very realistic Syd, you are doing great work with this.
Doing - Tamiya 1/35th Universal Carrier.

Work is the curse of the modelling classes!
IPMS#12300
Post Reply

Return to “Cars, Trucks, Bikes, Locos and other civvie vehicles”