Page 1 of 4
Kawasaki Ninja zx-rr
Posted: March 12th, 2017, 2:52 pm
by syd-baines
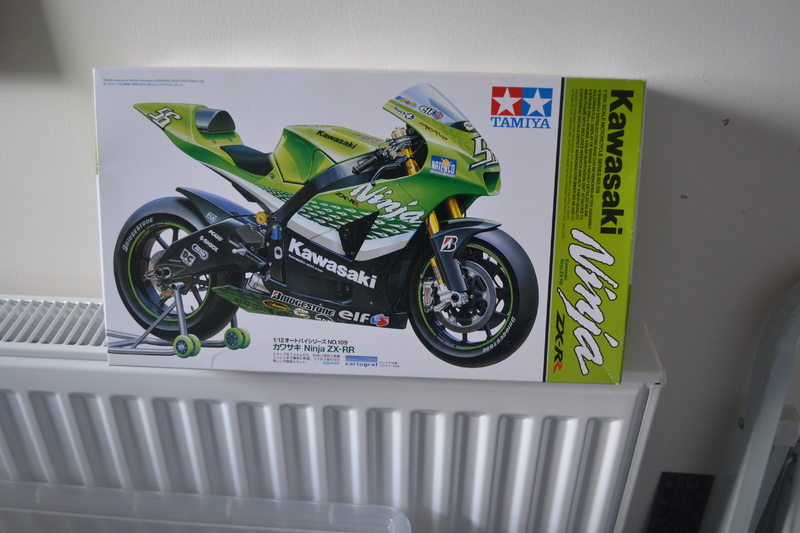
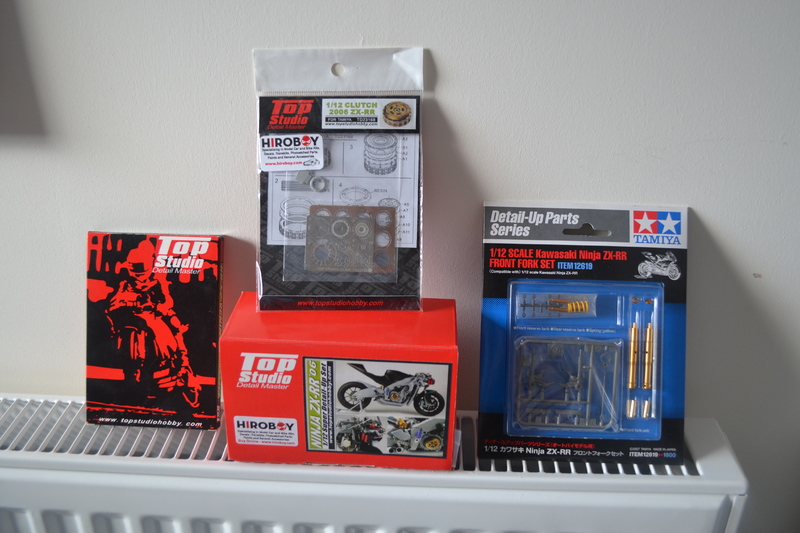
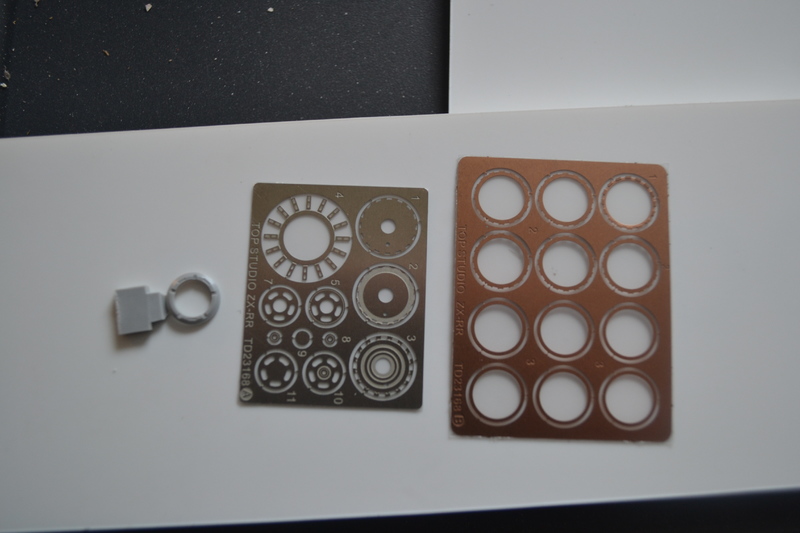
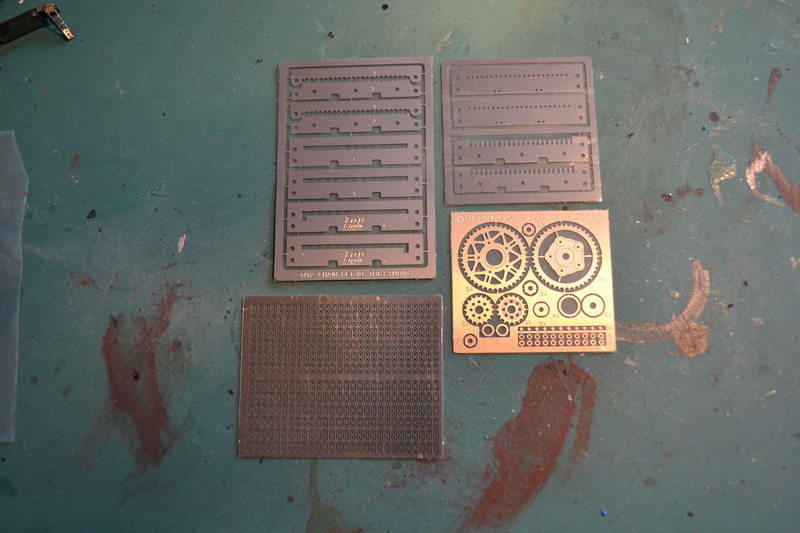
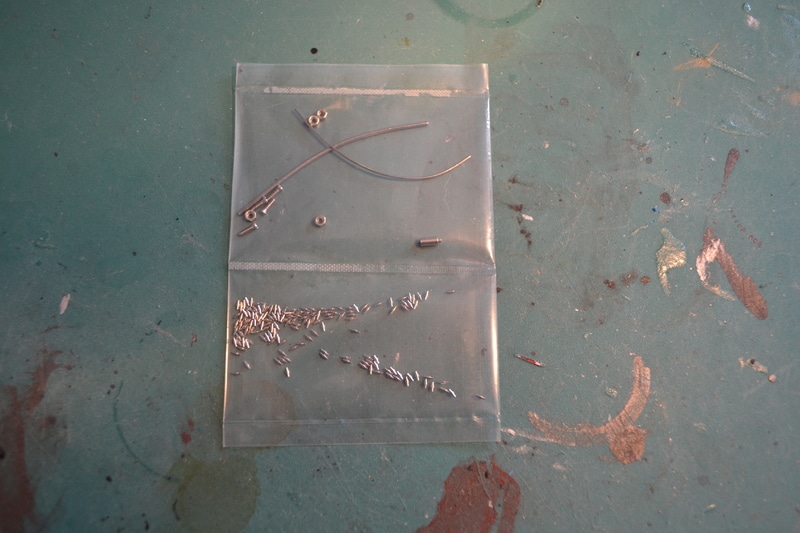
this is my next project it is tamiya`s 1/12th Kawasaki Ninja ZX-RR, the kit came with Tamiya`s front fork set, i have bought a detail up set, a chain set and a clutch set for it i have a wiring harness to make the clutch i have to make the cage and put the individual clutch plates in just like the real bike and the chain i have to make up link by link as well as other bits i want to put on like hex. and allen head rivets, it will not be an easy model to do i only hope that i am up to the build it will not be a quick build
hope to start in the next couple of days
Re: Kawasaki Ninja zx-rr
Posted: March 12th, 2017, 4:57 pm
by MAD STEVE
ooooh very nice indeed....
Mad Steve
Re: Kawasaki Ninja zx-rr
Posted: March 12th, 2017, 6:35 pm
by ShaunW
Nice one Syd and I look forward to seeing this. Your bench is almost like the workshops of a Kawasaki dealership with all those additional parts

Re: Kawasaki Ninja zx-rr
Posted: March 27th, 2017, 3:40 pm
by syd-baines
Re: Kawasaki Ninja zx-rr
Posted: March 28th, 2017, 9:19 pm
by kpnuts
Looking very nice so far syd
Re: Kawasaki Ninja zx-rr
Posted: March 29th, 2017, 5:12 pm
by ShaunW
Great start Syd and that PE clutch assembly is something else, was it as fiddly to put together as it looks?
Re: Kawasaki Ninja zx-rr
Posted: March 30th, 2017, 11:08 pm
by syd-baines
thanks guys the clutch was not fiddly at all it was easy just bend the cage sides up drop the clutch plates in i put a little super glue to hold the top plate in then a couple more plates on top of them you have to be careful here as it is easy to bend the cage sides but it looks a lot better than the kit part, working on the wiring loom at the moment
Re: Kawasaki Ninja zx-rr
Posted: April 1st, 2017, 6:11 pm
by syd-baines
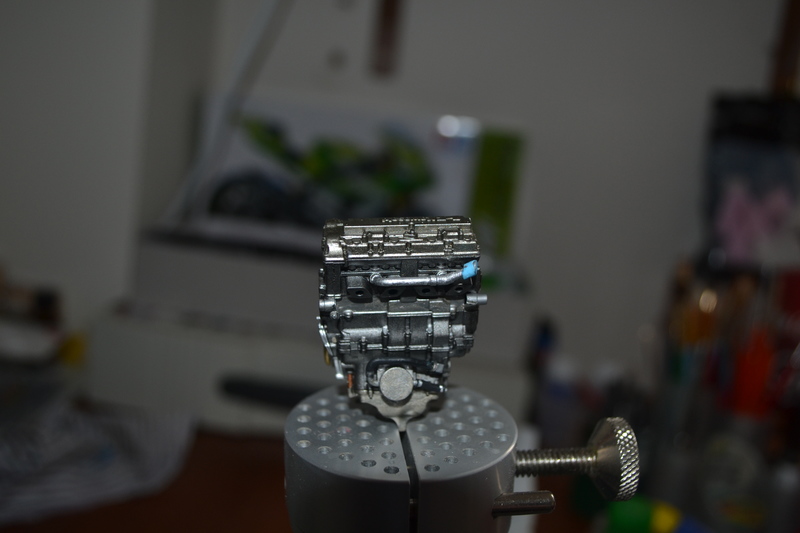
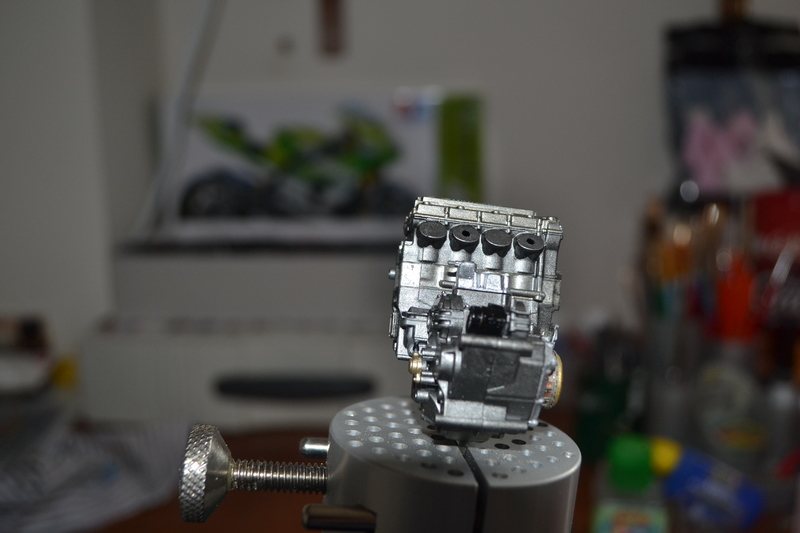
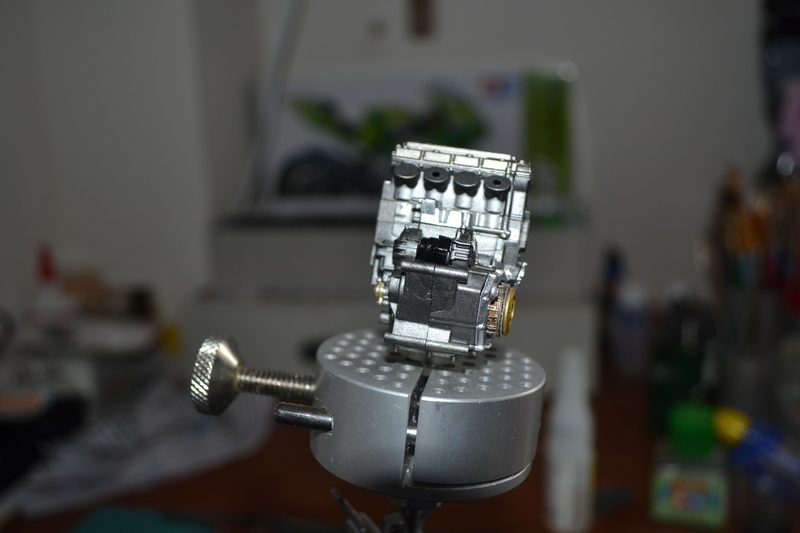
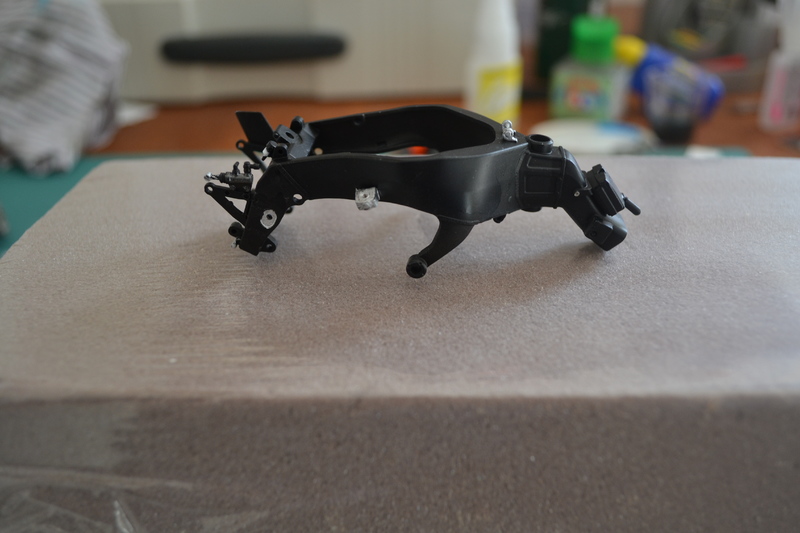
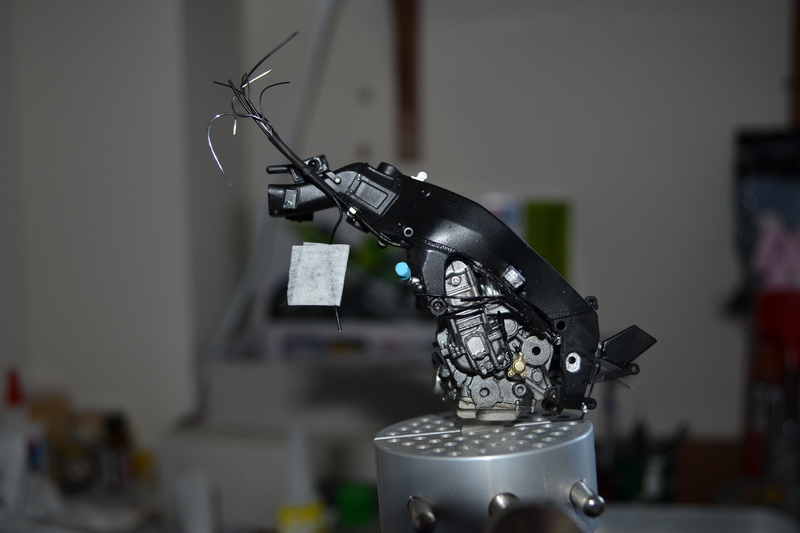
got some of the wiring loom done and ready to put on the frame the frame is painted and ready for the loom the swing arm is painted and ready for some photo etch i have also put some electric plugs and wire on the engine
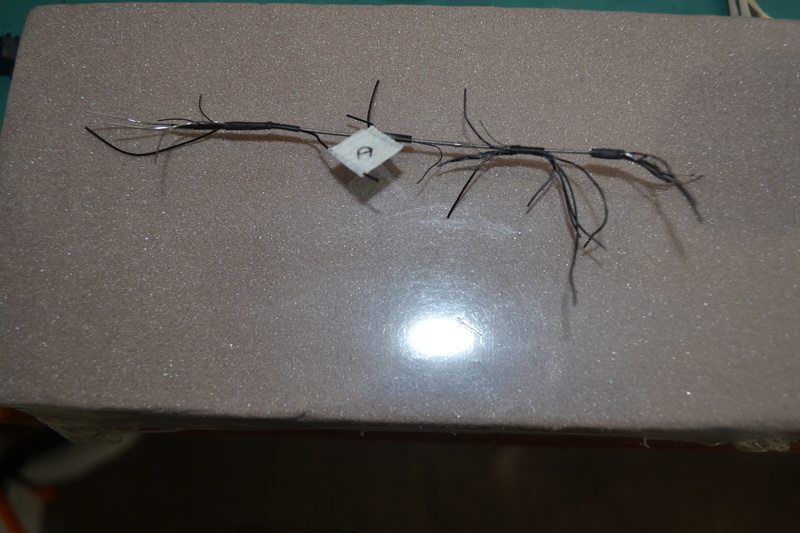
part of the wiring loom ready to put on the frame
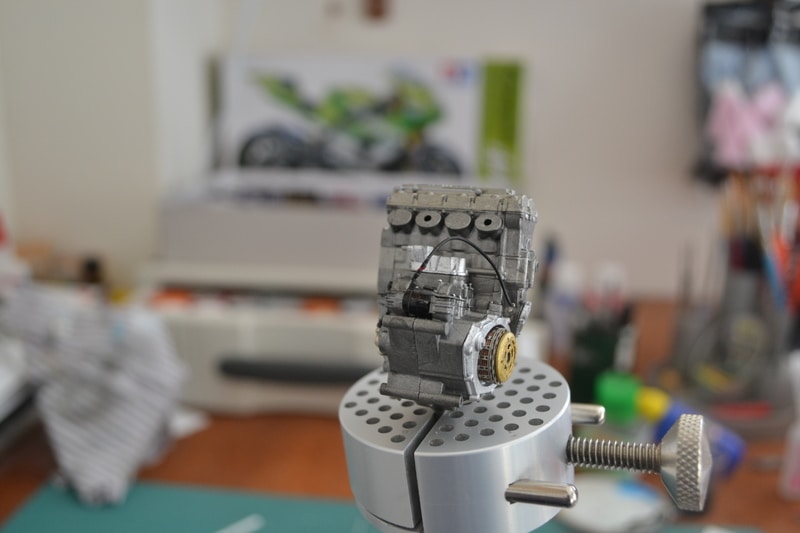
the engine with wire and plugs you can also see the clutch better in this photo
Re: Kawasaki Ninja zx-rr
Posted: April 3rd, 2017, 4:20 pm
by kpnuts
Superb details there
Re: Kawasaki Ninja zx-rr
Posted: April 3rd, 2017, 4:25 pm
by iggie
Superb detailing Syd, very smart work!
Re: Kawasaki Ninja zx-rr
Posted: April 4th, 2017, 5:23 pm
by ShaunW
Oh wow, miniature wiring looms! you certainly don't skimp on the attention to detail Syd! Great work.
Re: Kawasaki Ninja zx-rr
Posted: April 8th, 2017, 11:49 pm
by syd-baines
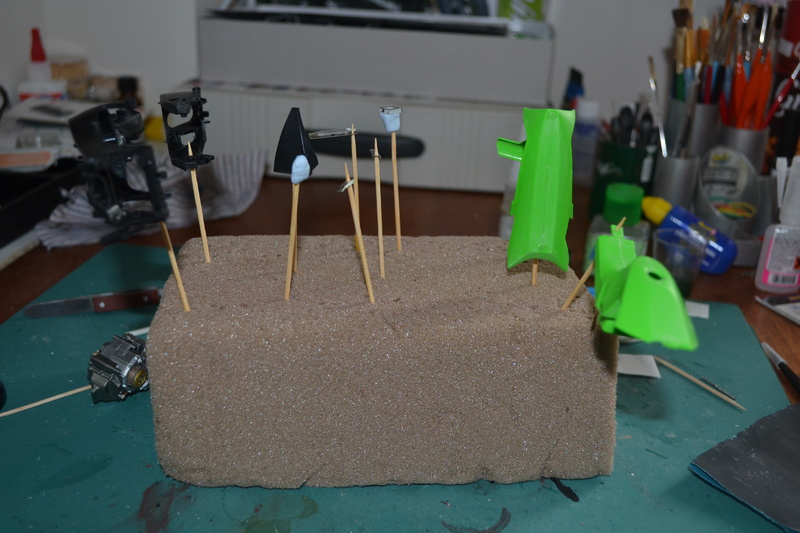
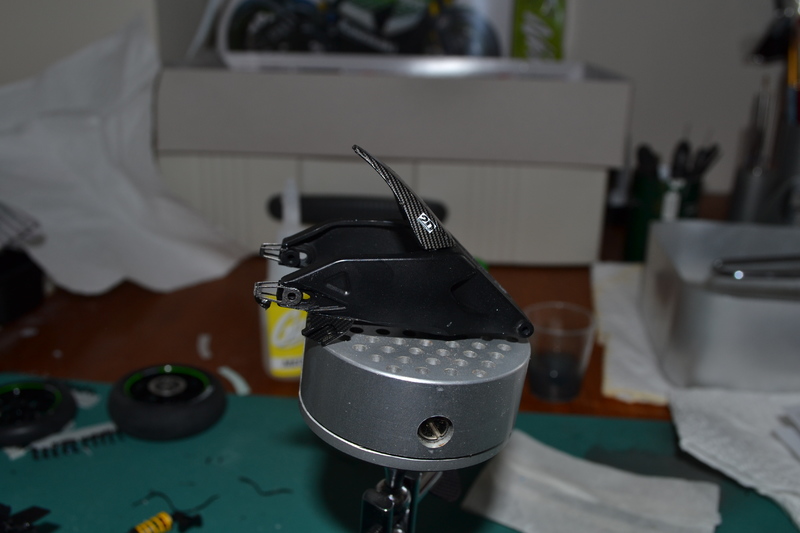
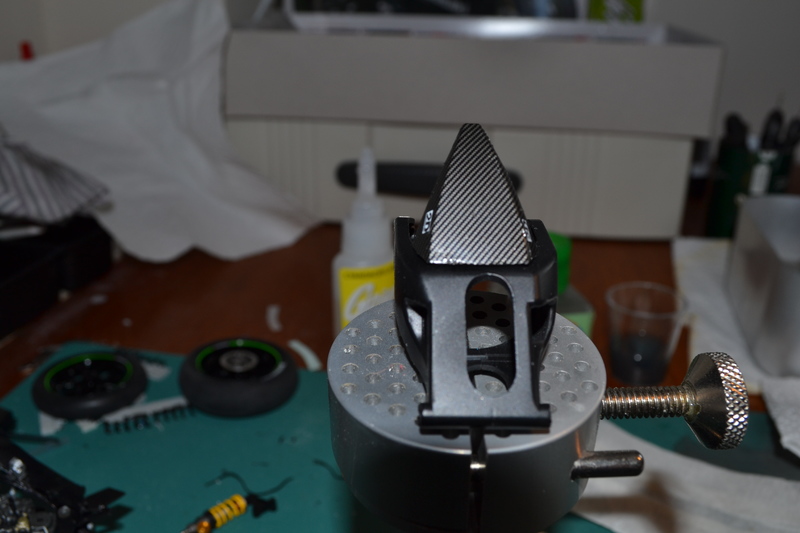
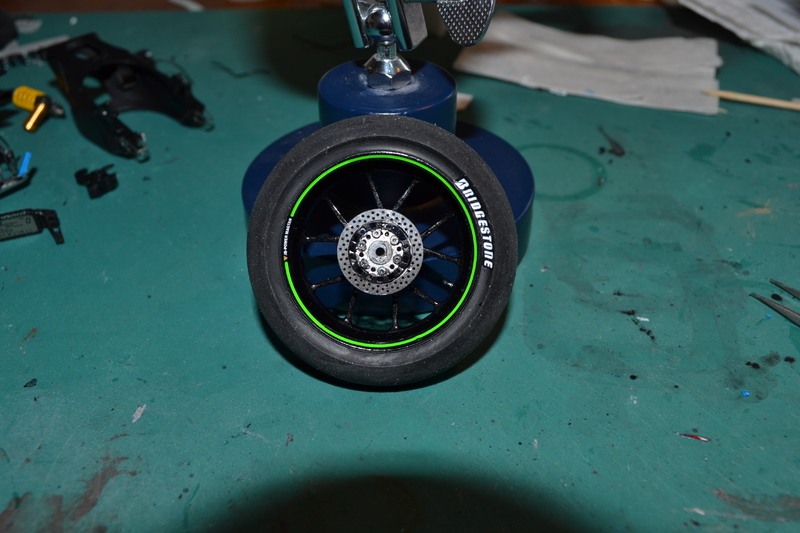
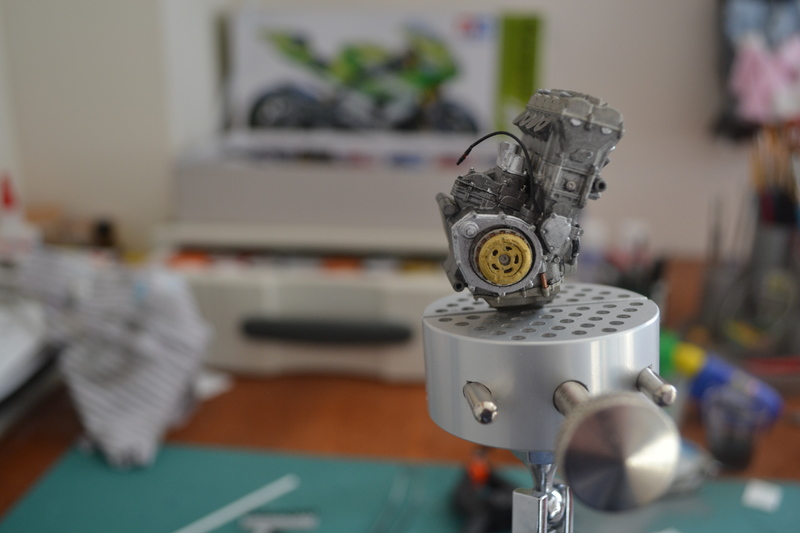
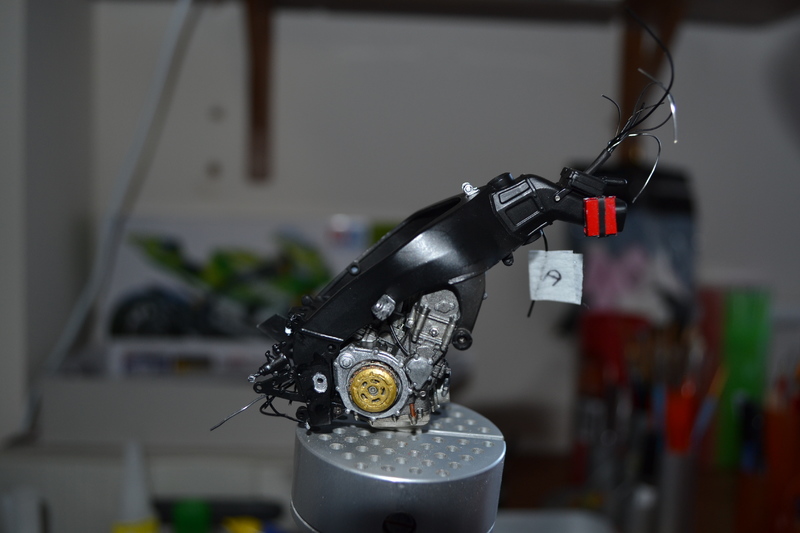
thanks guys got the wiring loom and engine in the frame got to put some wire to the engine, i am working on the swing arm and body work at moment i have cut the wheel adjusters off the rear i am going to put photo etch ones on and a bit of carbon fiber on a couple of parts
this is how far i have got with the frame and engine so far,
Re: Kawasaki Ninja zx-rr
Posted: April 10th, 2017, 11:06 am
by kpnuts
Coming along very nicely
Re: Kawasaki Ninja zx-rr
Posted: April 10th, 2017, 5:09 pm
by ShaunW
I agree, it is coming along very nicely. I haven't got over the attention to detail with the wiring loom yet!
Re: Kawasaki Ninja zx-rr
Posted: April 18th, 2017, 2:40 pm
by syd-baines