
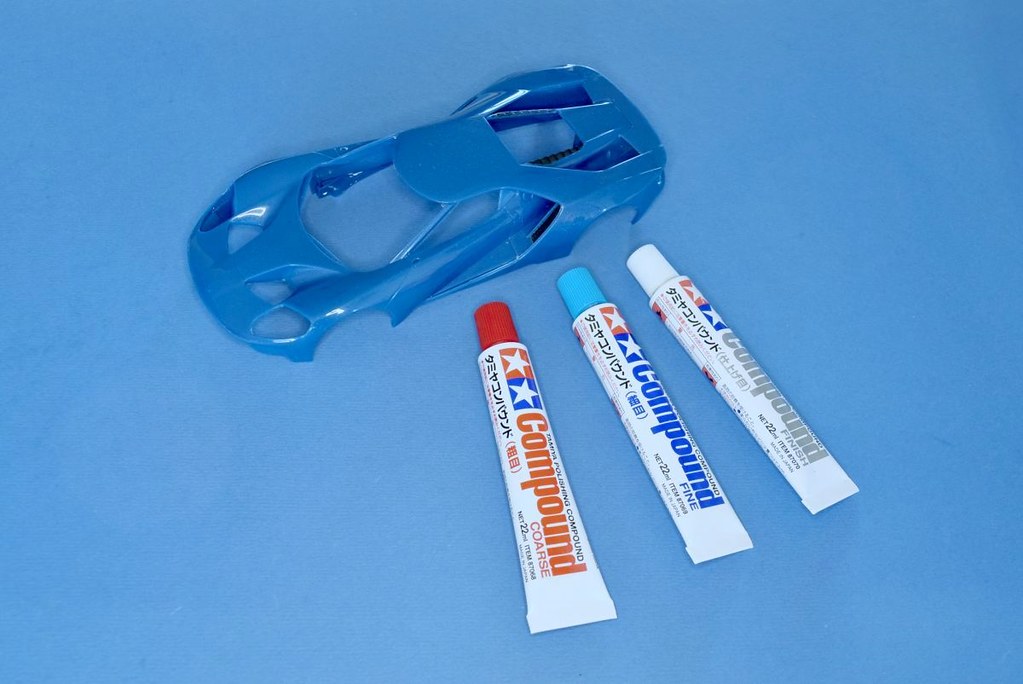
Looking at the roof, it was probably worth the effort. I confess I didn't get at all the nooks and crannies and with the shell being so complex in shape you really need some specialised tools to treat all the panels.
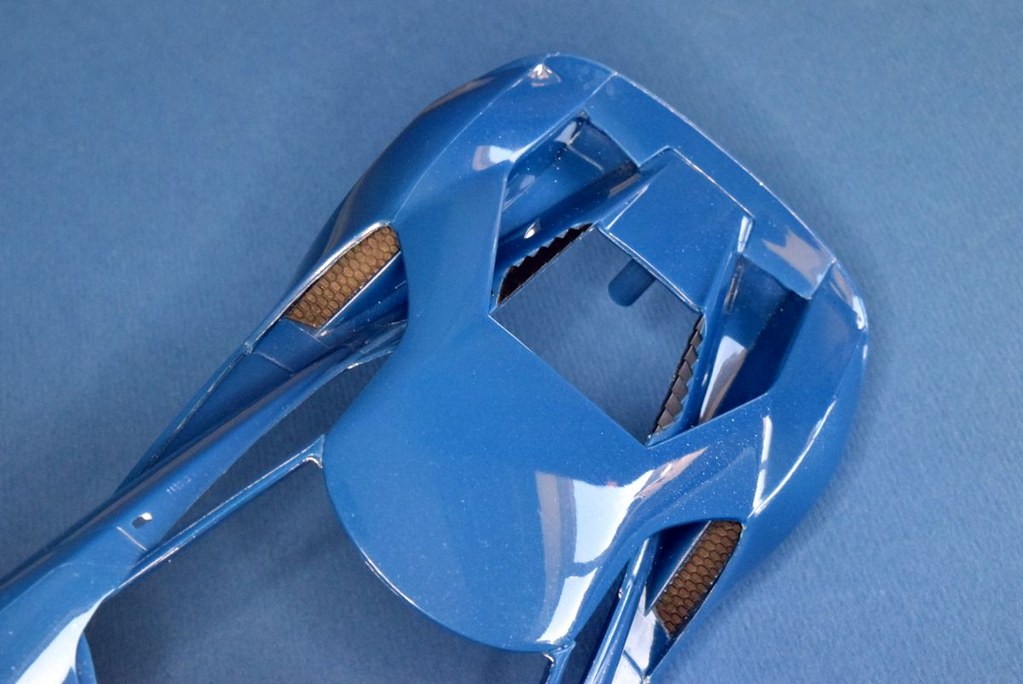
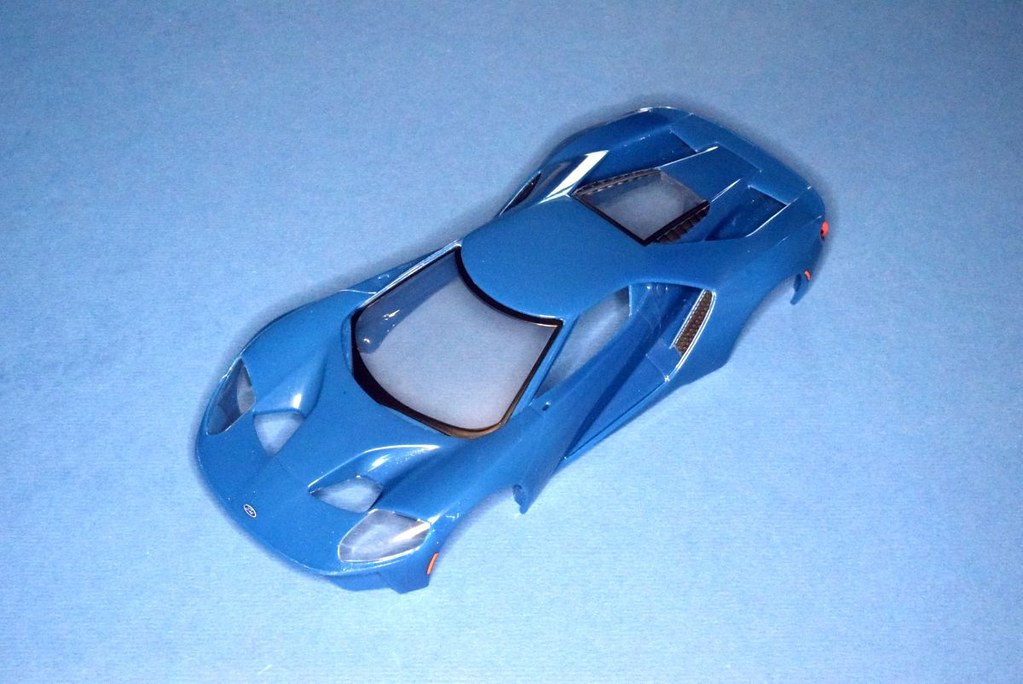
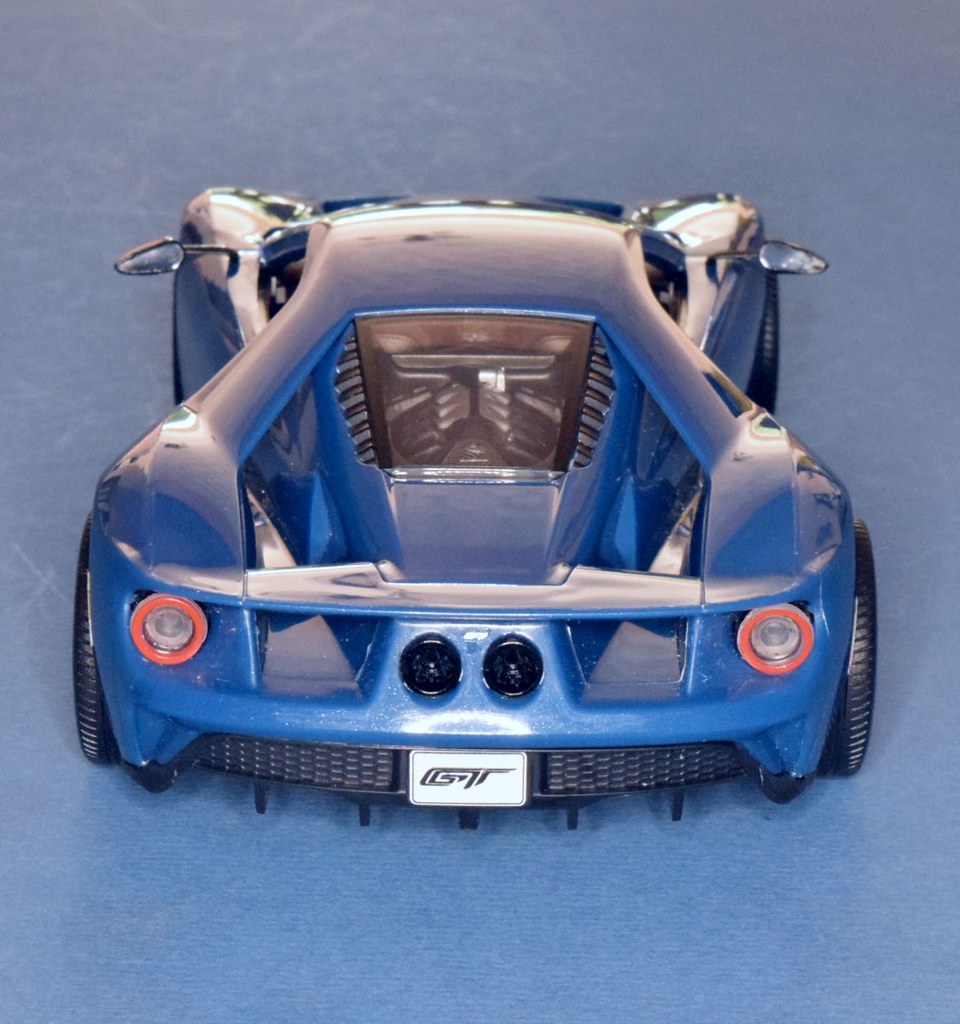
The headlamp covers were looking a little dull and these were definitely improved with the Tamiya compounds and a good buffing. I wouldn't expect a tyro to bother with any of this, most people will find what they get out of the box is perfectly fine. So the covers and the main glazing were attached to the shell. Whilst working on the shell the rear lamp housings and exhaust outlets were painted, the rear lamp lenses attached and the decals, such as they were, added. I used Tamiya Extra thin brushed into the glazing attachment points, but not the glazing boundaries themselves. Although the parts fit very well, you feel that they might com adrift a bit too easily, but having said that you could probably build without using any cement and not have any problems.
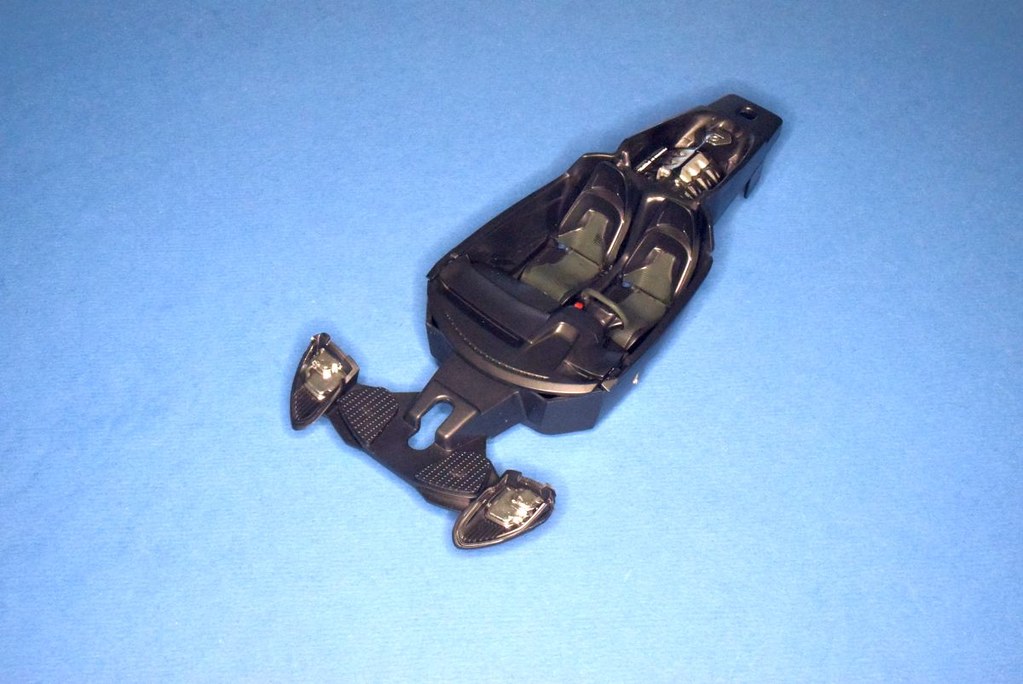
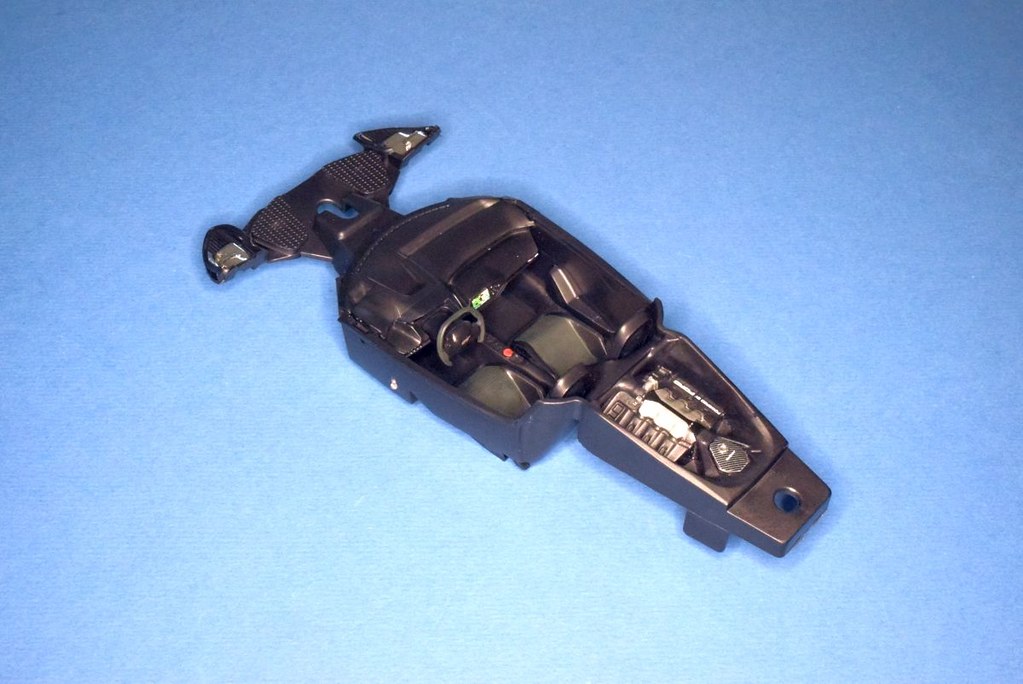
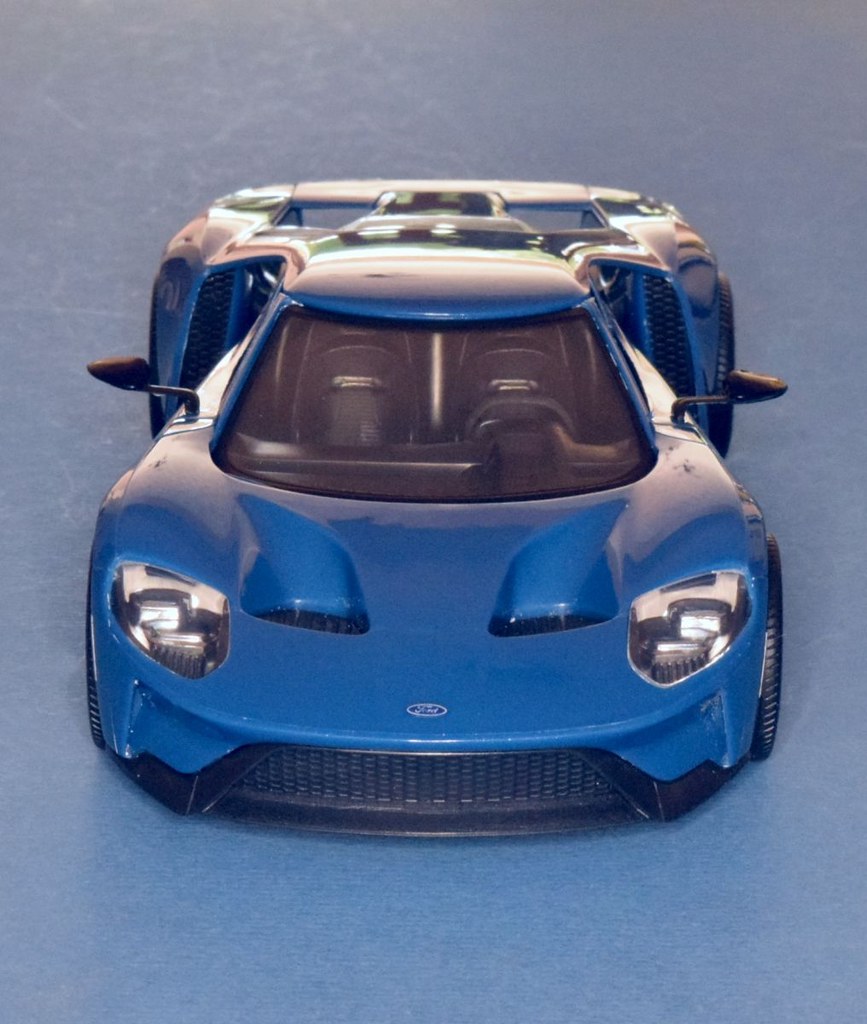
The seats had the fabric parts painted very dark grey (Tamiya NATO black) as per the instructions, but I didn't bother painting the rest of the seats. The steering wheel rim was also given a coat of NATO black and the decals added to the dash, then everything was snapped together, no issues at all. A little dot of red paint is required for the transmission controller. The engine top cover was painted with Citadel Mithril Silver, then the engine compartment decals added. The headlamp fittings were coated using a Molotow pen, the first time I've used this stuff in anger and I have to say it's brilliant, but once painted on it doesn't appear to be very robust and won't stand any handling.
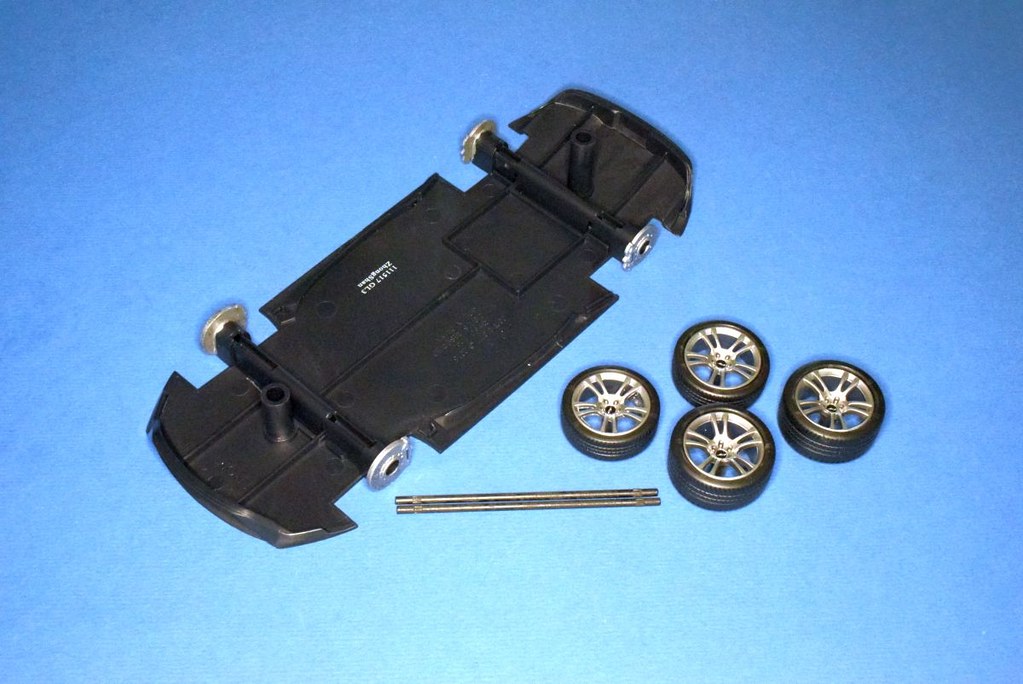
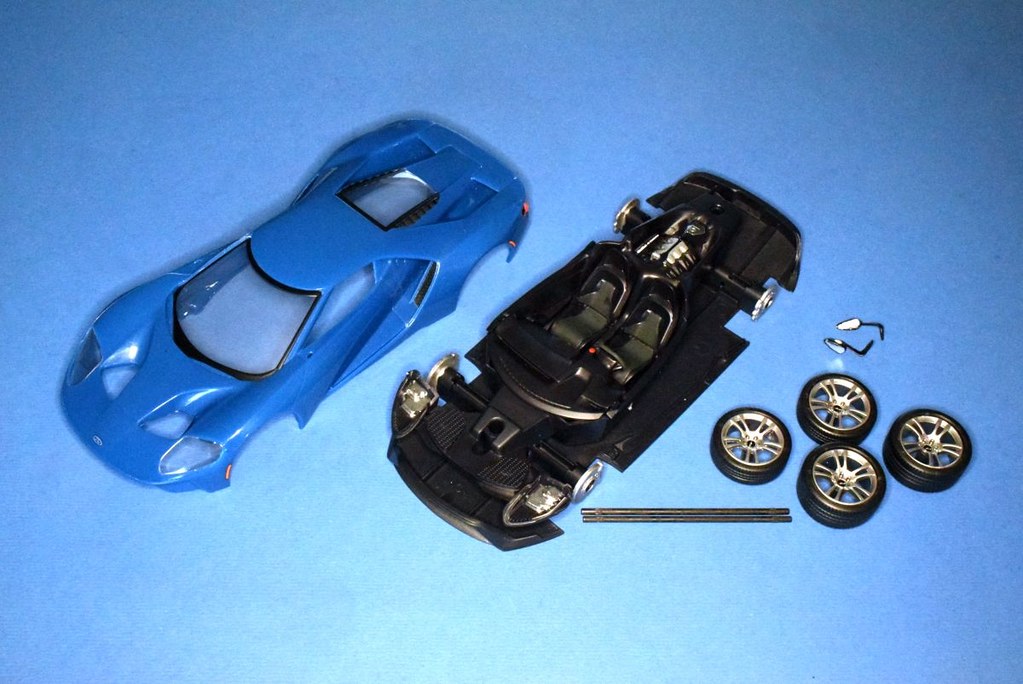
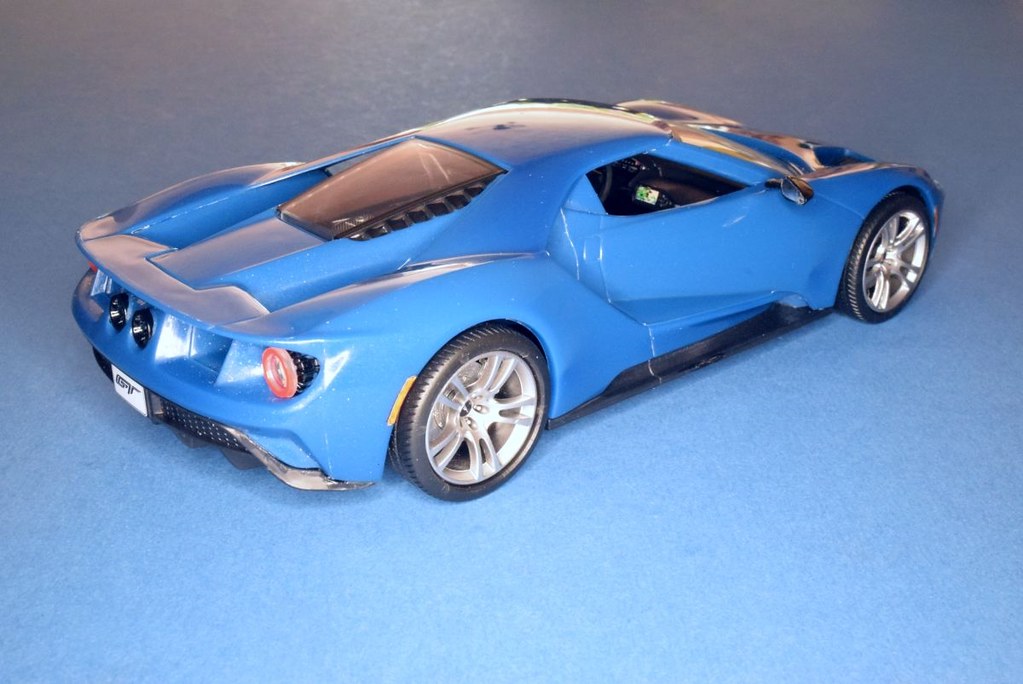
So far so good, I'm having a hoot, this is a fun build! The floor pan requires very little work, the brackets for the wheel axles snap into place after trimming off any excess from the large sprue gates and you need to paint the discs as these are very visible behind the spoked wheels. I used Citizen Chain Mail for the discs and Mithril Silver for the calipers. It needs a couple of coats but the paints are set after about 10 minutes and can be re-coated without any problem. There's tiny 'Brembo' decals for the calipers, I put them on, but I doubt anybody would ever notice they're there. The wheels are very nicely pre-painted, but when putting on the the tyre's I noticed that there is in fact quite a bit of flash on the inner part of the rims. I trimmed the worst of it off, but I didn't want to go so mad with it as to spoil the paint effect, so there's still some remaining. Fortunately the overall impressive look of the wheels draws the eye away from this glitch. I had previously noted during the in-box review that the mirrors were hollow shells. These were filled with UV activated glue, which if you're careful is self-levelling. A few moments exposure to a UV torch and you're ready to work on them with the Molotow pen.
Everything lined up for final assembly. First off pop the tub into the shell. then et voila!
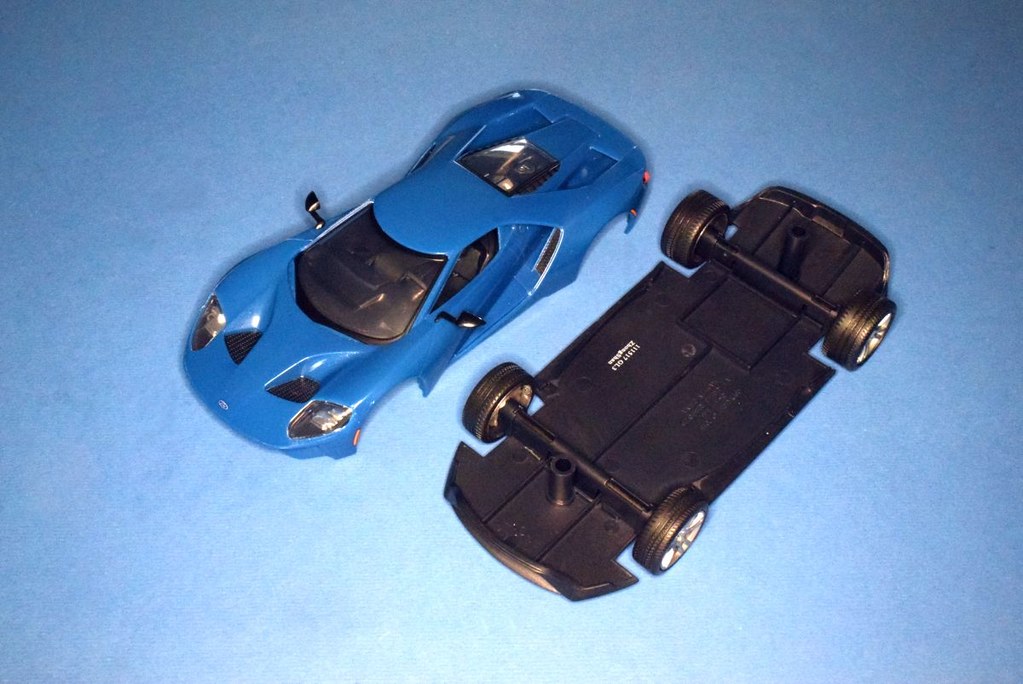
Except not quite. Everything is located together by two towers projecting from the shell and held in place by two large locking pins pressed into the towers. The problem is that although the pins hold very firmly - they are actually very difficult to press all way home - the floor is not stiff enough to give the appearance of being connected to the shell. When you pick the model up the floor droops noticeably and doesn't fit well either at the front or the back. This was something that I was expecting but I didn't fancy doing a trial run because I thought the pins might be difficult to remove. I would have been right, the pins would be impossible to remove once pressed into place. I think Revell could have mitigated against this problem by having some sort of attachment where the shell meets the sills. I adopted a plan that I'd already had in mind and using a few rubber bands strapped everything firmly together, then ran some Extra Thin into all the mating surfaces, then put the whole lot to one side. A couple of hours later all the bands were removed, et voila!
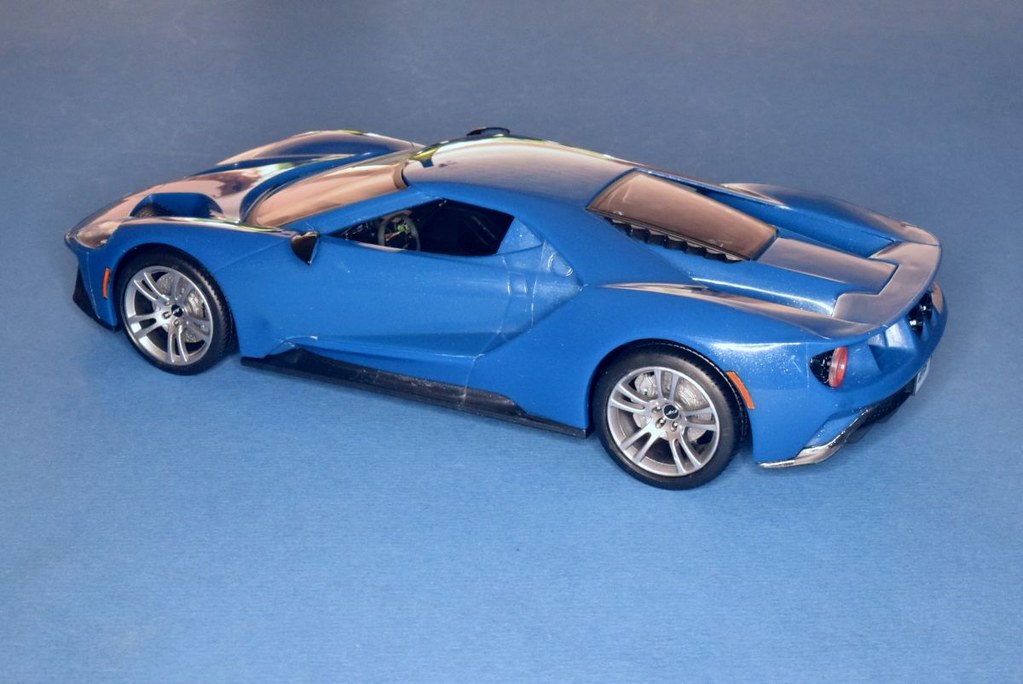

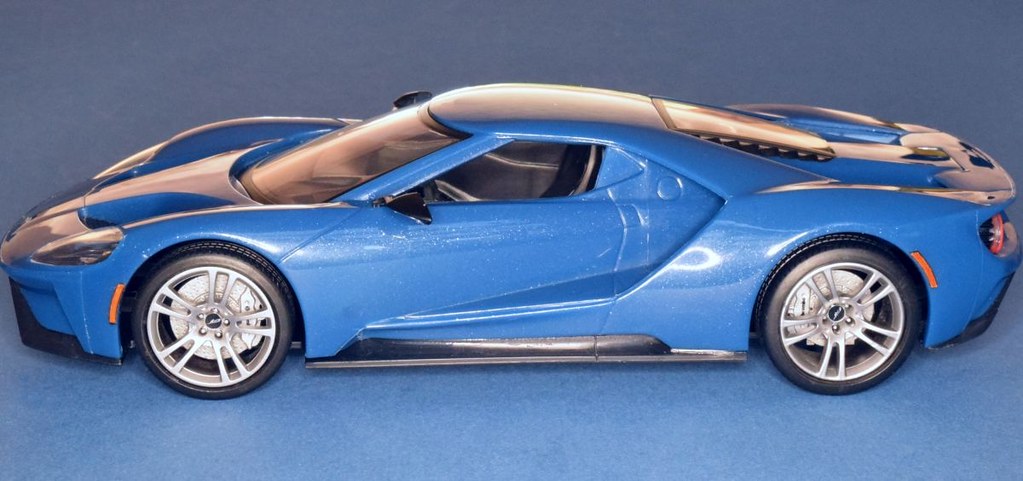
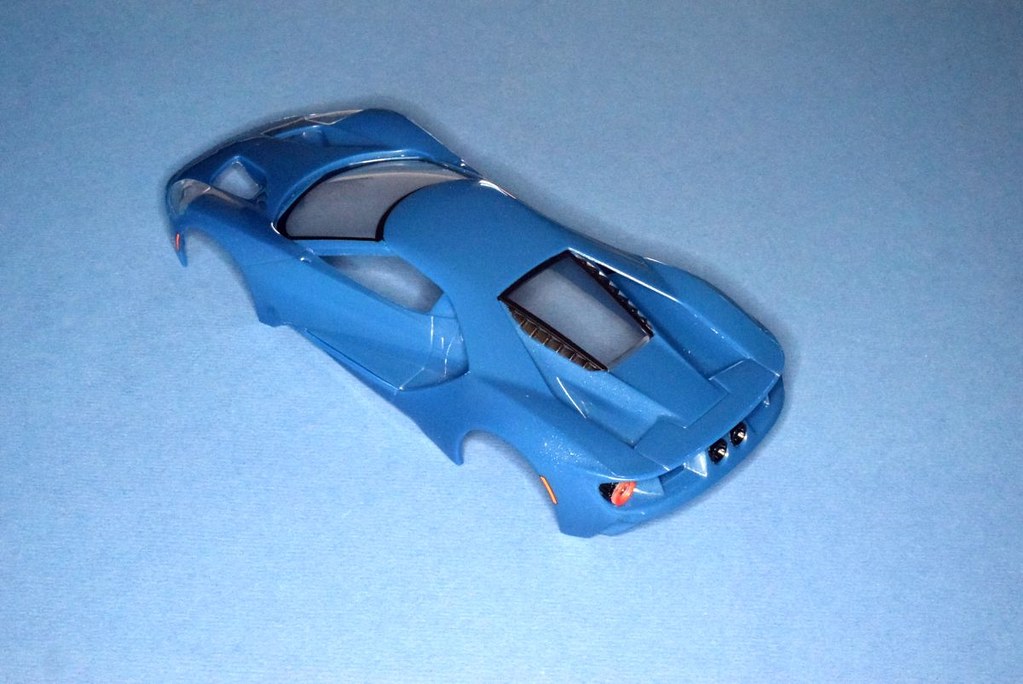
Check out that profile! A little bit taller than the original 40", but still a case of 'ooh my back' getting in and out. I am very pleased with the result of only a couple of hours work. Final jobs after removing the rubber bands were replacing the indicator decals with the vinyl stickers, because a couple of them had flaked under the rubber bands. The vinyl was a little lacking in colour so I painted over them with some Humbrol translucent amber. Then a final polish to remove any dust and fingerprints before taking the photos.
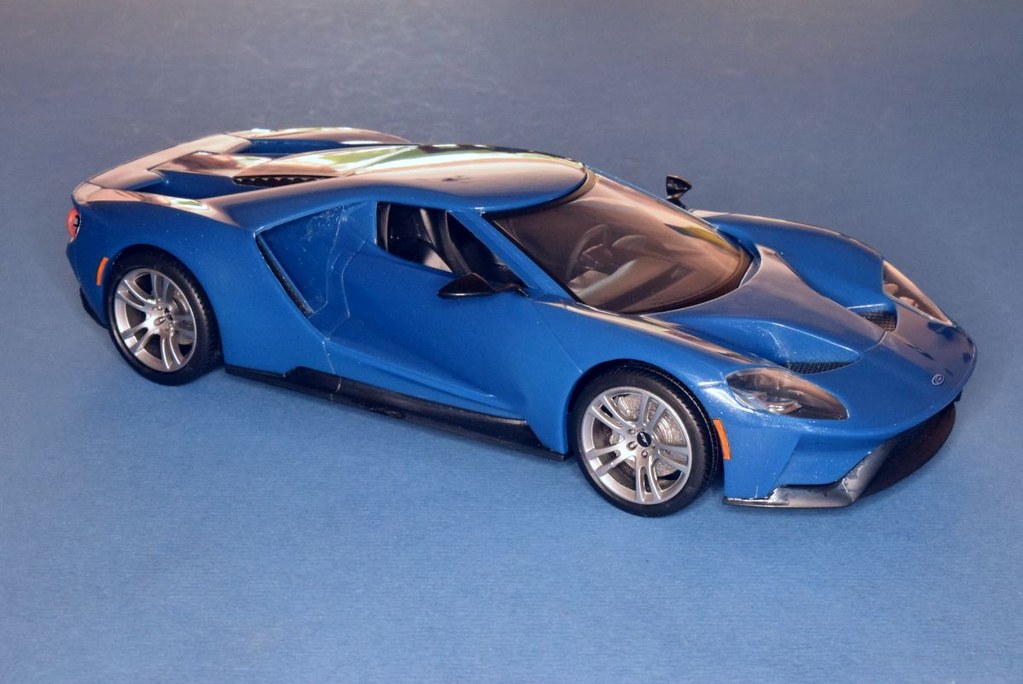
I must say this was a very enjoyable build even with the shell/floor issue that 99% of punters would have ignored in any case. Without the fix I used to secure the shell to the floor, you'd still have a good looking model to place on a shelf and nobody would be the wiser unless they picked the model up. I'm a little surprised that the kit came with empty mirror casings, but it wasn't difficult to fix. I think if I were to build another one I'd probably paint the shell (the Gulf Oil scheme beckons) and I did toy with the idea of spraying this one with Tamiya clear blue to make the colour look a little more vibrant and give it some depth, but that would have been straying well beyond my self-imposed brief of building it as an average punter. For any of the latter this kit should tick all the right boxes and you end up with a very nice model of a stunning looking car. Even Mrs PB likes it!
Link to instructions
PS: For those of you that prefer 'proper' kits, I can tell you that the 1/25 Ford GT developed by and prior to the demise of Revell US will be on release later this month.
