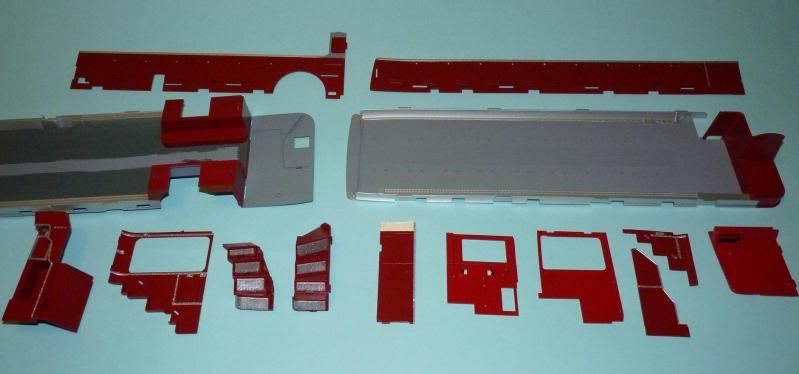
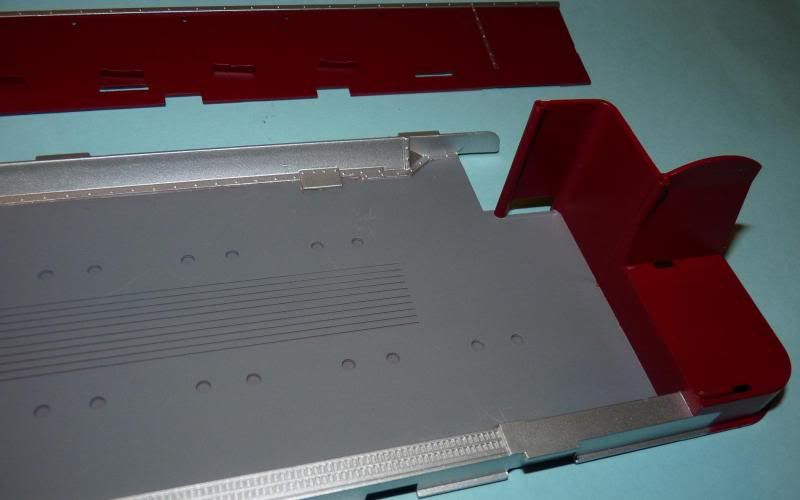
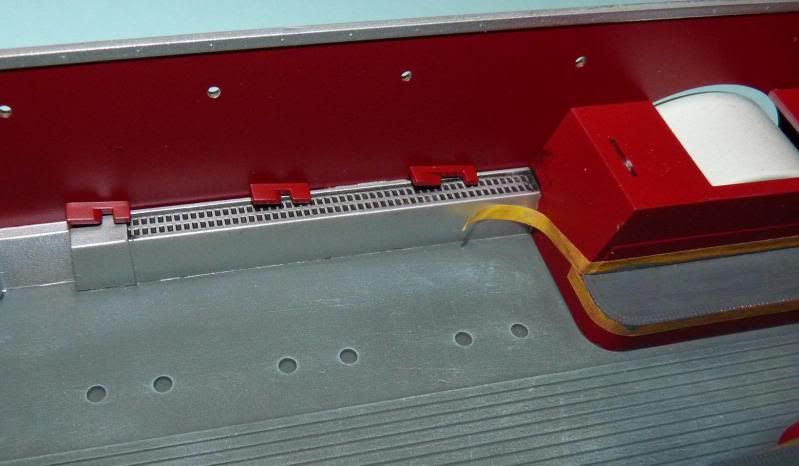
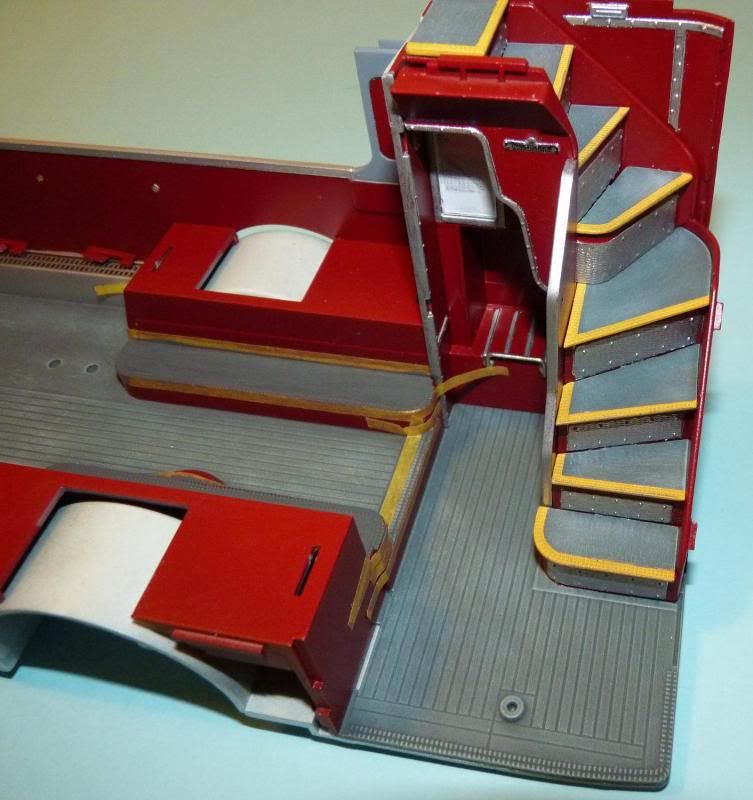
Here's the main chassis built...only a few parts here but it ends up looking quite complex...
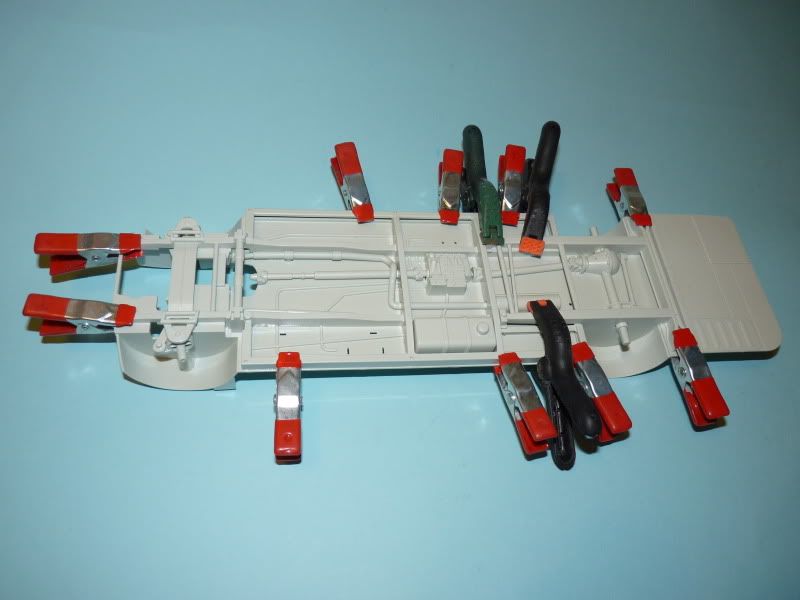
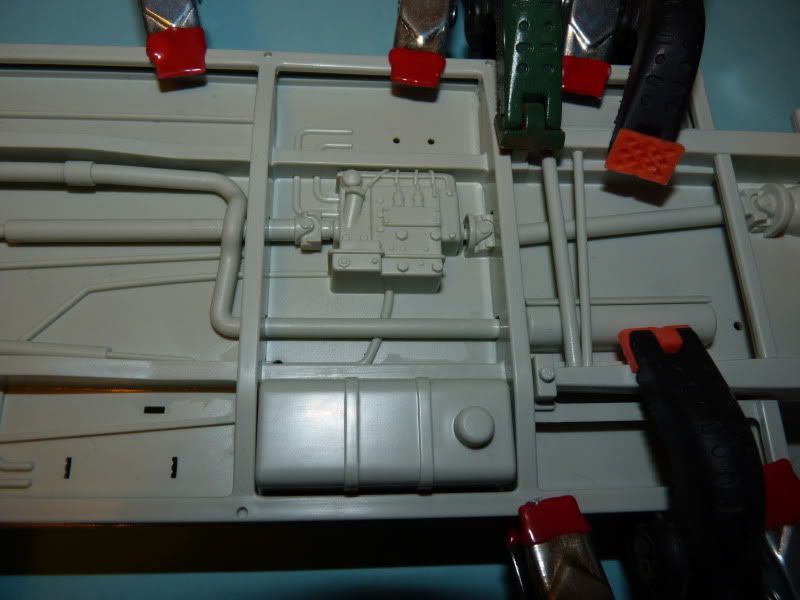
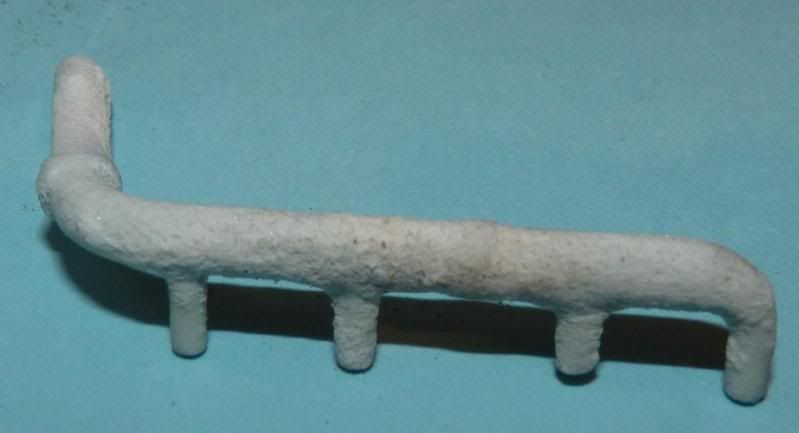
Some nice detail moulded in...
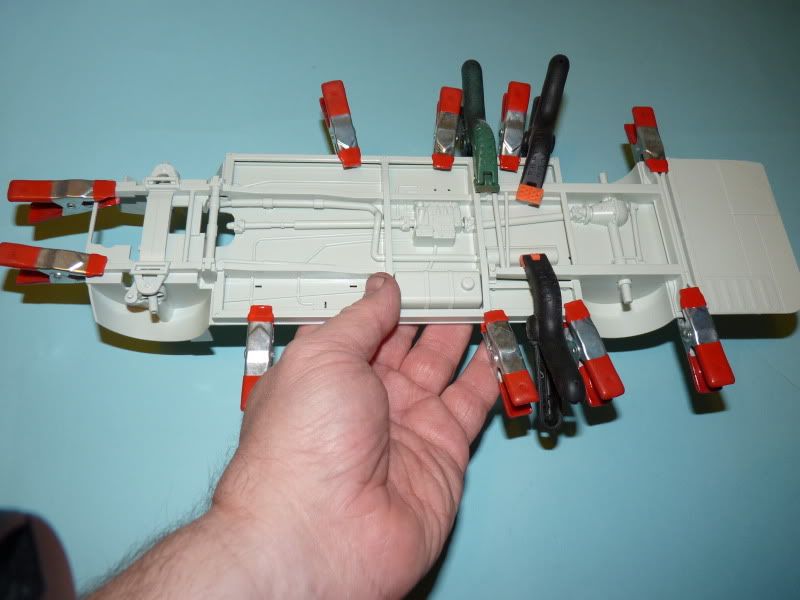
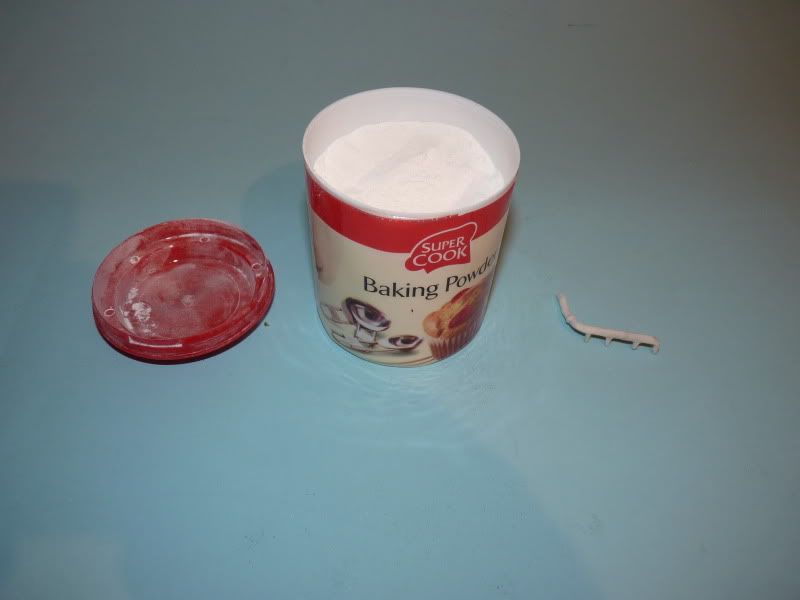
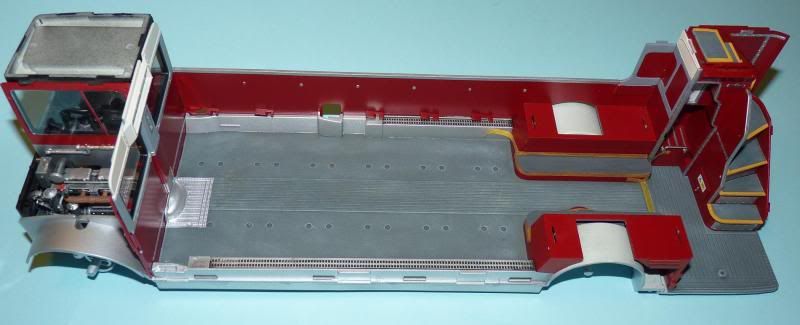
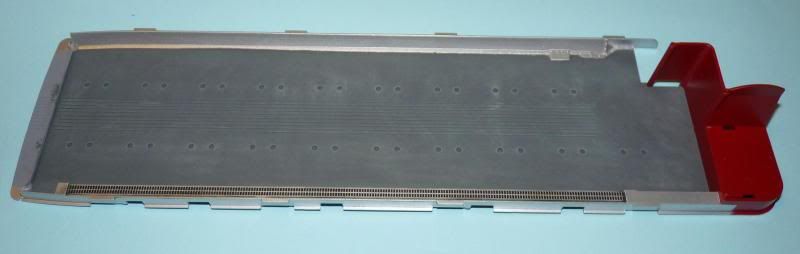
This gives an idea of the size...
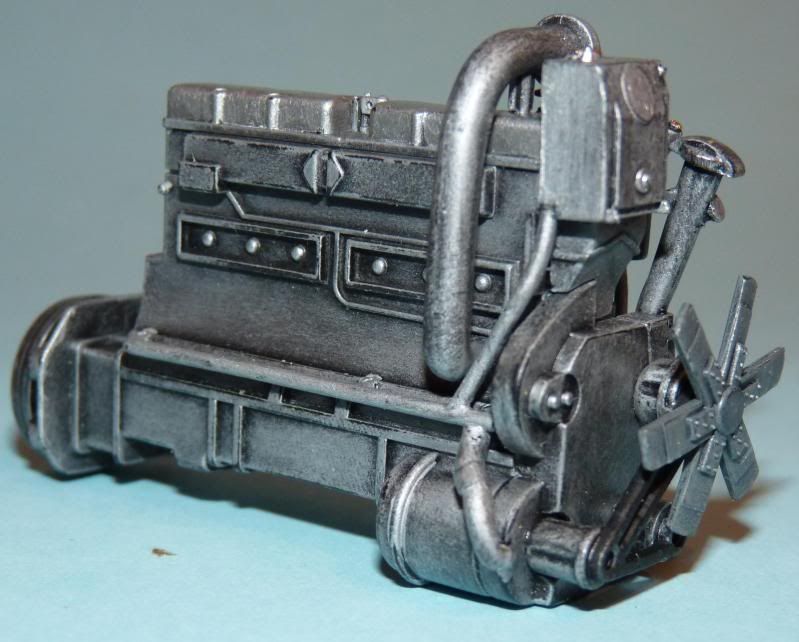
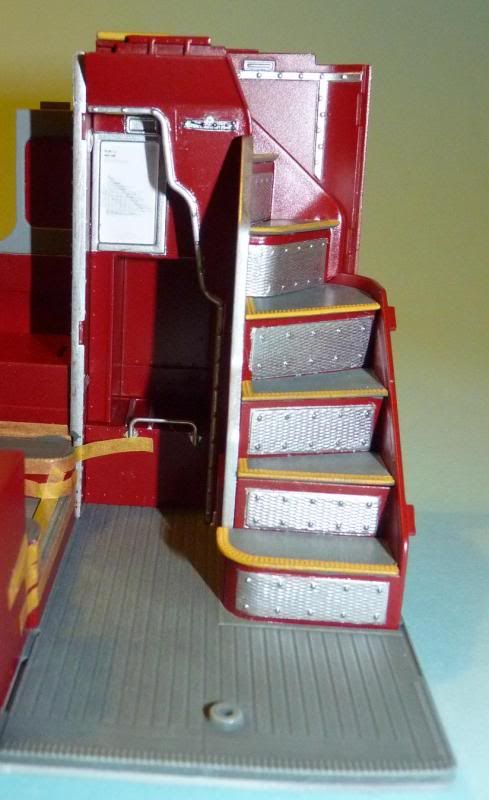
Now on with the engine...
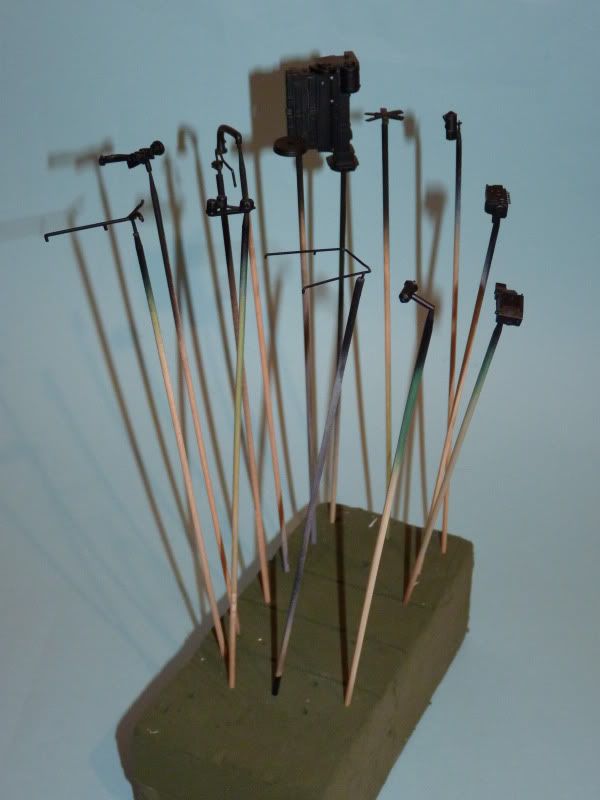
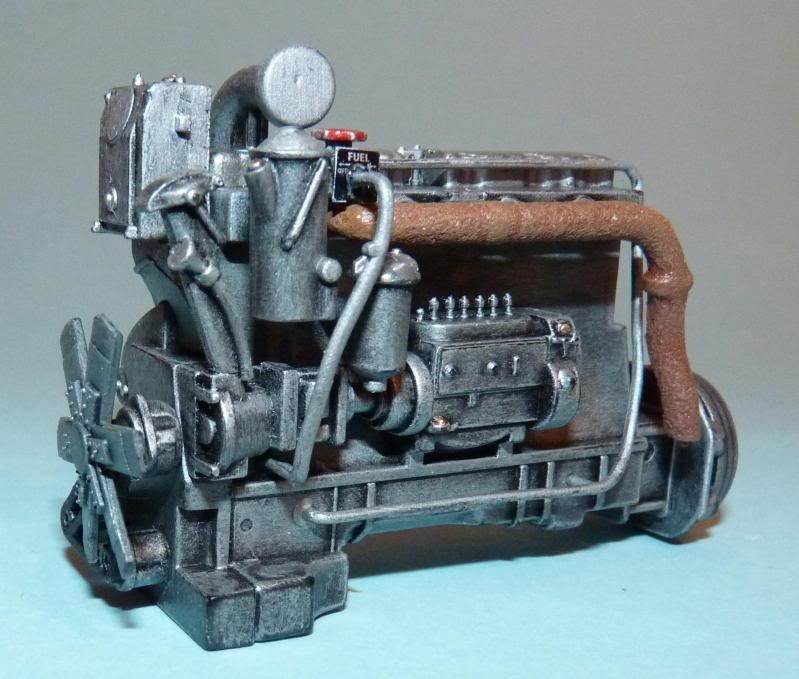
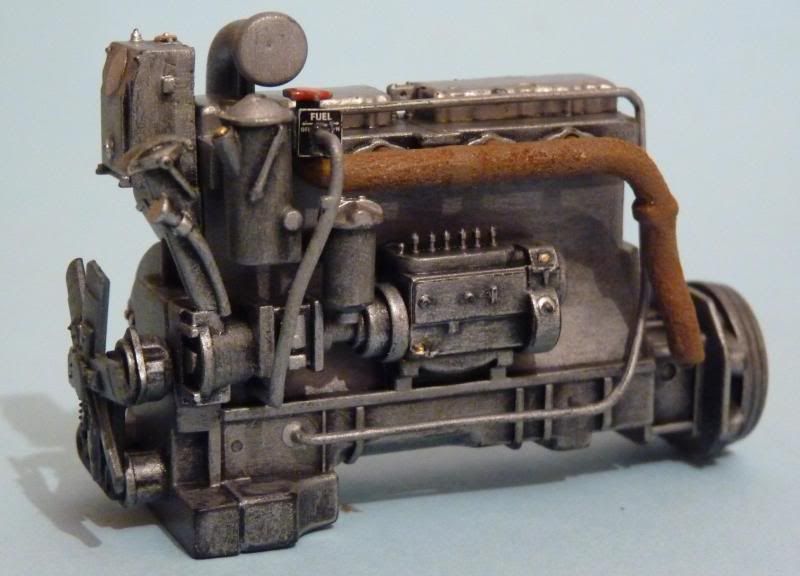
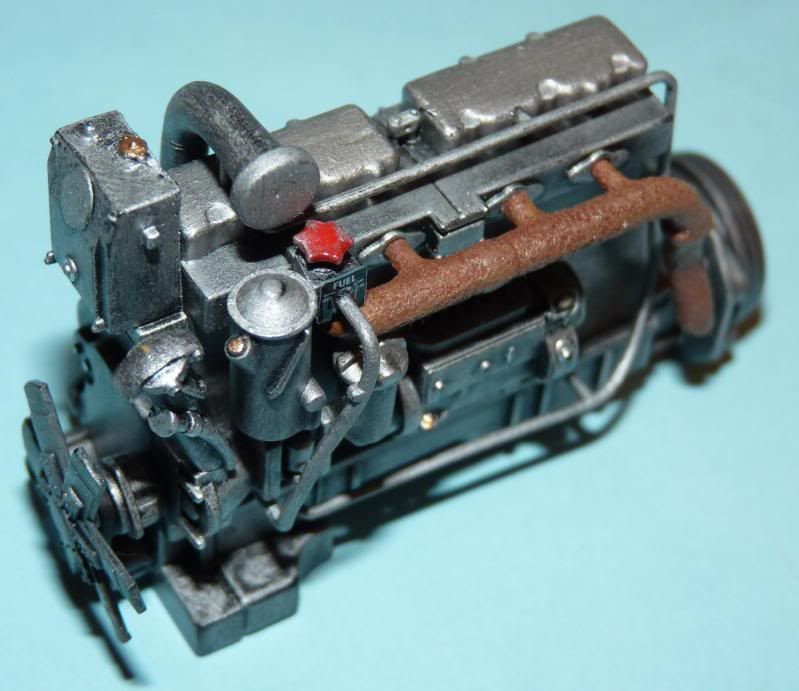
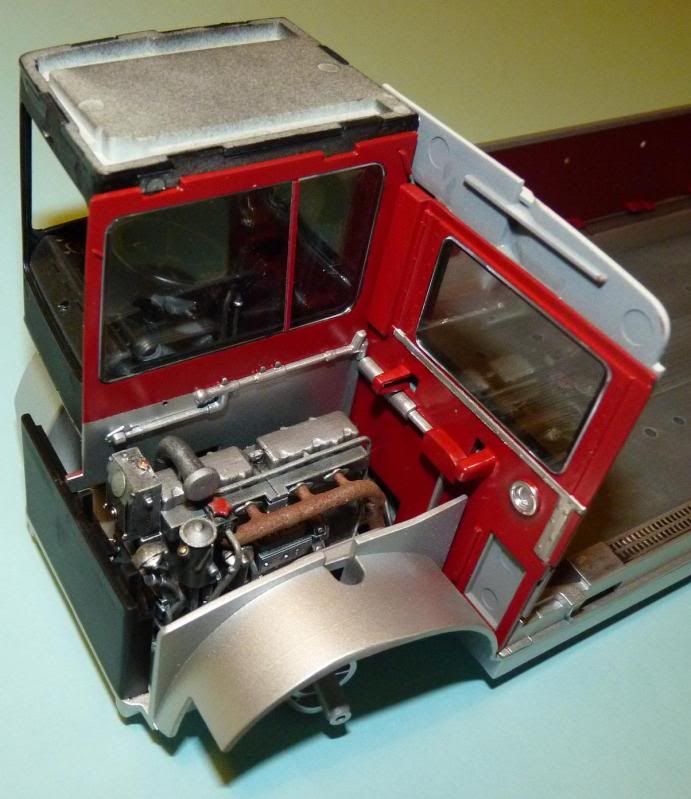


 that is brilliant it's a shame the engine has to be hidden away, thanks for the rust tip.


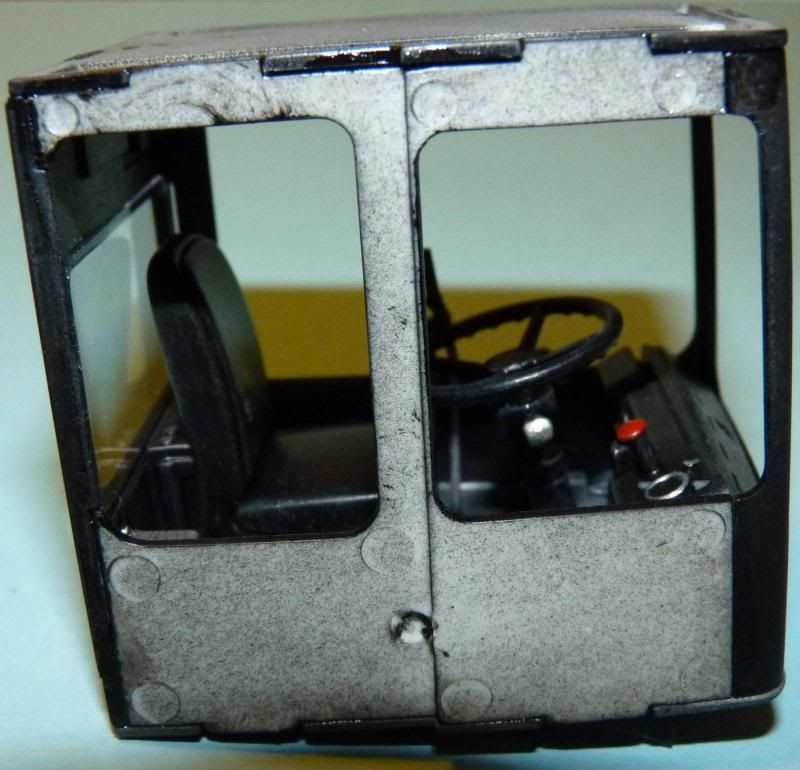
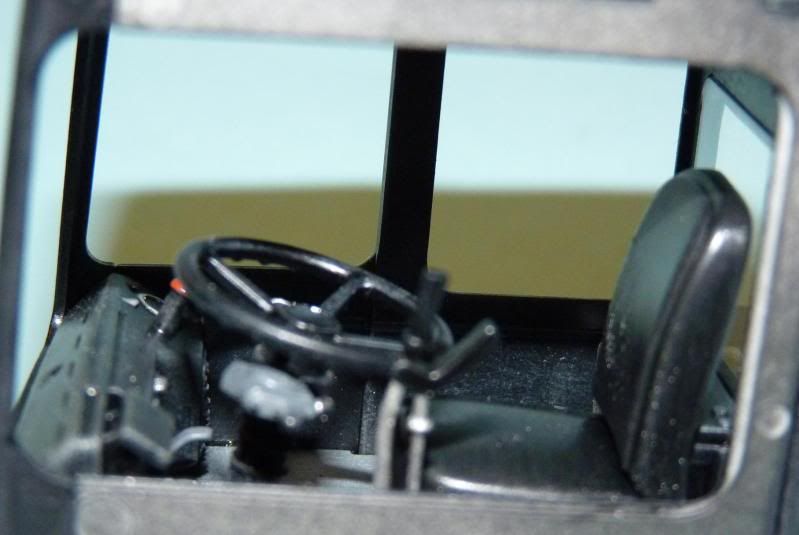
jargonking wrote:No, I'm using the decals on the passenger seats but virtually all the Routemasters I've seen have got a black driver's seat.

