Time passes and progress progresses!
yesterday was a bit of a watershed - started adding some of the decals to the various body parts. It somehow feels wrong to be applying decals before the model is finished, but this does seem to be the best way to proceed.
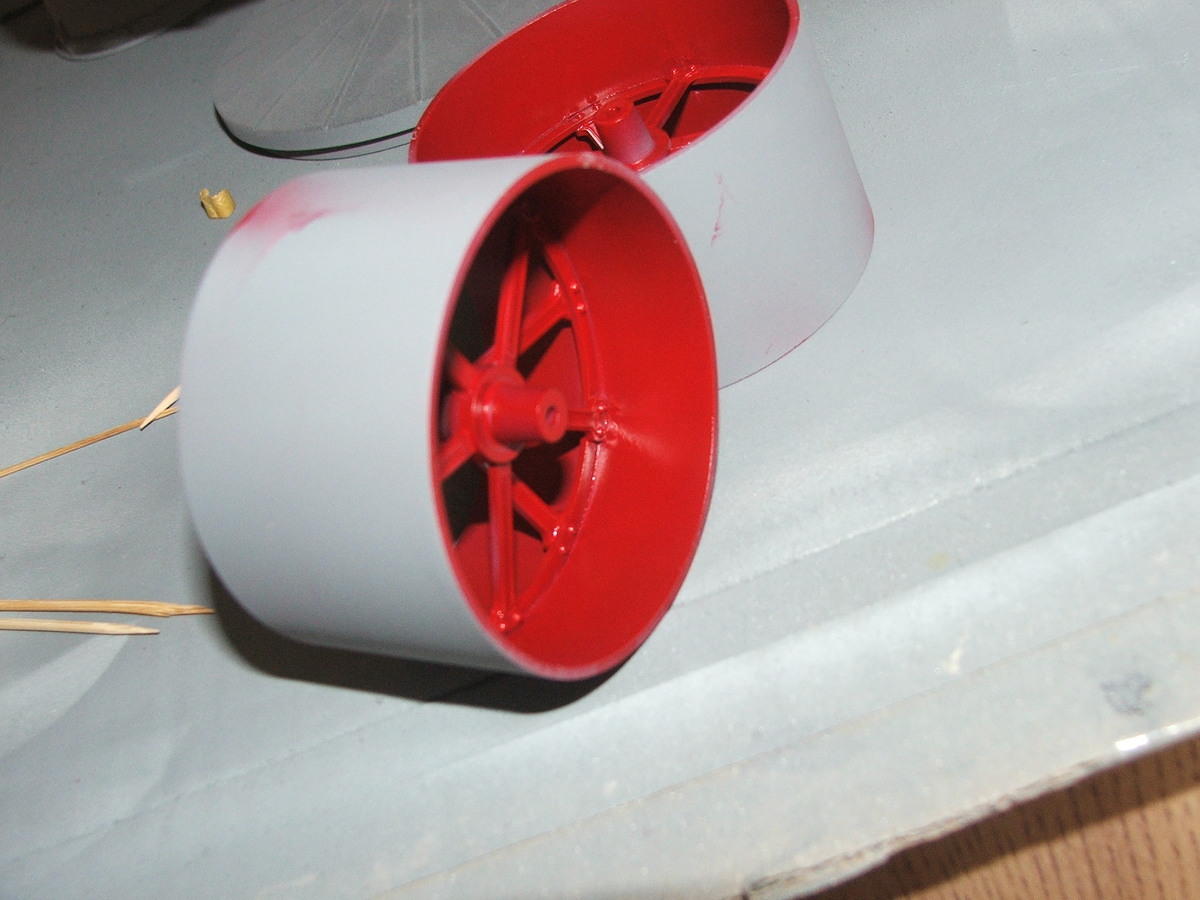
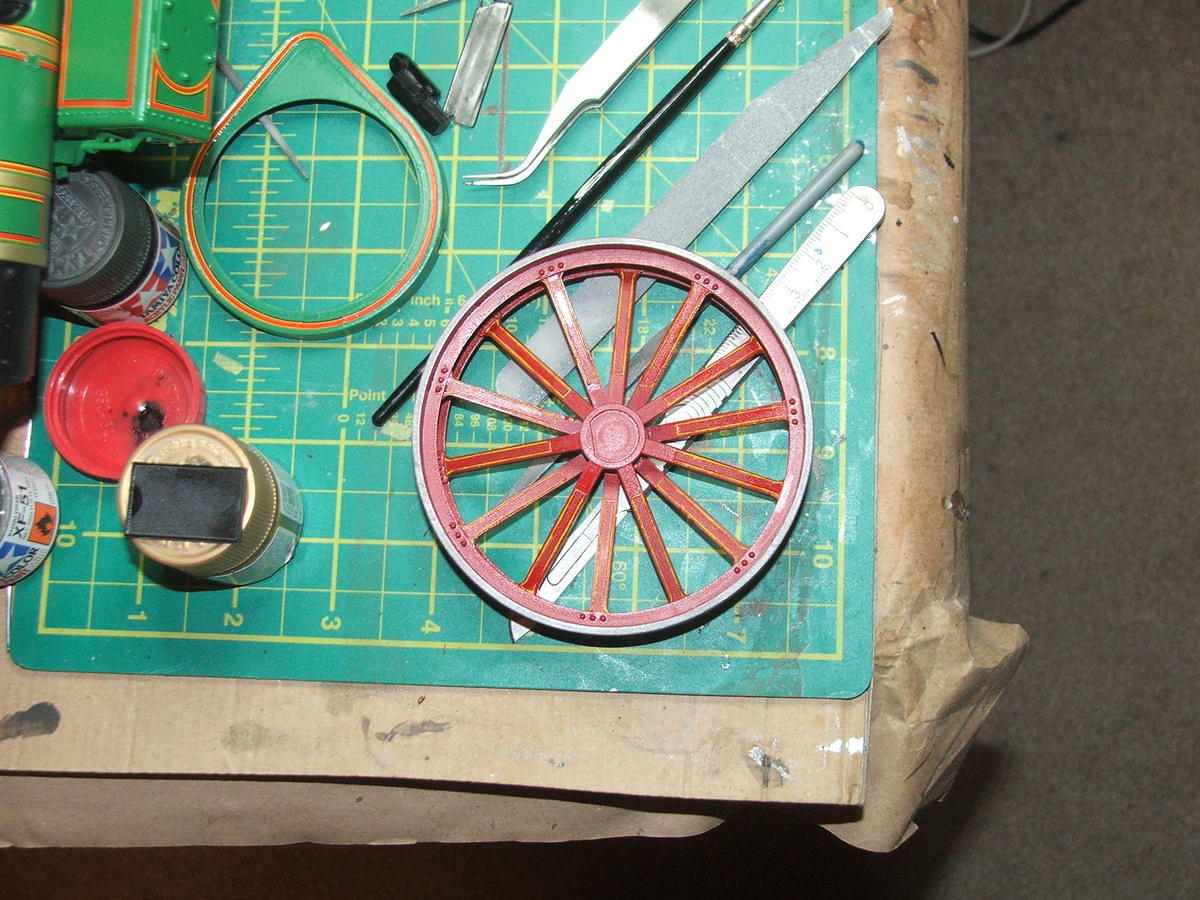
First off the front roller:
and from the side:
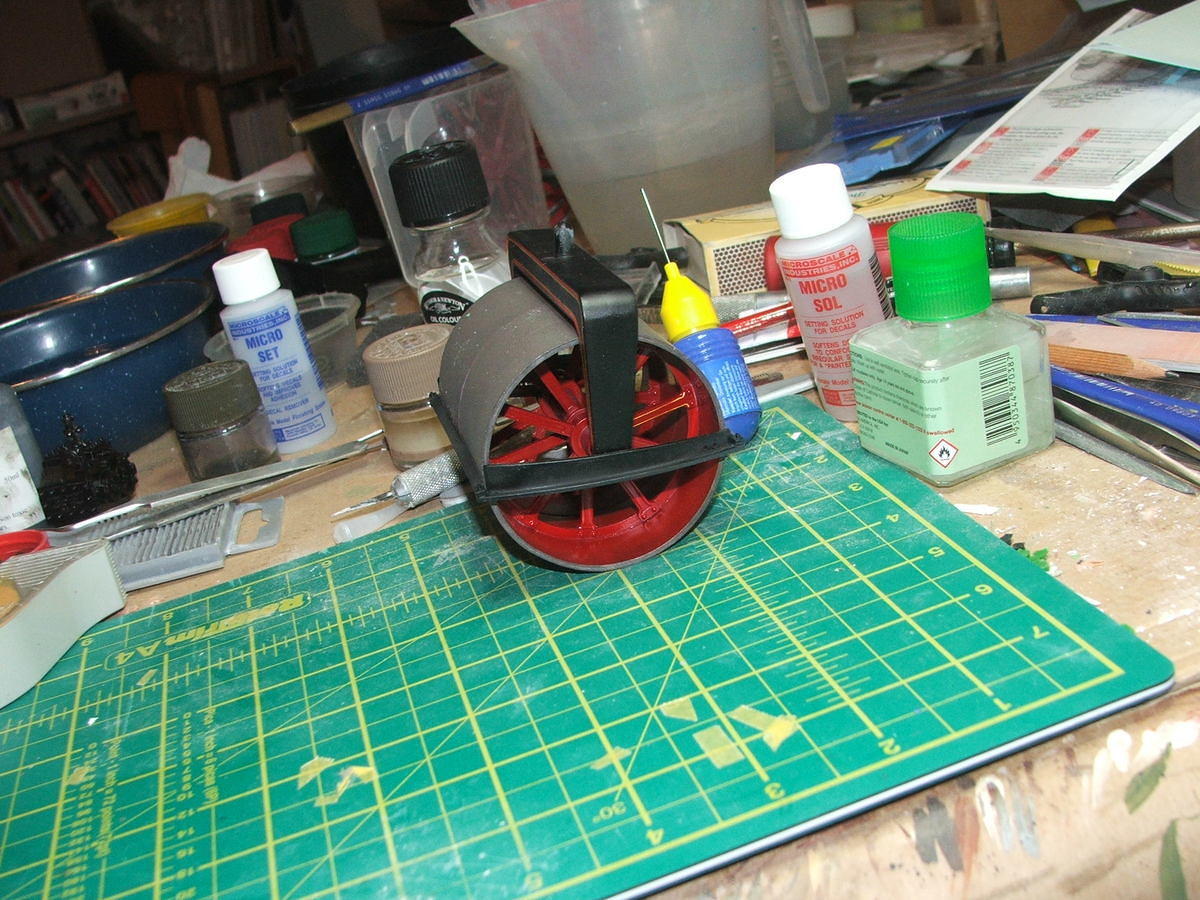
If you look at about 2 o'clock in that last photo you can see my first attempt at applying the yellow lining decal to the spokes. As described before, each of the spokes has a raised line which is supposed to be yellow. I had a go at painting the yellow and it was a complete failure, so it was suggested I use some lining decals as used by railway modellers. I was able to source some 0.5mm linings so had a bash fir the first itme last night. it was not easy, but its doable, if I can be bothered with the hassle!
The outer steel colour is a mix of a new Tamiya colour called Dark Iron with some silver added. I think it looks pretty effective! The decals from the kit went on pretty well - I trimmed the carrier as much as possible and used the usual micro sol/set and they went down pretty well - as will be seen in later photos!
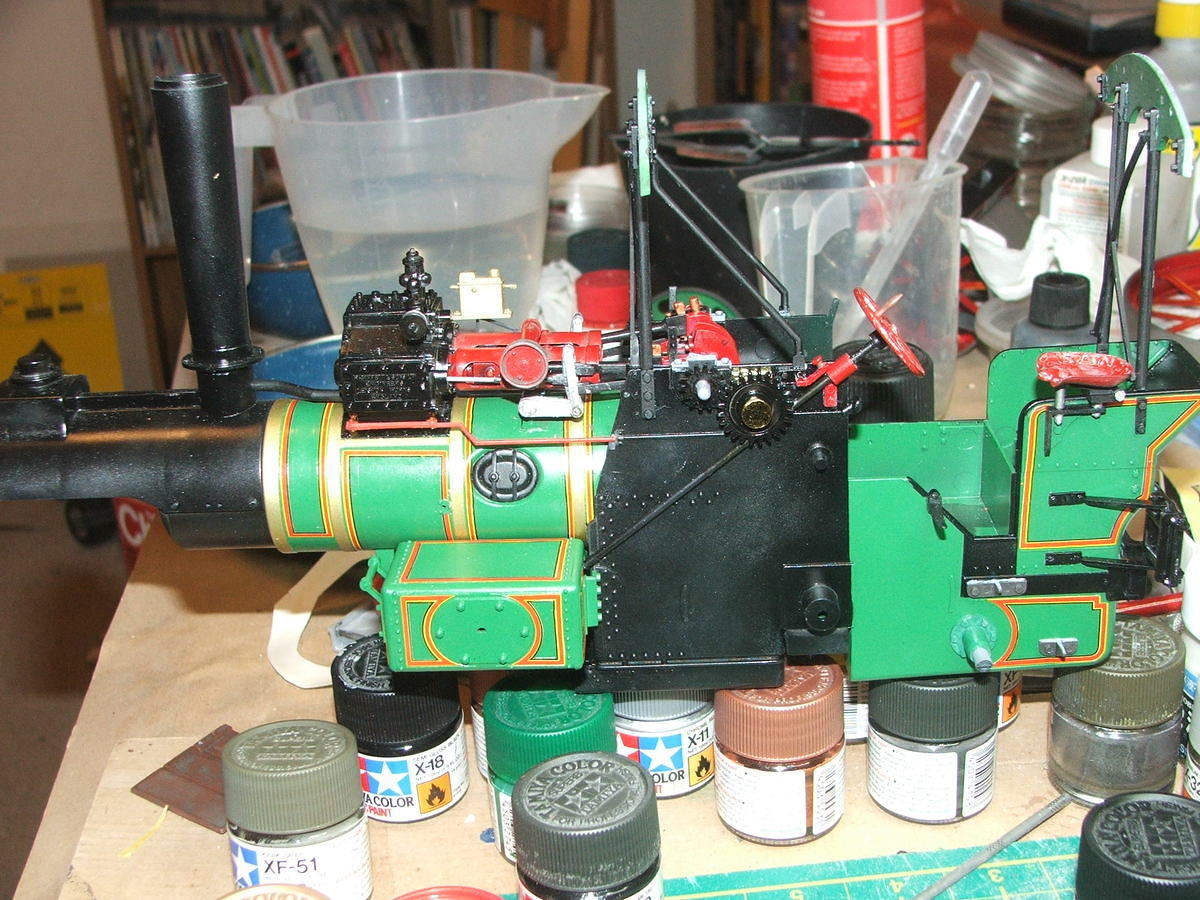
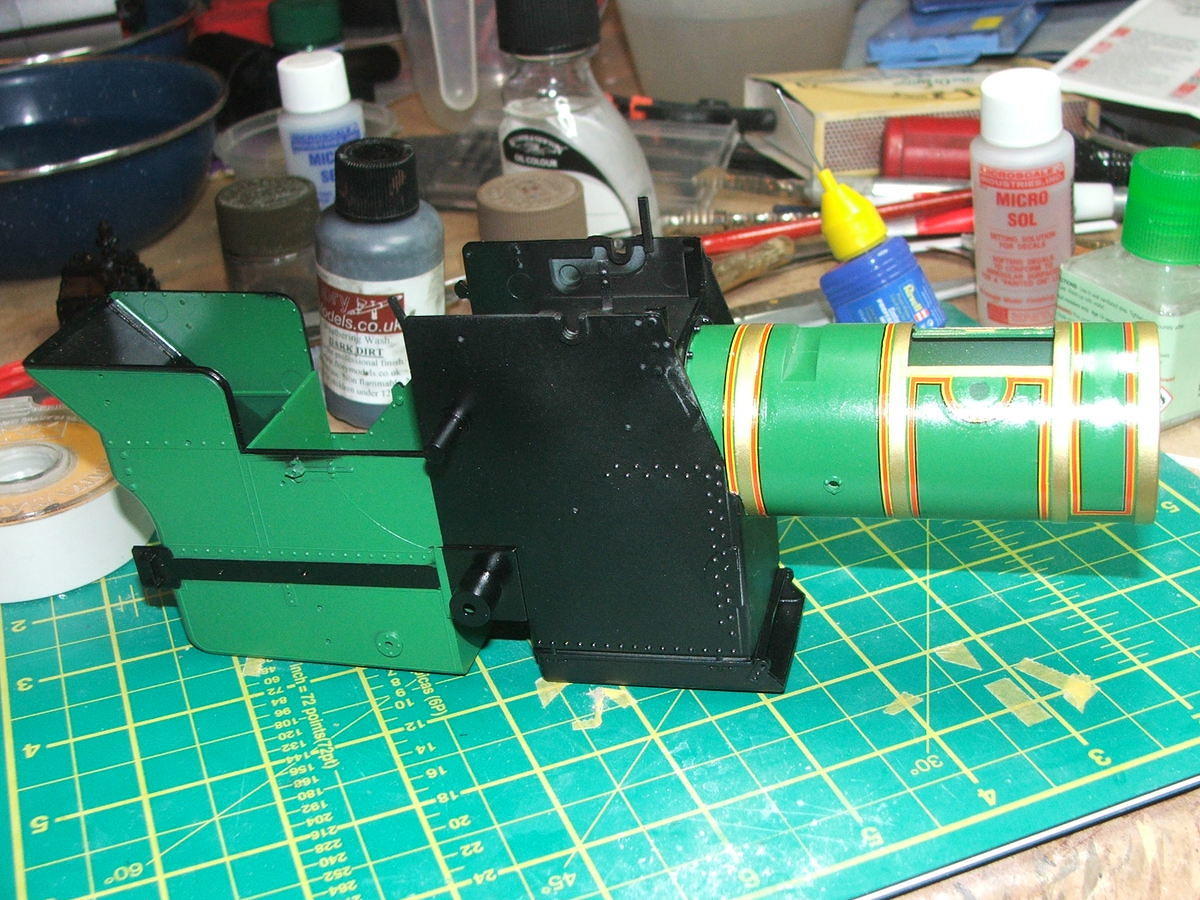
Next is the front boiler:
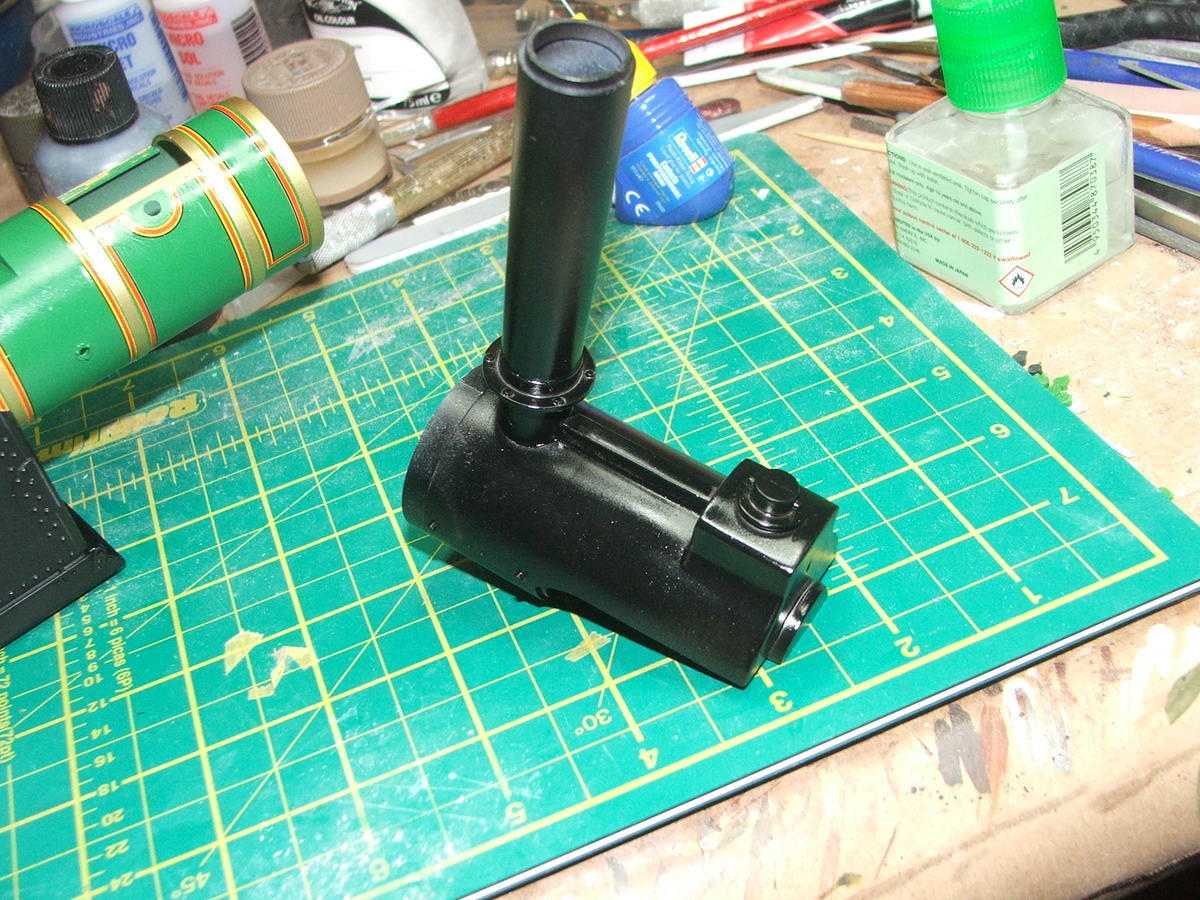
This is relatively simple - painted gloss black over a rough primer coat, which gives a very interesting sheen. So this combines with the front roller to make the first part of the assemblage:
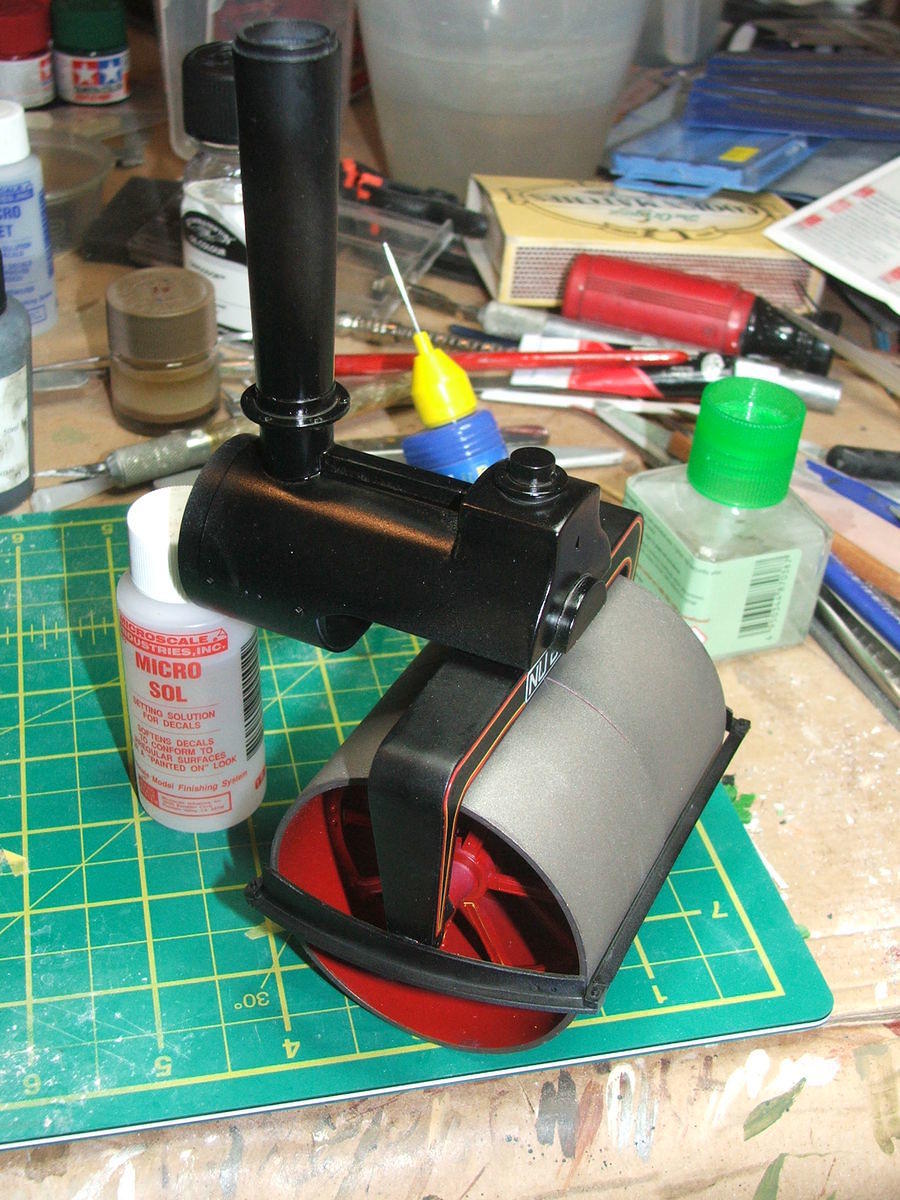
Not bad eh? just you wait!
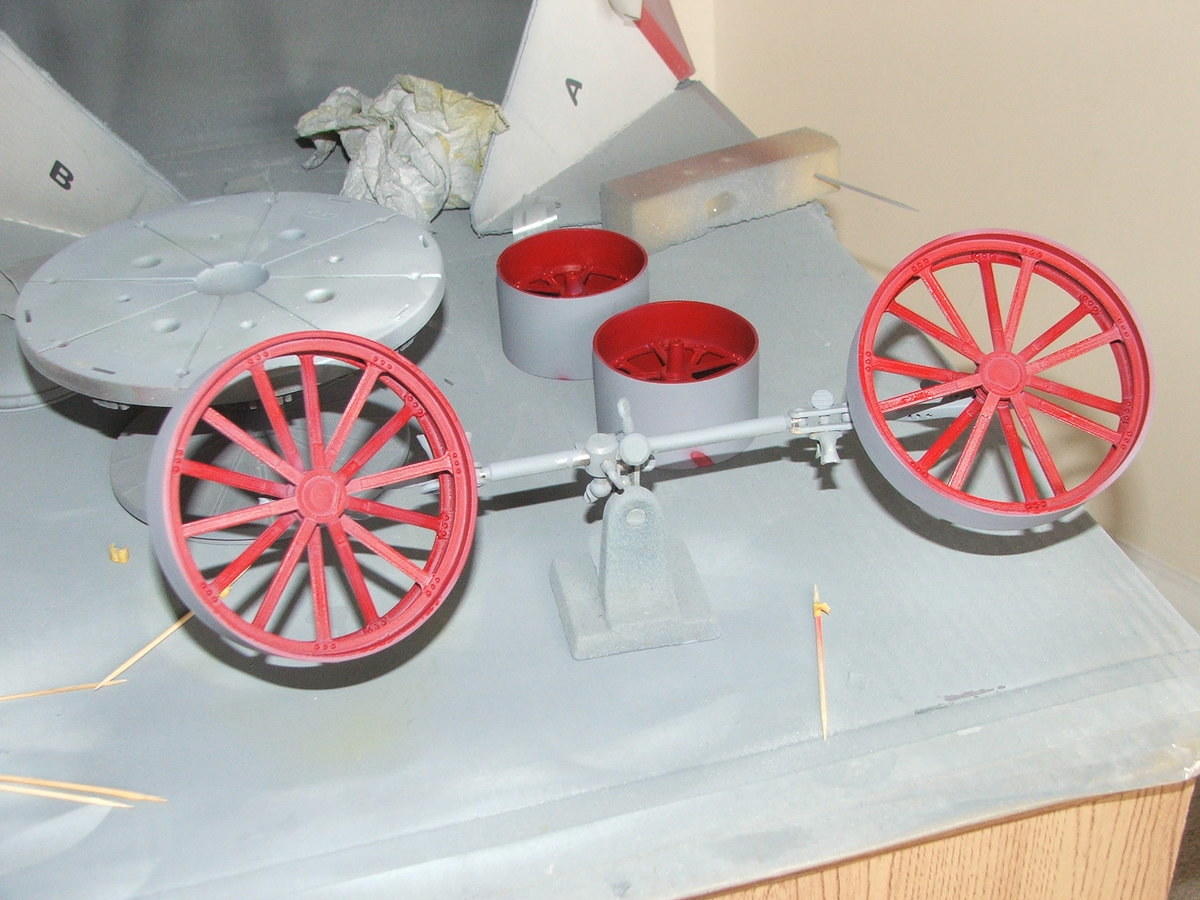
next up are the rear wheels, these too have been painted with the Dark Iron/silver mix and look good.
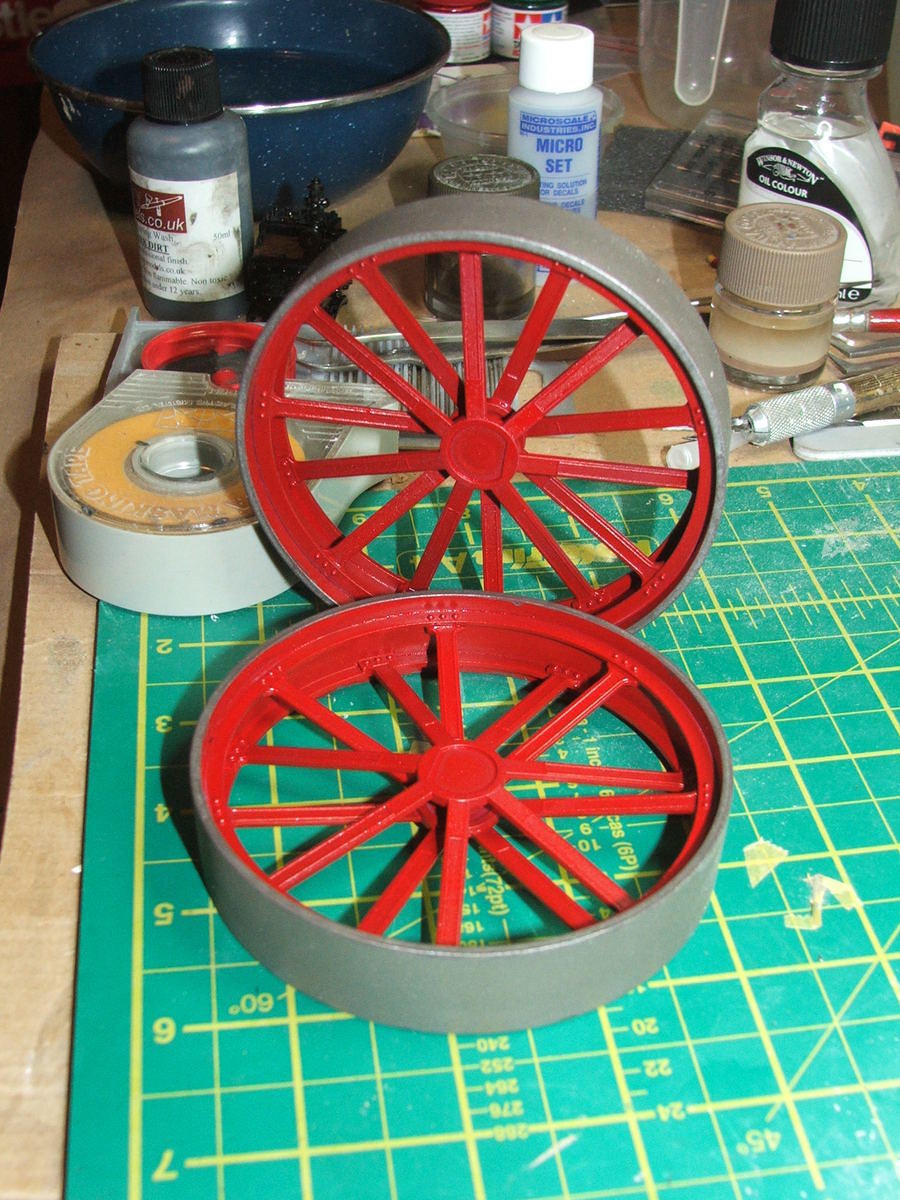
Again, the spokes are supposed to have yellow linings - I think this would best be classed as a work in progress!
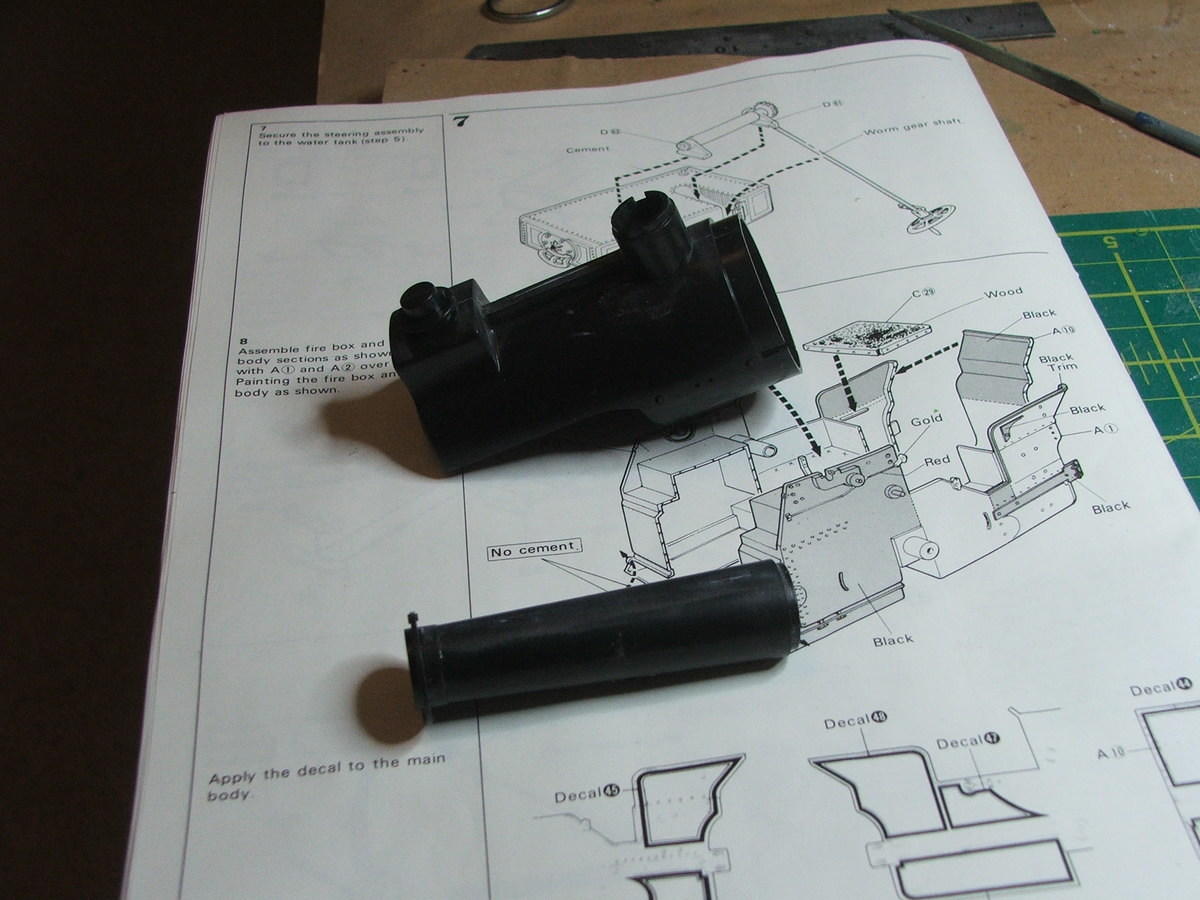
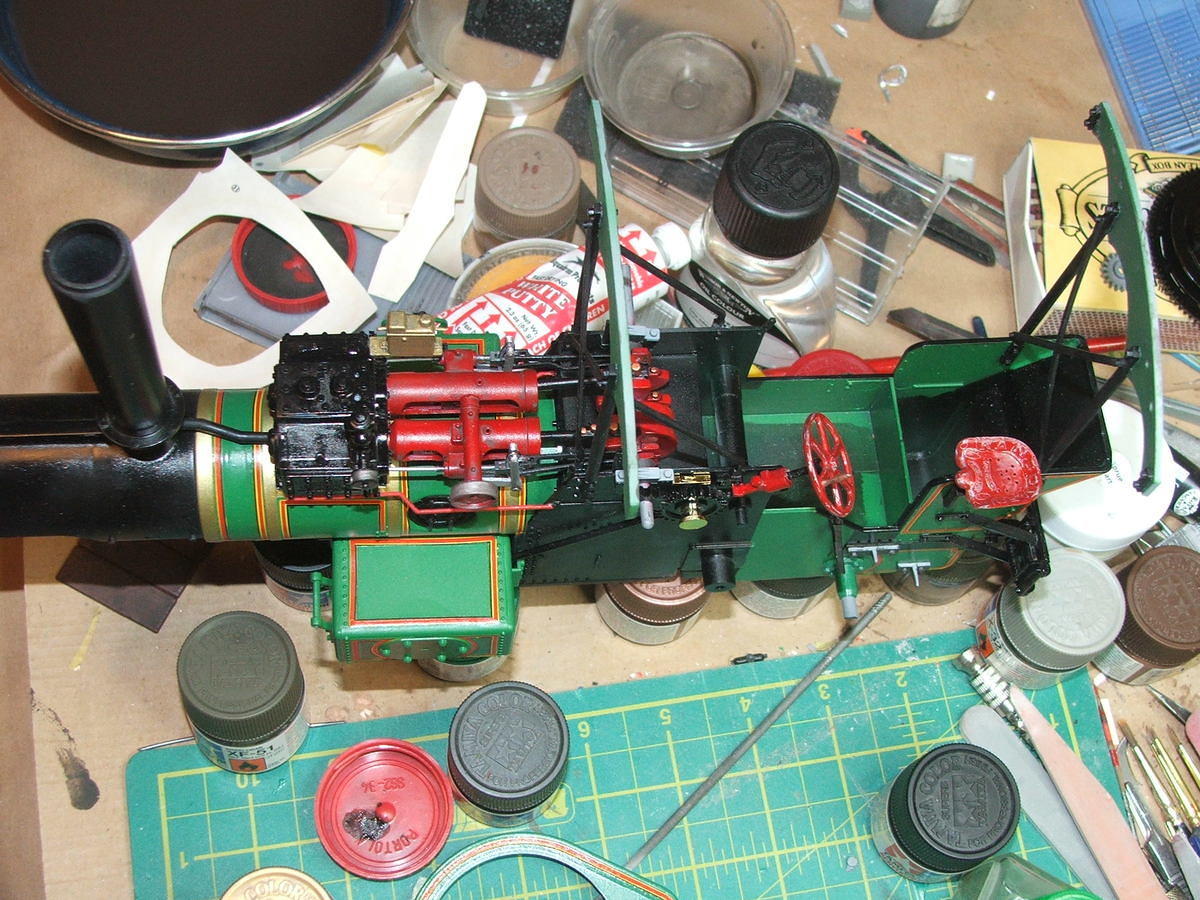
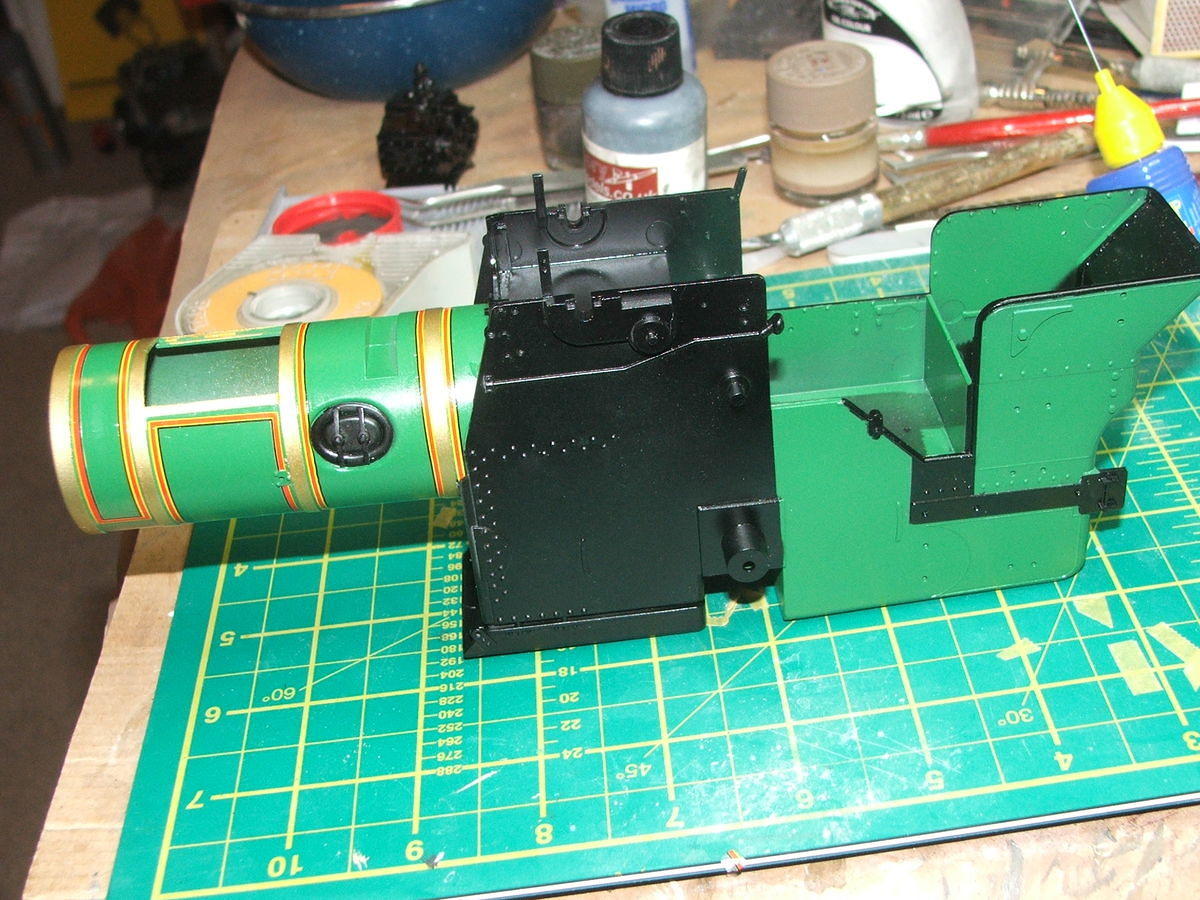
Next is the firebox and the rear boiler. This has been masked and painted.
The gold bands are spray painted - the kit does suppy stick on "bronze" strips but they look tacky. Red yellow and black stripes are decals. There are more decals to go onto the main body, but I ran out of patience last night

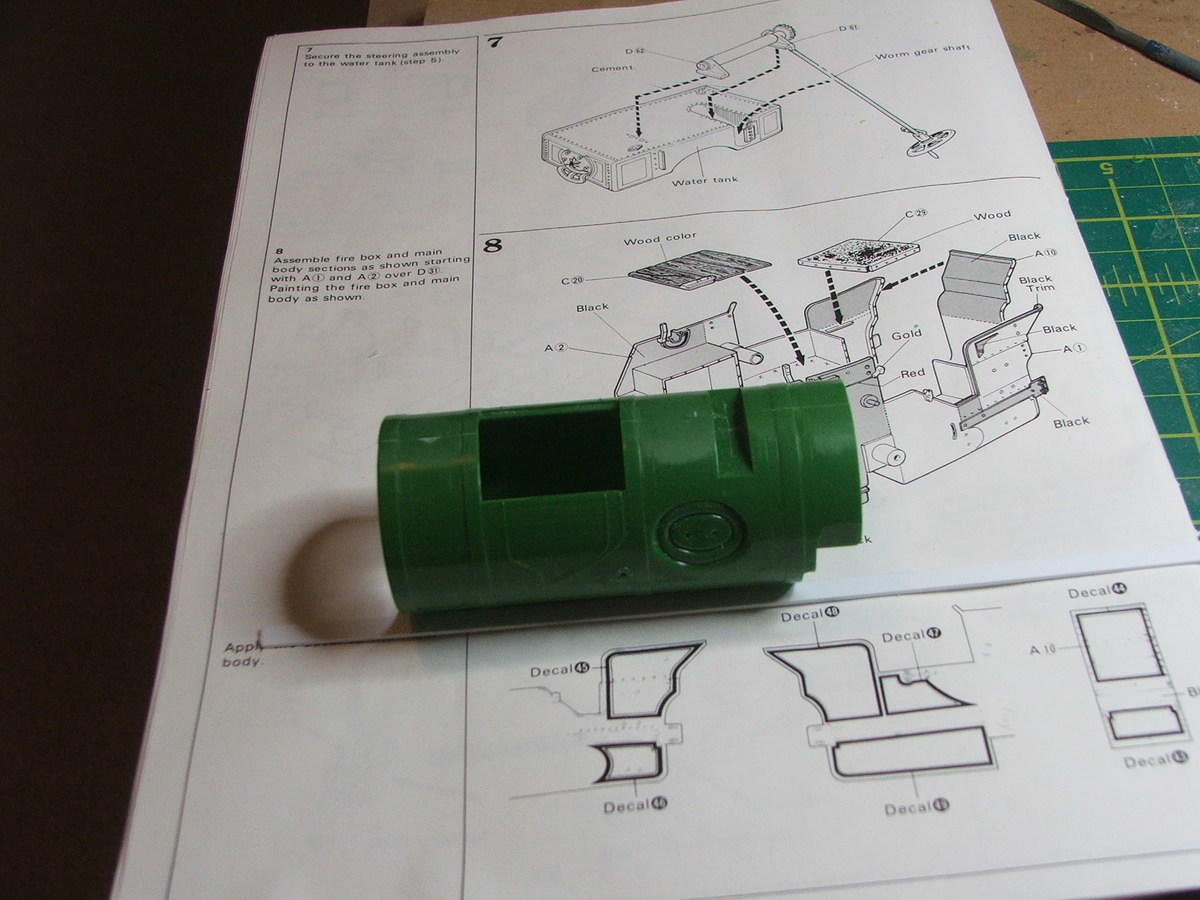
Other side:
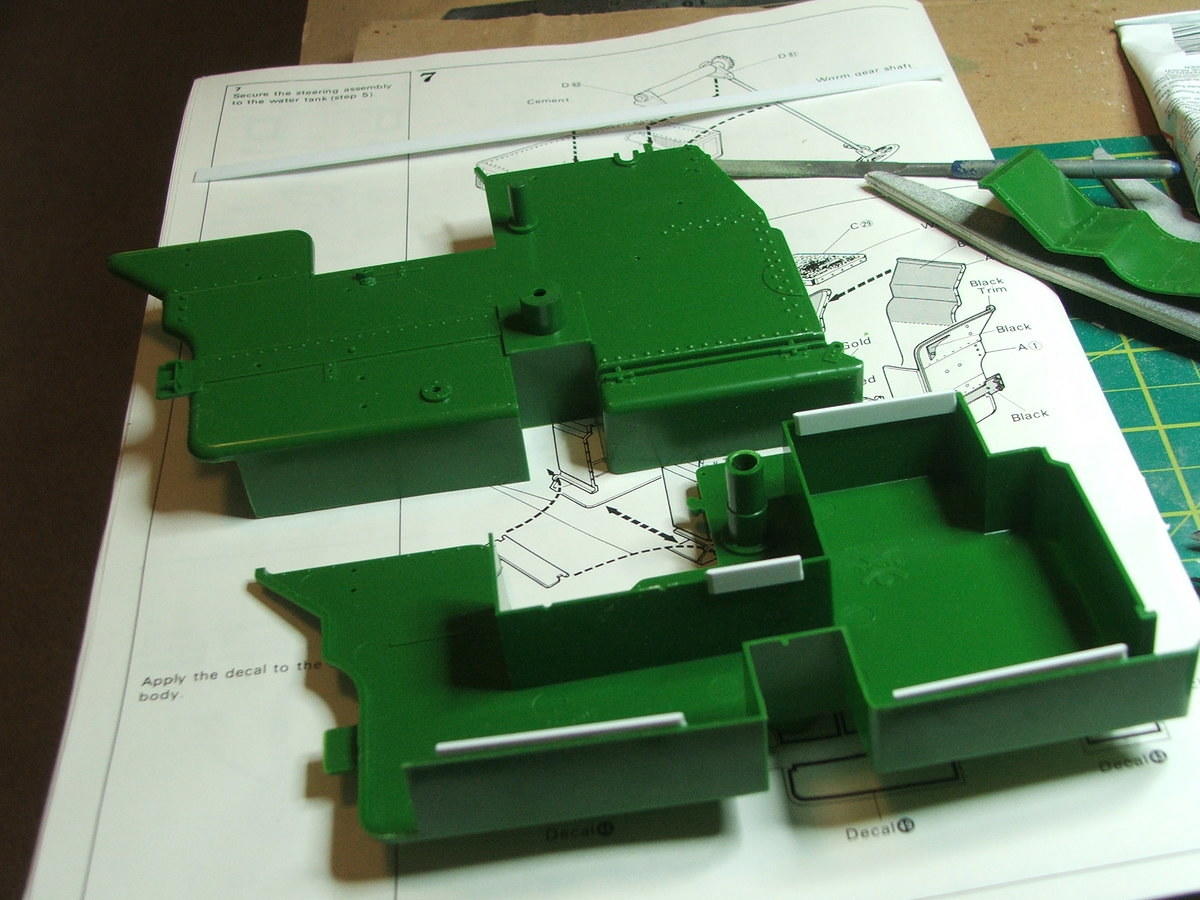
The water tank has also been decaled and will be fitted under the rear boiler and has a cut-out to fit the steering mechanism.
The moulded on pipes have been sanded off - and from the rear boiler as well and will be replaced with wire to properly represent them.
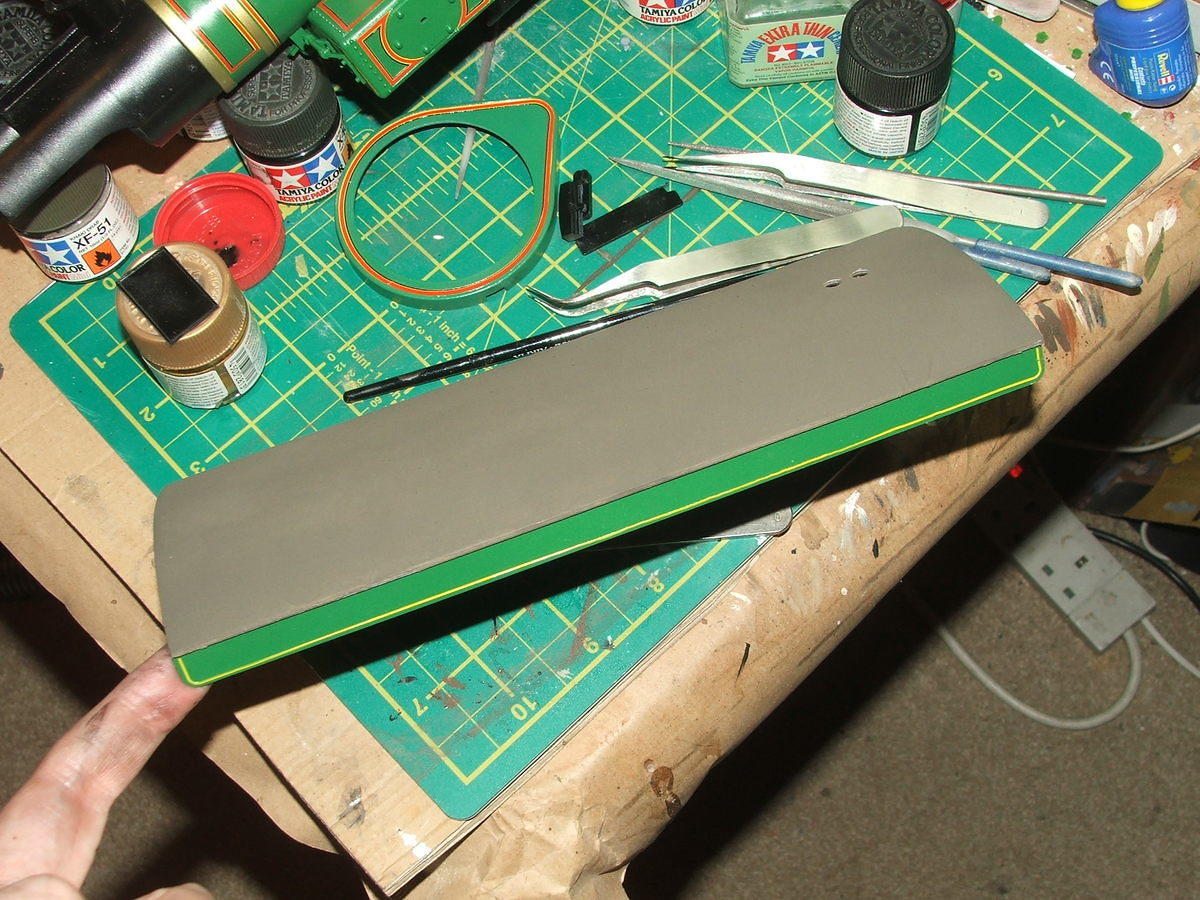
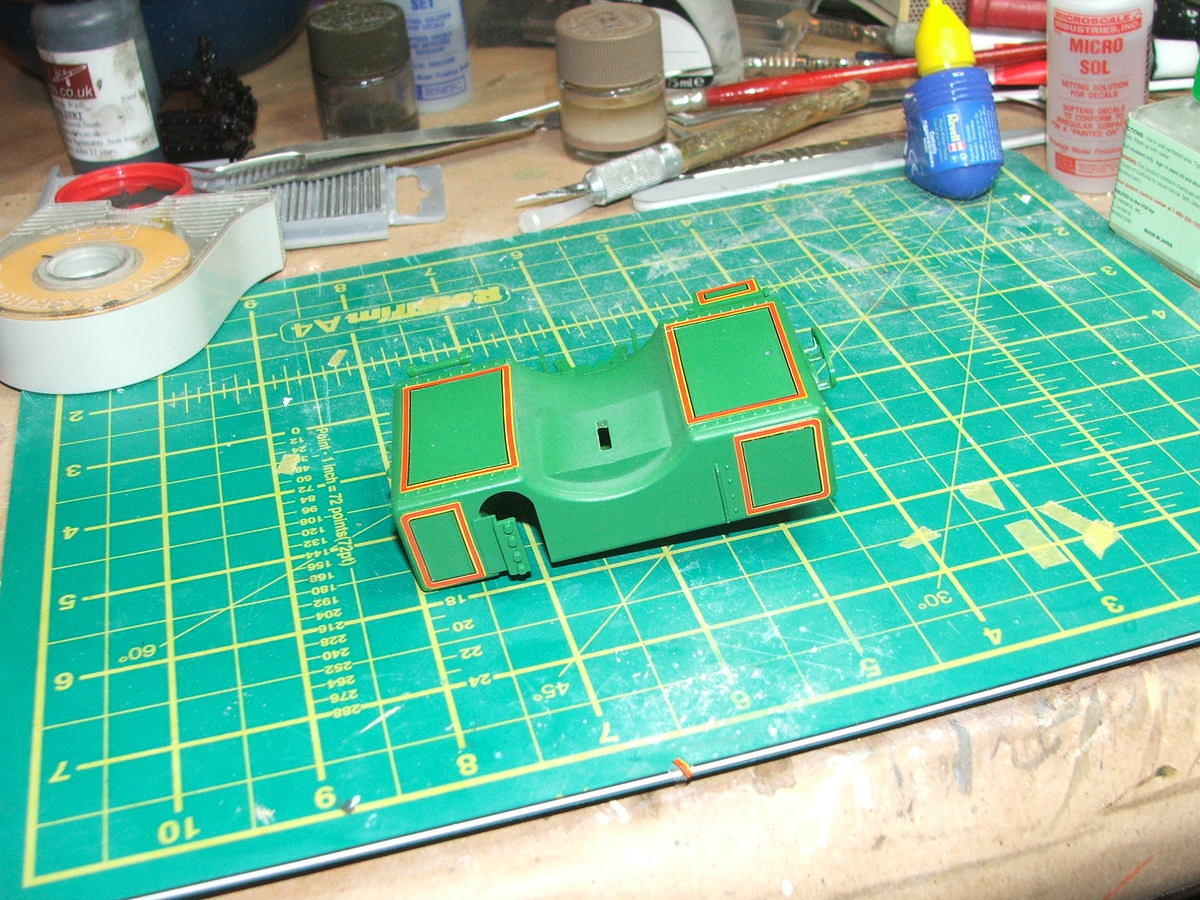
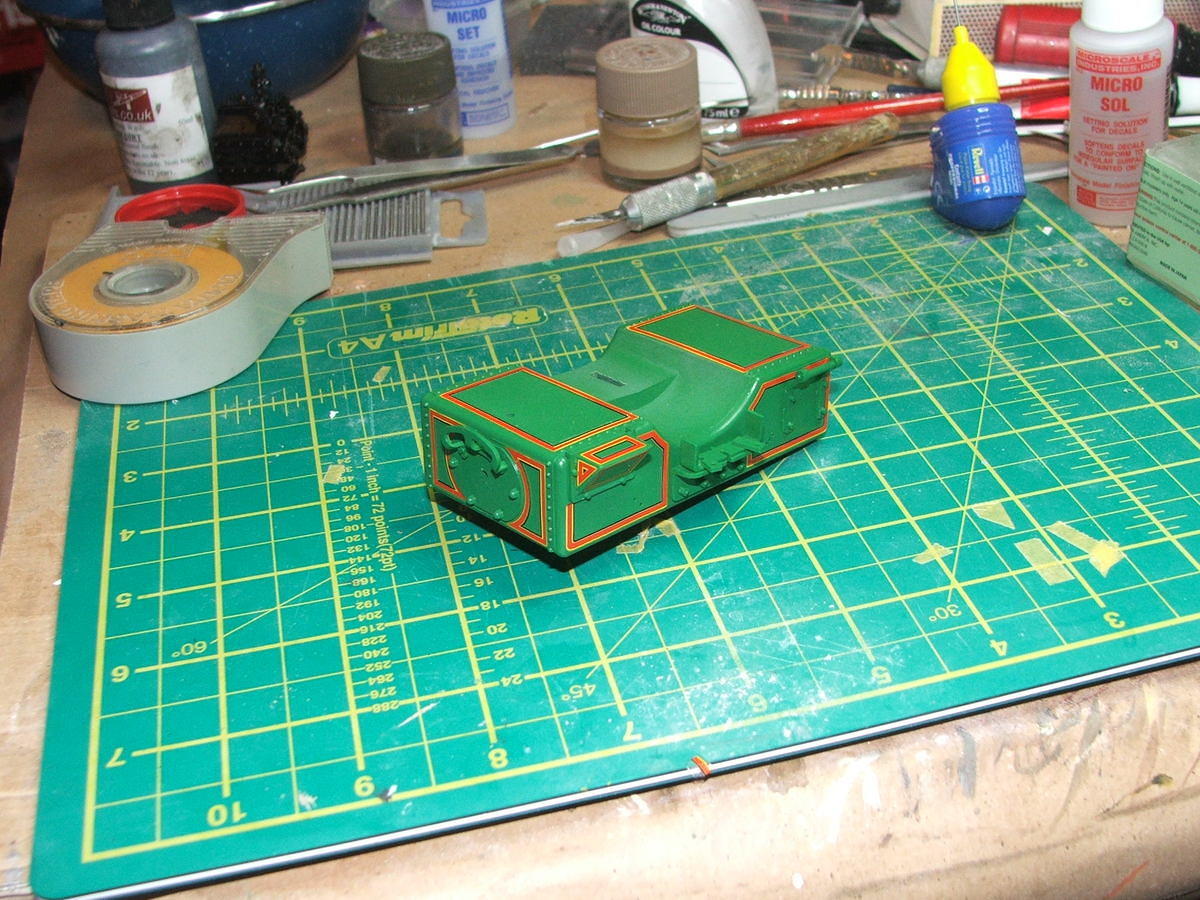
Also been working on the canopy. The underside was painted brown then thinned black oil paint was used to pick out the wooden texture:
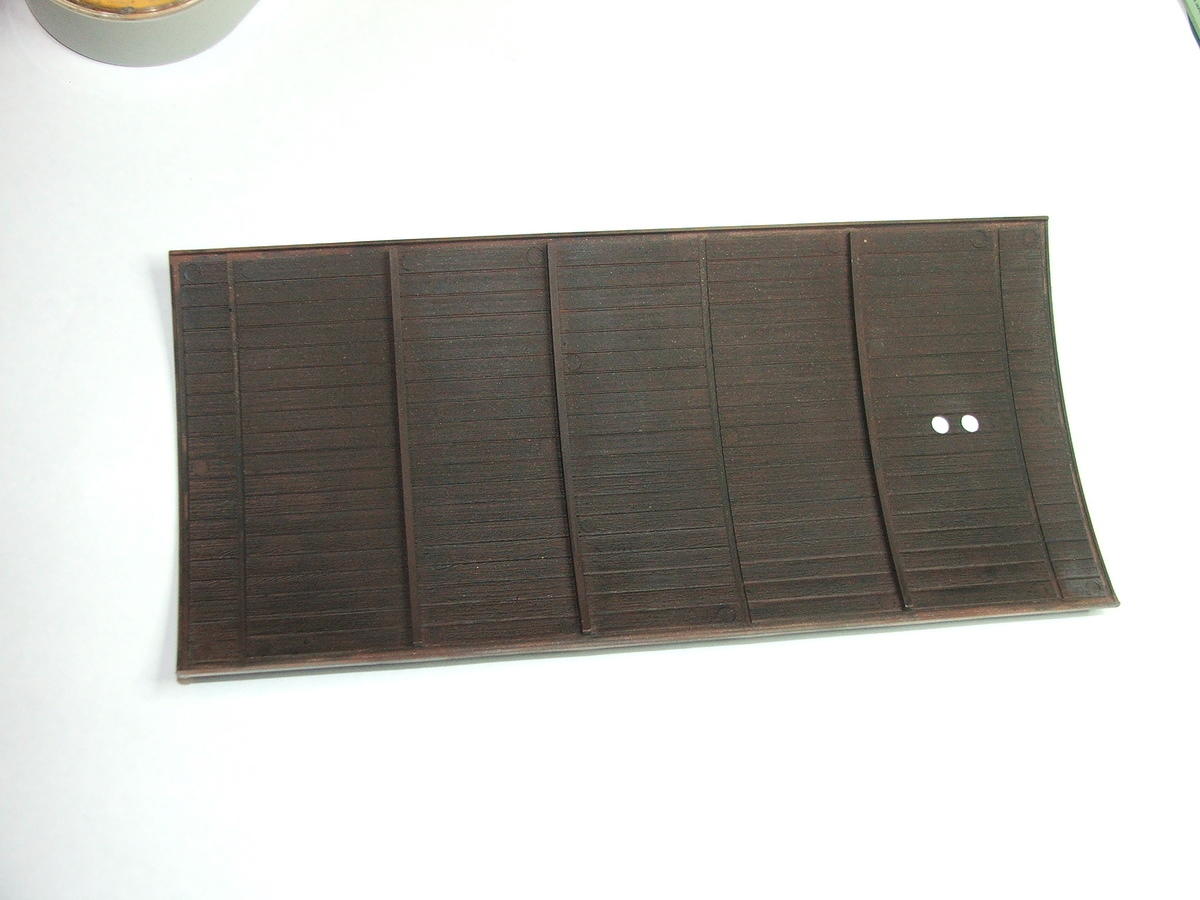
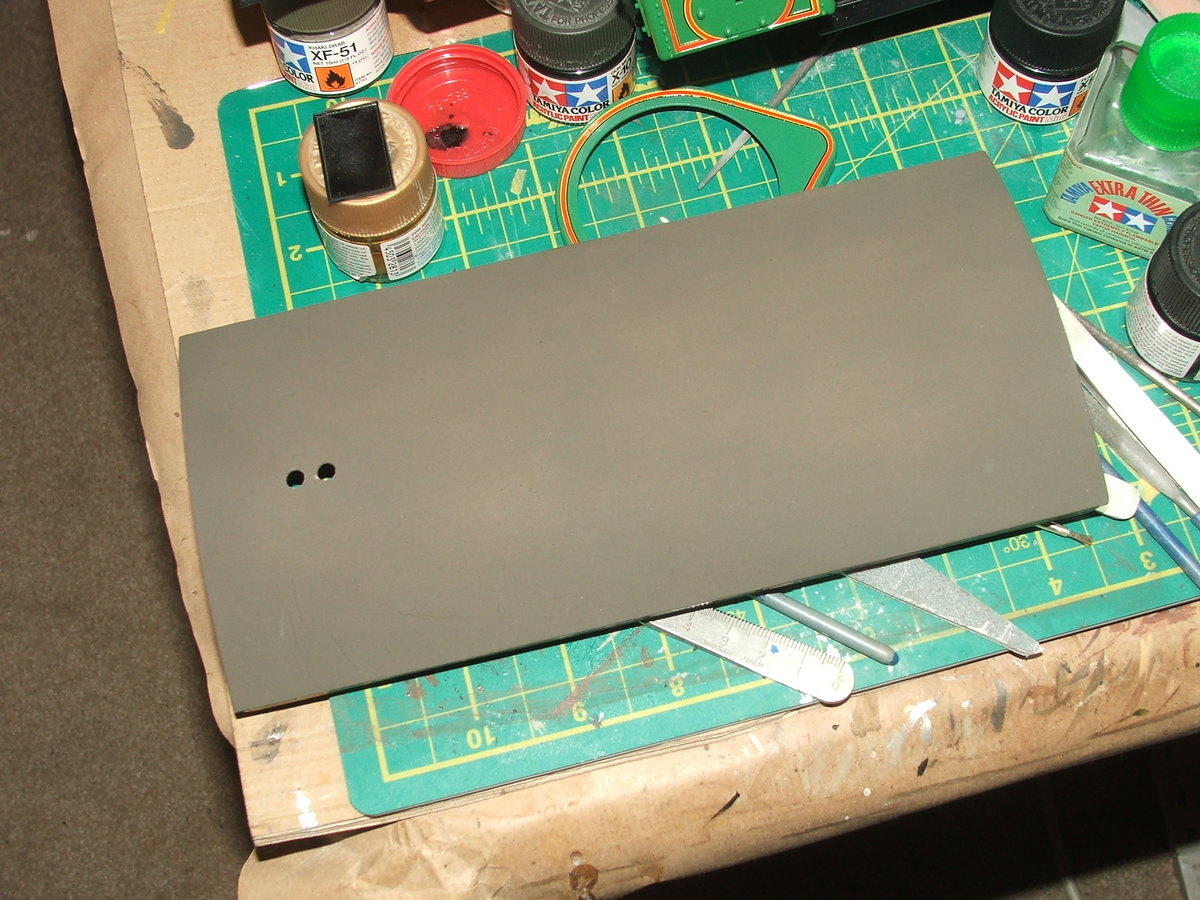
Sadly the upper surface suffers from some terrible sink marks:
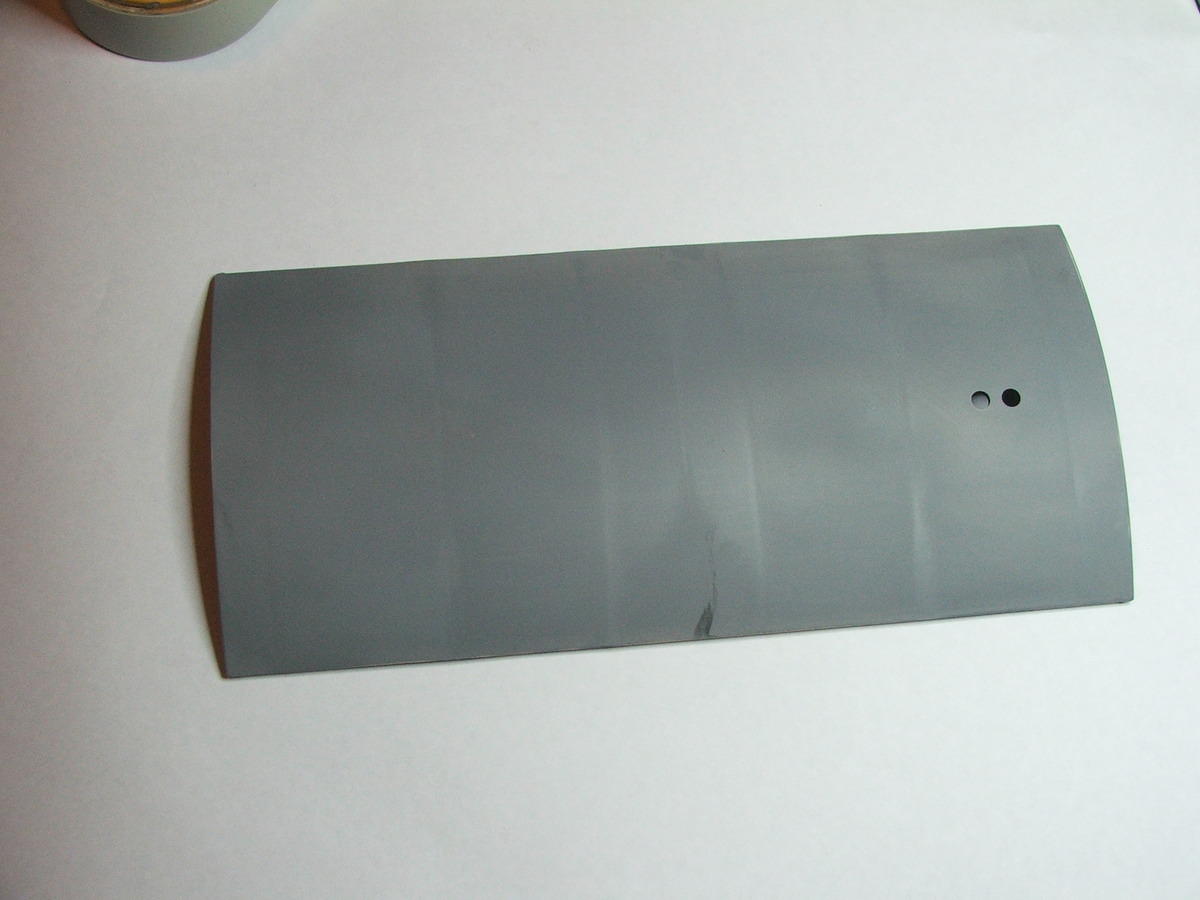
I think I'll have to add some plastic strips and sand them to shape to fill these in - there is way to much to just hole that filler will do the job! And finally the canopy trim has had some work done to it:

The two long strips are for the sides. The outer surface is green with a yellow stripe while the inner surface is wood textured so painted the same way as the underside of the canopy. The supporting braces have wood texture as well so these have been highlighted using a dark wash. The two thin end trims visible on the upper right also have raised lines for a yellow strip but these are not included in the decals so I will have to use the railway lining on these as well.
So as you can see, still lots of "bits" and it will pretty much continue that way until right near the end. I've also been working on the pistons and some of the gears and cranks, but they are not ready to display yet. I'm leaving off most of the gold pieces until I decide what to do with them.