You've not seen the state of Britain's roads recently then Chris?Chris wrote:Try driving them on dirt and mud roads......
Chris's Humber ***FINISHED***
-
ShaunW
- NOT the sheep
- Posts: 26188
- Joined: November 26th, 2011, 6:11 pm
- Location: Pontefract West Yorkshire
Re: Chris's Humber
Doing - Tamiya 1/35th Universal Carrier.
Work is the curse of the modelling classes!
IPMS#12300
Work is the curse of the modelling classes!
IPMS#12300
-
ntrocket88

- Active Participant
- Posts: 827
- Joined: July 2nd, 2012, 11:49 pm
- Location: New Jersey, USA
Re: Chris's Humber
Great mud work!
Neil
'With every model I learn a little more...and then the next one takes longer!'
'With every model I learn a little more...and then the next one takes longer!'
-
Chris

- Modelling Gent and Scholar
- Posts: 2917
- Joined: March 15th, 2013, 7:18 pm
- Location: In your head
- Contact:
Re: Chris's Humber
Thanks everybody.
Time to paint Monty and his driver
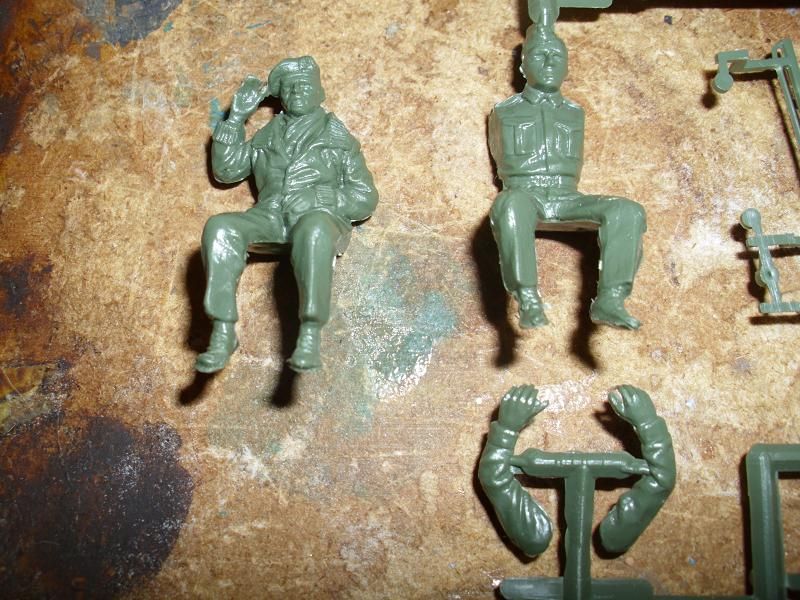
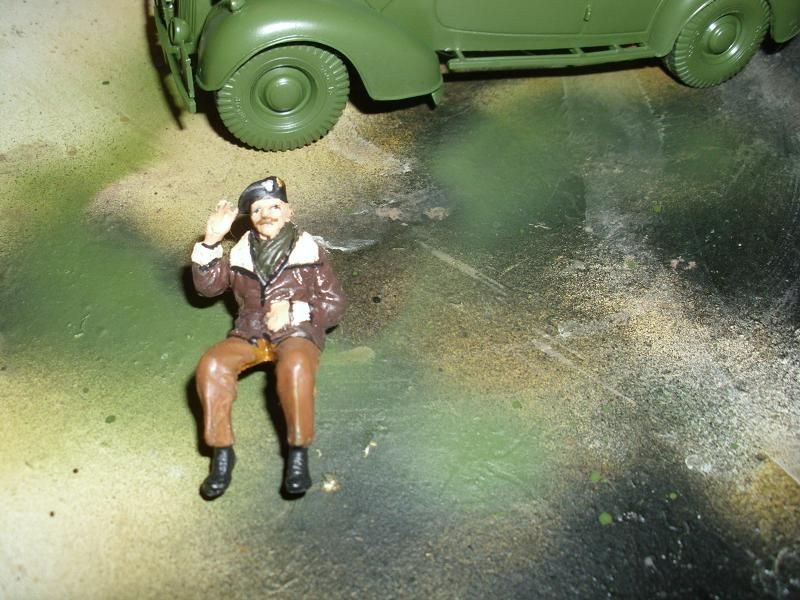
First they are given their brown uniforms (monty needs a touch up) and monty's leather coat is painted dk brown
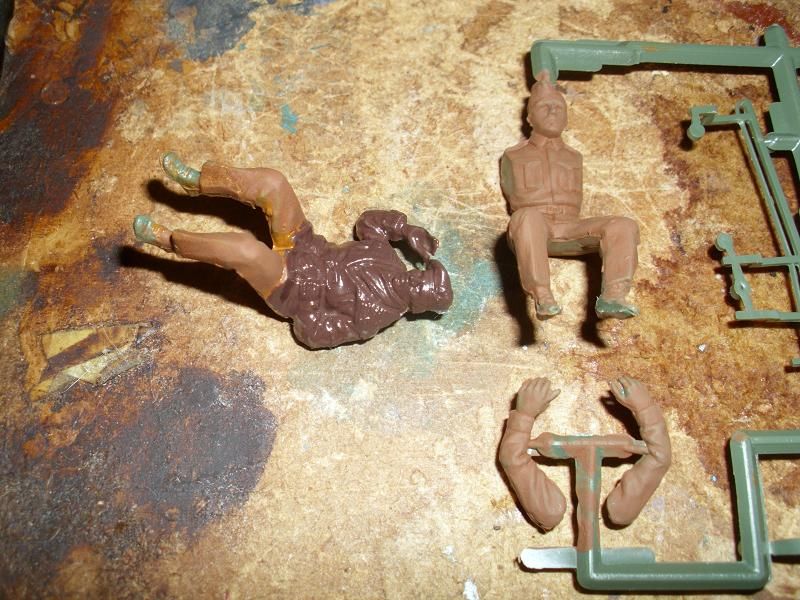
Next the cuffs are painted cream and the scarf is olive drab
Flesh is next, and a process called 'black lining' is used to highlight the figure details
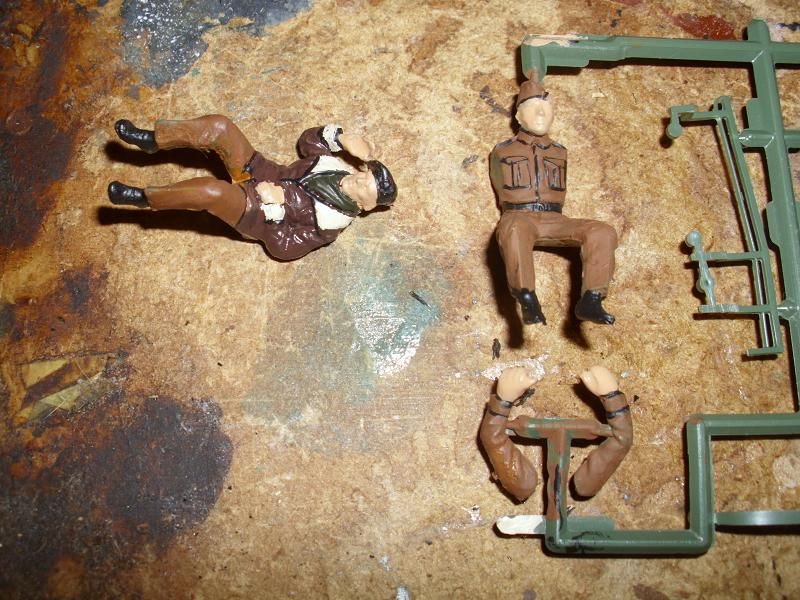
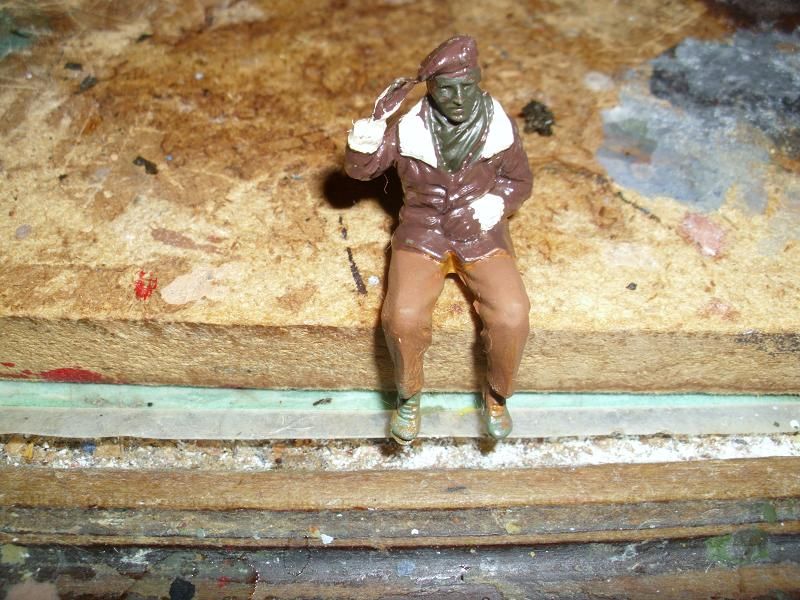
The driver's face is next, first the eyes and mnouth are painted lt brown, next white for the eyes and black for the pupils. The hair is painted Dark brown and a Mustache is added for interest
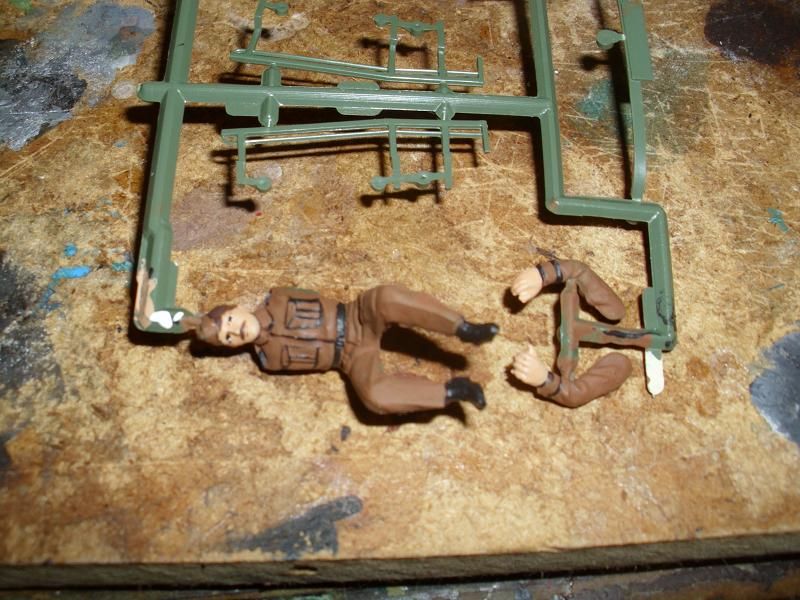
Monty is painted in a similar fashion, his stache is lt brown (it should be gray as monty was showing his age, but that wouldn't look right at this scale)
Time to paint Monty and his driver

First they are given their brown uniforms (monty needs a touch up) and monty's leather coat is painted dk brown

Next the cuffs are painted cream and the scarf is olive drab

Flesh is next, and a process called 'black lining' is used to highlight the figure details

The driver's face is next, first the eyes and mnouth are painted lt brown, next white for the eyes and black for the pupils. The hair is painted Dark brown and a Mustache is added for interest

Monty is painted in a similar fashion, his stache is lt brown (it should be gray as monty was showing his age, but that wouldn't look right at this scale)

Honcho of ASMMF
-
Chris
- Modelling Gent and Scholar
- Posts: 2917
- Joined: March 15th, 2013, 7:18 pm
- Location: In your head
- Contact:
Re: Chris's Humber
The door handles and all the other little fiddly parts are added
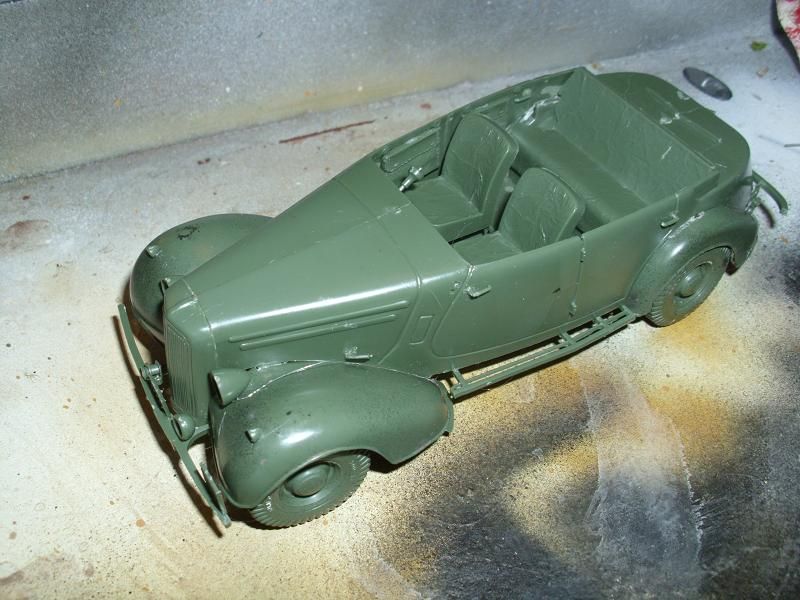
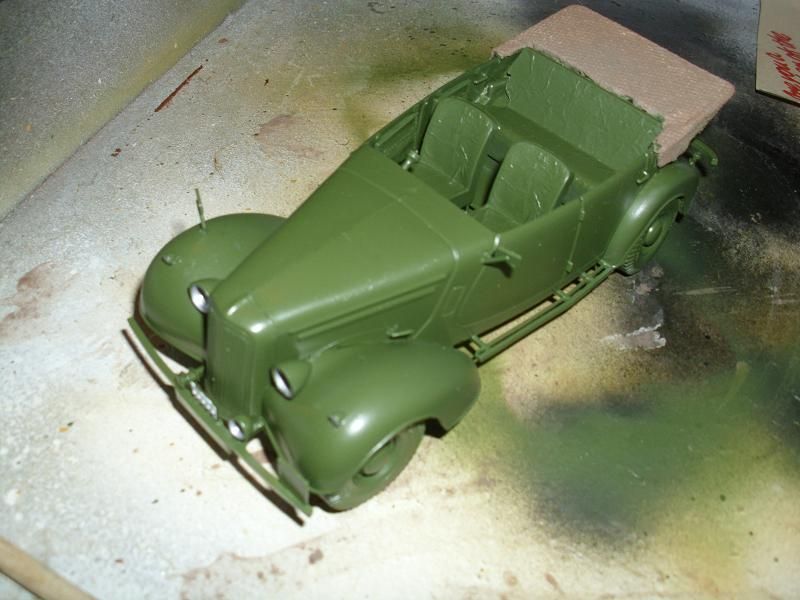
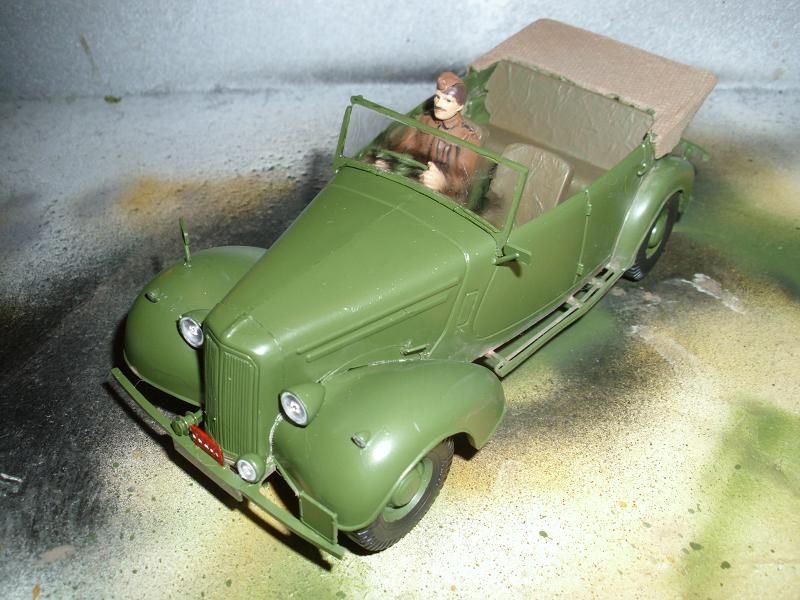
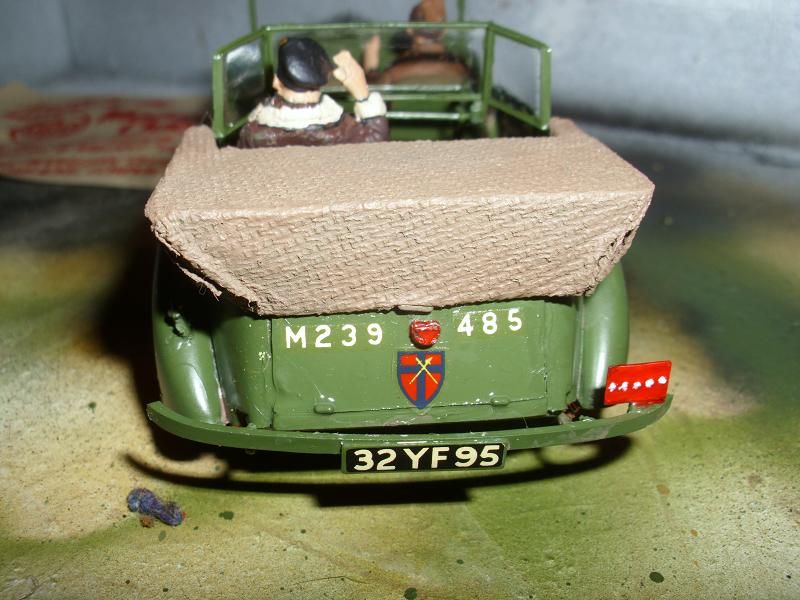
The plastic folded roof had no detail so I wraped it with a paper towel that had a nice pattern to make it llok like heavy canvas, then the vehicle is sprayed with model master medium green
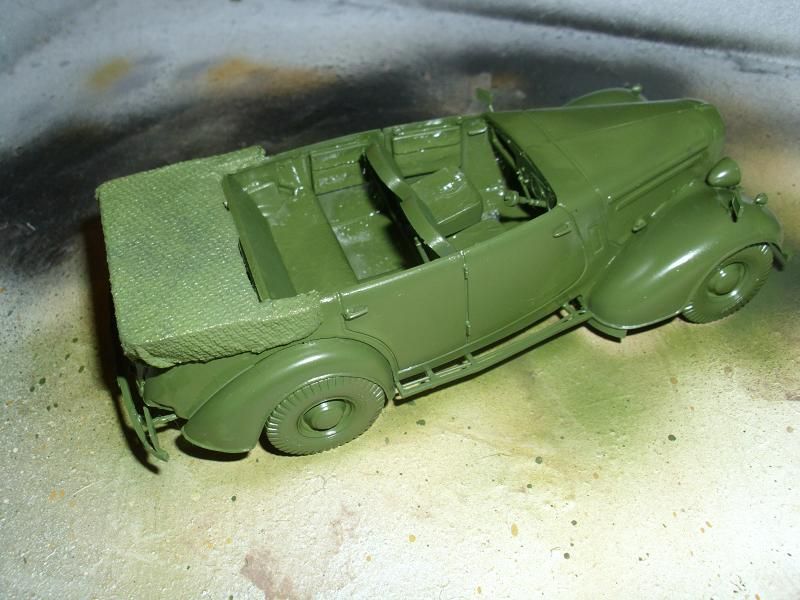
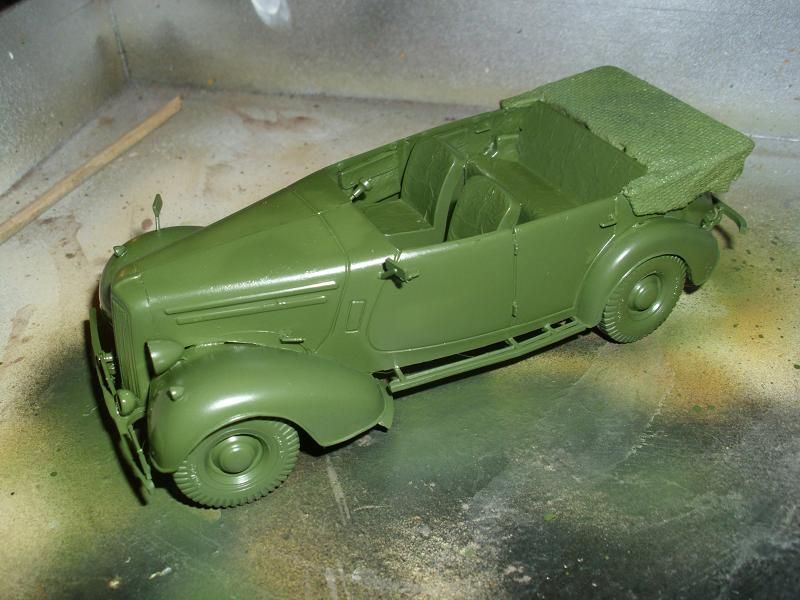
After it dries the top will be painted lt brown.
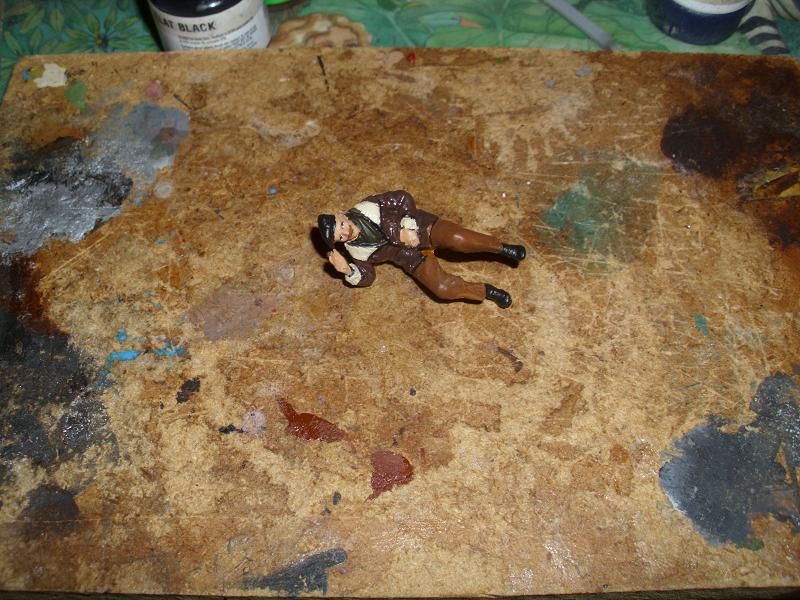
Monty gets his silver and gold berret badges and is now complete

The plastic folded roof had no detail so I wraped it with a paper towel that had a nice pattern to make it llok like heavy canvas, then the vehicle is sprayed with model master medium green


After it dries the top will be painted lt brown.
Monty gets his silver and gold berret badges and is now complete

Honcho of ASMMF
-
ShaunW
- NOT the sheep
- Posts: 26188
- Joined: November 26th, 2011, 6:11 pm
- Location: Pontefract West Yorkshire
Re: Chris's Humber
Nicely done combination of figure painting and building. I'm also a bit of a tissue tarp enthusiast as you may have noticed 
Doing - Tamiya 1/35th Universal Carrier.
Work is the curse of the modelling classes!
IPMS#12300
Work is the curse of the modelling classes!
IPMS#12300
-
Chris
- Modelling Gent and Scholar
- Posts: 2917
- Joined: March 15th, 2013, 7:18 pm
- Location: In your head
- Contact:
Re: Chris's Humber
That I have Shaun!
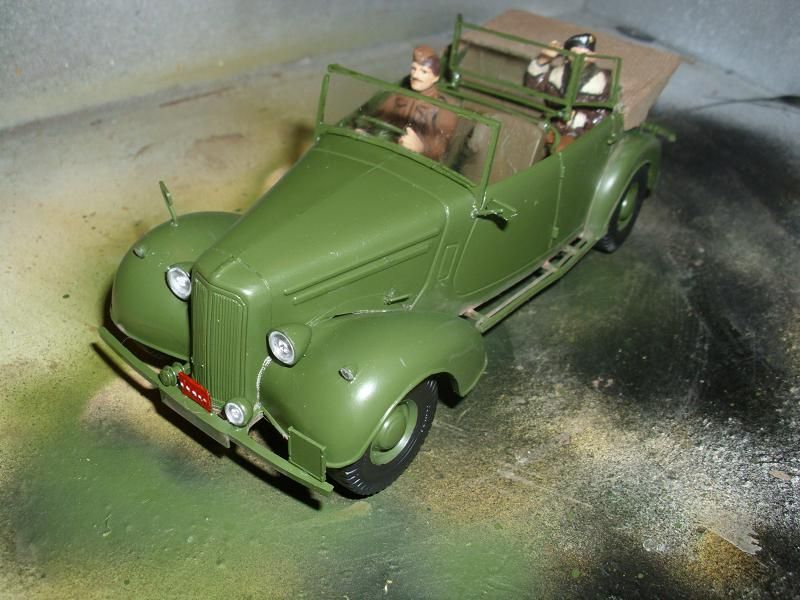
Top cover is painted tan, headlight hollows painted silver
Seats and interior side bags painted a medium dk brown

Headlight clear parts attached with white glue, general star plate painted red
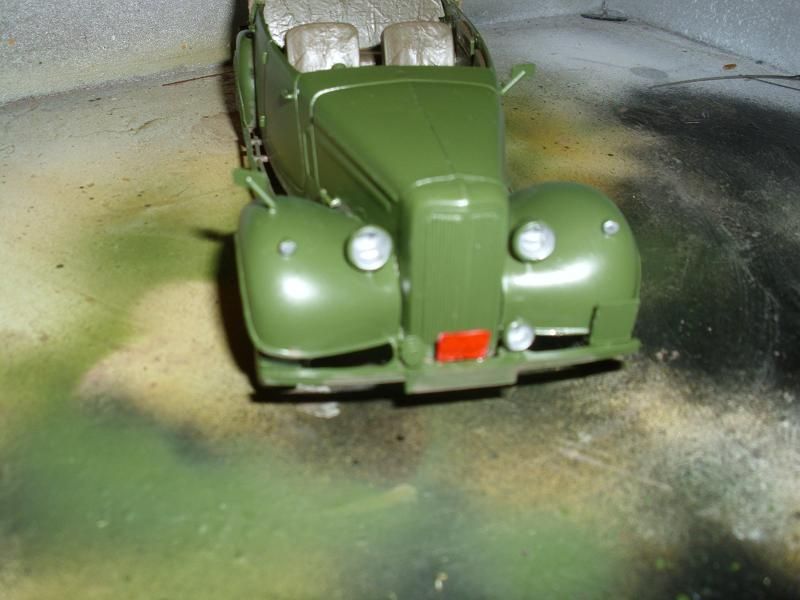
Monty's driver, steering wheel and front windscreen attached
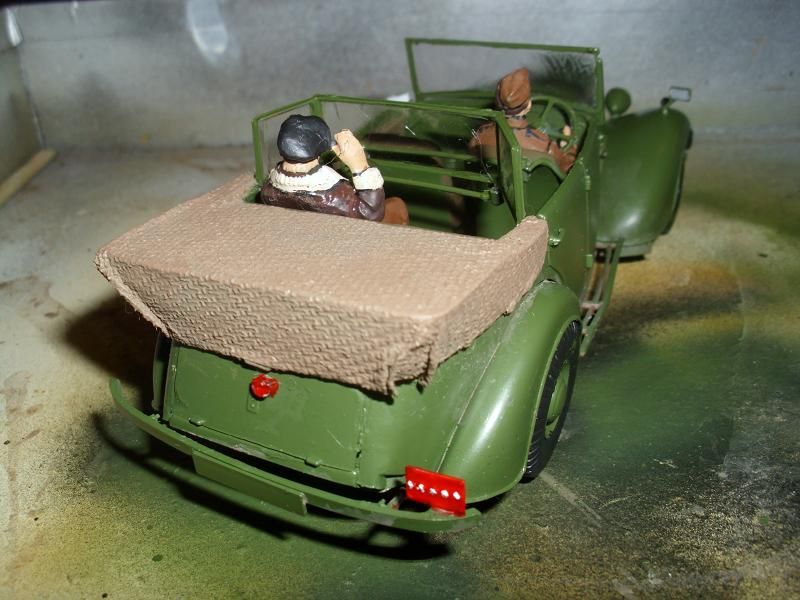
Monty and rear windscreen aparatus added
Taillight is painted red, rear flag plate painted and stars added
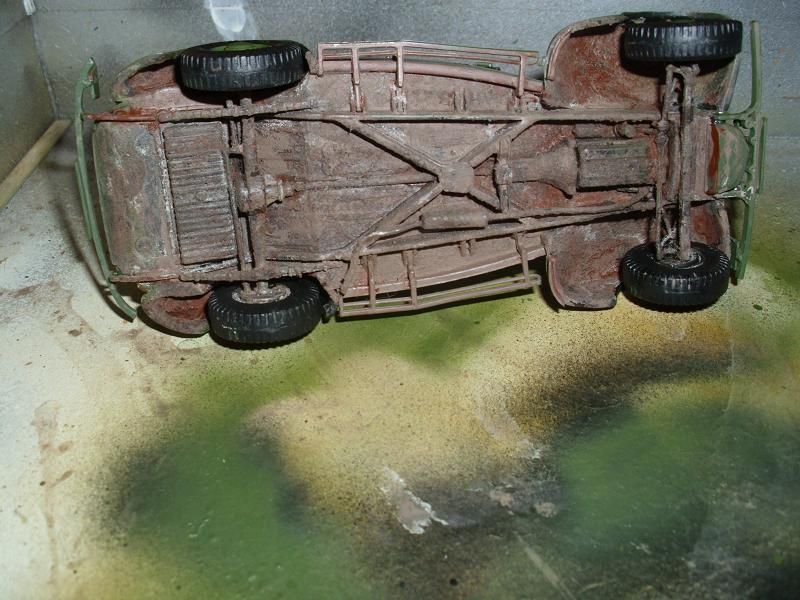
Wheels painted black, and underside weathering spread to side boards and is complete, wheels will get a dusting eventually
Future applied to areas to recieve decals, and decals added
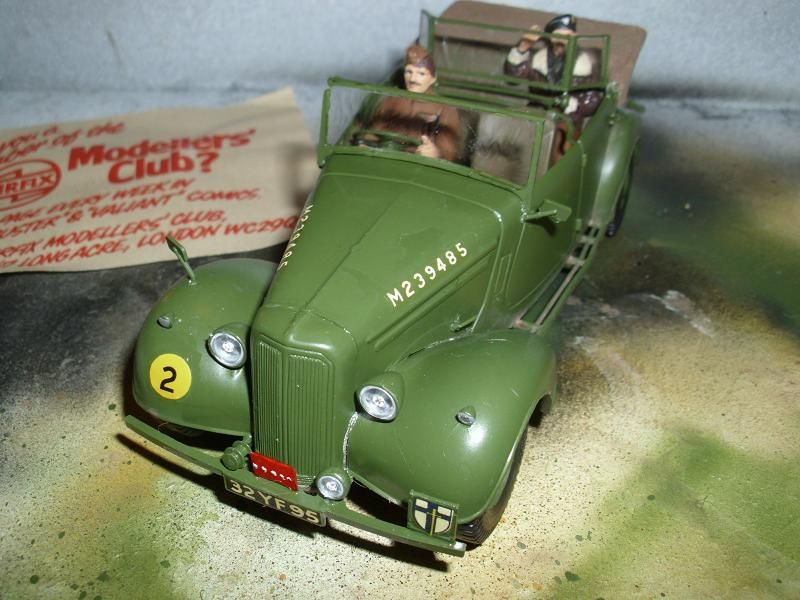
All that is left now is flat finish and upper weathering.
Top cover is painted tan, headlight hollows painted silver

Seats and interior side bags painted a medium dk brown

Headlight clear parts attached with white glue, general star plate painted red

Monty's driver, steering wheel and front windscreen attached

Monty and rear windscreen aparatus added

Taillight is painted red, rear flag plate painted and stars added

Wheels painted black, and underside weathering spread to side boards and is complete, wheels will get a dusting eventually

Future applied to areas to recieve decals, and decals added


All that is left now is flat finish and upper weathering.
Honcho of ASMMF
-
ShaunW
- NOT the sheep
- Posts: 26188
- Joined: November 26th, 2011, 6:11 pm
- Location: Pontefract West Yorkshire
Re: Chris's Humber
Just about done Chris, a great looker.
Doing - Tamiya 1/35th Universal Carrier.
Work is the curse of the modelling classes!
IPMS#12300
Work is the curse of the modelling classes!
IPMS#12300

-
Sissel

- Modelling Lady and Scholar
- Posts: 4097
- Joined: October 31st, 2011, 12:39 pm
- Location: Island in Norway
Re: Chris's Humber
Splendid! Weathering looks very good. 
Confused as always, and somewhere in hiding on the Scandinavian peninsula...
-
ShaunW
- NOT the sheep
- Posts: 26188
- Joined: November 26th, 2011, 6:11 pm
- Location: Pontefract West Yorkshire
Re: Chris's Humber
Great finish Chris. How have you weathered this? bit of drybrushing and washes?
Doing - Tamiya 1/35th Universal Carrier.
Work is the curse of the modelling classes!
IPMS#12300
Work is the curse of the modelling classes!
IPMS#12300
-
Chris
- Modelling Gent and Scholar
- Posts: 2917
- Joined: March 15th, 2013, 7:18 pm
- Location: In your head
- Contact:
Re: Chris's Humber
The upper part is entirely dry brushed, I used modern british armor sand because it was a nice light color like road dust.
It looks much dirtier under the camera and lights then to the naked eye. The way I did it is I start on the wheels, then move to the wheel cover area and lower sides and slowly move it higher, going lighter as I go.
At first I was going to go very light dirt, but looking at pictures it shows clearly that one drive on a dirt road and the car was filthy, and Monty would not get on his driver for it as its impossible to prevent dirt on unpaved roads. The window frames would be wiped down, especailly Monty's fold down rear, so they should be cleaner. I simply missed the front rear view mirror!
Honcho of ASMMF
-
Molly-new

- Modelling Gent and Scholar
- Posts: 2355
- Joined: May 4th, 2011, 8:42 pm
- Location: Stoke-on-Trent, England
Re: Chris's Humber ***FINISHED***
Very smart Chris, the weathering really sets it off.
Airfix WWII Aircraft Of The Aces.
Completed - 10
Building -
Pending -4
Completed - 10
Building -
Pending -4
-
ntrocket88
- Active Participant
- Posts: 827
- Joined: July 2nd, 2012, 11:49 pm
- Location: New Jersey, USA
Re: Chris's Humber ***FINISHED***
Very well done. Monty's coat looks especially impressive.
Neil
'With every model I learn a little more...and then the next one takes longer!'
'With every model I learn a little more...and then the next one takes longer!'
-
Chris
- Modelling Gent and Scholar
- Posts: 2917
- Joined: March 15th, 2013, 7:18 pm
- Location: In your head
- Contact:
Re: Chris's Humber ***FINISHED***
Thanks guys.
I love doing figure work Neil, thanks.
I love doing figure work Neil, thanks.
Honcho of ASMMF