Can you guess ?
I just had to have something tied to Ted for this ....
Well, I appear to have a Matchbox Victor K2 enroute; that's the one mentioned by Ted that he did the instruction sheet for. I have been searching for several weeks, after having given one away to a raffle a month ago.
No pix, it hasn't arrived yet (and I'm still on holiday), so I don't even know if I have a complete kit yet, but the seller is pretty reliable - so this is just a placeholder for now, but I expect to start by week's end ...
(Not) Following Ted's Instructions ** FINISHED & FUELING **
-
JohnRatzenberger

- Why is he so confused ?
- Posts: 15727
- Joined: April 5th, 2011, 3:42 pm
- Location: Living on a sandbar - Nags Head, NC.
(Not) Following Ted's Instructions ** FINISHED & FUELING **
John Ratzenberger 
It's my model and I'll do what I want with it.
It's my model and I'll do what I want with it.
-
shangos70
- Modelling Gent and Scholar
- Posts: 4421
- Joined: May 1st, 2011, 11:14 am
- Location: Doncaster, Socialist Republic of South Yorkshire.
Re: Ted is Telling Me How ....
Best of luck John, I wish I had discovered milliput before I built mine!
-
JohnRatzenberger
- Why is he so confused ?
- Posts: 15727
- Joined: April 5th, 2011, 3:42 pm
- Location: Living on a sandbar - Nags Head, NC.
Re: Following Ted's Instructions ....
I changed the thread title, on second look it seemed a bit creepy, suggesting voices from the grave ....
John Ratzenberger
It's my model and I'll do what I want with it.
It's my model and I'll do what I want with it.

Re: Following Ted's Instructions ....
John,
I hadn't noticed, but probably a good call
regards,
Martin
I hadn't noticed, but probably a good call
regards,
Martin
-
JohnRatzenberger
- Why is he so confused ?
- Posts: 15727
- Joined: April 5th, 2011, 3:42 pm
- Location: Living on a sandbar - Nags Head, NC.
Re: Following Ted's Instructions ....
I expect the kit any day now. I have been looking at online builds, including Ted's, and see they replaced the kit seats with Aeroclub.
That of course was much easier a few years ago. I have found a few on e-Bay, at a super-low price because the seller isn't a modeler. My question is, what type seats did the K2 use, I gather for pilots only, and what are some decent look-alikes. Given that I might be able to whack whatever I get into shape, or just ignore the problem ....
I have also tracked down the Flightpath update set, so maybe I can follow Ted's build article ....
John Ratzenberger
It's my model and I'll do what I want with it.
It's my model and I'll do what I want with it.
-
PaulBradley

- Staring out the window
- Posts: 21201
- Joined: April 6th, 2011, 3:08 pm
- Location: Flagstaff, AZ
Re: Following Ted's Instructions ....
John, the Victor used a MB 3, specifically, the Type 3LS1 for the pilot and 3LS2 for the co-pilot. I think a generic Type 3 would be fine, given the relative lack of window area.
Paul
За демократію і незалежний Україну
"For Democracy and a Free Ukraine"
За демократію і незалежний Україну
"For Democracy and a Free Ukraine"
-
JohnRatzenberger
- Why is he so confused ?
- Posts: 15727
- Joined: April 5th, 2011, 3:42 pm
- Location: Living on a sandbar - Nags Head, NC.
Re: Following Ted's Instructions ....
Hmmm, I have a Mk.5, Mk.10, and Aces II coming; anything of those close enough ?
Only Mk.3 I see is Quickboost & OOS at each store.
Only Mk.3 I see is Quickboost & OOS at each store.
John Ratzenberger
It's my model and I'll do what I want with it.
It's my model and I'll do what I want with it.
-
JohnRatzenberger
- Why is he so confused ?
- Posts: 15727
- Joined: April 5th, 2011, 3:42 pm
- Location: Living on a sandbar - Nags Head, NC.
Re: Following Ted's Instructions ....
Arriving today ....
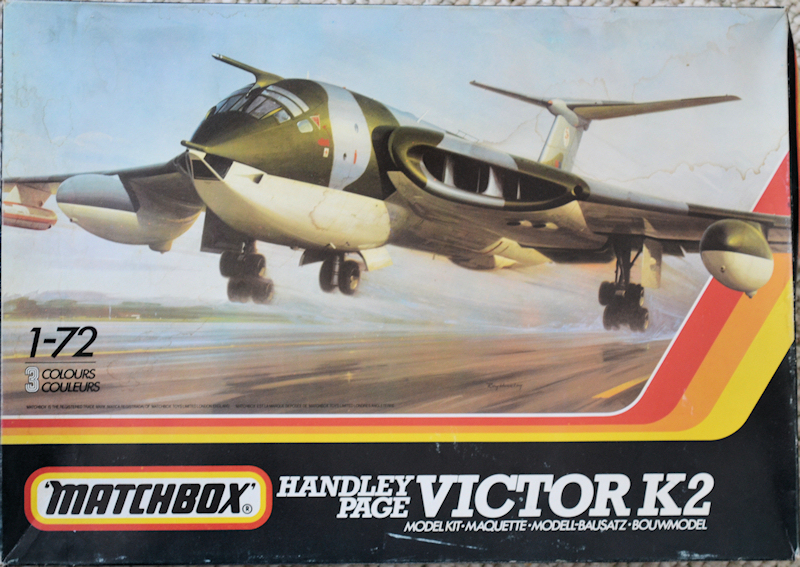
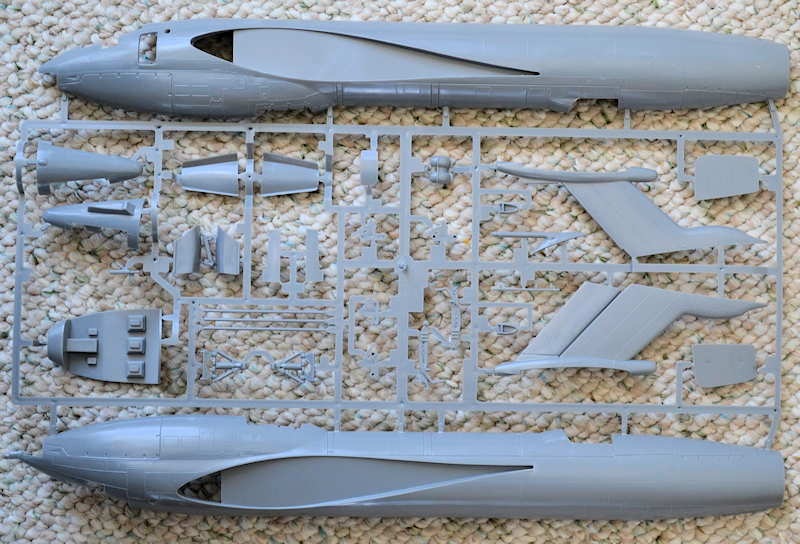
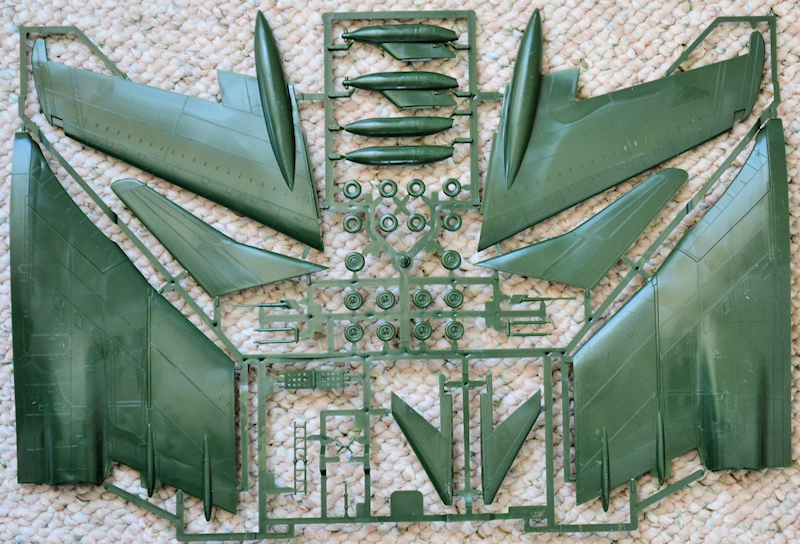
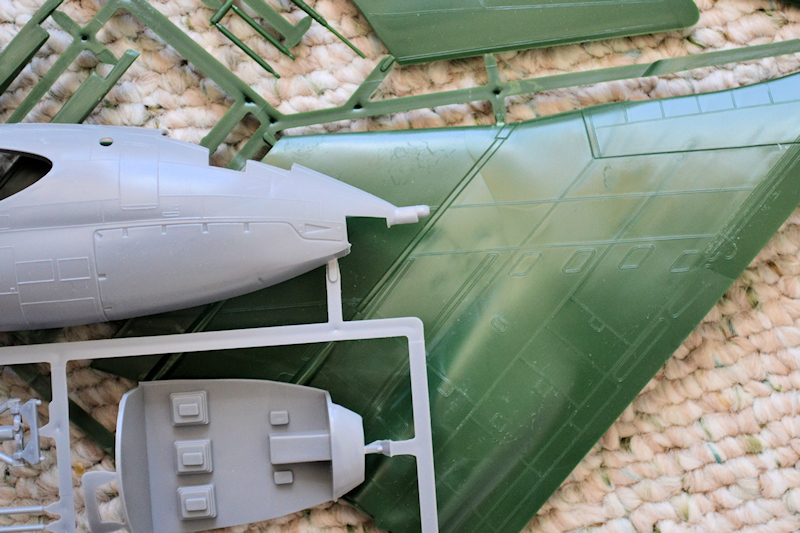
in glorious 3-color plastic ....
with decals ....

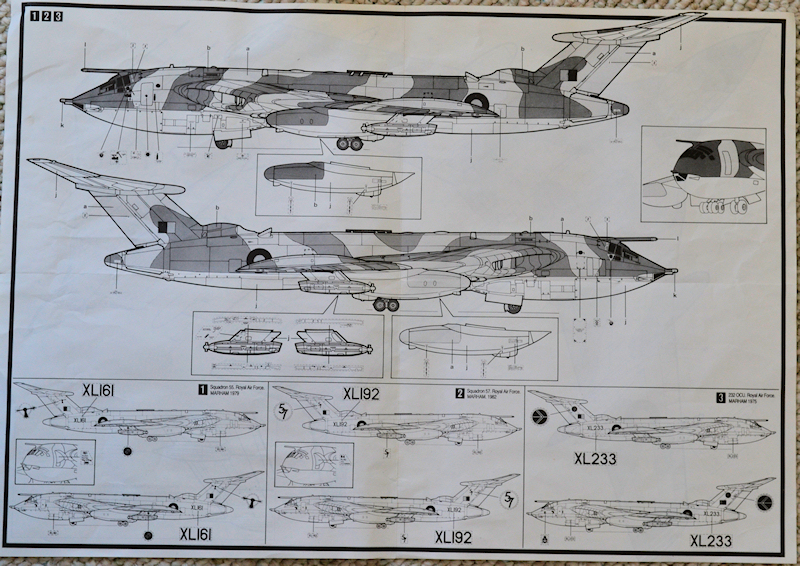
and Ted's instruction sheets ...


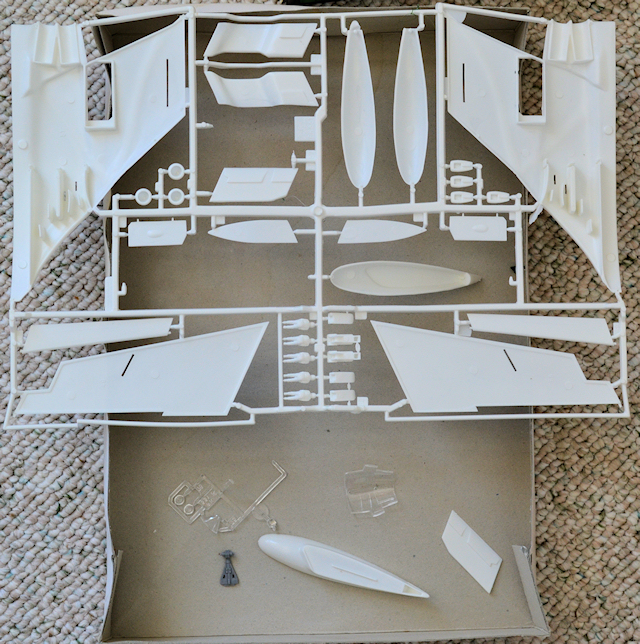
You might note the slight water staining on the box, it's OK there is no mold. The parts appear all there and in good condition. The decals were in a baggie, but it was not sealed and while they might be OK, I am not sure - I need to work on alternative. I don't have anything suitable in my decal stash.
Ted's article on his build(s) of the Victor mentioned rescribing panel lines. I see the Matchbox panel trencher was on holiday when this kit was produced and his opposite number the panel raiser was on duty. And there are a lot of them, many on the wing are double lines.
I hate rescribing, yet I think to just sand it bare, as I typically do, would be a disservice. I need to study it a bit and determine what might be a minimal number to rescribe and sand the rest bare. Alternatively I might look at drawing lines on after as some of you have done - I shall have to relook those posts to learn something about that.
As I said, I also have the Flightpath set, so I need to look at what I might want to use out of that. I cannot make this too big a project. That also brings up whether I want this to sit on gear or be in-flight, I really have no room to display it wheels down, but it might be nice from the ceiling ....
in glorious 3-color plastic ....
with decals ....
and Ted's instruction sheets ...
You might note the slight water staining on the box, it's OK there is no mold. The parts appear all there and in good condition. The decals were in a baggie, but it was not sealed and while they might be OK, I am not sure - I need to work on alternative. I don't have anything suitable in my decal stash.
Ted's article on his build(s) of the Victor mentioned rescribing panel lines. I see the Matchbox panel trencher was on holiday when this kit was produced and his opposite number the panel raiser was on duty. And there are a lot of them, many on the wing are double lines.
I hate rescribing, yet I think to just sand it bare, as I typically do, would be a disservice. I need to study it a bit and determine what might be a minimal number to rescribe and sand the rest bare. Alternatively I might look at drawing lines on after as some of you have done - I shall have to relook those posts to learn something about that.
As I said, I also have the Flightpath set, so I need to look at what I might want to use out of that. I cannot make this too big a project. That also brings up whether I want this to sit on gear or be in-flight, I really have no room to display it wheels down, but it might be nice from the ceiling ....
John Ratzenberger
It's my model and I'll do what I want with it.
It's my model and I'll do what I want with it.
-
PaulBradley
- Staring out the window
- Posts: 21201
- Joined: April 6th, 2011, 3:08 pm
- Location: Flagstaff, AZ
Re: Following Ted's Instructions ....
I think I've some spare Modeldecal Victor decals floating around if you need them.
Paul
За демократію і незалежний Україну
"For Democracy and a Free Ukraine"
За демократію і незалежний Україну
"For Democracy and a Free Ukraine"
-
JohnRatzenberger
- Why is he so confused ?
- Posts: 15727
- Joined: April 5th, 2011, 3:42 pm
- Location: Living on a sandbar - Nags Head, NC.
Re: Following Ted's Instructions ....
Thanks, Paul, on a second look the decals might be OK. That's not my big problem right now.
On a detail inspection, I found significant mold flaws on the white parts -- they look like gullies or something. I think I can fill them and sand smooth without harming much detail.
But that leads me back to the raised panel lines. I tried all afternoon to get up the desire to start work on them and failed miserably -- and that isn't even trying to rescribe all of them, just deciding on a decent enough subset. After fighting with test fit of the wing center sections, I looked at the Flightpath update and decided cutting off two huge pour blocks wasn't of interest.
I put all the pieces back in the box and I will spend tonight, maybe tomorrow, thinking seriously about a pure OOB build, raised lines and all .... or maybe just sand them almost off as I usually do .... or maybe it will all look better in the morning ....
John Ratzenberger
It's my model and I'll do what I want with it.
It's my model and I'll do what I want with it.
-
JamesPerrin

- Looks like his avatar
- Posts: 13669
- Joined: April 5th, 2011, 8:09 pm
- Location: W. Yorkshire
- Contact:
Re: Following Ted's Instructions ....
For many, many years I used that box to store my spares decals in as there was plenty of room to root around.
Classic British Kits SIG Leader Better to fettle than to fill
(2024 A:B 5:2) (2023 13:8:7) (2022 21:11) (2021 15:8) (2020 8:4:4)
(2024 A:B 5:2) (2023 13:8:7) (2022 21:11) (2021 15:8) (2020 8:4:4)
Re: Following Ted's Instructions ....
John,jRatz wrote:Thanks, Paul, on a second look the decals might be OK. That's not my big problem right now.
On a detail inspection, I found significant mold flaws on the white parts -- they look like gullies or something. I think I can fill them and sand smooth without harming much detail.
But that leads me back to the raised panel lines. I tried all afternoon to get up the desire to start work on them and failed miserably -- and that isn't even trying to rescribe all of them, just deciding on a decent enough subset. After fighting with test fit of the wing center sections, I looked at the Flightpath update and decided cutting off two huge pour blocks wasn't of interest.
I put all the pieces back in the box and I will spend tonight, maybe tomorrow, thinking seriously about a pure OOB build, raised lines and all .... or maybe just sand them almost off as I usually do .... or maybe it will all look better in the morning ....
Yep, a good night's sleep should help. I have heard that the Victor kit is not for the faint hearted.
Whatever you choose will be fine with us.
regards,
Martin
-
Titan

- Modelling Gent and Scholar
- Posts: 1835
- Joined: November 13th, 2011, 10:38 pm
- Location: The windswept Isle of Cornwall
Re: Following Ted's Instructions ....
I have the Revell boxing of this kit so no tri-colour plastic of course but I have read that this kit is a pain to build so I just put it away and forgot about it, I will watch this build with interest to so if what I have read is true.
Regards
Mark
Regards
Mark
Regards
Mark
_________________________________________
My models are never perfect, but I kinda like them.
Mark
_________________________________________
My models are never perfect, but I kinda like them.
-
TimJ

- Modelling Gent and Scholar
- Posts: 4290
- Joined: May 1st, 2011, 12:54 am
- Location: Oldbury, West Midlands
Re: Following Ted's Instructions ....
I'll be interested to see how you get on with it as I've had one sitting in it's box part finished for longer than I care to remember. 
2020 A:35 B:18. 2021 A: 51 B:25 C:21 2022 A:63 B:23 C:11 2024 A:9 B:4 C:15
-
despondman

- Active Participant
- Posts: 773
- Joined: July 15th, 2013, 6:49 pm
- Location: Lincolnshire
Re: Following Ted's Instructions ....
It's a shame if this is difficult to build as it looks such a brilliant kit. I hope it goes well for you as I am very interested to see it built.
Even thinking about rescribing the panel line is more than I would do, OOB for me.
Even thinking about rescribing the panel line is more than I would do, OOB for me.