I told a little fib I actually grabbed that hour today as rain stopped me doing any gardening today, I was happy about it but Mrs T wasn't so much...still there is always next week....

I masked the yellow off and used some Alclad gloss black primer gave it a polish after about an hour and then I sprayed two coats of polished Aluminum over that( polishing between each coat ) and plopped the prop on for the photo because I'm like that...impetuous.
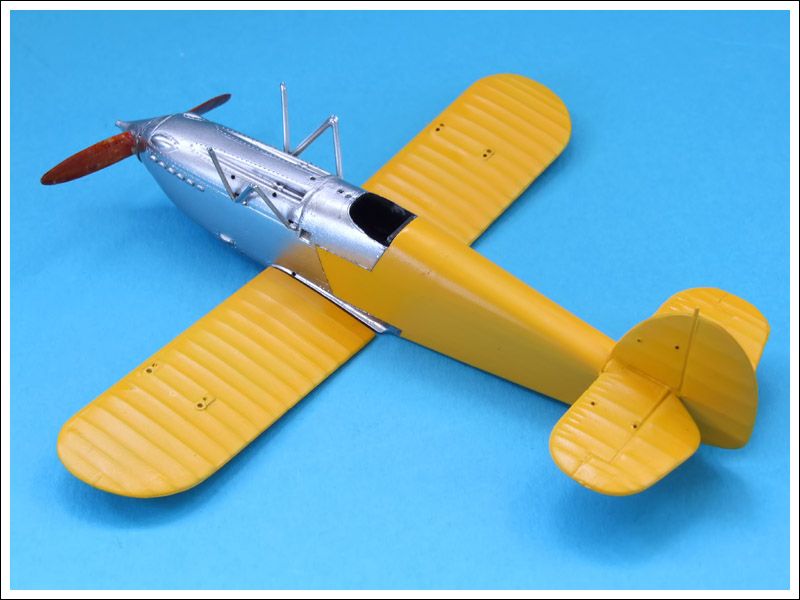
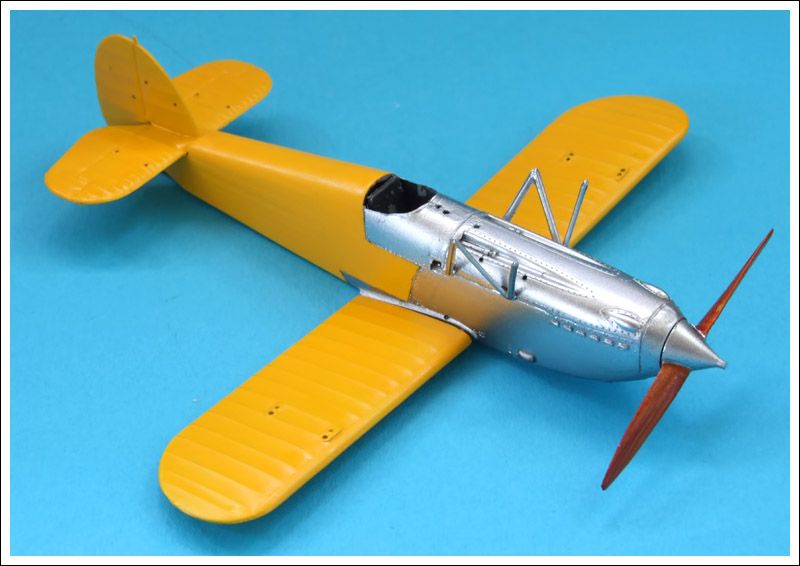
I will have to drill a hole just behind the cockpit for the aerial post that I had forgotten to do before spraying the yellow.

Next major thing to do will be to attach the lower wing, fill the gaps and then spray with Alclad, that will be done next weekend.
Time fillers will be to paint the wheel covers red, I can do that at least during the week.....
I have next weekend to finish as I don't think I will get much done during the week because of my shifts.
Regards
Mark


