Even the simplest kit tends to get built over several months unless I've got weeks of vacation to build in, and I don't have any of that this month, so chances are this won't finish in time, but on the other hand, I feel like taking on a short and simple job right now. Of course, the mere act of describing it thus pretty much guarantees this is going to be a long and wild fight, but I never could keep my mouth shut
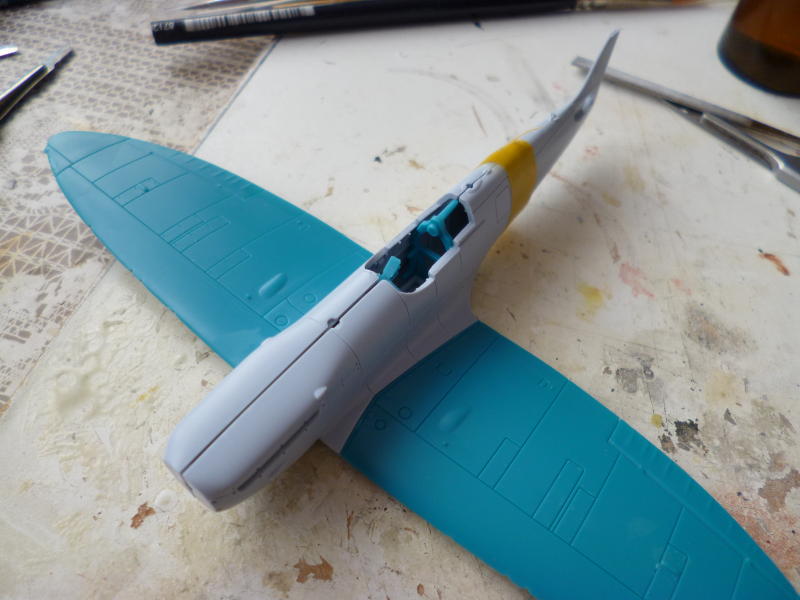
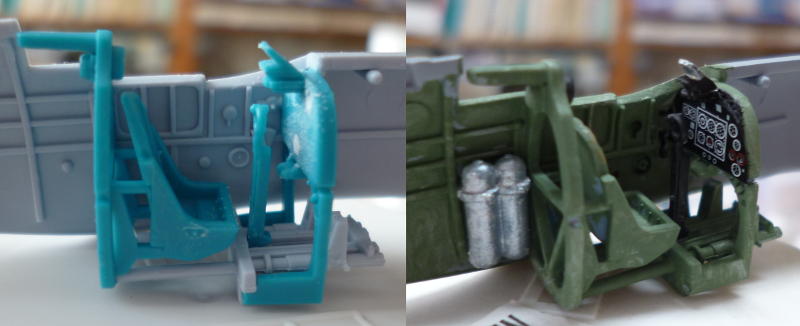
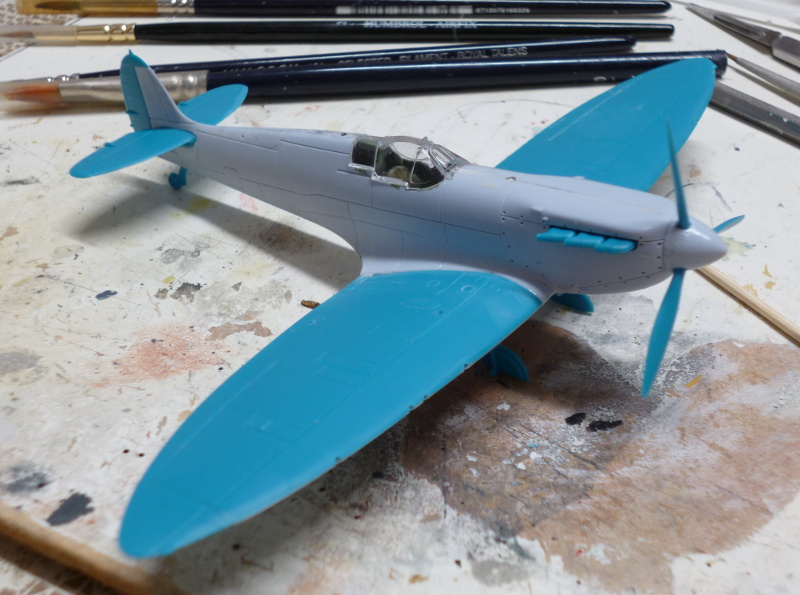
I said this was going to be a 'project' leftover, but that's not entirely true. About half of the parts will come from that kit, the other half will be swapped out with a regular Spitfire I/IIa kit, which apart from some extra parts is identical. Identical except for the colour of the plastic used that is, so I'll get to enjoy a mixture of light grey and ridiculously bright and cheery blue, for that authentic Matchbox feeling
Actually, nostalgia has nothing to do with it, I just like having some colour contrast between the parts of my kits, and somehow they look livelier during production in multiple colours.
Hey, I never said I wasn't a bit wierd
Other than the parts swap, I'll build this one straight out of the bag; I have two unallocated sets of decals for early Spits, and the other one isn't a BoB plane... I might swipe/copy some additional stencilling from the other set though, the project kit is (understandably) sparsely marked.