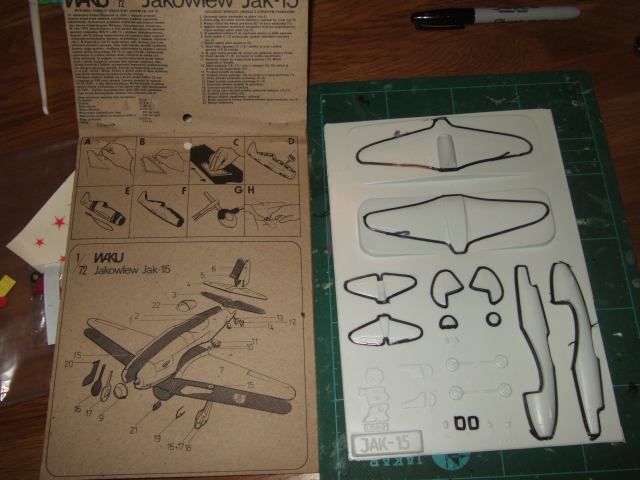
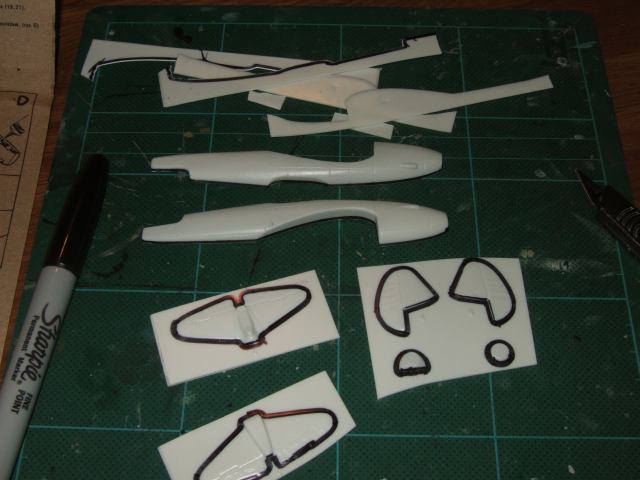
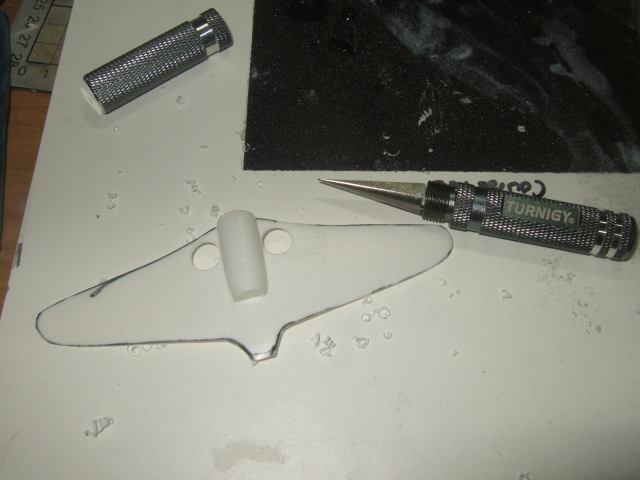
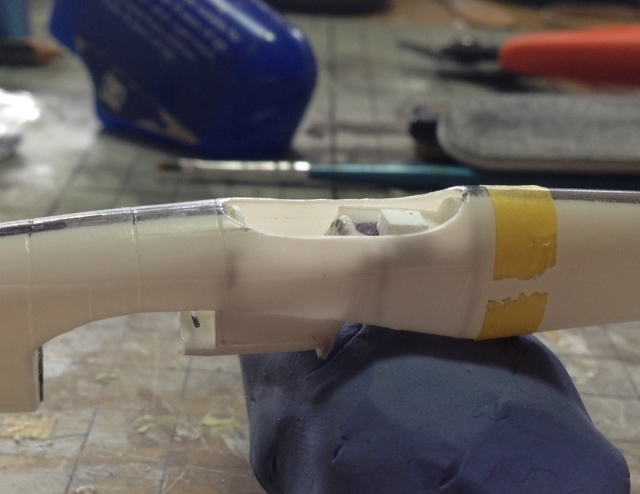
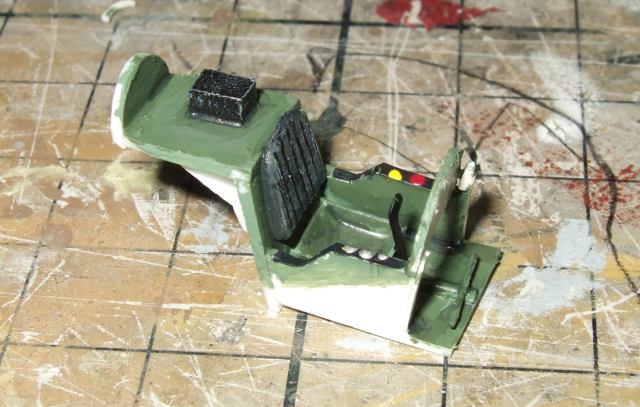
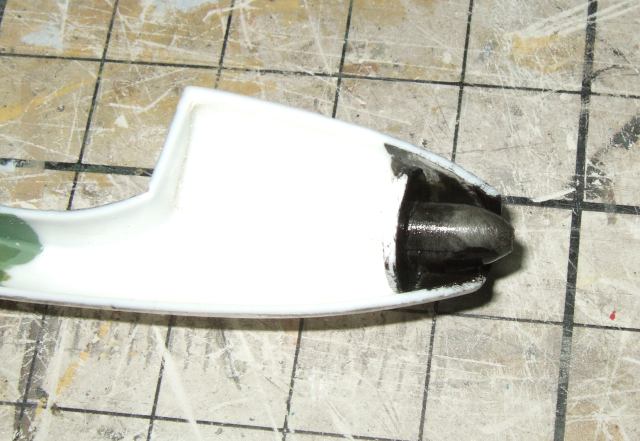
Picked this up for the princely sum of £2. Often seen in the bargain vac box of many a 2 hand dealer, I bought this as I had sacrificed my PM Yak-15 for my daughter to play with. This kit looks to have better detail and the canopy will be light years ahead of the milk bottle bottom that formed the PM part. Some appendages such as the undercarriage were soon erm... detached and I fortunately scooped these up for the spares box and will be used to replace the vac parts.
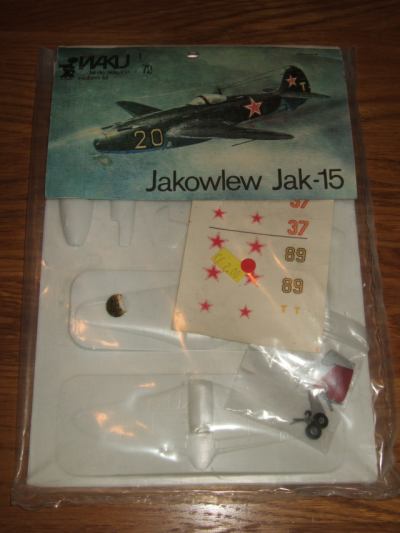
Anybody know anything about Waku kits? The parent appears to be BR-Lodz, their logo is moulded into the plastic along with part numbers! I'm on hold next week and won't make a start until after the weekend as I'm also attending the Cosford Model show.