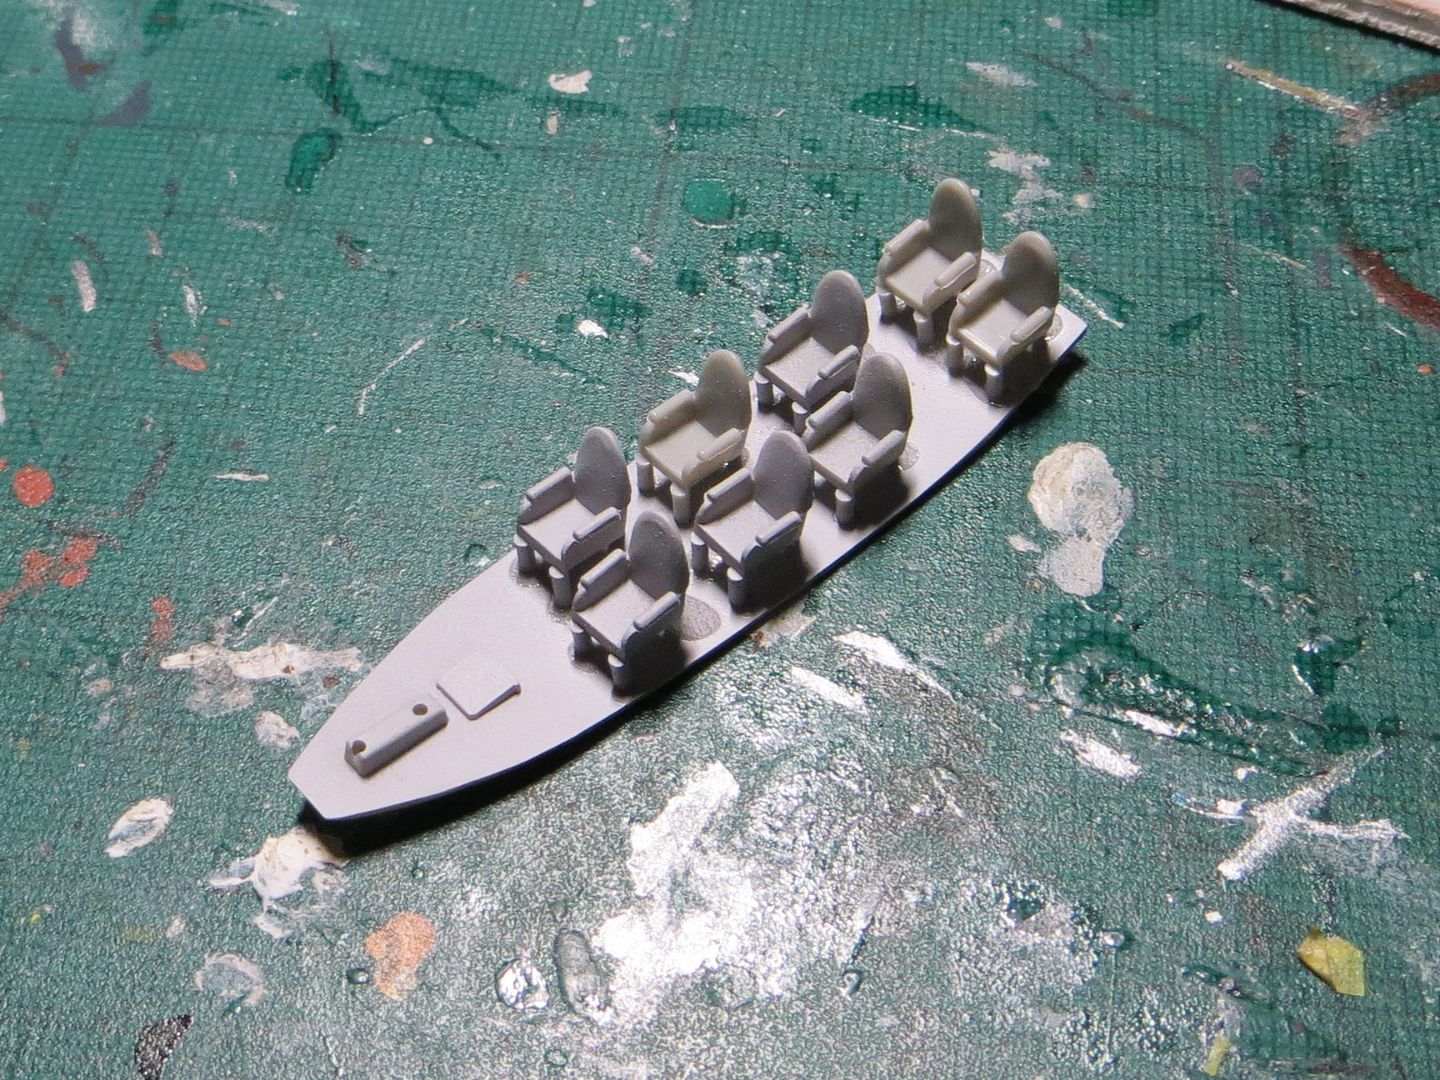
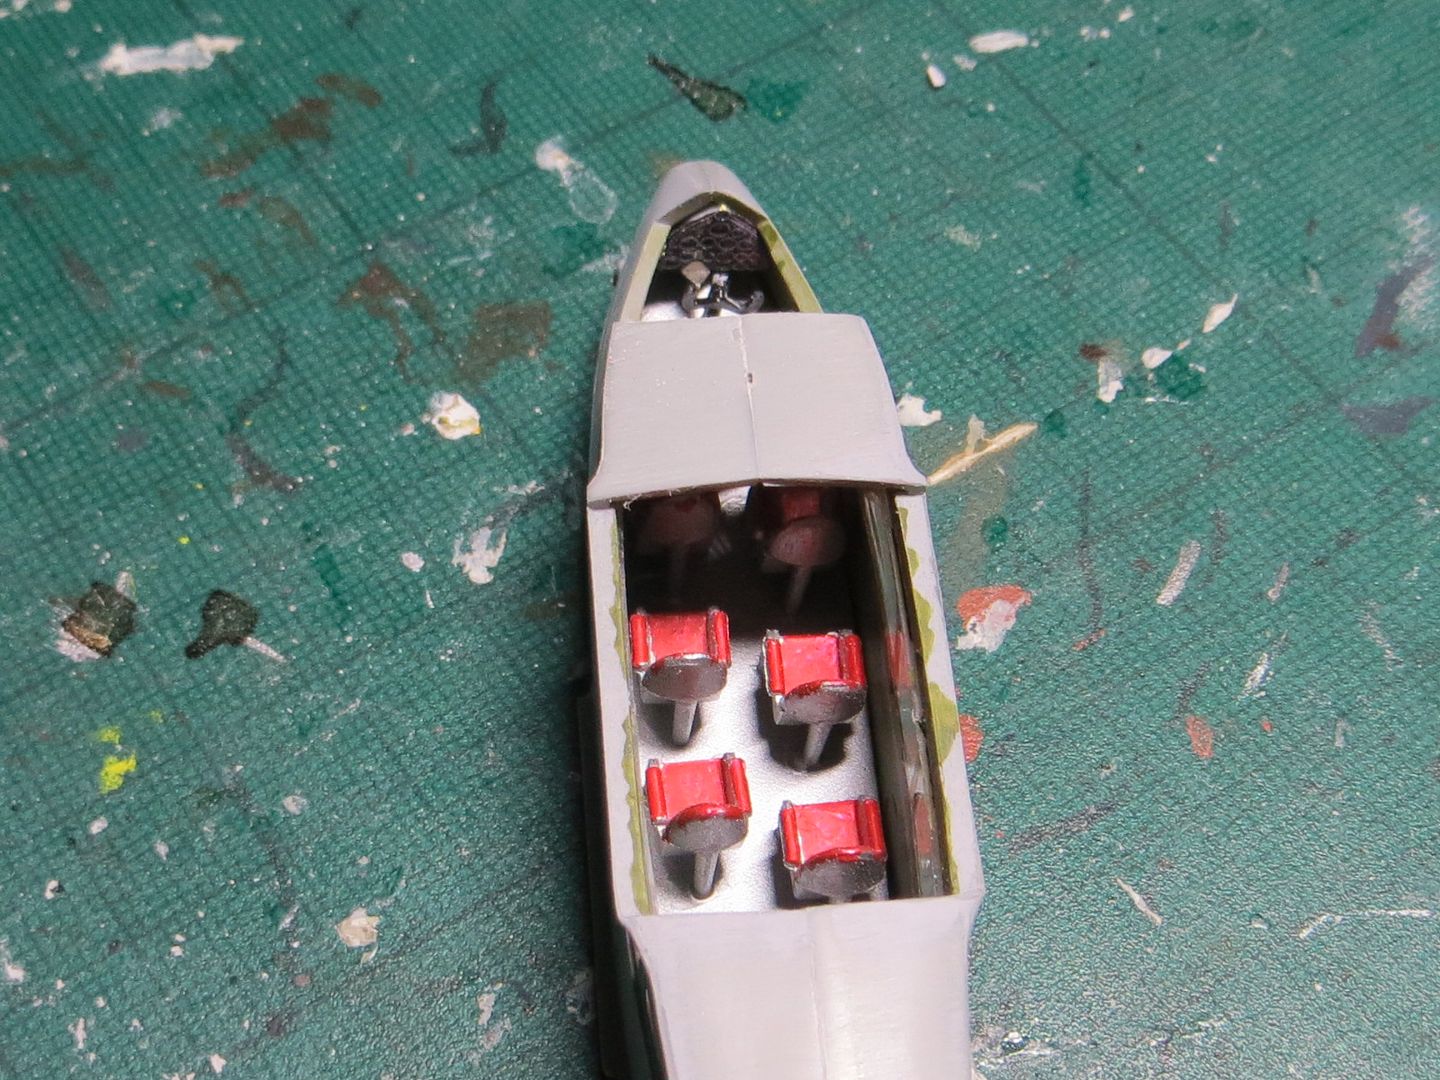
You leave my aunty out of thisPurplethistle wrote:There was a lot of Brylcreem used back then, don't forget the antimacassars!TobyC wrote: Cabin floor started. Will paint aluminium and then add some red for the seat covers.
Toby's Dragon Rapide. FINISHED
-
TobyC

- Modelling Gent and Scholar
- Posts: 5540
- Joined: January 15th, 2013, 2:13 pm
- Location: Cobham, Surrey. Blighty
Re: Toby's Dragon Rapide
Enjoyment over accuracy. That's my motto
-
TobyC
- Modelling Gent and Scholar
- Posts: 5540
- Joined: January 15th, 2013, 2:13 pm
- Location: Cobham, Surrey. Blighty
Re: Toby's Dragon Rapide
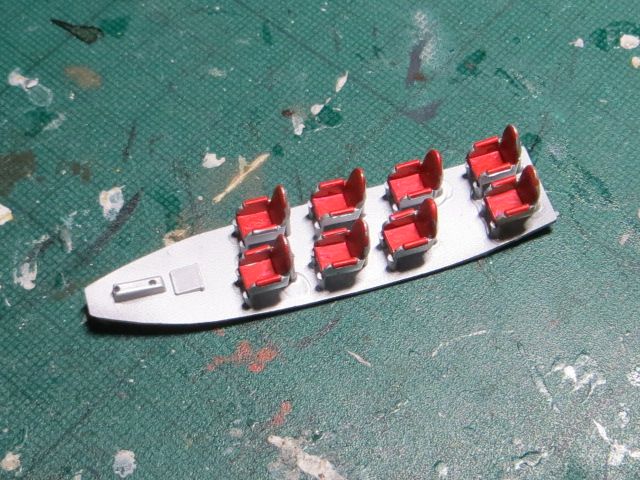
Seats painted but I'm annoyed with myself as I over used the glue on them but it won't be seen once in the fuselage.....I hope 
Enjoyment over accuracy. That's my motto
-
Purplethistle

- Delusional Miniature Killer
- Posts: 4680
- Joined: July 10th, 2014, 1:03 am
- Location: Glasgow
Re: Toby's Dragon Rapide
You could just explain away the excess glue as Brylcreem smears.....due to the shocking lack of antimacassars!TobyC wrote:Seats painted but I'm annoyed with myself as I over used the glue on them but it won't be seen once in the fuselage.....I hope
"Spits, SLUFS and Rock 'n' Roll"
-
TobyC
- Modelling Gent and Scholar
- Posts: 5540
- Joined: January 15th, 2013, 2:13 pm
- Location: Cobham, Surrey. Blighty
Re: Toby's Dragon Rapide
Purplethistle wrote:
You could just explain away the excess glue as Brylcreem smears.....due to the shocking lack of antimacassars!
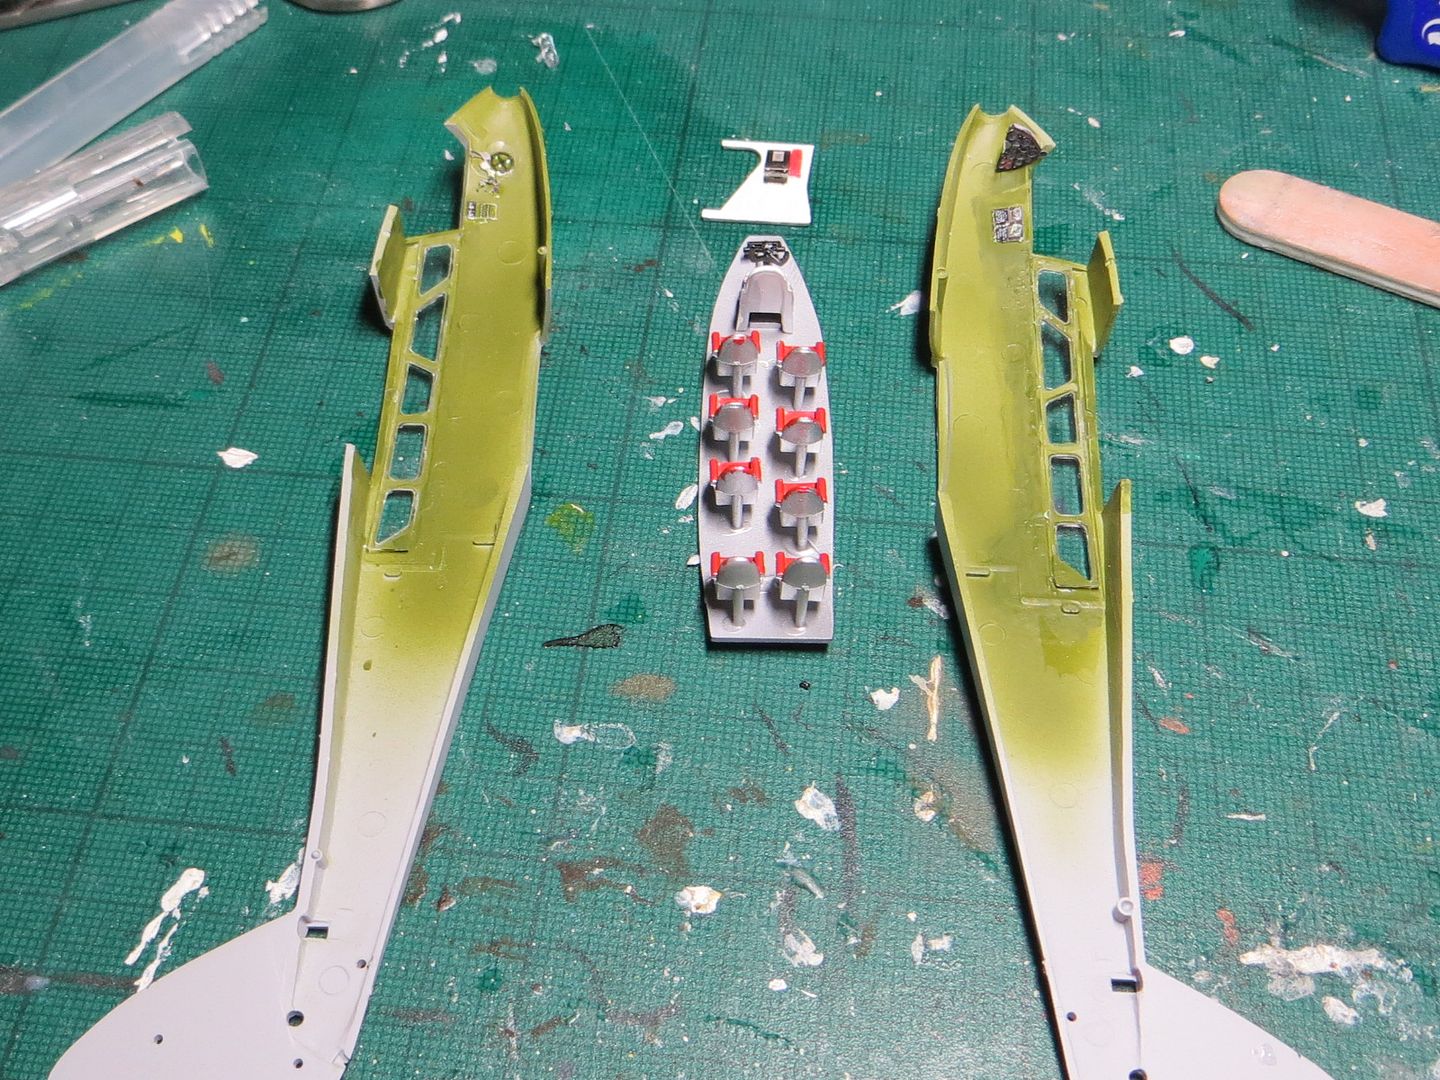
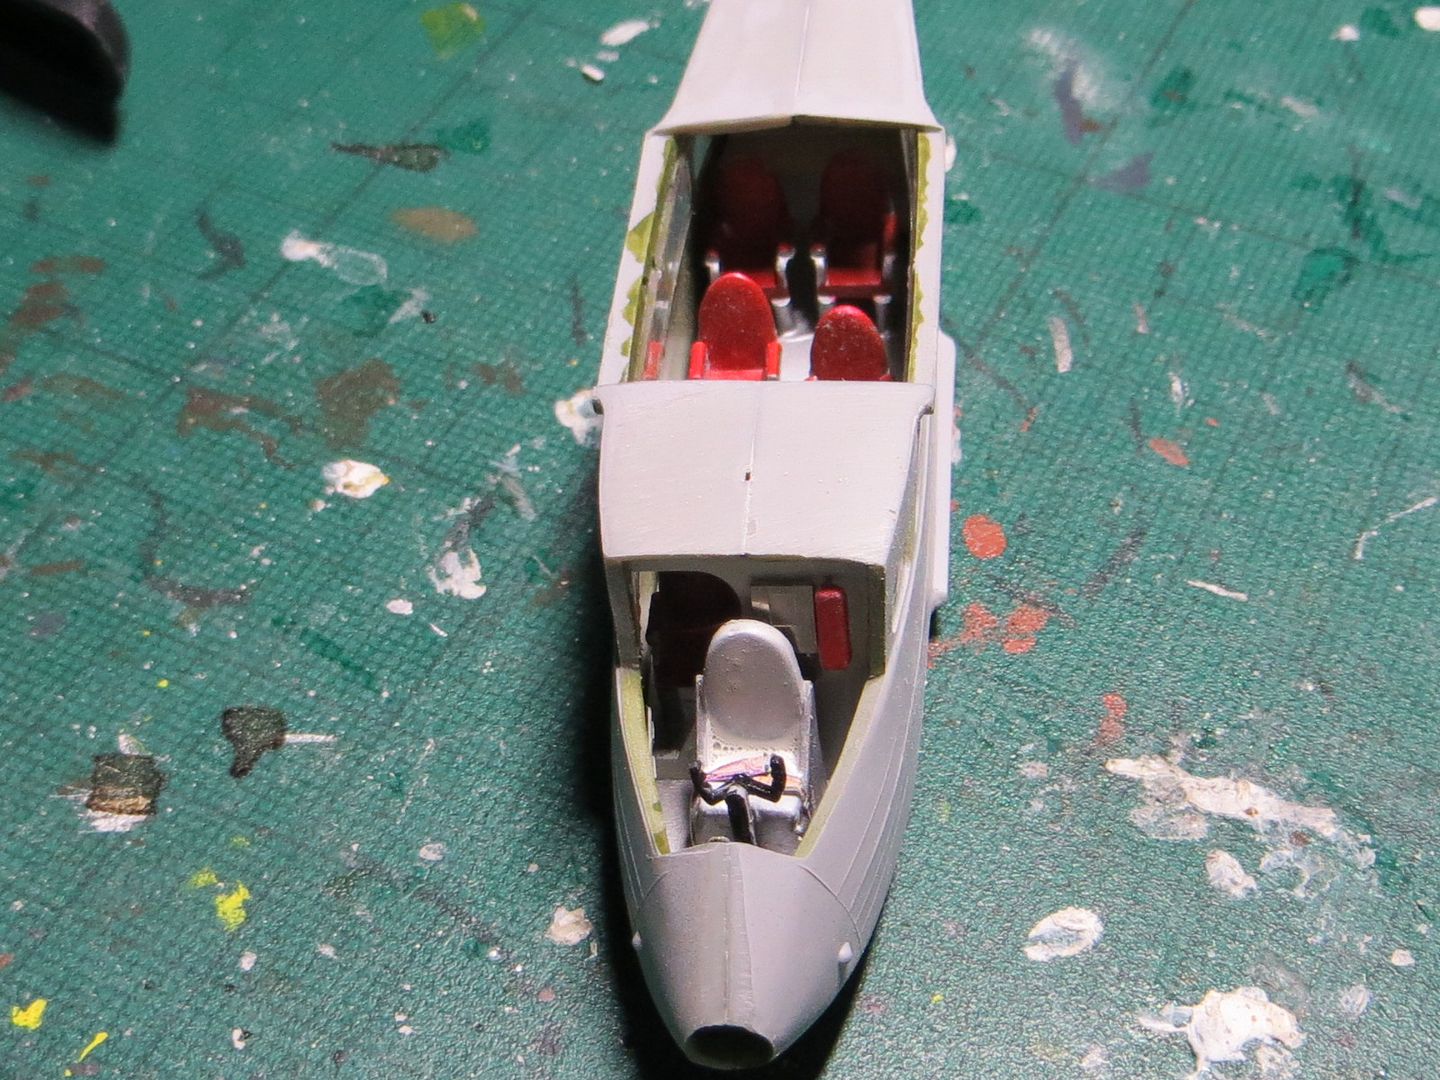
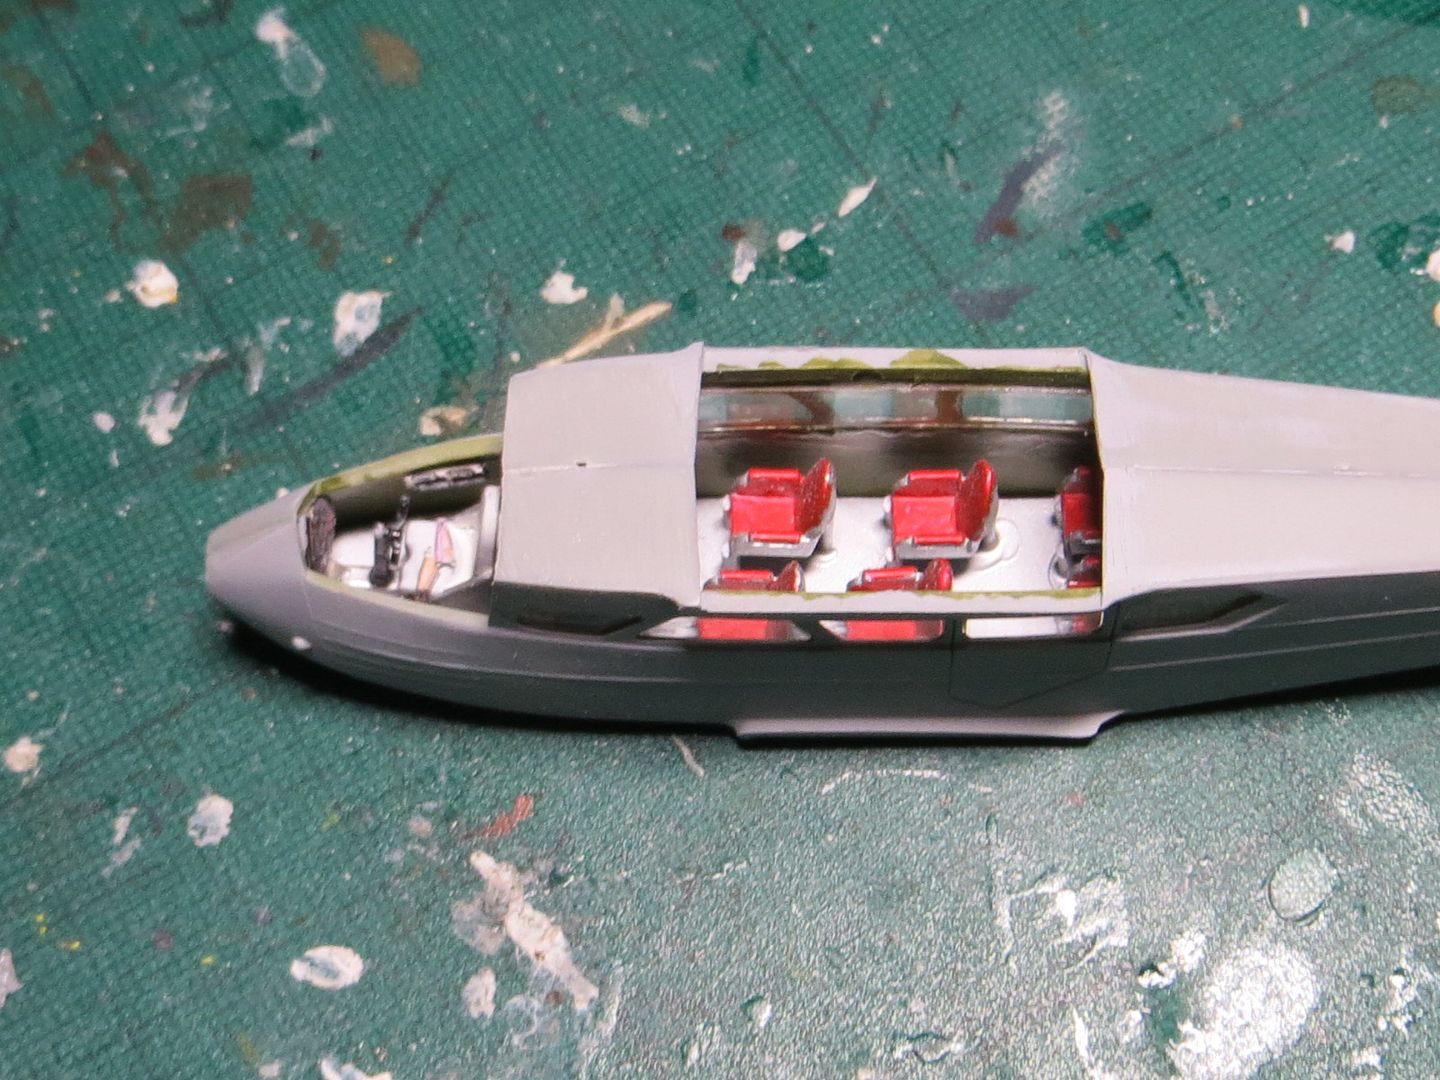
Most of the interior is finished. Just need to close it all up now.
I used an aftermarket pe set for the detail stuff
Enjoyment over accuracy. That's my motto
-
VickersVandal

- Modelling Gent and Scholar
- Posts: 5043
- Joined: October 4th, 2012, 3:37 am
- Location: Sydney, Australia
Re: Toby's Dragon Rapide
Looking great!
Must.....build....ALL the Sopwith Camels!...
My Biggles Model display website: https://tinyurl.com/y74ydzae
My Biggles Model display website: https://tinyurl.com/y74ydzae
-
TobyC
- Modelling Gent and Scholar
- Posts: 5540
- Joined: January 15th, 2013, 2:13 pm
- Location: Cobham, Surrey. Blighty
Re: Toby's Dragon Rapide
Thanks VV
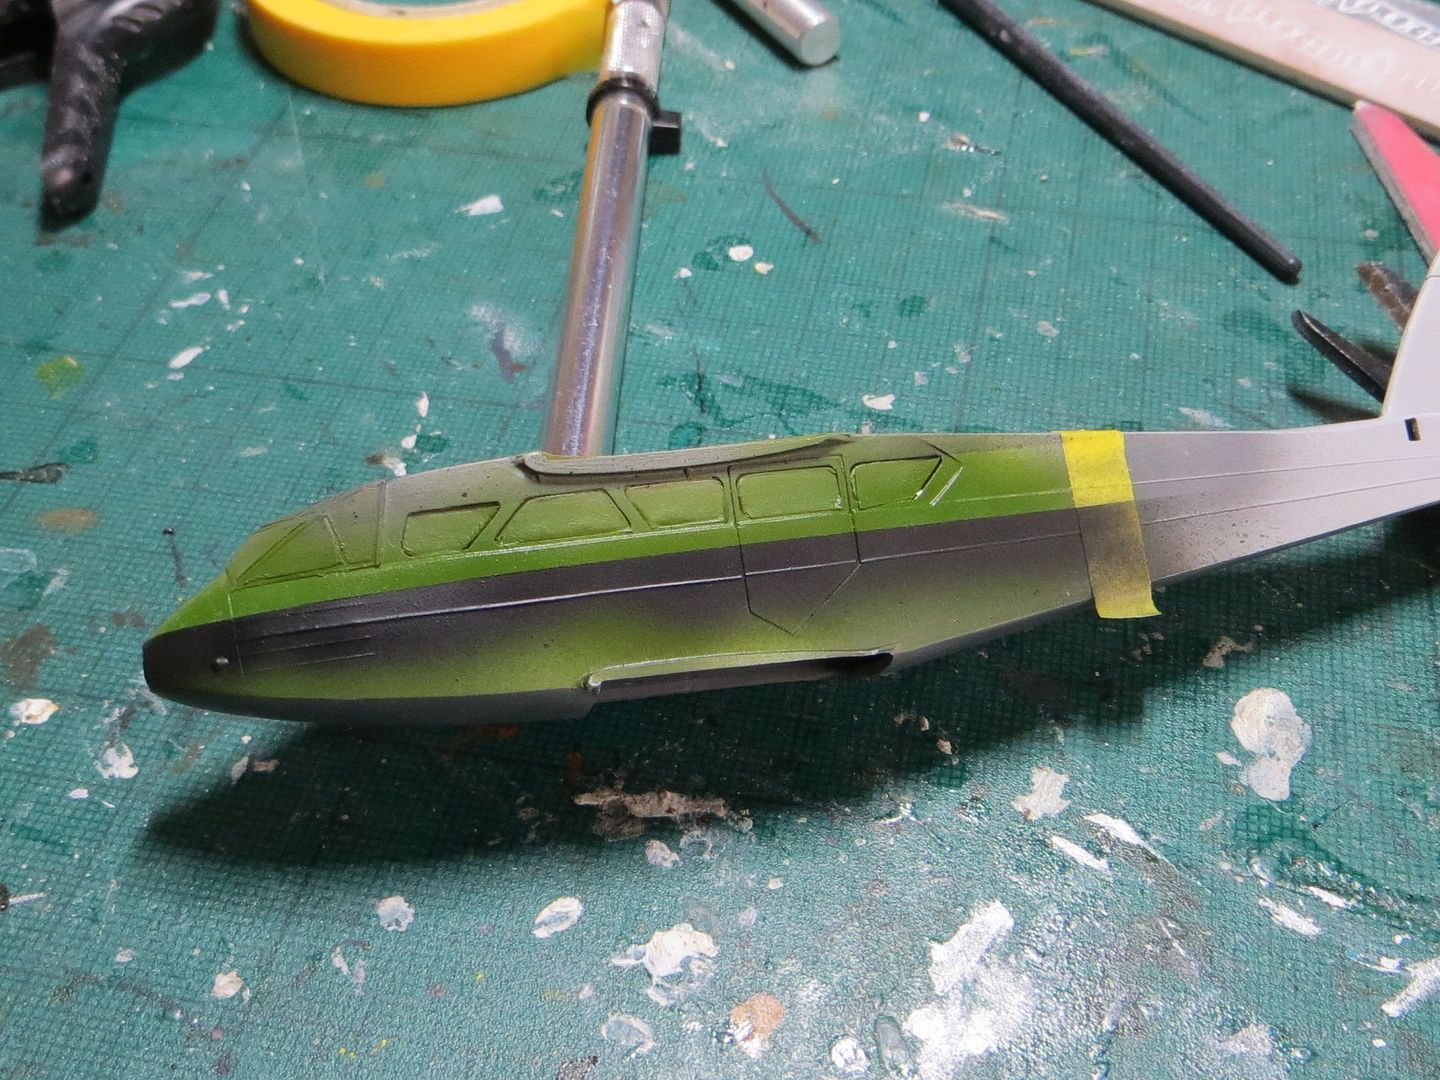
Next up is to paint the livery lines. On the instructions the green is on top and on the box it's the black. I opted for the green on top.

Sadly I forgot to add the antimacassars
Next up is to paint the livery lines. On the instructions the green is on top and on the box it's the black. I opted for the green on top.
Sadly I forgot to add the antimacassars
Enjoyment over accuracy. That's my motto
-
AndrewR

- In the basement lab
- Posts: 24113
- Joined: April 5th, 2011, 4:13 pm
- Location: Ottawa, Ontario, The Great White North
- Contact:
Re: Toby's Dragon Rapide
Standards are really slipping!TobyC wrote:
Sadly I forgot to add the antimacassars
Up in the Great White North
-
TobyC
- Modelling Gent and Scholar
- Posts: 5540
- Joined: January 15th, 2013, 2:13 pm
- Location: Cobham, Surrey. Blighty
Re: Toby's Dragon Rapide
They're still at the cleaners getting all that Brylcreem outAndrewR wrote:Standards are really slipping!TobyC wrote:
Sadly I forgot to add the antimacassars
Enjoyment over accuracy. That's my motto
-
TobyC
- Modelling Gent and Scholar
- Posts: 5540
- Joined: January 15th, 2013, 2:13 pm
- Location: Cobham, Surrey. Blighty
Re: Toby's Dragon Rapide
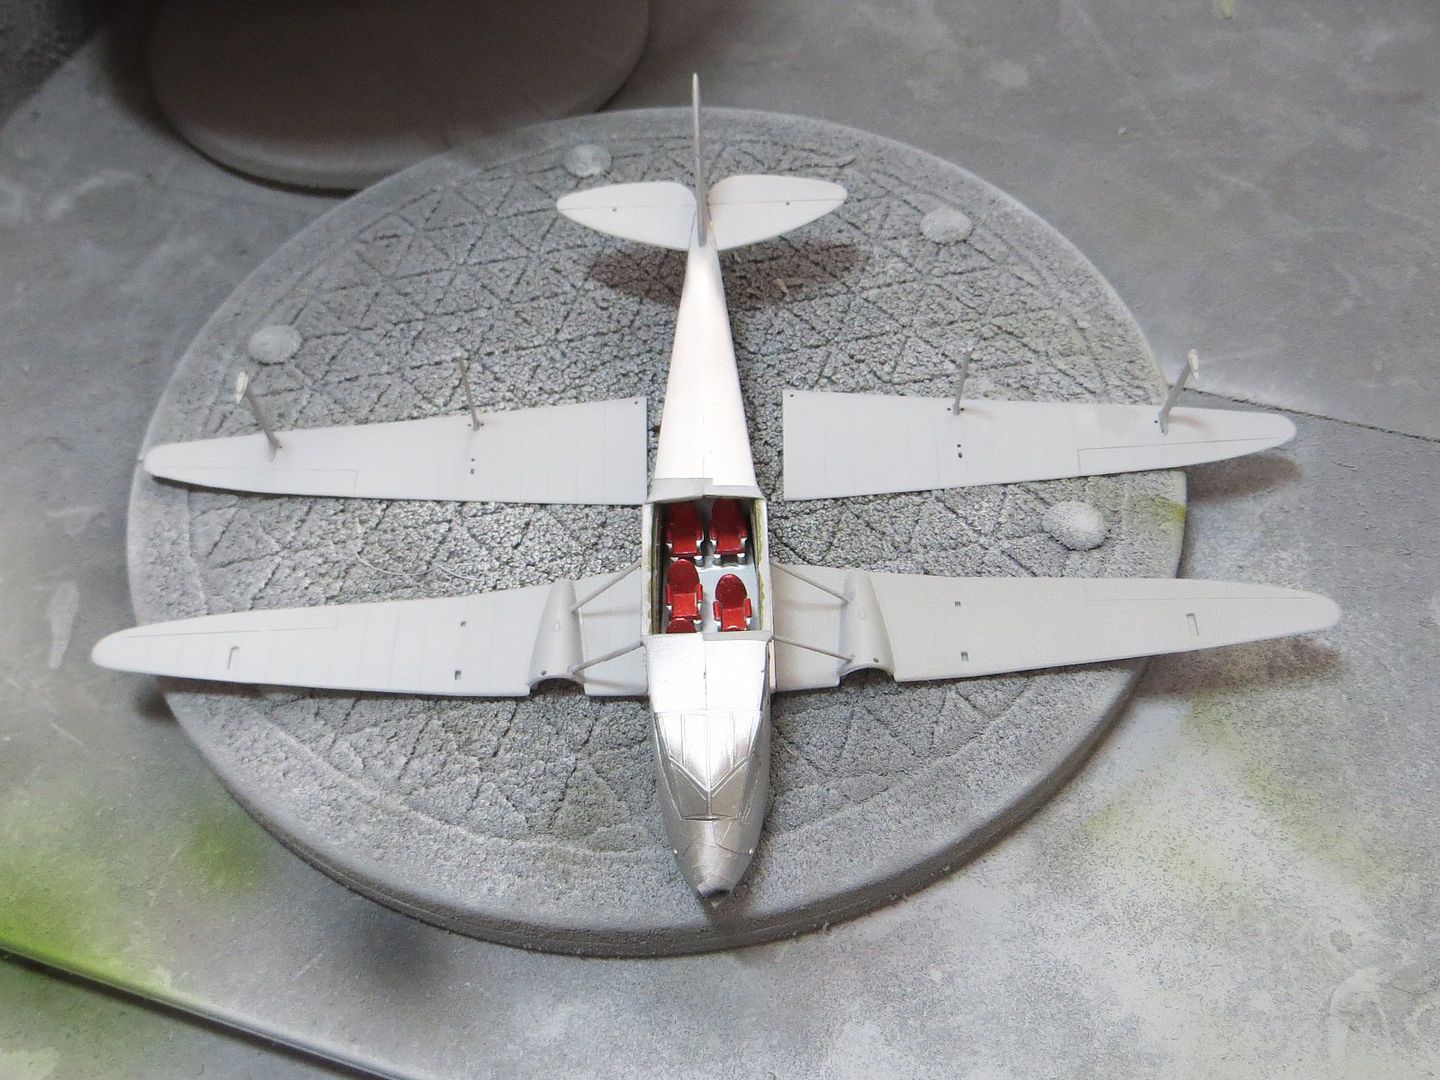
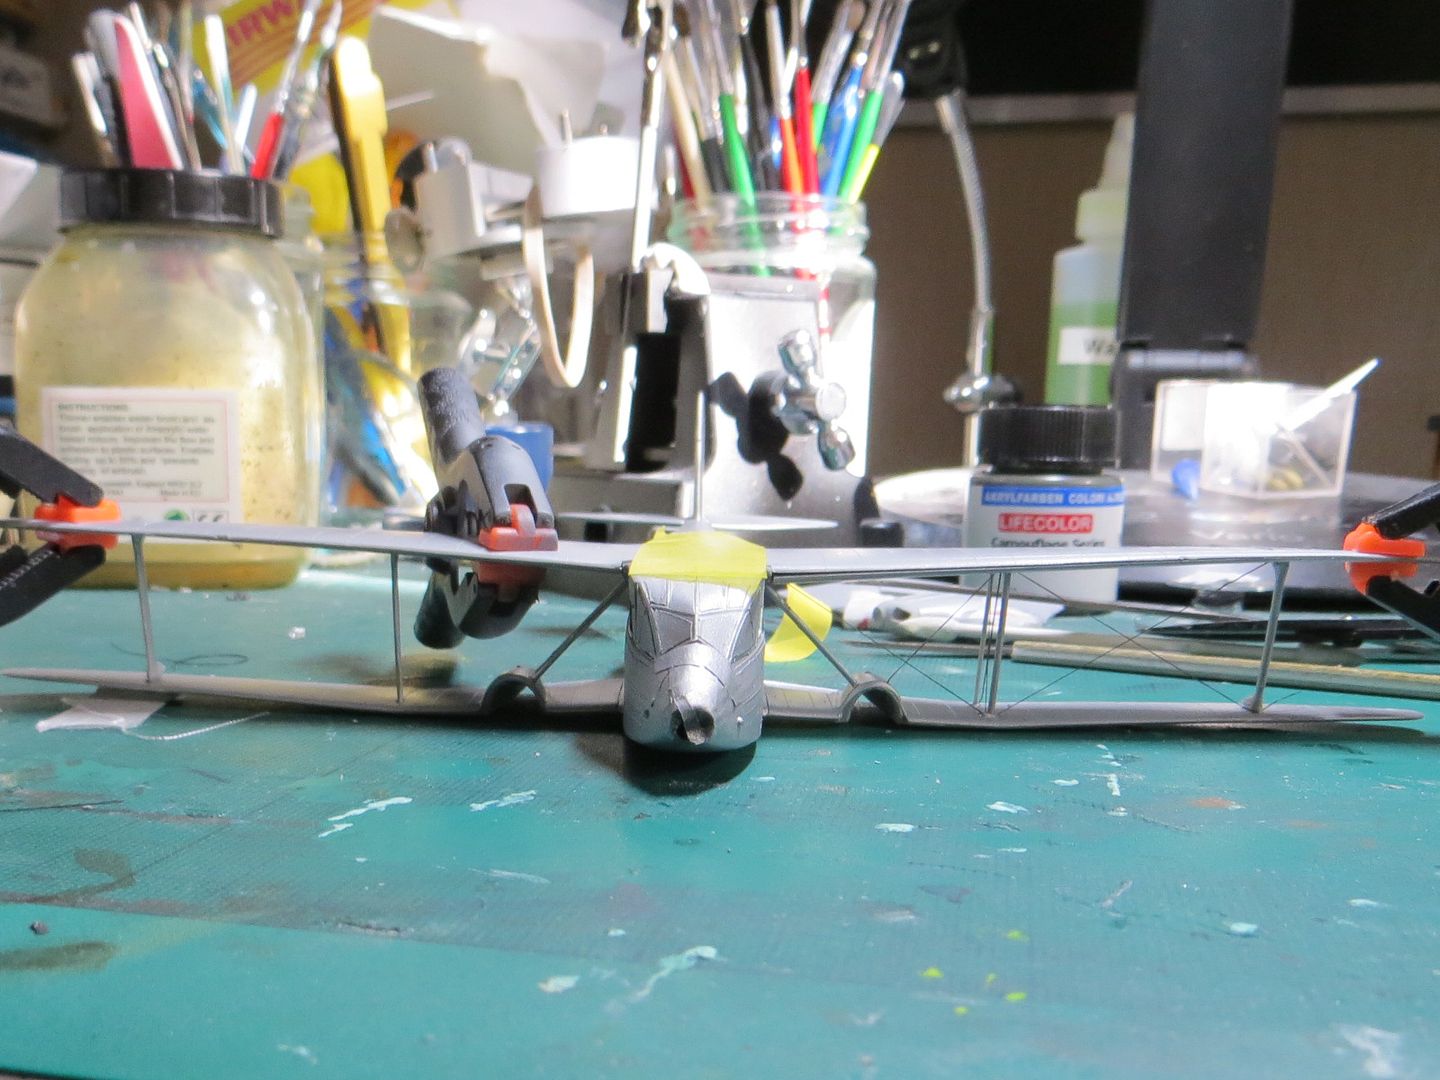
Next up is the rigging. I'm doing it in stages with the bottom half of the top wing going on first and then rigged with the top half of the top wing going on last. Well that's the plan
Enjoyment over accuracy. That's my motto
-
Kitaholic

- Modelling Gent and Scholar
- Posts: 3765
- Joined: November 10th, 2014, 7:53 pm
- Location: 5 mins from SMW
Re: Toby's Dragon Rapide
Looking really good. Always fancied this kit but never had the confidence. Great job on it so far.
Had to google antimacassars DOH!
DOH!
Had to google antimacassars
Regards
Gord
Desperately trying to find his MOJO, don't know where I left it
Gord
Desperately trying to find his MOJO, don't know where I left it
-
Purplethistle
- Delusional Miniature Killer
- Posts: 4680
- Joined: July 10th, 2014, 1:03 am
- Location: Glasgow
Re: Toby's Dragon Rapide
They disappeared in the late 70's, but in the 40's & 50's they were used in in most planes, first class train coaches and motor coaches (but not buses).......I do paintings of 40's to 60's transport and the anoraks at the events where I sell prints are merciless about details like that!Kitaholic wrote:
Had to google antimacassars
"Spits, SLUFS and Rock 'n' Roll"

Re: Toby's Dragon Rapide
Great work Toby. I had this kit in my stash for a long time and let is slip away in a swap. Big mistake.
Besting 60 years of mediocre building of average kits in the stand off scale
Re: Toby's Dragon Rapide
I haven't seen many builds of this kit, especially with this level of care, so am watching with interest. Cool approach to the rigging; haven't seen this before, although come to think of it, most kits that require rigging don't have top and bottom wing halves.
August
August
A good model is any model you can walk away from.
-
TobyC
- Modelling Gent and Scholar
- Posts: 5540
- Joined: January 15th, 2013, 2:13 pm
- Location: Cobham, Surrey. Blighty
Re: Toby's Dragon Rapide
It certainly is trying my patience and I have made one error when I didn't realise I was applying glue to a strut and that it went a tad wrong. Carfeul cutting and filing to be done so as not to sever the rigging.
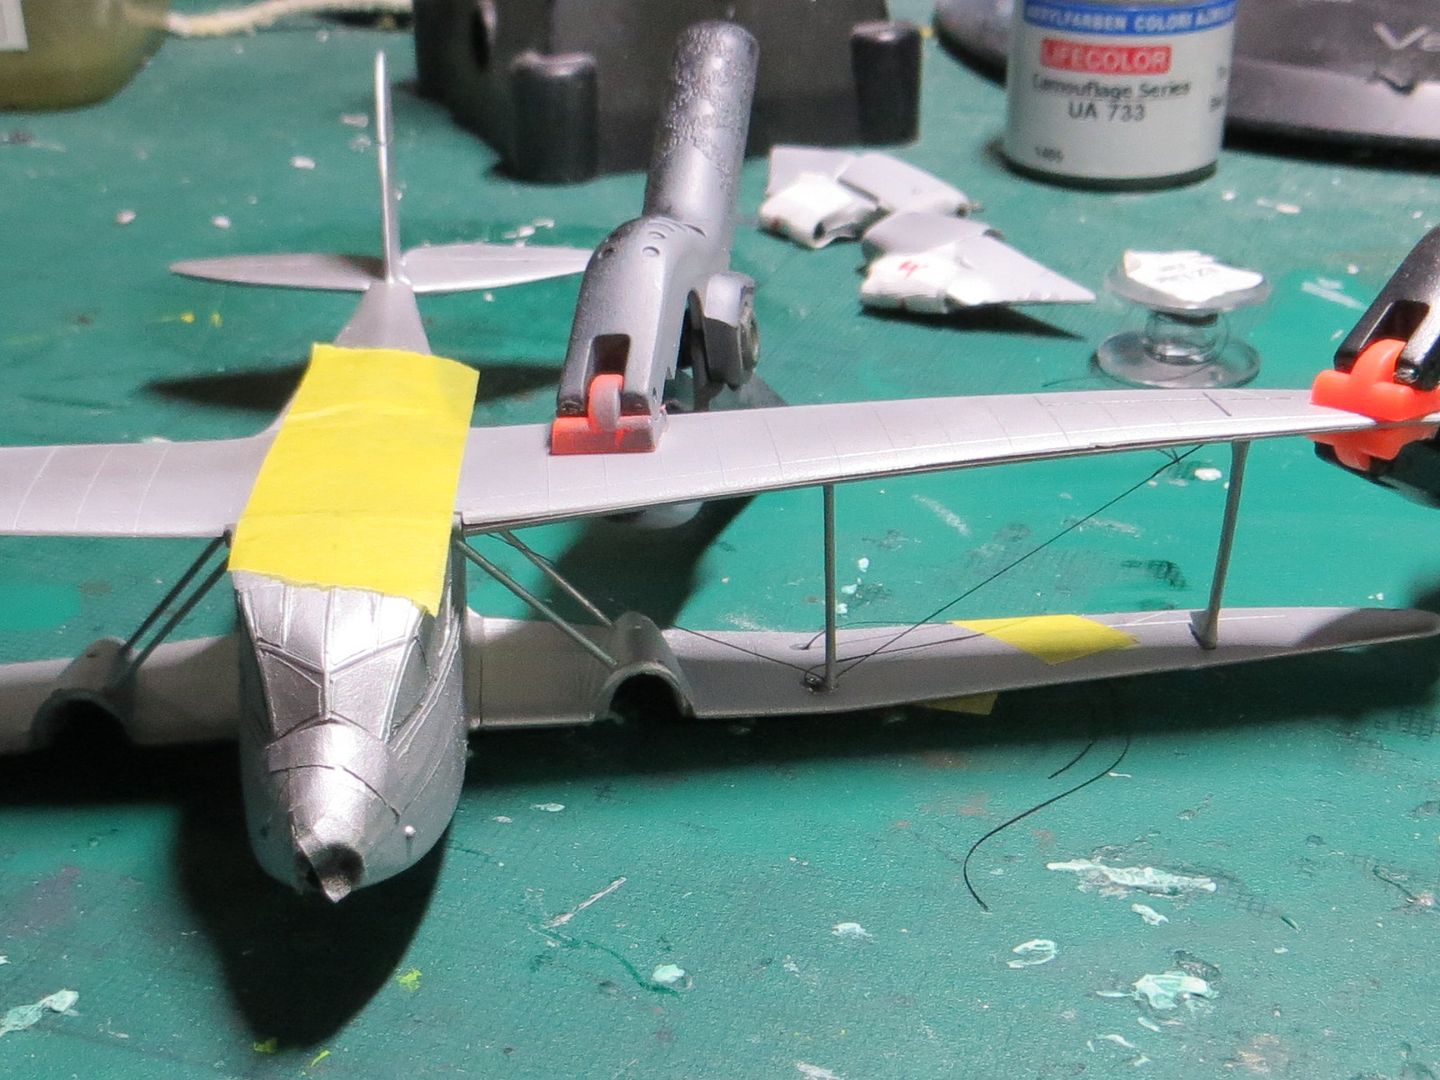
I've now lined up the starboard bottom half and cemented it to the fuselage and will rig after as it's easier than my other method and allows for things to move about to avoid sagging rigging which I've had on the port side when I didn't make sure the inner front strut had seated itself.
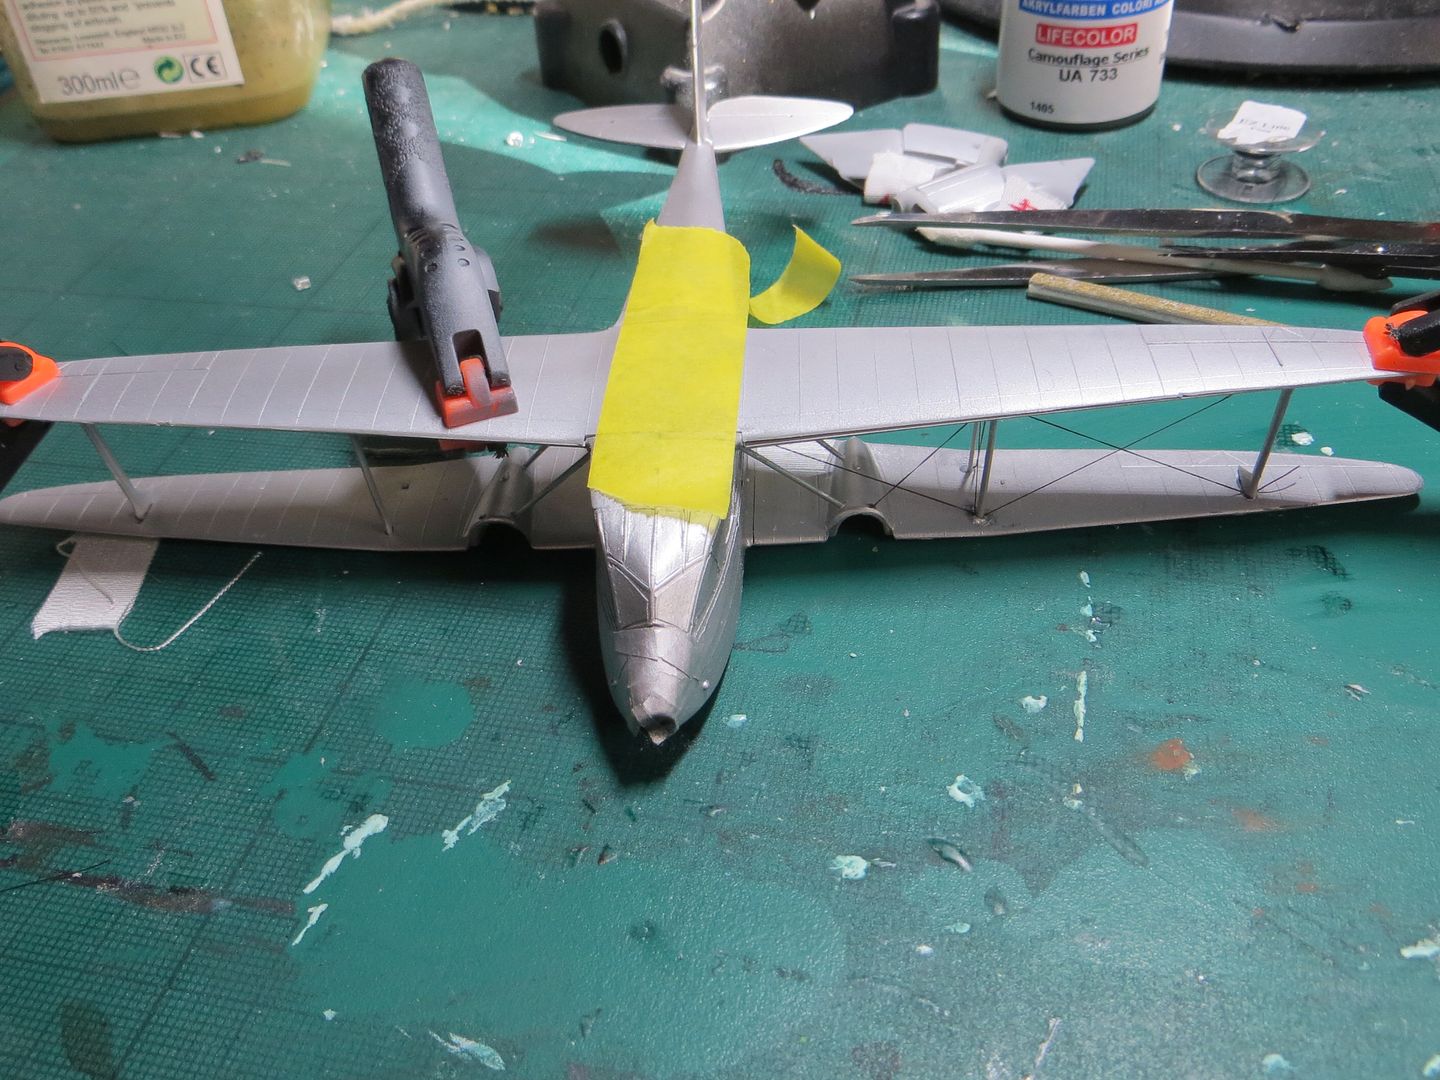
I've now lined up the starboard bottom half and cemented it to the fuselage and will rig after as it's easier than my other method and allows for things to move about to avoid sagging rigging which I've had on the port side when I didn't make sure the inner front strut had seated itself.
Enjoyment over accuracy. That's my motto