
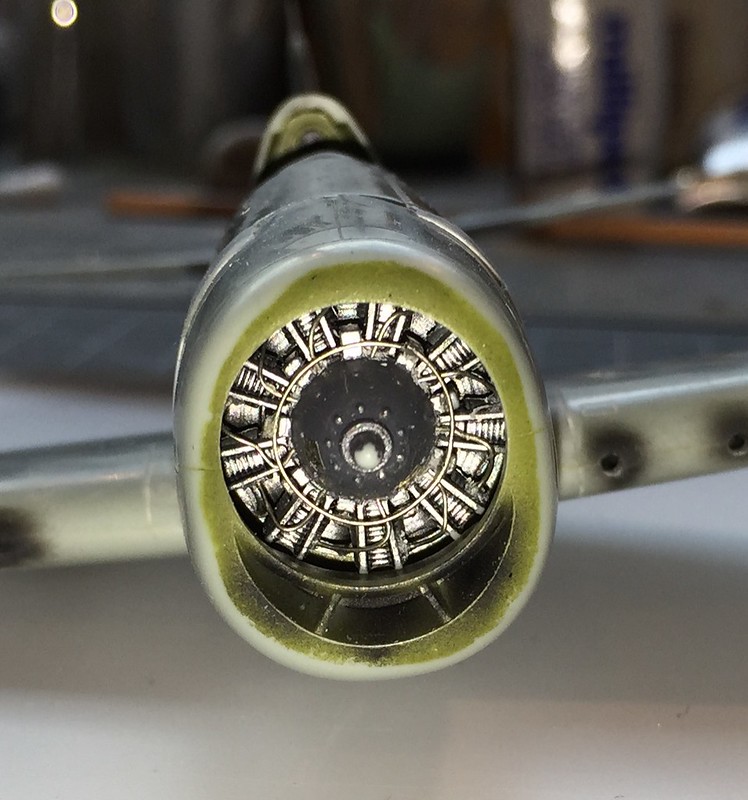
Hmmmm. I'm having second thoughts. Having googled "Grumman Hellcat engine", I have become aware of how liberally festooned the R2800 is with ignition harness, push rods and unidentified other sundry hoses. I would seriously want to spend time on this, but I don't think I have the time to spend (BoB GB anyone?). I may make an attempt to put push rods in the front bank of cylinders, but not sure I'll go any further.Martin R wrote:Thanks, I'm leaning towards trying that!Gadfly wrote:I'd say the ignition harness is worth it.
I scratched one on a Build of the Academy F-6F5 I did earlier this year..
Here is the R2800 with the scratched ignition harness in place.
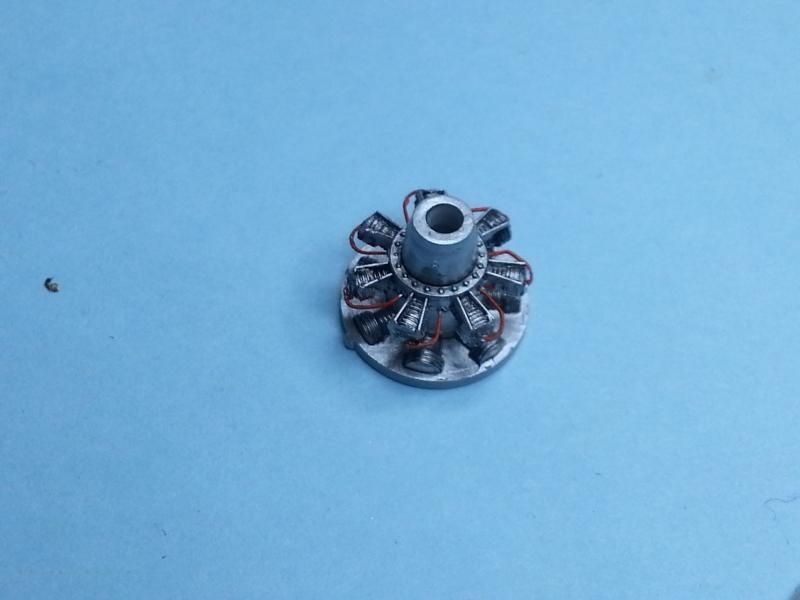
Its just thin wire which I broke down from some household flex.
Here is the engine out of the Old Airfix Fiat G50 that I gave a bit of a work over to...
Hope this helps you decide..
regards,
Martin


 [/URL]