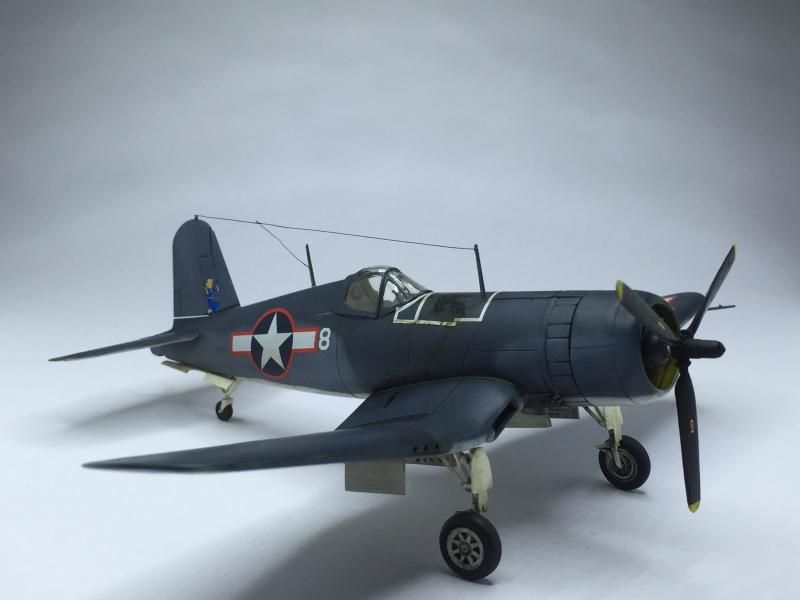
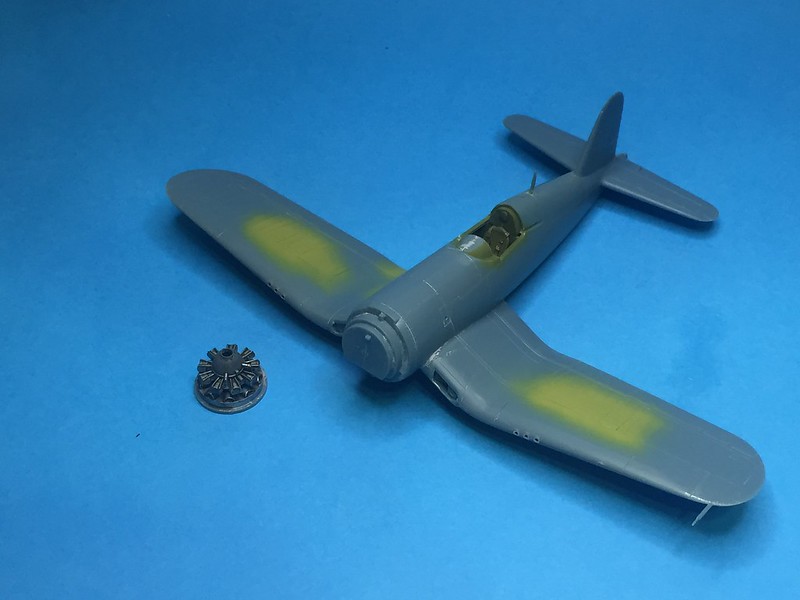
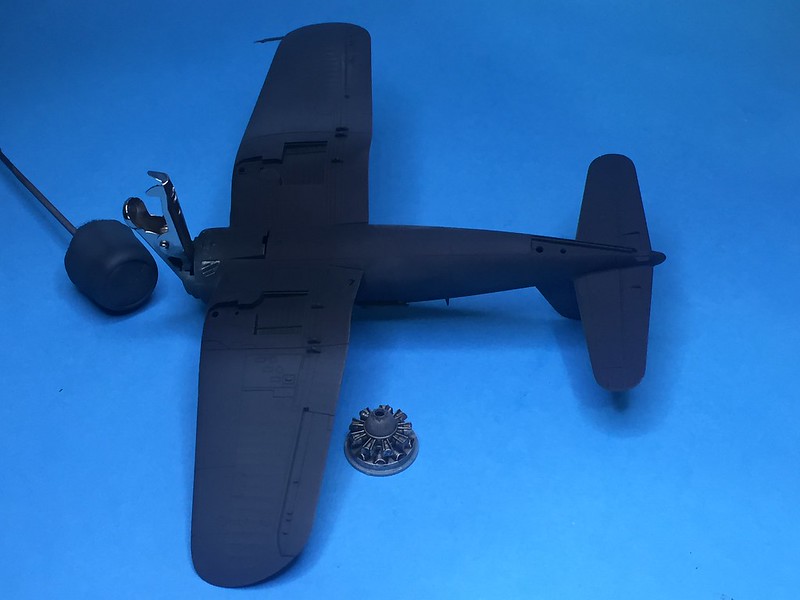
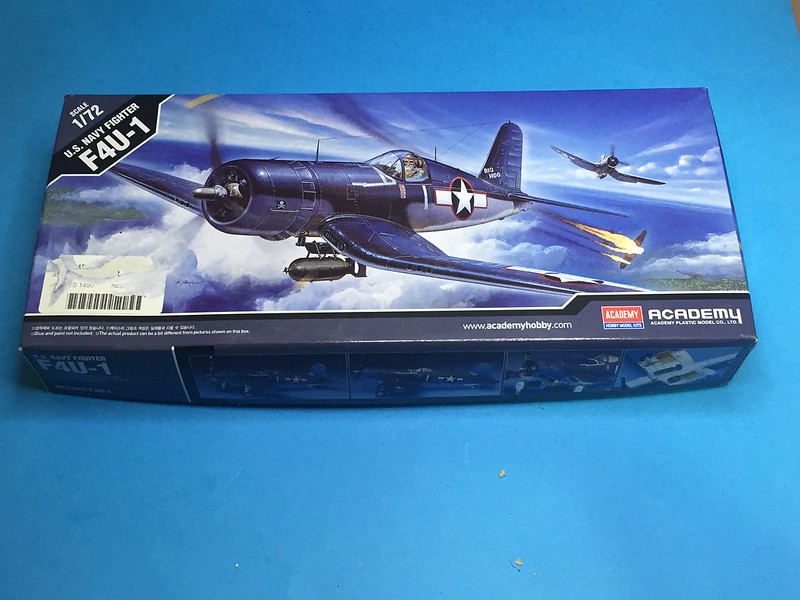
With my MiG build progressing. I thought I'd jump on board with quick n dirty build of Academy's F4U I'm going to add nothing just build it as it comes. However I'm not going to use the Academy decals as they are the work of the devil.
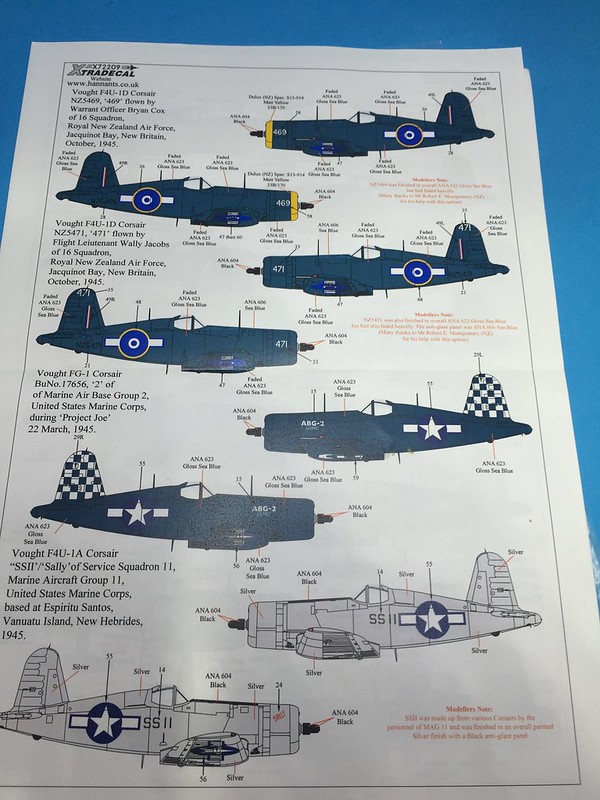
Fortunately I'm partial to prop Corsairs and have Xtradecals nice Corsair sheet which helped me with my build of the Revell new tool F4U earlier in the year..
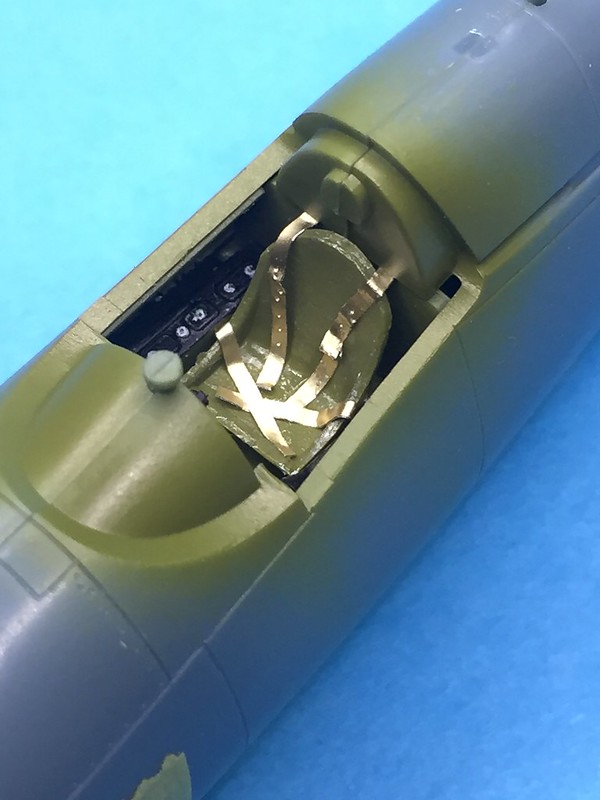
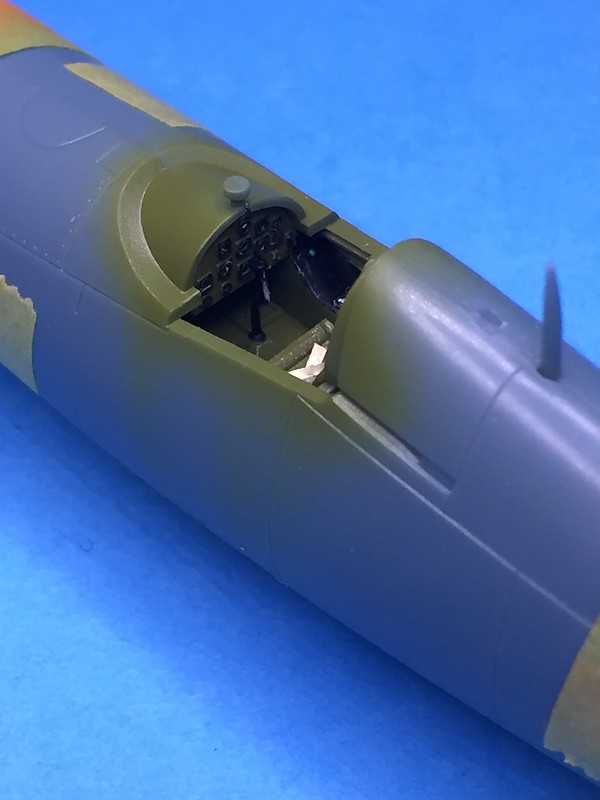
Here is the Kit...
Here is the Decal sheet...
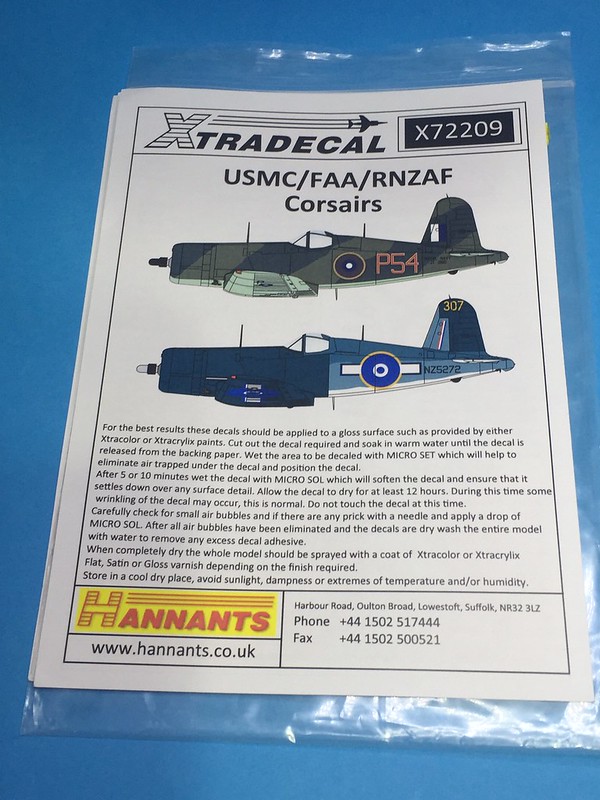
Lots of options to look at although I might avoid the FAA ones as it means modifying the kit a bit.. The RNZAF options look nice but I'm a bit weary of those as The RNZAF never operated off carriers so I'm not sure that qualifies them for this GB???
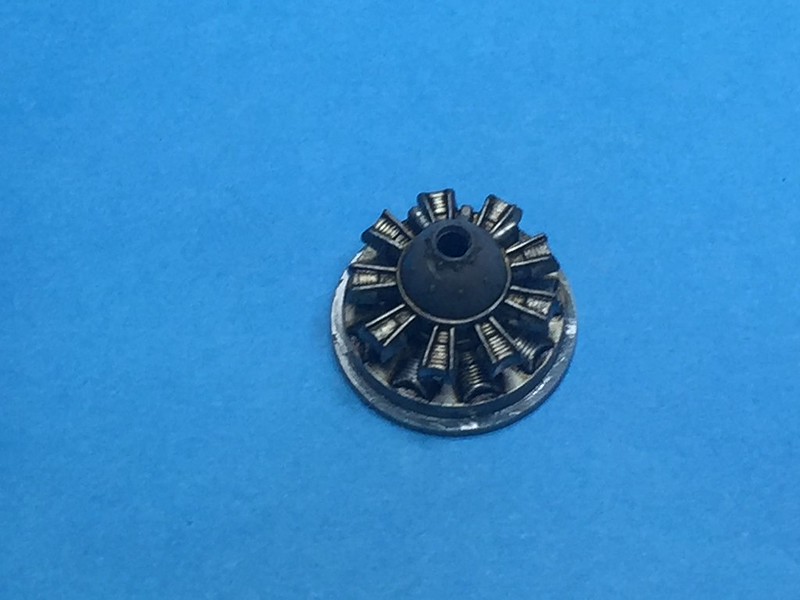
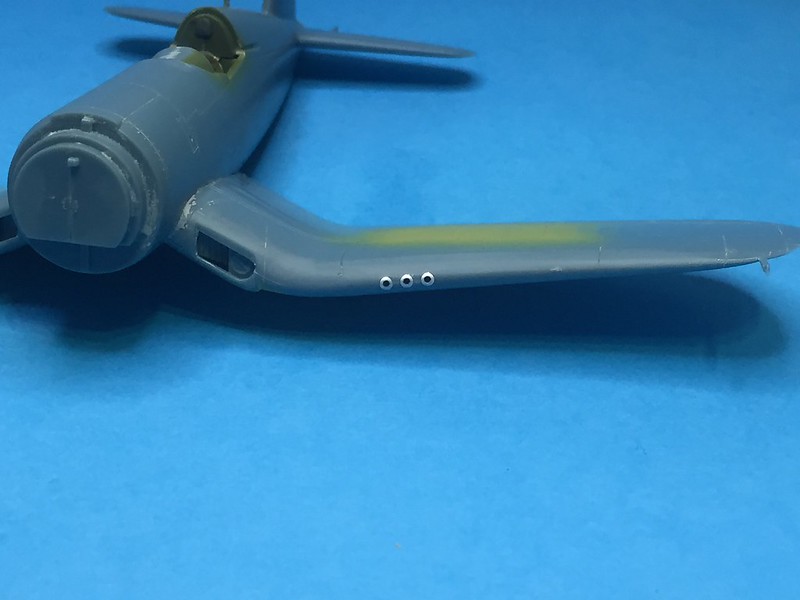
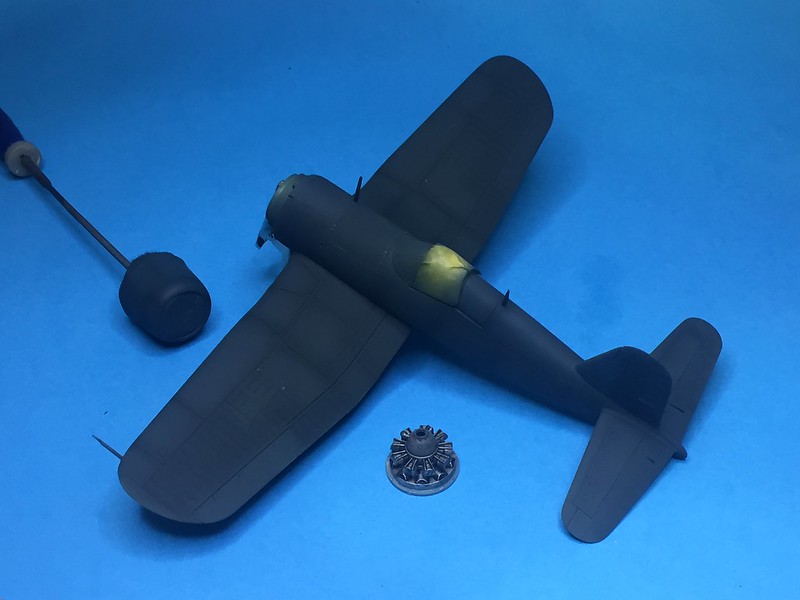
Any how we'll splash a bit of paint around and see what we end up with.
Cheers
GF