Tri-Pacer **Finished**
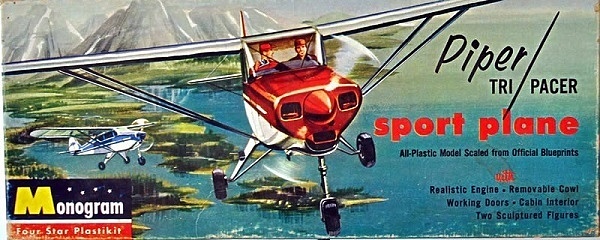
The photograph shows the original 1957 new-tool box art of Monograms 1/33rd scale Piper Tri-pacer. This is not the one I'll be building, as I don't have an original boxing. That would probably be a collectors item, and I have recently seen an original boxing in VG condition listed at $110.00US.
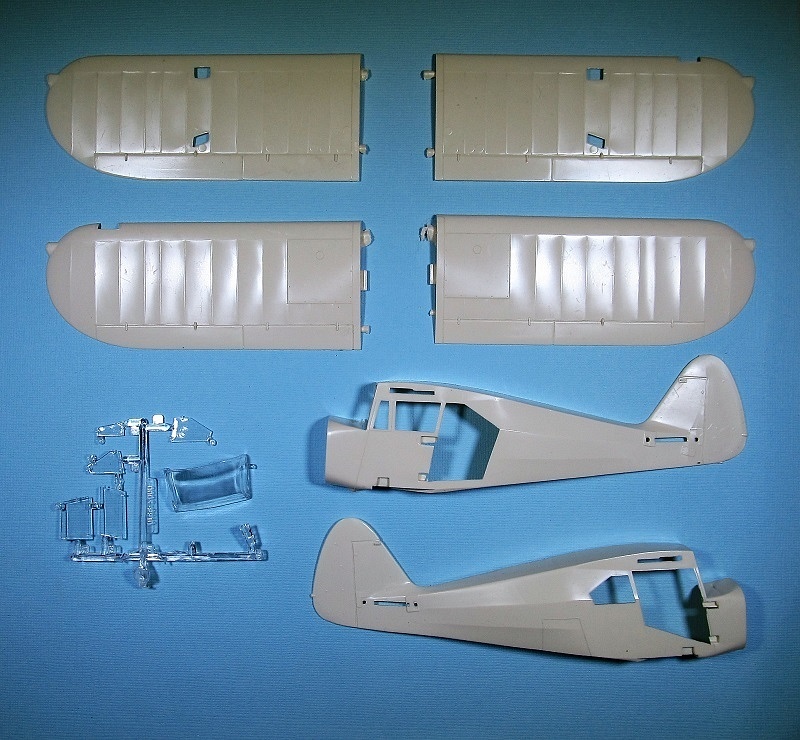
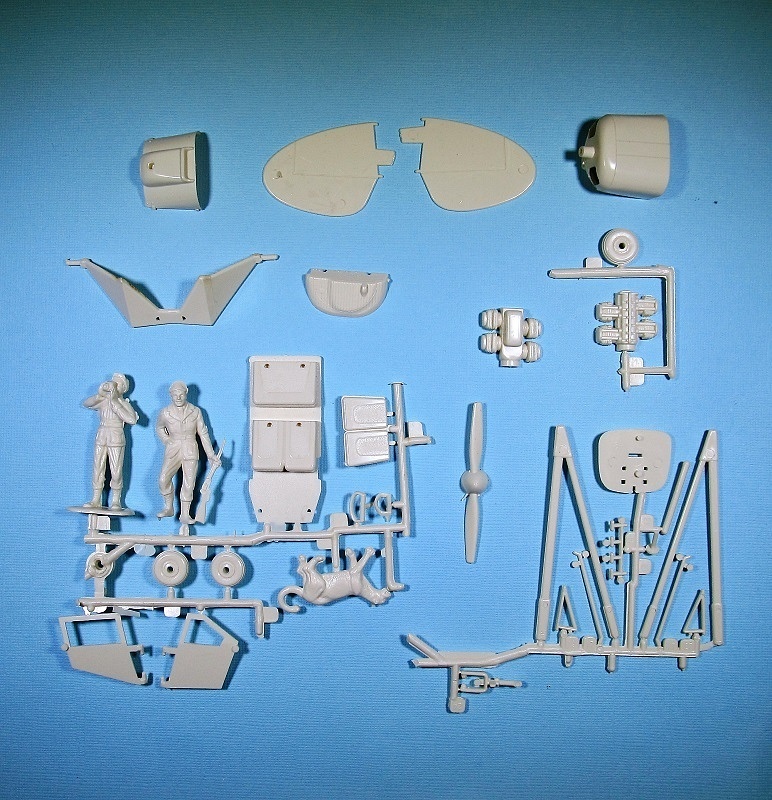
Nope, not an original. The Monogram Tri-Pacer I'm building is the YMB re-issue from the 1970's. This is the one with the two sportsman figures and a rather flat, dead mountain lion. I bought the kit via Ebay in 2010.
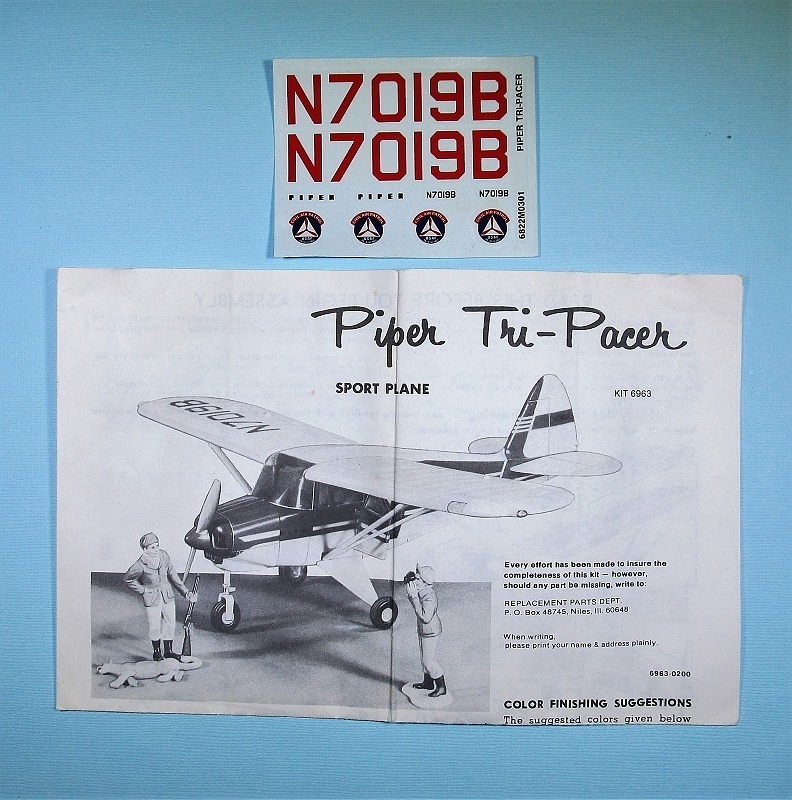
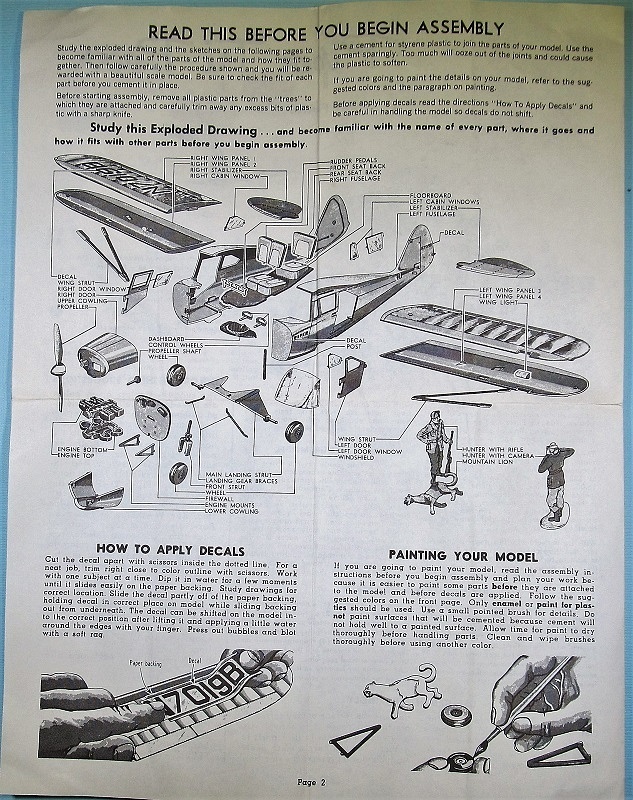
In case you want to know what the YMB was, here's a 60's advertisement:
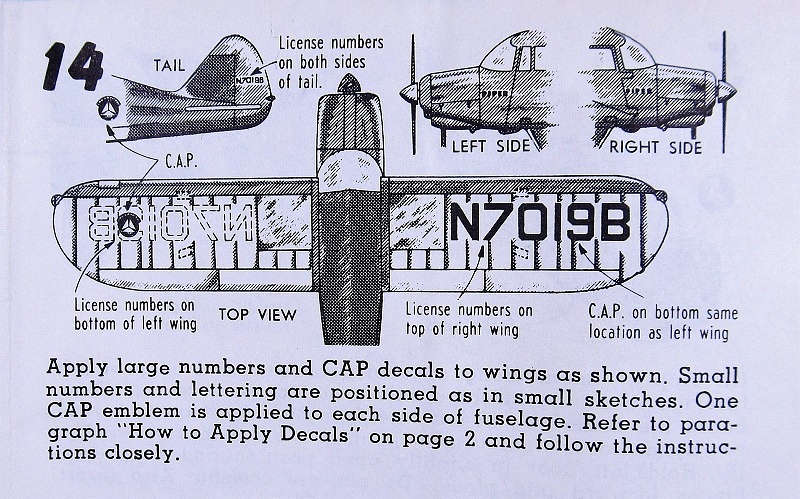
My kit came to me complete and unbuilt, arriving in a sandwich baggy and no box. I'm building it as a type 'Winkle' flew from the extensive list of aircraft that is known he did fly, not the exact aircraft. With that in mind, I'll be using the still good kit decals along with a kinda factory paint job.
Pics of the kit will be coming soon, on the day of the campaign start.
Re: Piper Tri-Pacer; 1957 Monogram
Wow! While fondling the Tri-Pacer parts this morning, I noticed the 1957 copyright molded into the right fuselage half. I'm thinking this is a really fine, detailed kit for being just 1 year my younger. It's held it's age so much better than me. I'm glad I chose it as it should prove to be a fun build.
Anyway, the parts suite, as I received them from an EBay seller in 2010. The only part that seems to be missing is the rear seat back. Not a problem. I'll just make it a 'Winkle' cargo hauler for all his medals.
I'll be getting started on this today, so more pics soon.
Anyway, the parts suite, as I received them from an EBay seller in 2010. The only part that seems to be missing is the rear seat back. Not a problem. I'll just make it a 'Winkle' cargo hauler for all his medals.
I'll be getting started on this today, so more pics soon.
- JohnRatzenberger
- Why is he so confused ?
- Posts: 15734
- Joined: April 5th, 2011, 3:42 pm
- Location: Living on a sandbar - Nags Head, NC.
Re: Tri-Pacer
Interesting that it comes with Civil Air Patrol insignia yet I do not see them on the instructions ....
John Ratzenberger
It's my model and I'll do what I want with it.
Re: Tri-Pacer
Hi John.jRatz wrote:Interesting that it comes with Civil Air Patrol insignia yet I do not see them on the instructions ....
Actually, I didn't picture the entirety of instructions, which are quite nice. The CAP decal placement is shown, as seen below:
It is interesting that the model comes with CAP insignia and a pair of hunter figures hovering over a dead mountain lion. Some-how, that just don't seem politically correct.
- Clashcityrocker
- Modelling Gent and Scholar
- Posts: 10817
- Joined: May 1st, 2011, 12:31 am
- Location: Adelaide. South Australia
Re: Tri-Pacer
Maybe the CAP are the Cat Annihilation Patrol
Nigel
Nigel
Re: Tri-Pacer
That could be true, Nigel. In my area, the govn'mt does have predator culls more frequently than I'd like to see.
I have had some trouble getting started, although I feel the place to start is the toy-like opening doors on the fuselage. Those robust hinges just ruin it, and need to be puttied in.
Since the wife don't want to go fishing today, I think I can get a start on the model!
I have had some trouble getting started, although I feel the place to start is the toy-like opening doors on the fuselage. Those robust hinges just ruin it, and need to be puttied in.
Since the wife don't want to go fishing today, I think I can get a start on the model!
Re: Tri-Pacer
I filled in the door gaps with an old sliced up CC, and puttied her up. A new rear seat backrest was also quickly made, and then items were primed with Krylon. Thought I'd post this little bit while things were drying.
I also dipped the clear parts into a cap full of acrylic. Then promptly dropped the wet windscreen on the pet-hair coated floor. I'm guessing my next job is to sand and polish said clear part, then a more careful re-dip.
- Old_Tonto
- Modelling Gent and Scholar
- Posts: 8063
- Joined: May 1st, 2011, 7:41 pm
- Location: Middlesbrough, Peoples Republic of Teesside.
Re: Tri-Pacer
That's a great looking subject you have here. I've not seen many kits with slaughtered animals included.
2023 - A:0 B:0 C:0
Current Projects:
East German Air Force (1956-90)
South African Air Force (1958-93)
Current Projects:
East German Air Force (1956-90)
South African Air Force (1958-93)
Re: Tri-Pacer
Besides the paint and glue, I only committed to a few extras here. - The seat belts are mask tape and solder bits. I made a quick rear seat back with the original gone missing, and I added the front seat back to cover what was an empty shell set of seats.
The cockpit doors were puttied in from the outside. I don't intend to waste a lot of time trying to make the interior walls look nice. Right now, I'm just trying to get it prepped so I can glue everything together.
Until next time.
The cockpit doors were puttied in from the outside. I don't intend to waste a lot of time trying to make the interior walls look nice. Right now, I'm just trying to get it prepped so I can glue everything together.
Until next time.
- fredk
- Modelling Gent and Scholar
- Posts: 6195
- Joined: May 1st, 2012, 6:25 am
- Location: Donaghadee, N'rn Ir'n
Re: Tri-Pacer
Thats coming on nicely.
Don't forget some nose weight
Al speling misteaks aer all mi own werk..
Its not just how good your painting is, its how good the touch-ups are too.
Re: Tri-Pacer
Thanks, I was going to totally forget about the nose-weight.fredk wrote:Don't forget some nose weight
The instructions talk about gluing a supplied vertical post mid-fuselage to hold up the tail. I've only ever seen that technique used by people who have forgotten to add nose-weight.
- JohnRatzenberger
- Why is he so confused ?
- Posts: 15734
- Joined: April 5th, 2011, 3:42 pm
- Location: Living on a sandbar - Nags Head, NC.
Re: Tri-Pacer
No, it's also used when the required nose-weight would cause the model to plunge through the center of the earth ...
John Ratzenberger
It's my model and I'll do what I want with it.
Re: Tri-Pacer
Which it might do since I've placed 14g of weight just forward of the gears vertical axis, and will likely be adding more under the engine in the nose.jRatz wrote:cause the model to plunge through the center of the earth ...
I know all my builds are horrifically slow, but, it should get better over the next while as we are now into the winter modeling season. Hunting and fishing is over for the year; it's -23C outside.
Anyway, I've installed the interior and started paint on small parts:
And then I went ahead and joined the fuselage halves. The IP console was added after the halves were joined:
I'm very happy with the way this ancient model is fitting together. It's better than some modern new tools, although the brittle, old plastic don't seem to like thin glues.
- Purplethistle
- Delusional Miniature Killer
- Posts: 4680
- Joined: July 10th, 2014, 1:03 am
- Location: Glasgow
Re: Tri-Pacer
That is a nice kit for it's vintage, and you're knocking the ball out the park with your detailing.
"Spits, SLUFS and Rock 'n' Roll"
Re: Tri-Pacer
Thought I'd post a progress while the wings are setting.
With the wings on, it's becoming very easy to see the vintage toy-like nature of the kit. I doubt I'll ever be able to make those strut joins look realistic without a complete re-scratch. Matter of fact, it's so toy looking, I'm thinking of giving it to the grandson for Christmas.
Anyway, I'll try to straighten out the wing joins with filler, and perhaps I can splash on some paint soon.
At least I got the wings on fairly straight.
Had to go back and edit so the pics could be seen.