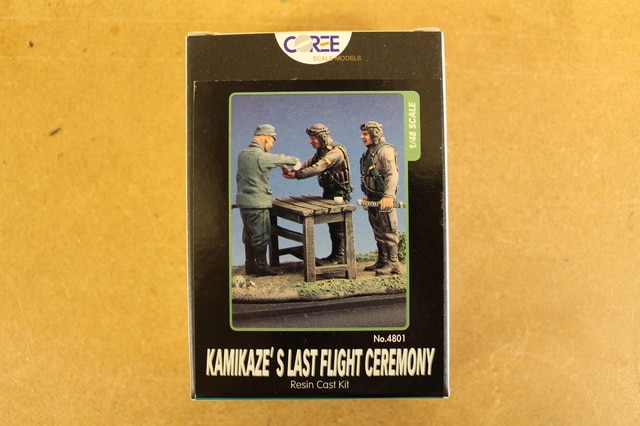
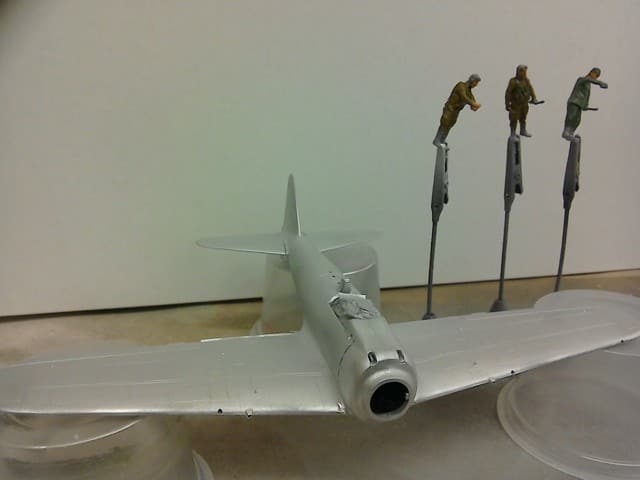
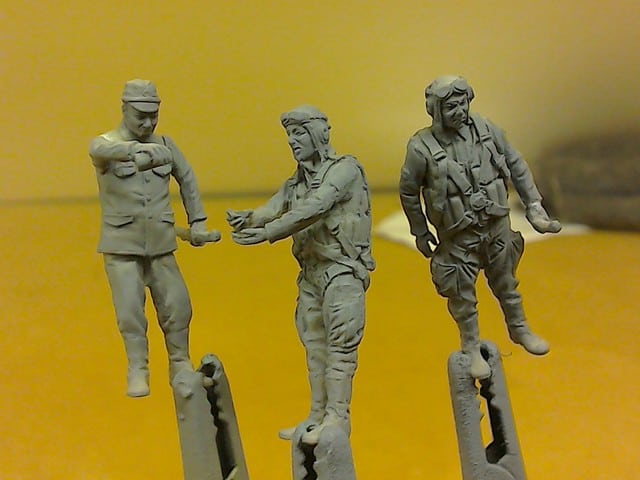
I have a soft spot for 28mm figures, and consequently 1/48, so I like to see what’s around. I came across this kamikaze ceremony set from Legend and stored away the details as a possibility for later. This Zero build seemed like a good opportunity to use them, with the figures being the main focus and the plane being literally in the background.
The figures are resin, made in Korea and really hard to get for anything like sensible money, but I struck lucky with a Korean supplier on ebay and the projected delivery time of six weeks turned out to be ten days. You can get them through US suppliers, but they’re at least twice as much with postage, tax and the ever-shrinking value of sterling.
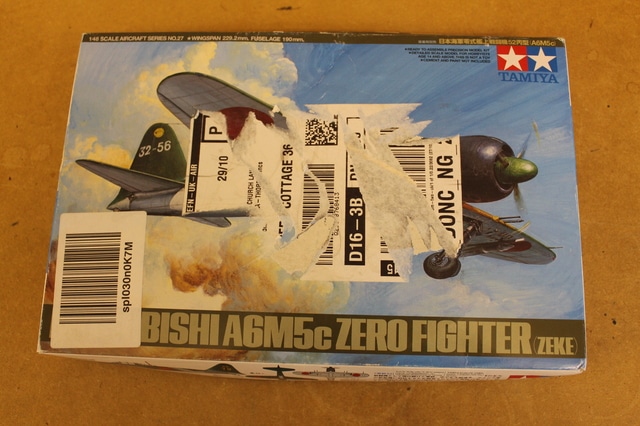
I chose the old Tamiya kit because it was cheap, eleven quid from Amazon, but look at the state it was delivered in. Just a label stuck on the box, then sent straight off, no outer wrapper or anything. Luckily nothing was broken inside, so I didn’t bother reporting the seller which I really should have done.
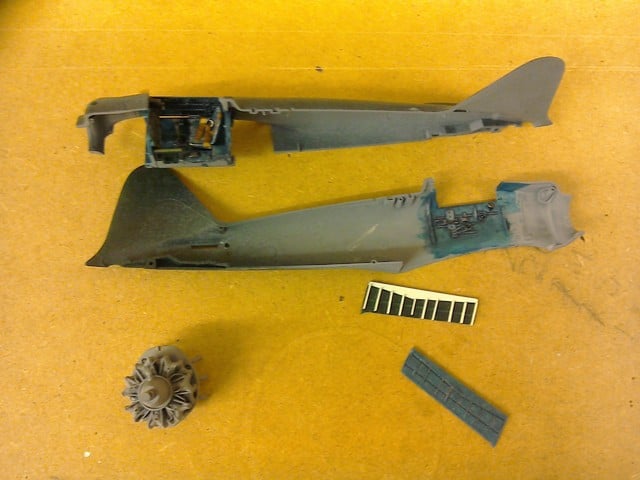
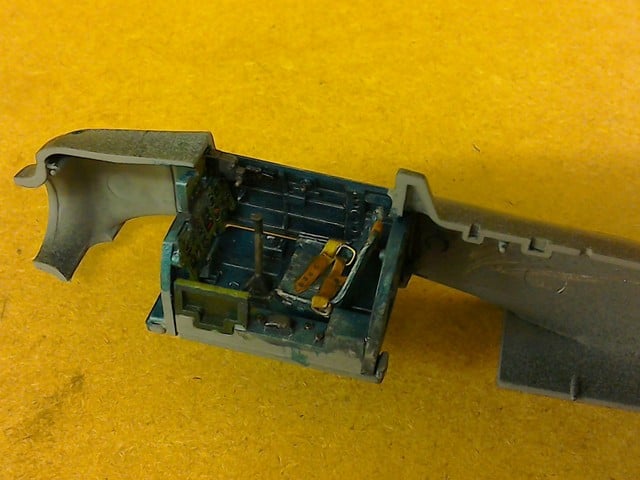
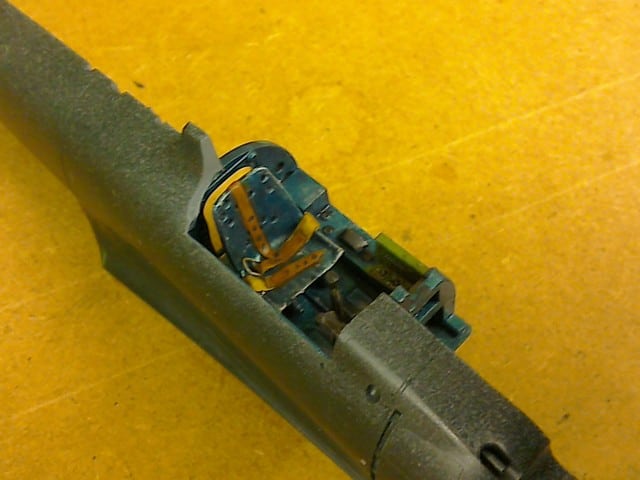
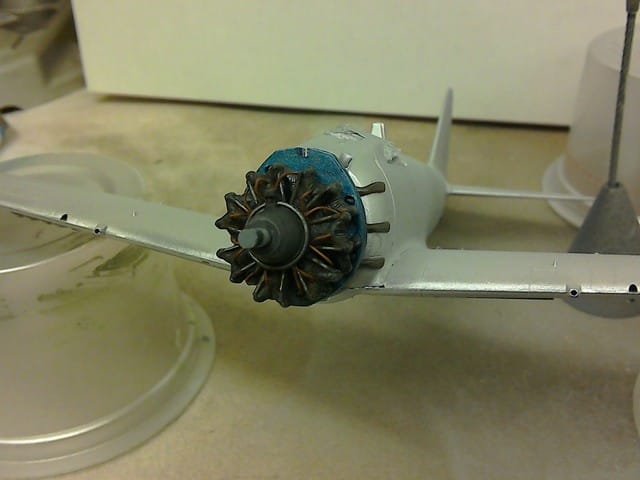
The reviews of this kit tend to lead you to think that it’s going to be a bit of an old clunker; it actually looks very decent and I particularly like the way Tamiya provide little sidebar tips for detailing the cockpit and undercarriage. It’s the first Tamiya aircraft I’ve ever built and I’m pretty impressed, so the recent ones really must be as good as everyone says they are if this is anything to go by. Swordfish, here we come.
I’m going to start this build as soon after the start date as I can, since I’ve only got two weeks before we’re off to the other house. I’m planning to begin with the plane and work on the figures in the down-time; I’ll have plenty of this as I’m intending that it will be a rather battered example, so I’ll need to paint it in aluminium first, mask it, put the top coat on, then the markings which I guess I’ll have to hand paint to get the right effect. But we’ll see.