Thank goodness for extensions. I bet there were some people who thought that this would be a DNF....me, for instance

I have been plugging away at the Texan since returning from my trip to Belgium although I have been a bit remiss about updates. Truth be told I've had very little time and I wanted to prioritise the model so apologies for not updating as much as I should but it was entirely circumstantial.
So, here's how it went:
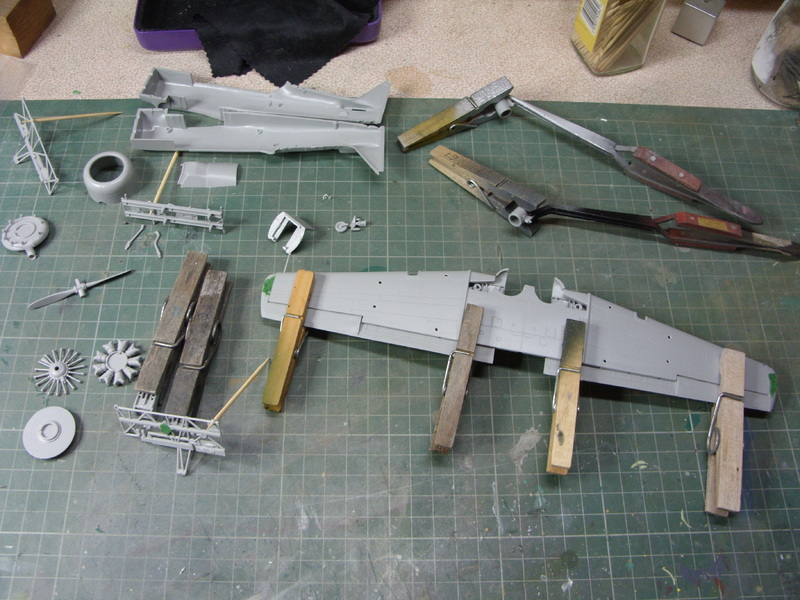
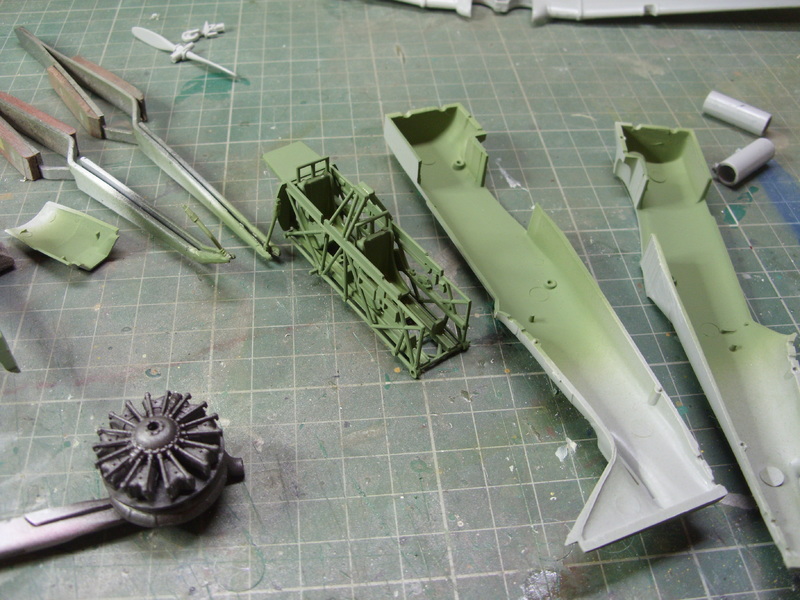
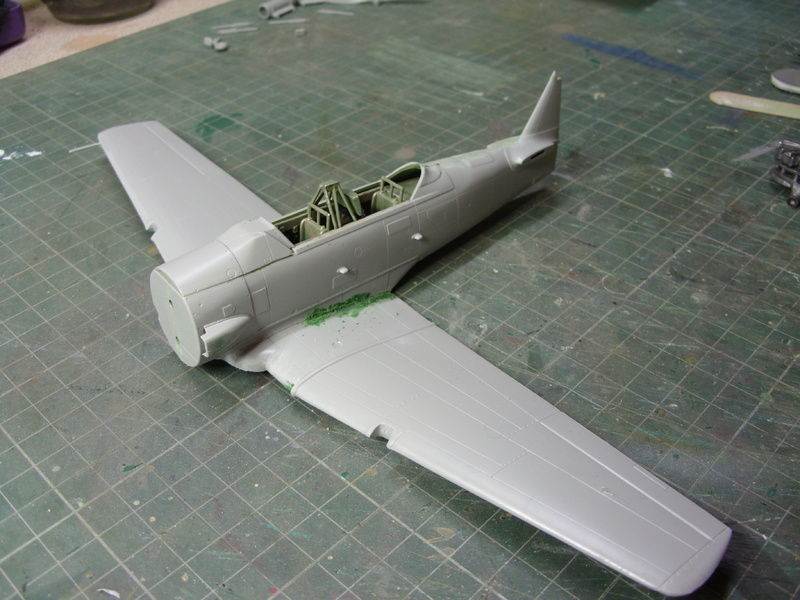
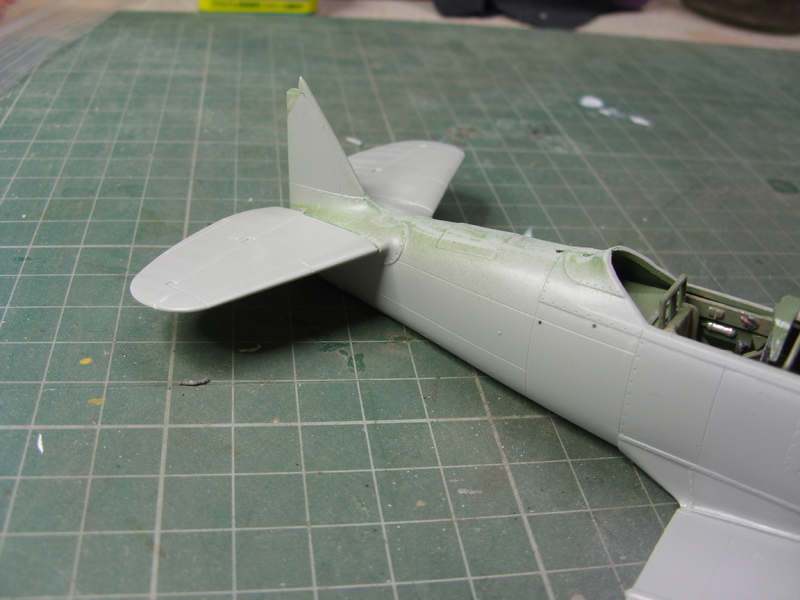
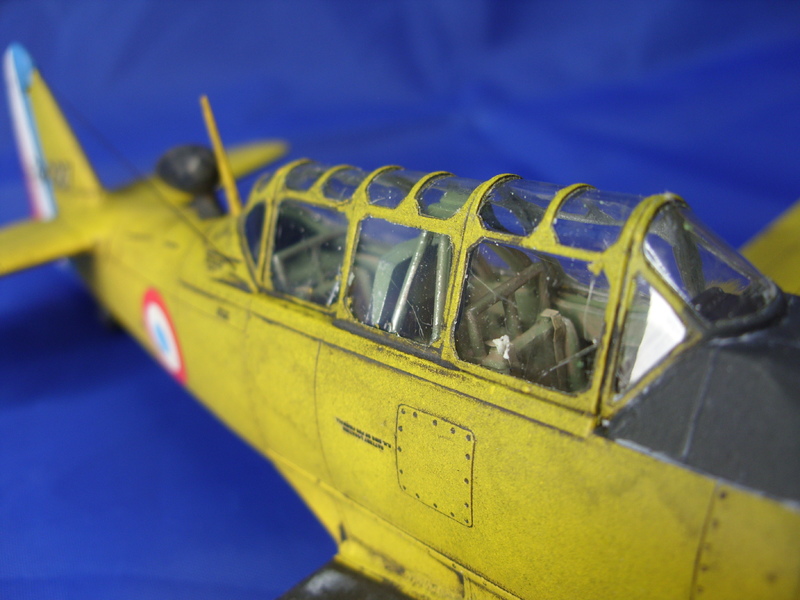
At the last update I had the wings on. After that it was on with the canopy, using Clearfix, and a masking session with Tamiya tape. The canopy needs a bit of fiddling and fettling to line everything up but it gets there in the end.
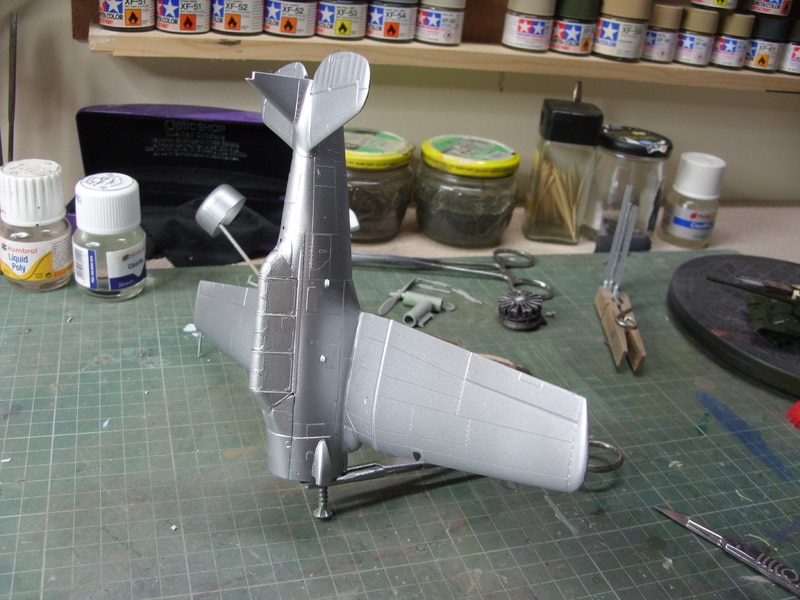
Then a dose of silver from a rattle can. This was in case I got a bit over-enthusiastic with the weathering. It turned out to be unnecessary but could have been passed off as chipping.
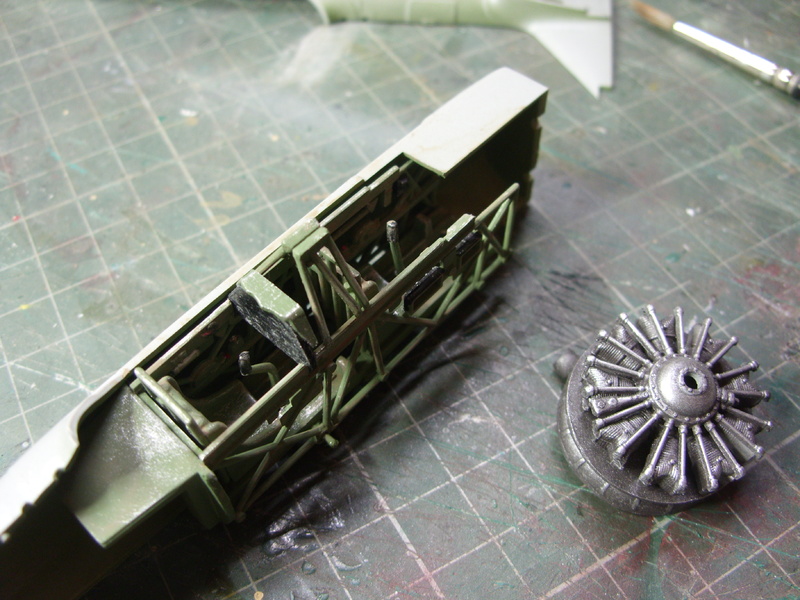
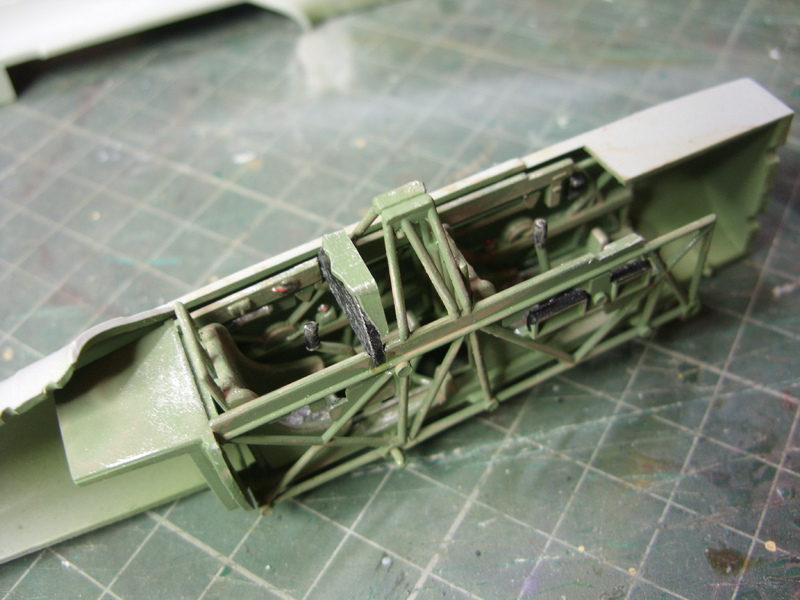
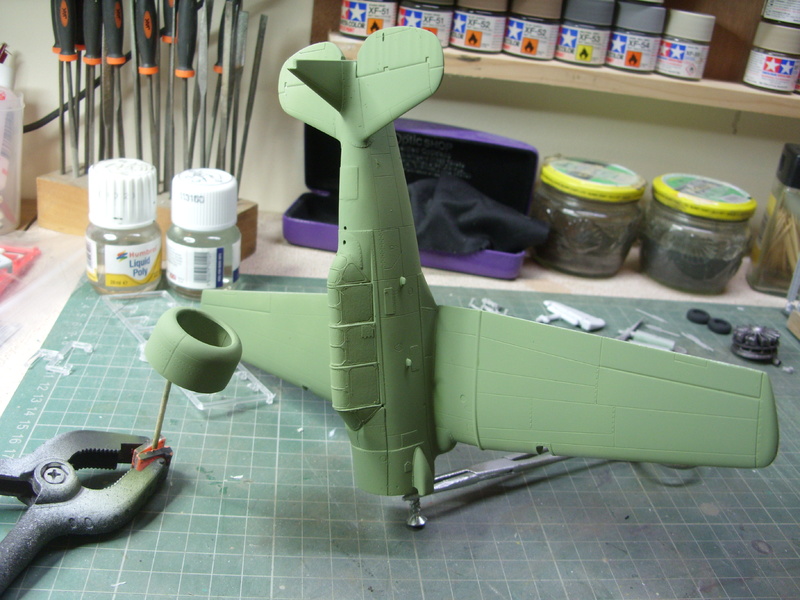
A coat of Tamiya XF-73 (Cockpit Green) gives a good approximation of actual aircraft primer and provides a good base for top coats.
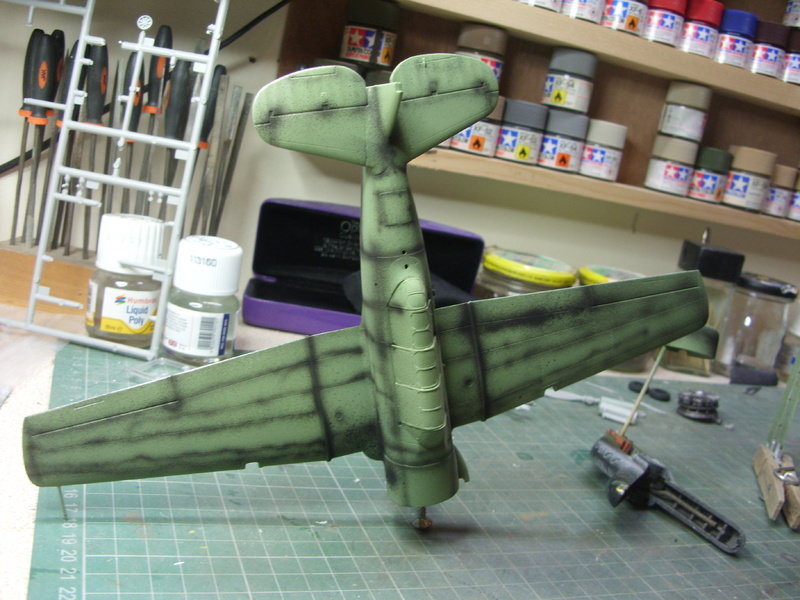
This was followed by some pre-shading. I had a bit of trouble with paint spatter at low pressures but the recent acquisition of a different nozzle guard has improved matters.
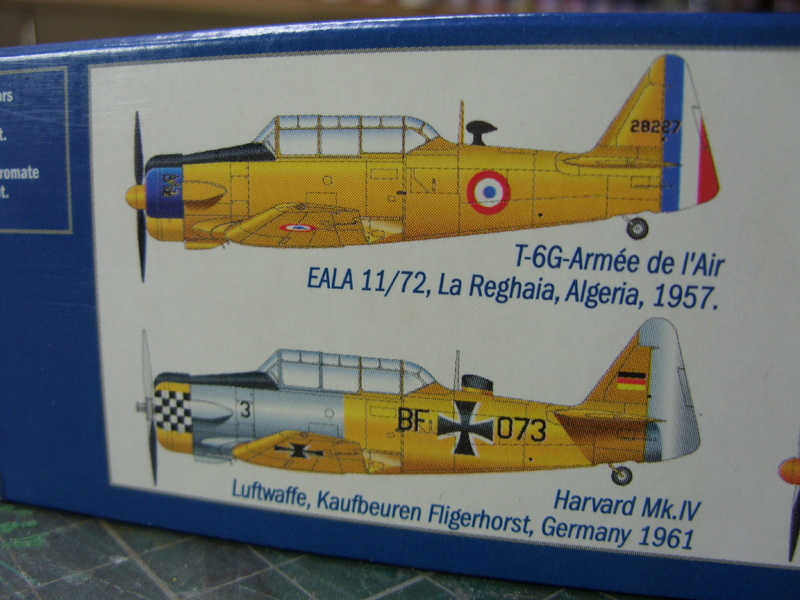
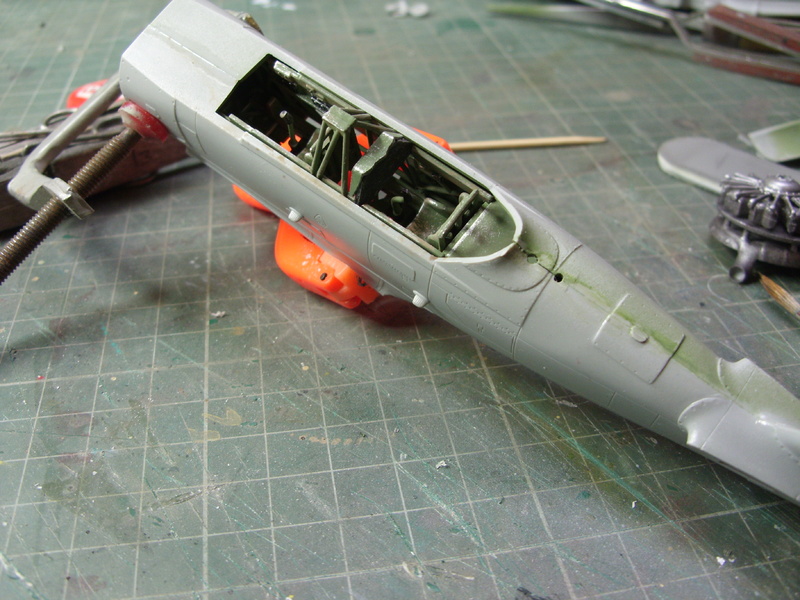
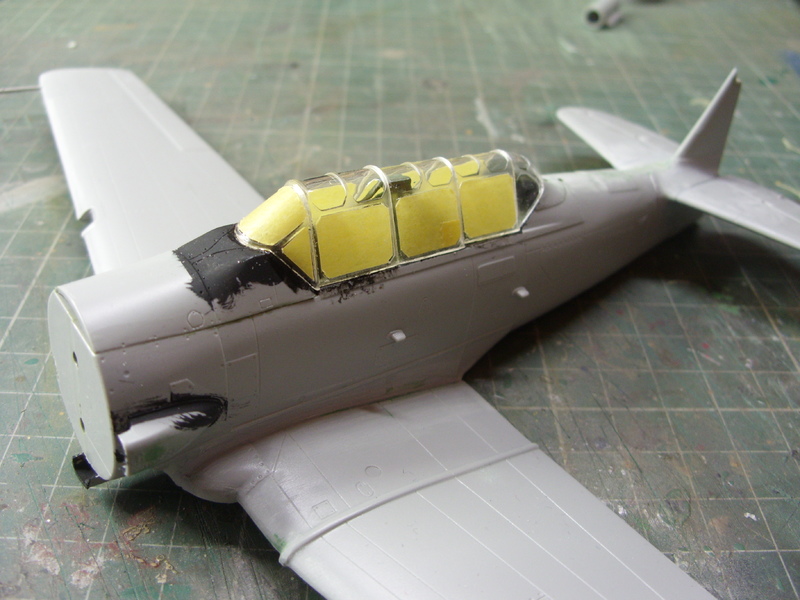
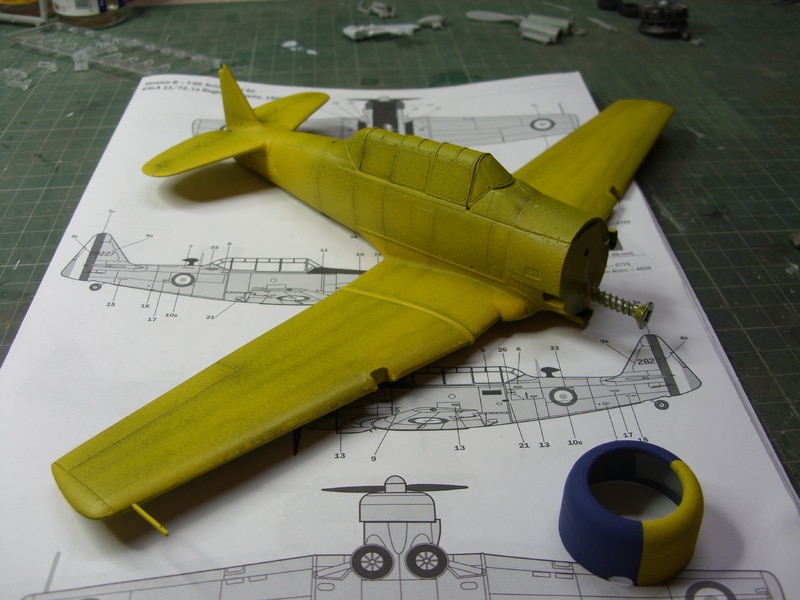
The next step was to dust over the model with Tamiya XF-4 (Flat Yellow) until I was happy with the level of opacity. These aircraft had quite a tough life in the Algerian desert so I wanted to go for a well-used look. Also Tamiya Flat Blue was applied to the cowling.
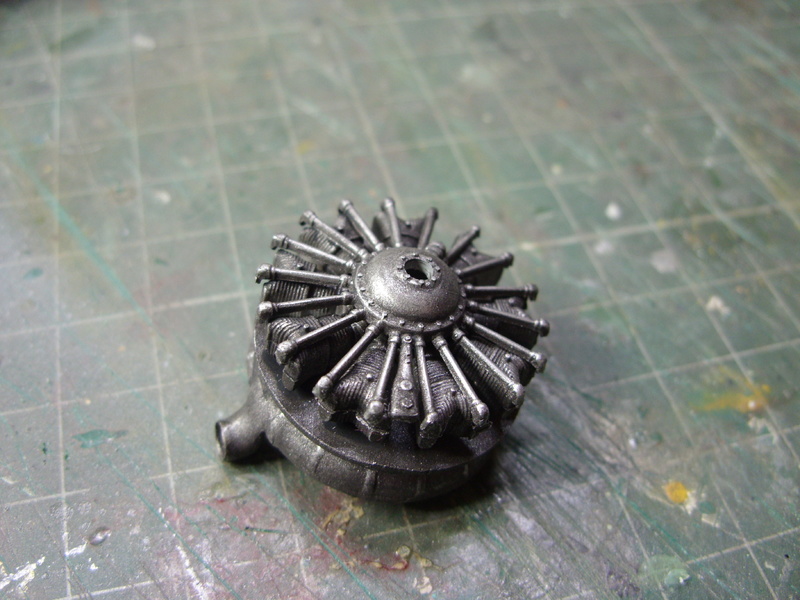
Then it was anti-dazzle on the forward decking using XF-69 (NATO Black) and attachment of the rather nice engine. Also getting in on the act are the flaps, spinner and rudder which had a coat of good old Halfords appliance white.
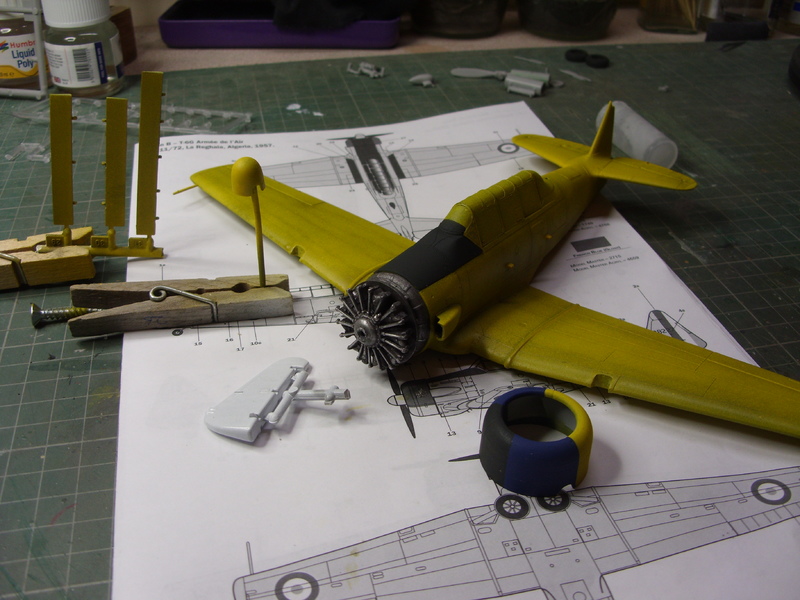
Then it was on with the cowling.

And, unfortunately, that's where I stopped taking progress pictures. I mislaid my camera

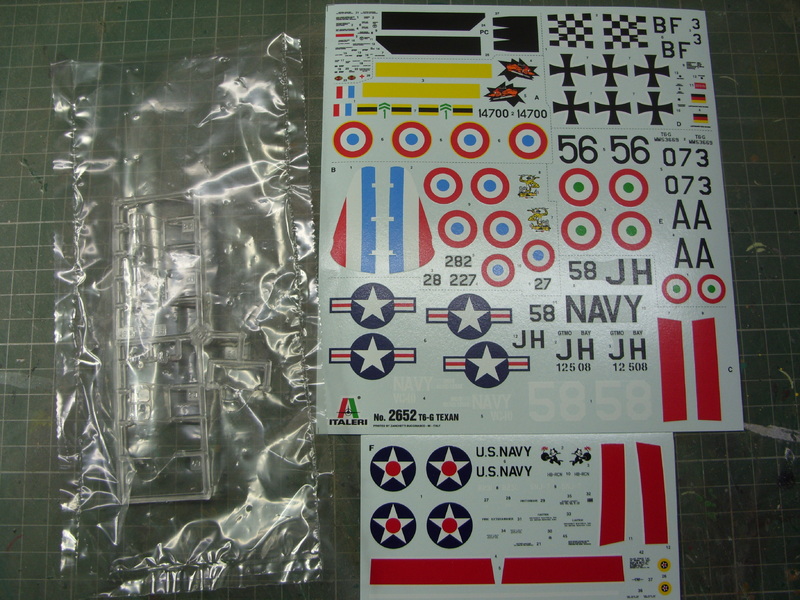
So, from the last picture; The next stage was a coat of new Klear applied with a wide flat brush followed by decaling. The kit decals are, for the most part, very good with excellent colour density and perfectly in register. The light damage to the roundels was entirely self-inflicted and was part of the weathering process. Unfortunately the big rudder decals weren't up to the job and couldn't be persuaded to snuggle down with any amount of Microsol/set so these were abandoned in favour of painted markings. A first attempt with brush and enamels was a dismal failure so the rudder was stripped back (Mr Muscle oven cleaner didn't touch the appliance white) and Tamiya acrylics through the airbrush came to the rescue.
More Klear left the model ready for weathering and this was achieved using Flory Models washes. Black for the most part with Light Dirt for the black bits and Sand for the tyres. At this stage I lost the tailwheel

....doing well aren't I? A leftover item from a 1/48th Corsair was substituted and persuaded to fit. The prop and spinner were joined together, quite a task considering that there was no positive location. I resorted to filling the spinner with Blu-Tak to centre the hub then fixing it in place with Zap-a Gap.
The undercarriage is really nice and pops together very easily and the weapons went together with little fuss being painted in rattle can silver and some Dark Star baroque before receiving a dark wash to bring out the highlights. Apart from this there was just 2 Aileron actuator arms, a rudder post and the big teardrop radio antenna which was painted Matt Black before being toned down with sand and light dirt washes. The rudder has a butt joint that I wasn't too confident in so I fixed it in place with a steel pin.
Then it was just an antenna wire from EZ line inserted into two 0.4mm holes and:
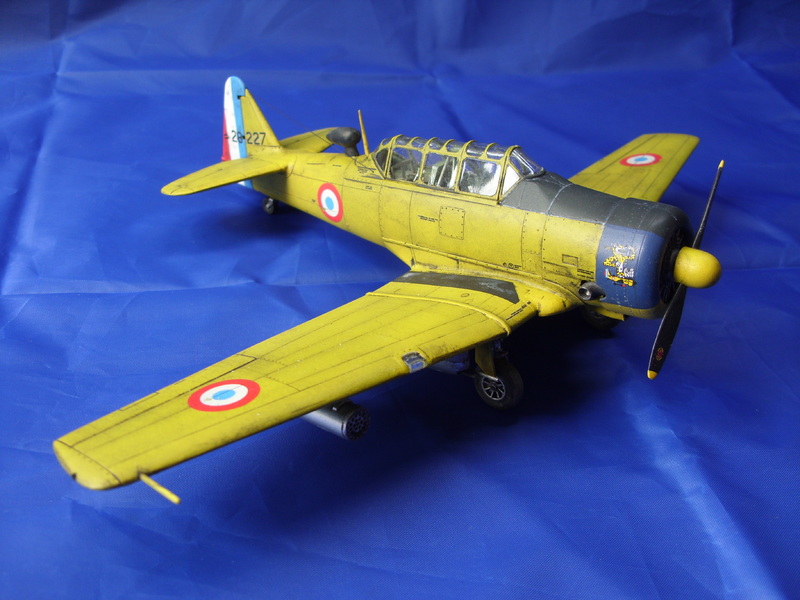
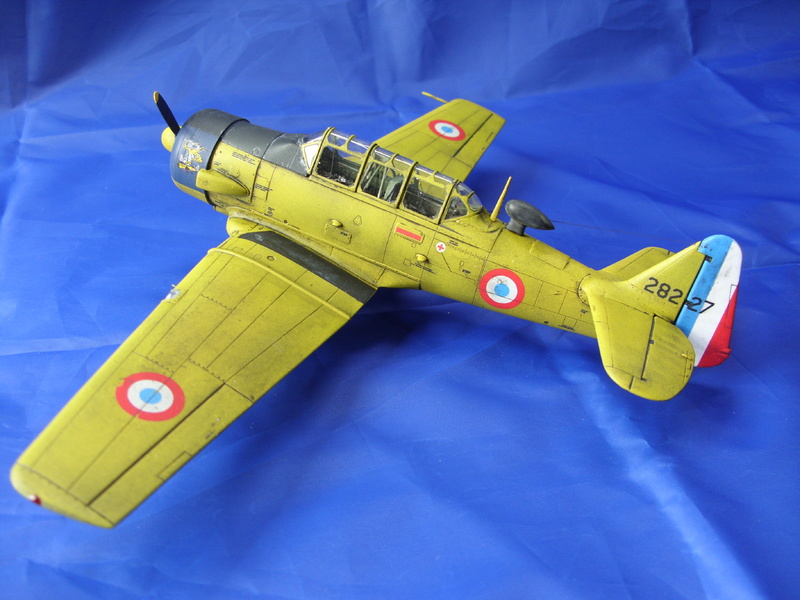
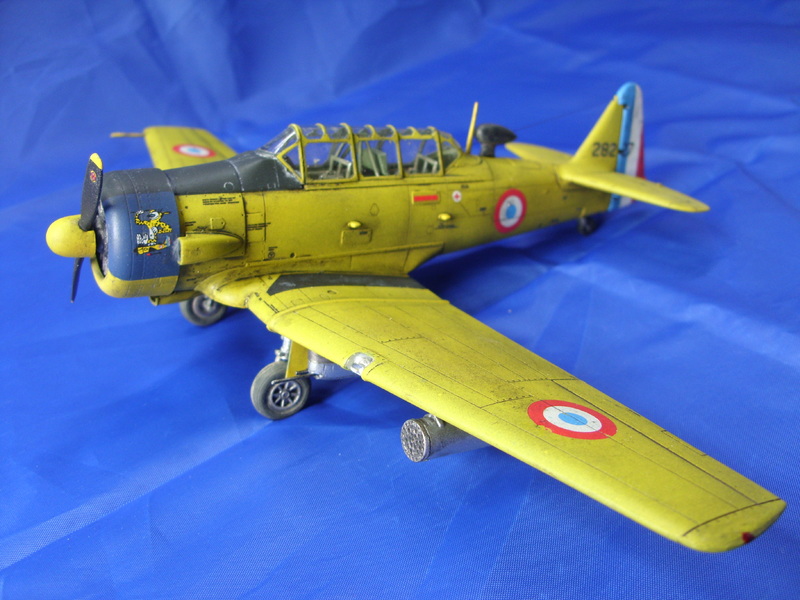

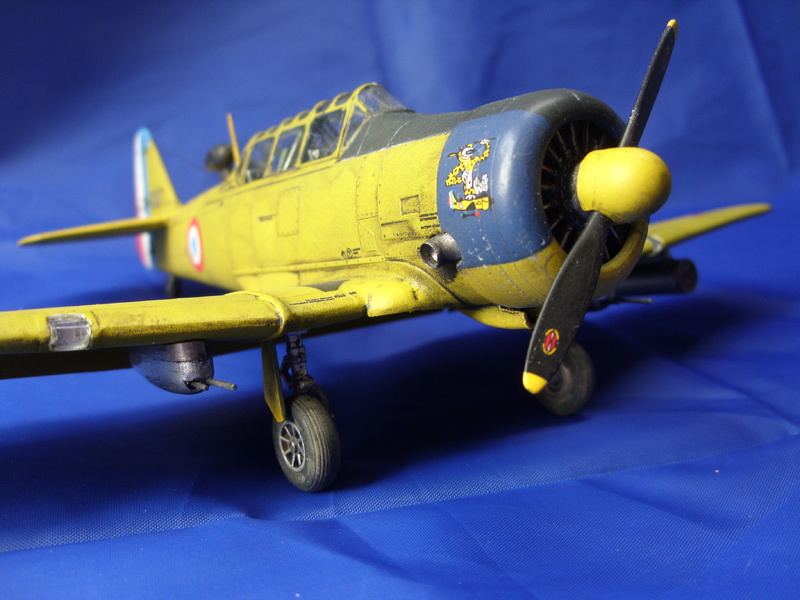
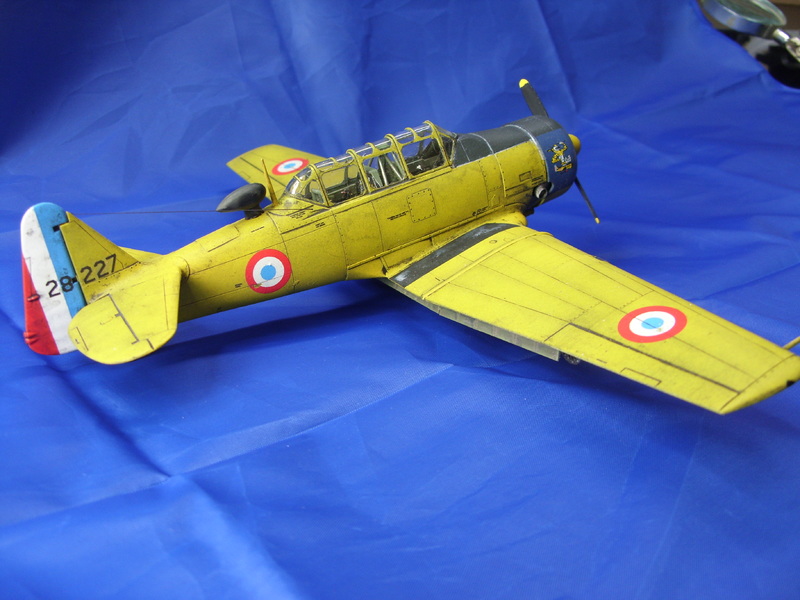
I'm pretty pleased with it. I got the weathered effect I was looking for and a model suitable for display on the Cold War SIG table. It'll definitely be at the Milton Keynes show in a couple of weeks.
The kit itself is very nice, definitely one of Italeri's better efforts. It does have a few issues but they are just small things and easily fixed. Surface detail is excellent and good major parts fit makes it easy to preserve, and the cockpit interior is very nicely detailed straight from the box. I'd certainly recommend this kit and would happily build another.....the bright orange Italian trainer version is quite tempting