That may be the case, I unfortunately have a Windows PC and do almost nothing on a phone.Michael modeller 48 wrote:Hi John, yes thanks i will try and find the welcome thread. I am using a iphone5 and mac book pro. I was able to post photos by a my laptop but unable to find the button on the mobile website and on my phone to enable me to post photos. Maybe the mobile site does not give this option?
Michael's First Blitzbau 1:72 Vought F4U-1D Corsair Airfix
-
JohnRatzenberger

- Why is he so confused ?
- Posts: 15734
- Joined: April 5th, 2011, 3:42 pm
- Location: Living on a sandbar - Nags Head, NC.
Re: 1:72 Vought F4U-1D Corsair Airfix
John Ratzenberger 
It's my model and I'll do what I want with it.
It's my model and I'll do what I want with it.
-
Michael modeller 48
Re: 1:72 Vought F4U-1D Corsair Airfix
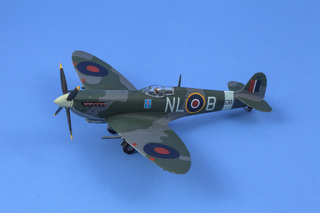
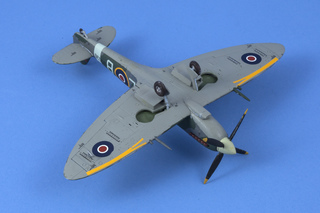
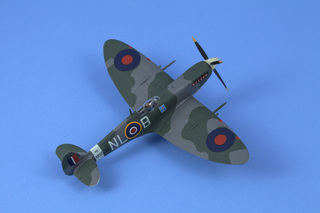
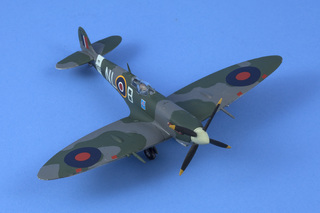
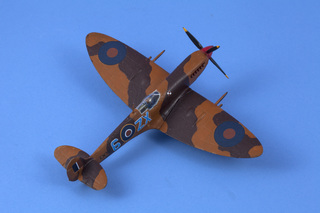
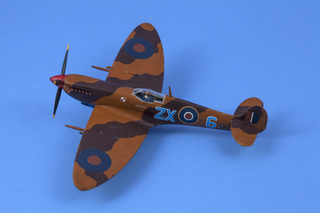
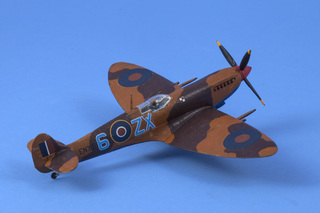
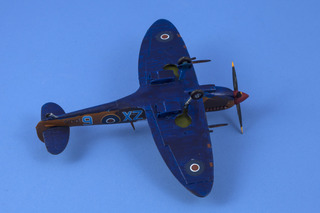
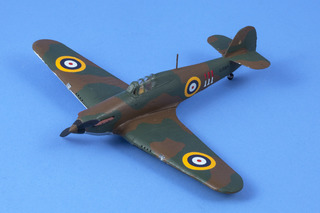
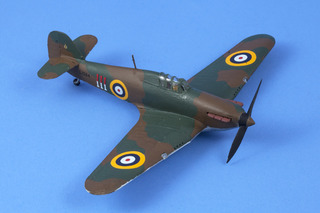
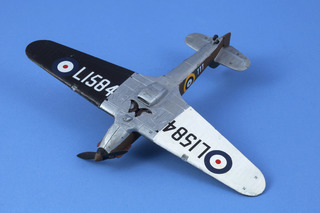
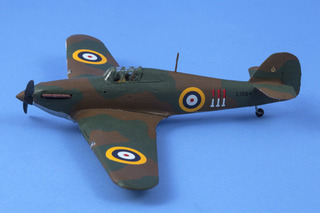
no worries Jeff... thanks i just started again this hobby...I just bought a cutting matt and few supplies and paint after a few airfix airplane build including this Spitfire

-
Michael modeller 48
Re: 1:72 Vought F4U-1D Corsair Airfix
no worries Jeff... i am new to this site and the process for the 24 hour build process posting.

Re: 1:72 Vought F4U-1D Corsair Airfix
Nice collection going.
Besting 60 years of mediocre building of average kits in the stand off scale
-
Michael modeller 48
Re: 1:72 Vought F4U-1D Corsair Airfix
thanks Jeff it started up modelling when I got a nascar car kit free of kijiji and have gotten the bug. I gotten help advice and some kit from a friend Mike G. who is part of this forum.
No worries I am new to posting on this forum and process of the 24 hour build. I was trying to post phone by my phone it seem it must be done by a laptop. I was able to figure how to post a few photos of my supplies tools and kit i would like to try doing my first 24 hour build.
Since enamel takes 12 to 24 hours to harder and dry. I guess it will be wet when I put on clear and decals.
Hey Jeff how and when can you post an Avatar to a new profile??
Michael
-
Clashcityrocker

- Modelling Gent and Scholar
- Posts: 10823
- Joined: May 1st, 2011, 12:31 am
- Location: Adelaide. South Australia
Re: 1:72 Vought F4U-1D Corsair Airfix
Nice aeroplane builds, and welcome.
Nigel
Nigel
Re: 1:72 Vought F4U-1D Corsair Airfix
@Michael. After you log on look for the grey band under the titles. On the right hand side you notice User Control Panel. Click on that. In the next window, on the left hand side, is a fresh menu. Click on Edit Profile. Again on the left hand side menu click on Edit Avatar.
There you can re-size images and apply them to your liking.
There you can re-size images and apply them to your liking.
Besting 60 years of mediocre building of average kits in the stand off scale
Re: 1:72 Vought F4U-1D Corsair Airfix
I might add that if you are not up for a full 24 hour you can do two 12 hour blocks. Just an FYI. Sometimes life can throw a curve ball.
Besting 60 years of mediocre building of average kits in the stand off scale
-
Michael modeller 48
Re: 1:72 Vought F4U-1D Corsair Airfix
Good Morning, fellow modellers,
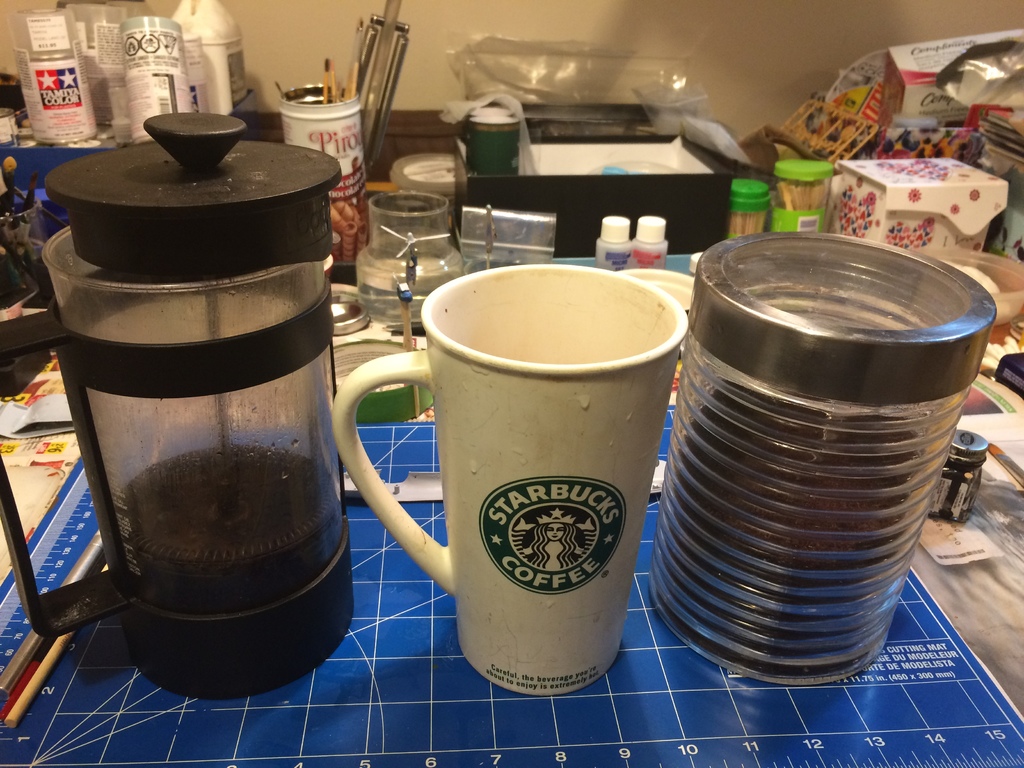
Need some Timmy's in a Starbuck mug. it is 5:55 am ready to try my first 24 hour build.
Need some Timmy's in a Starbuck mug. it is 5:55 am ready to try my first 24 hour build.
-
Michael modeller 48
Re: 1:72 Vought F4U-1D Corsair Airfix
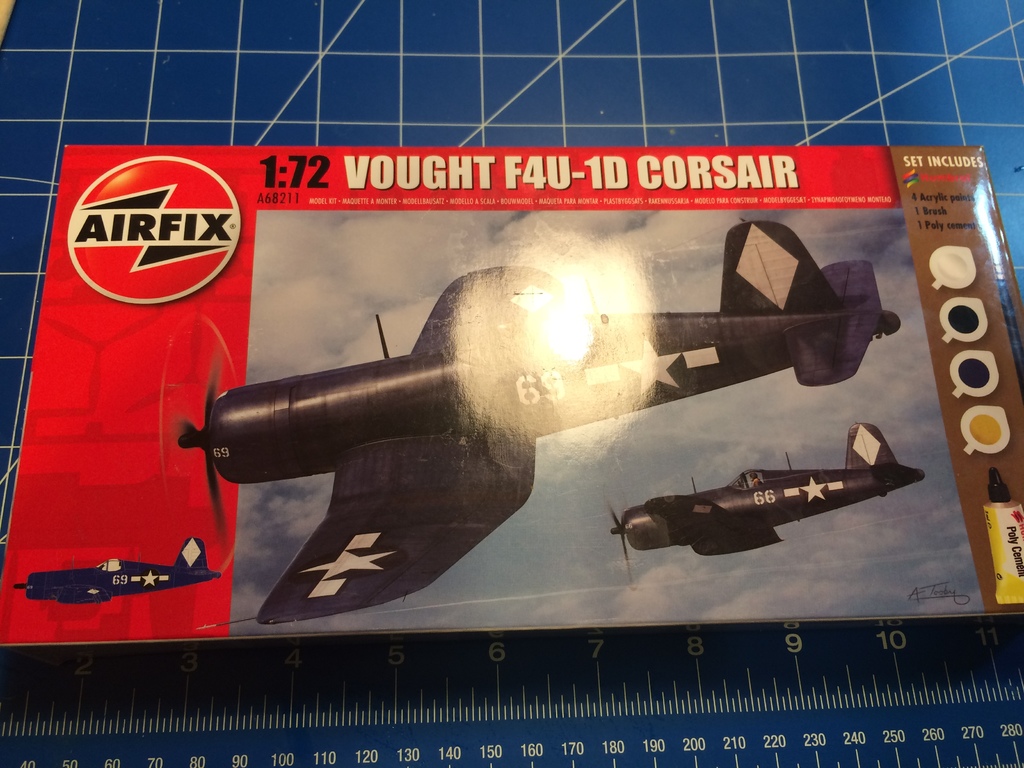
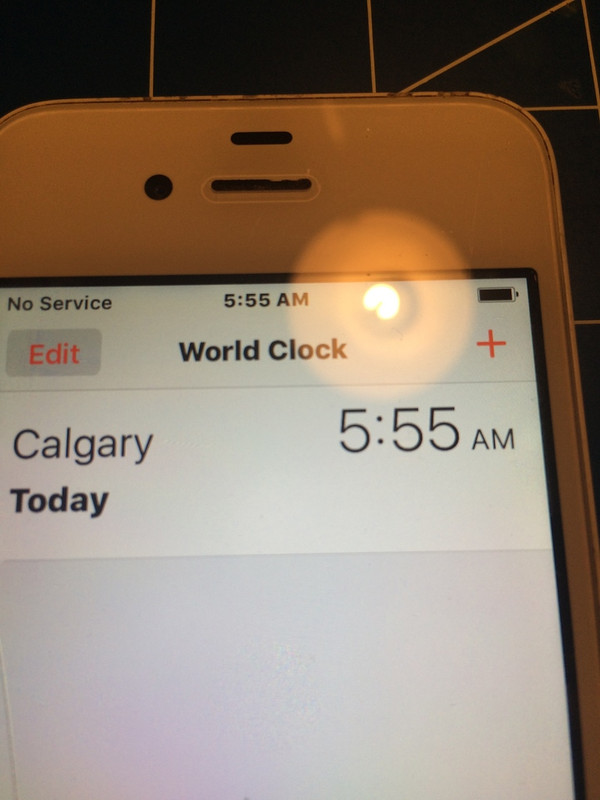
Here is my build a Corsair and my time 5:55 am Calgary time.
I may try 2 12 hour blocks. it took me to 6:19 to post this pictures haha.
I try to download an avatar but everything is to big a file? Need to resize.
I may try 2 12 hour blocks. it took me to 6:19 to post this pictures haha.
I try to download an avatar but everything is to big a file? Need to resize.
Re: 1:72 Vought F4U-1D Corsair Airfix
Will be checking in on this. Good luck
Besting 60 years of mediocre building of average kits in the stand off scale
-
Michael modeller 48
Re: 1:72 Vought F4U-1D Corsair Airfix
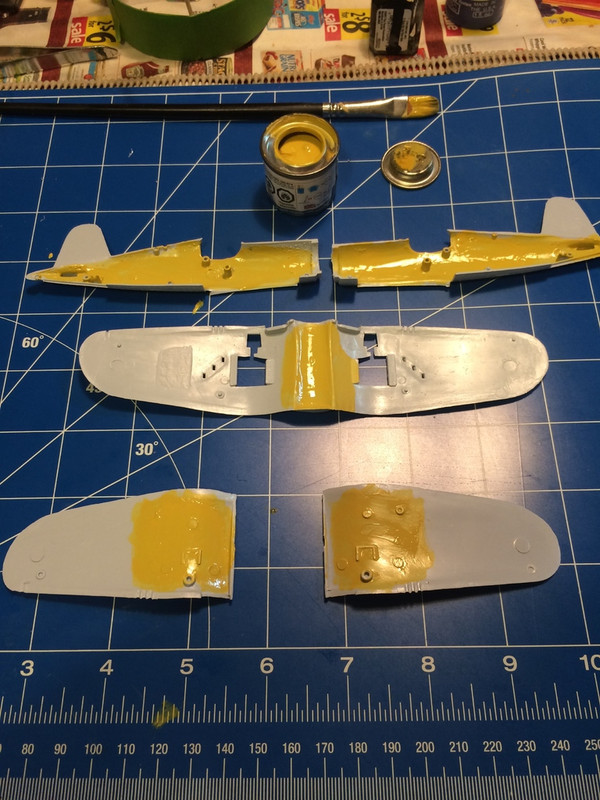
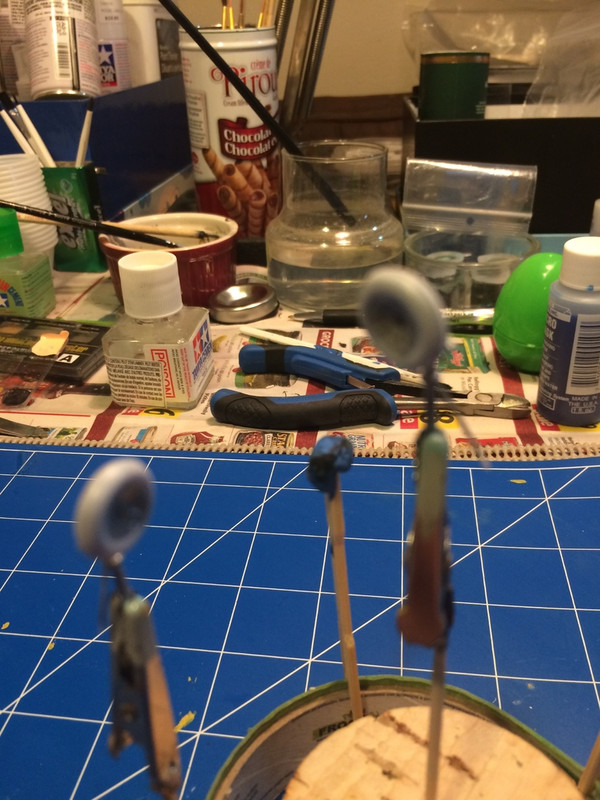
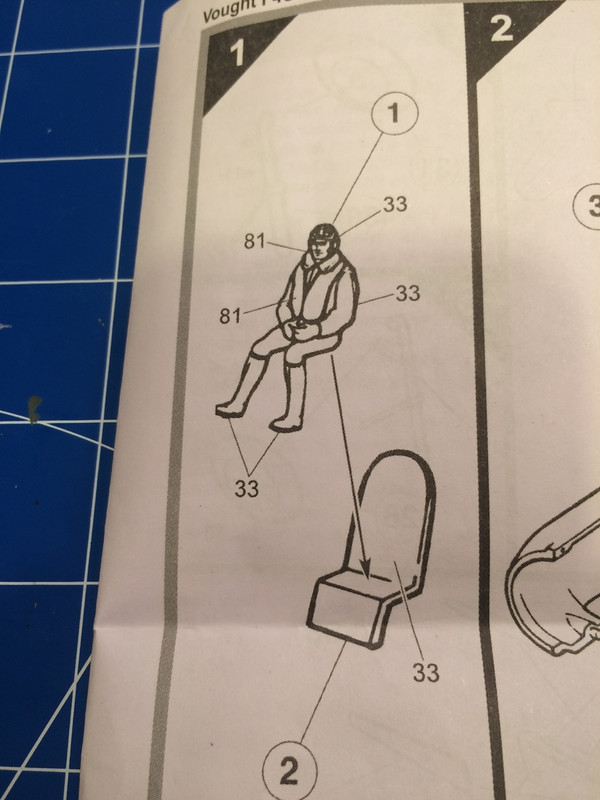
I have painted the cockpit and under carriage humbrol 81. The pilot humbrol 81 and testors flat black and seat and glue pilot in place clear glue. I have remove all parts from the two spruces there not many. The landing gear and wheels. I painted the rims Aluminum Testors when dry i will paint tires Testors "rubber". I glue the wheels to the struts. I have glue two bombs together, i had paint and glue on finger so a little mess will sand of glue when dry. 3 parts each. i have set aside landing gear panels and arresting hook for air carrier landing. The antenna and wing probe i left on sprue not to lose them. Can't let the carpet muncher get them haha!
I am taking a coffee/posting break to wait until seat/pilot glue dry and paint. Then i will attach the sparse pilot/cockpit detail to the fuslage and those havles together. Then to top of wing 2 parts to bottom half (the bottom of cockpit floor has been painted humbrol 81 yellow as well as landing wheel wells before the wings are glued together.
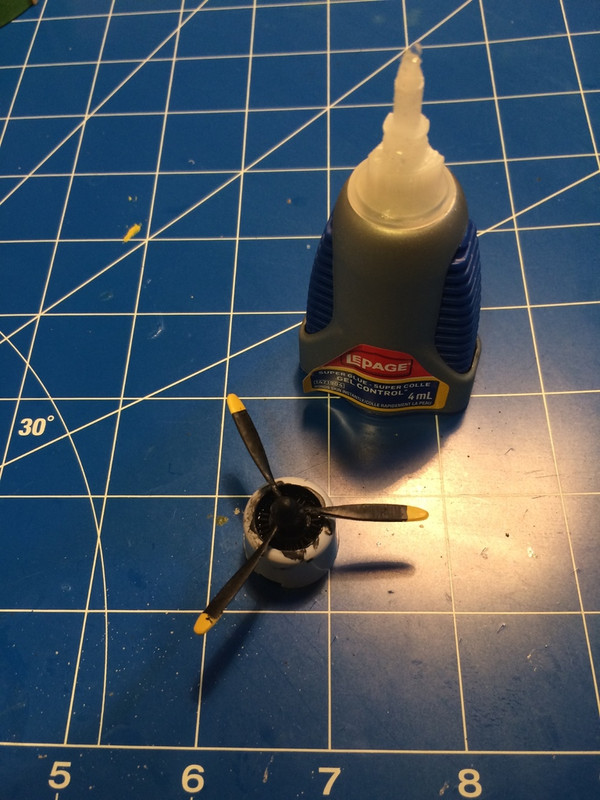
I glue the prop to engine cowling with gel super glue (it might not be able to move) I first painted tip humbrol 81 yellow then testors flat black and the interior of the engine that same colour. Plan to left off assembly to the end after i paint the main body Humbrol 15 blue (it is one paint camo). The cowling I will paint separately the same humbrol 15 blue.
I will attach landing gear panel first before paint the body as they are same colour and will aid with gluing them in first. Will leave off landing gear to avoid mistakenly painting over them or have them break off during handling and building.
Need to remember to put arresting hook in will attach fuselage halves together as I can not do it after! Also try to paint undercarriage for the rear wheel humbrol 81 yellow if any show underneath the rear wheel.
My timer for gluing dry has gone.......

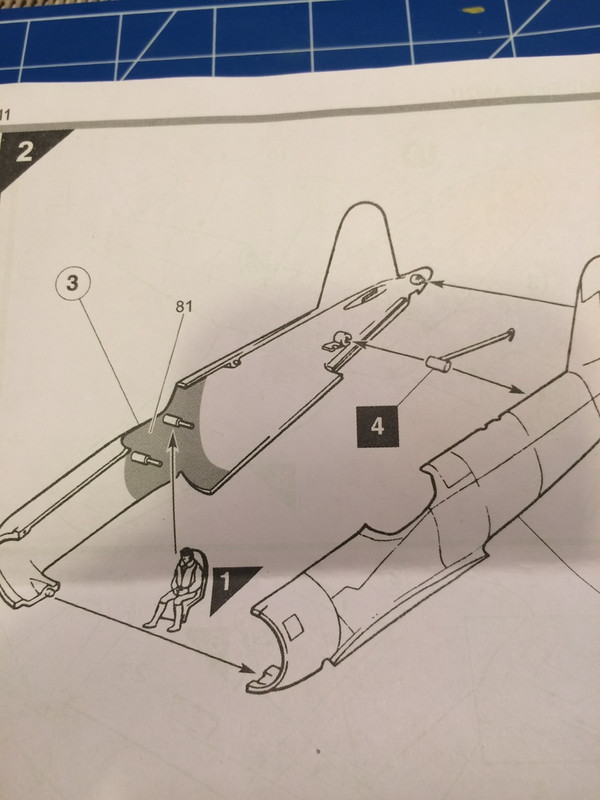
I am taking a coffee/posting break to wait until seat/pilot glue dry and paint. Then i will attach the sparse pilot/cockpit detail to the fuslage and those havles together. Then to top of wing 2 parts to bottom half (the bottom of cockpit floor has been painted humbrol 81 yellow as well as landing wheel wells before the wings are glued together.
I glue the prop to engine cowling with gel super glue (it might not be able to move) I first painted tip humbrol 81 yellow then testors flat black and the interior of the engine that same colour. Plan to left off assembly to the end after i paint the main body Humbrol 15 blue (it is one paint camo). The cowling I will paint separately the same humbrol 15 blue.
I will attach landing gear panel first before paint the body as they are same colour and will aid with gluing them in first. Will leave off landing gear to avoid mistakenly painting over them or have them break off during handling and building.
Need to remember to put arresting hook in will attach fuselage halves together as I can not do it after! Also try to paint undercarriage for the rear wheel humbrol 81 yellow if any show underneath the rear wheel.
My timer for gluing dry has gone.......
Re: 1:72 Vought F4U-1D Corsair Airfix
That is a great start. I must add that kit the collection sometime.
Besting 60 years of mediocre building of average kits in the stand off scale