David's Mbox with Aeroclub fighter nose correction * Done *

The Hawker Hunter in any kit, scale, markings ...
Runs 1 Feb through 18 Mar and your host is Gregers.
User avatar
DavidWomby
Modelling Gent and Scholar
Posts: 11691
Joined: May 1st, 2011, 8:09 pm
Location: Florida, USA

David's Mbox with Aeroclub fighter nose correction * Done *

Post by DavidWomby »

Probably not wise but I am joining late with this combination.

Image

Image

Image

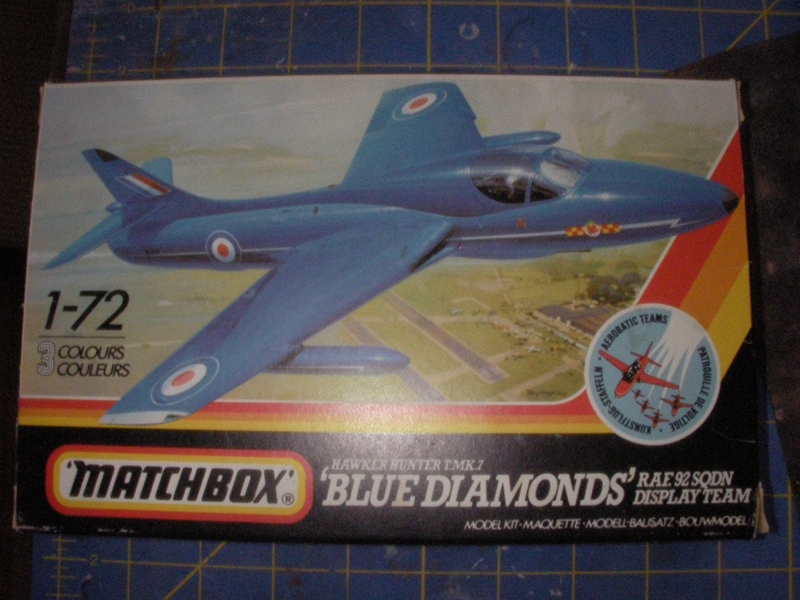
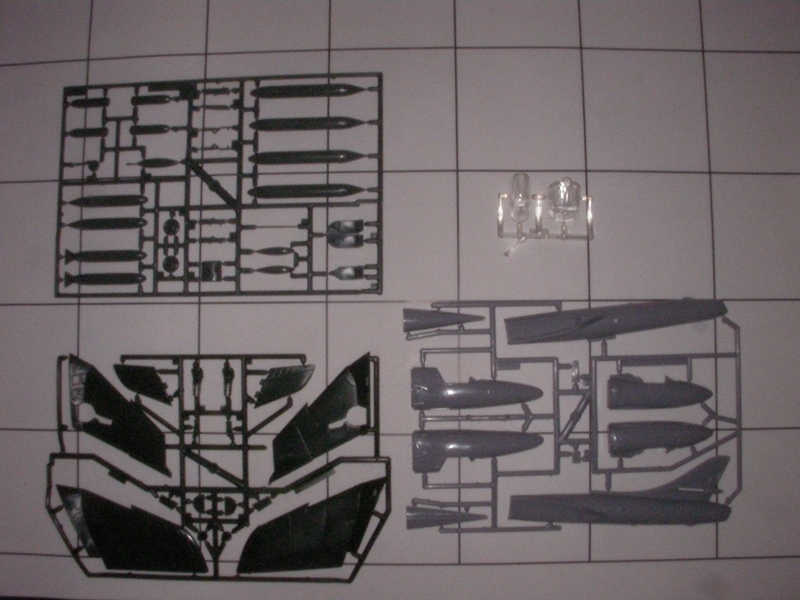
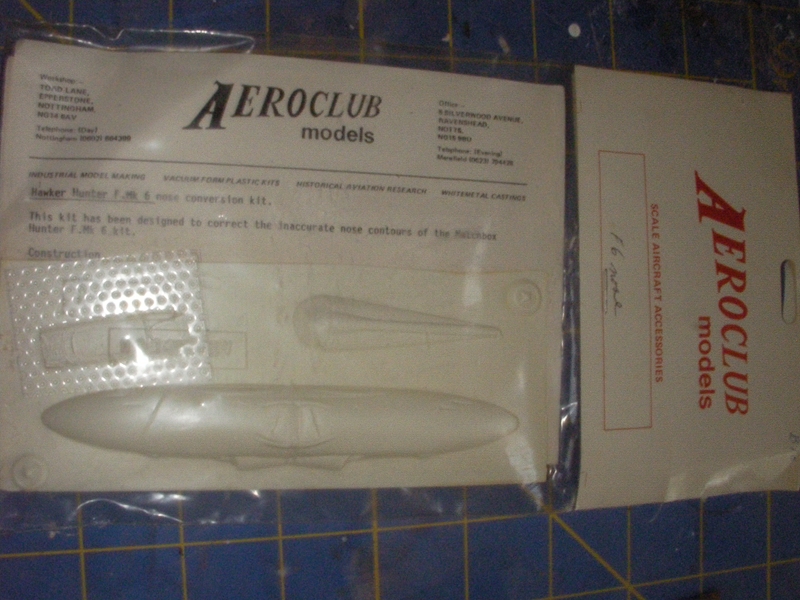
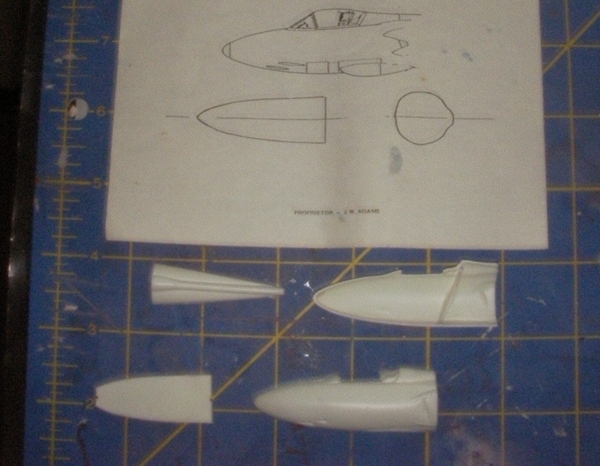
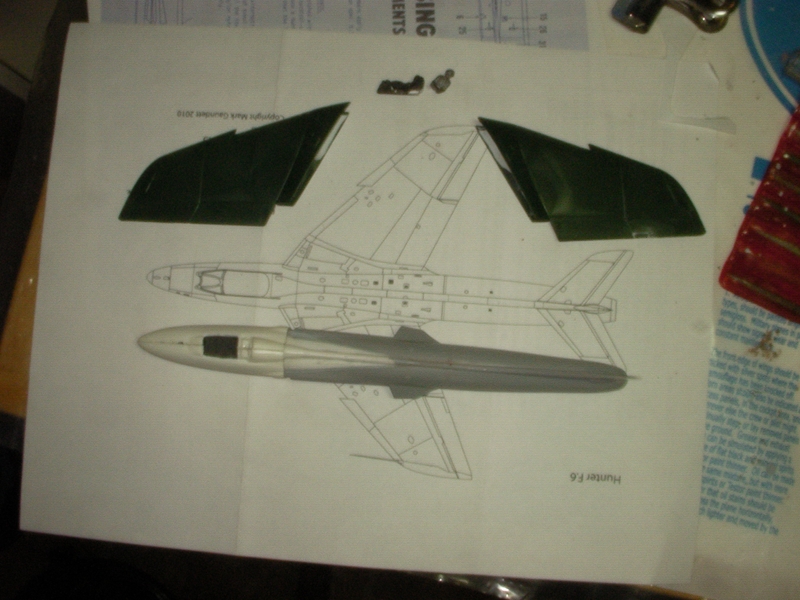
As you are probably all very aware, John Adams at Aeroclub issued two vac conversions to correct the Mbox Hunter's inaccurate noses. I have seen other builds using the trainer nose but I am opting to try out the fighter nose on this build. The Mbox Hunter, of course, has the trenches and is a bit inaccurate in areas other than the nose. For a start the tailpipe is a bit odd, the wing tips need minor reshaping and the lower fuselage below the wings is too shallow but I will try to overlook all that.

David
User avatar
JamesPerrin
Looks like his avatar
Posts: 13588
Joined: April 5th, 2011, 8:09 pm
Location: W. Yorkshire
Contact:

Re: David's Mbox with Aeroclub fighter nose correction

Post by JamesPerrin »

Great too see join in with this one Dave, it should be interesting and possibly thrilling!
Classic British Kits SIG Leader Better to fettle than to fill
(2024 A:B 5:1) (2023 13:8:7) (2022 21:11) (2021 15:8) (2020 8:4:4)
User avatar
DavidWomby
Modelling Gent and Scholar
Posts: 11691
Joined: May 1st, 2011, 8:09 pm
Location: Florida, USA

Re: David's Mbox with Aeroclub fighter nose correction

Post by DavidWomby »

Thanks, James. Not too thrilling I hope!

Some progress. Cut out the Aeroclub parts and sanded them down.

Image

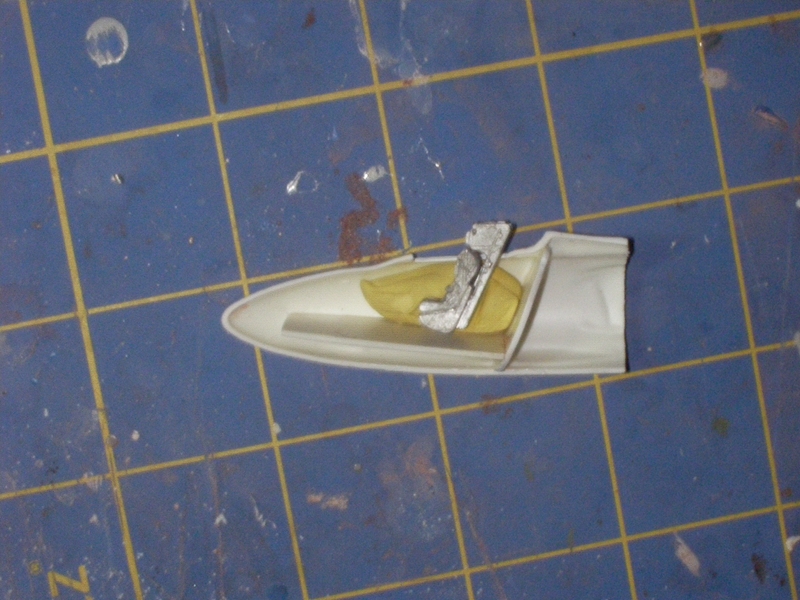
Testing the seat height before gluing in the floor.

Image

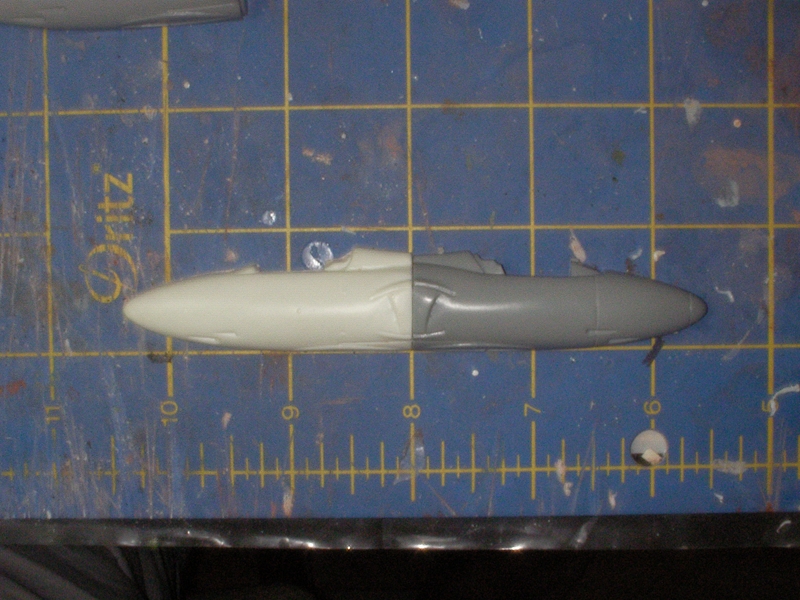
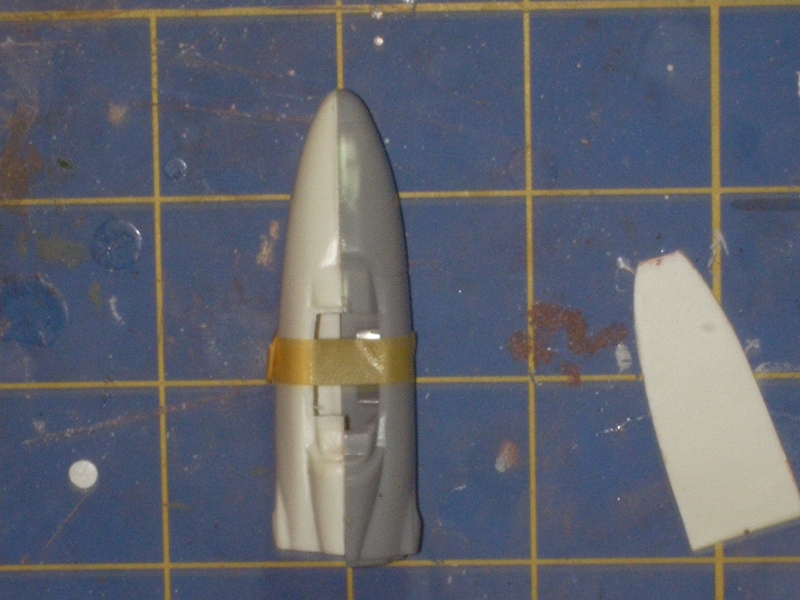
These pics are to try to show the differences between the Mbox and Aeroclub parts

Image

Image

David
User avatar
JamesPerrin
Looks like his avatar
Posts: 13588
Joined: April 5th, 2011, 8:09 pm
Location: W. Yorkshire
Contact:

Re: David's Mbox with Aeroclub fighter nose correction

Post by JamesPerrin »

A clear improvement in profile, worth the effort
Classic British Kits SIG Leader Better to fettle than to fill
(2024 A:B 5:1) (2023 13:8:7) (2022 21:11) (2021 15:8) (2020 8:4:4)
User avatar
skypirate
Modelling Gent and Scholar
Posts: 7239
Joined: May 1st, 2011, 6:13 am
Location: Port Macquarie, Australia

Re: David's Mbox with Aeroclub fighter nose correction

Post by skypirate »

Good to see you on the Hunter trail, David.
I have been where you are going, and it is well worth it.

Cheers,

David
User avatar
Gregers
Forum founder
Posts: 8181
Joined: April 10th, 2011, 6:13 pm

Re: David's Mbox with Aeroclub fighter nose correction

Post by Gregers »

Am certainly following this one. I may have to try source one of these Aeroclub sets.

All the best.

Greg.
Two things are infinite: the universe and human stupidity; and I'm not sure about the the universe.
The difference between stupidity and genius is that genius has its limits.
Albert Einstein
User avatar
DavidWomby
Modelling Gent and Scholar
Posts: 11691
Joined: May 1st, 2011, 8:09 pm
Location: Florida, USA

Re: David's Mbox with Aeroclub fighter nose correction

Post by DavidWomby »

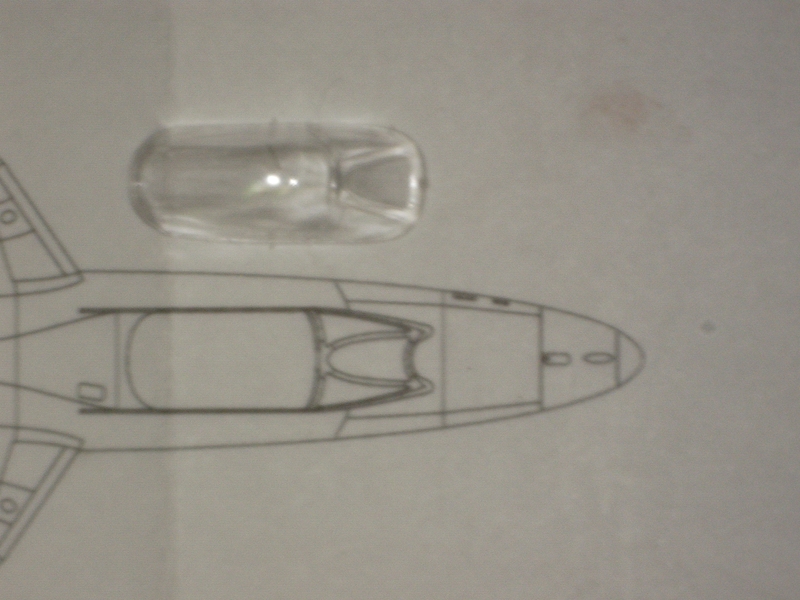
The truly awful part of the Mbox nose would be the canopy. Look at the windscreen area compared to the plans.

Image

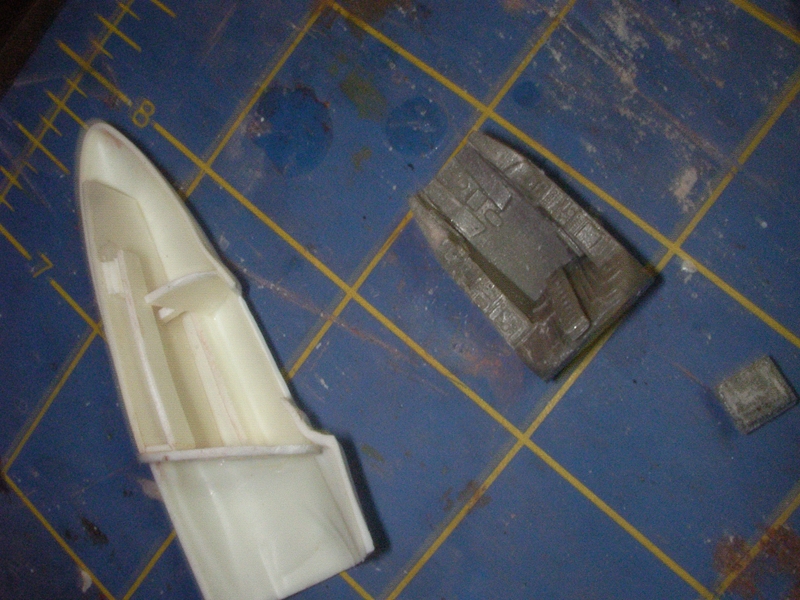
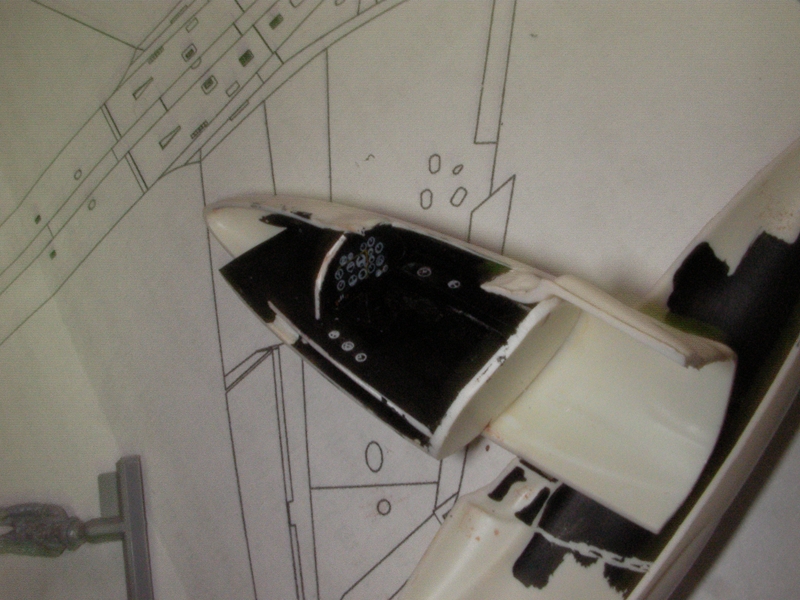
I have a nice resin cockpit set from Pavla for the Revell kit but decided it was too good for this and a bit tricky to fit. So I made a basic office as I will be sticking a pilot in this one.

Image

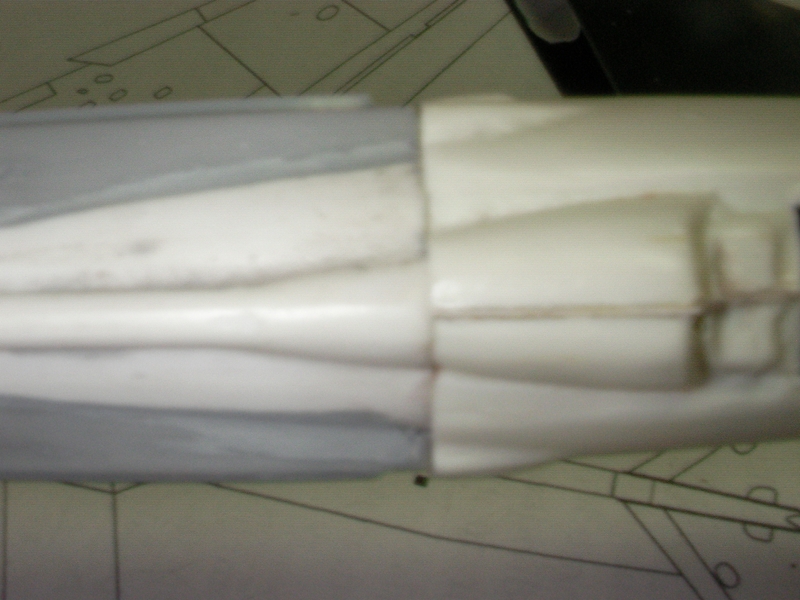
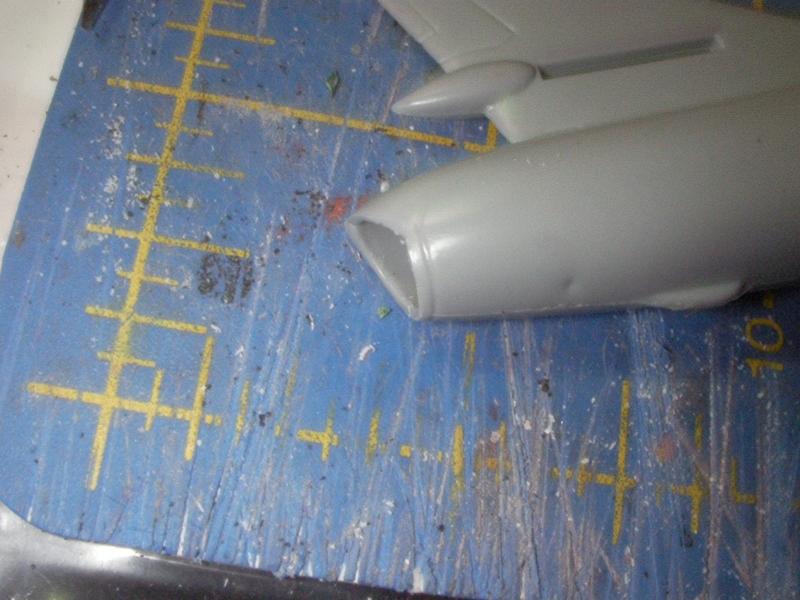
I also cleaned up the exhaust a bit so it was more accurate. I'll be putting a pipe inside it. The starboard side only is done in this pic.

Image

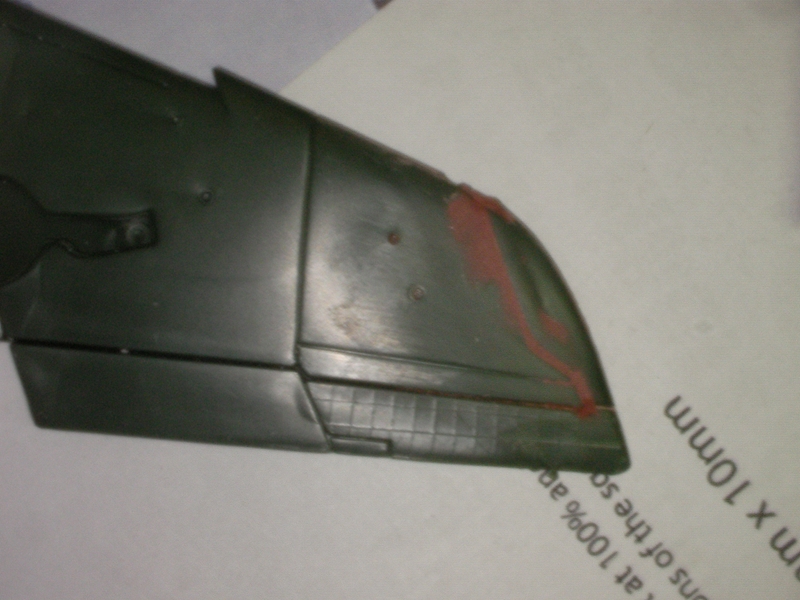
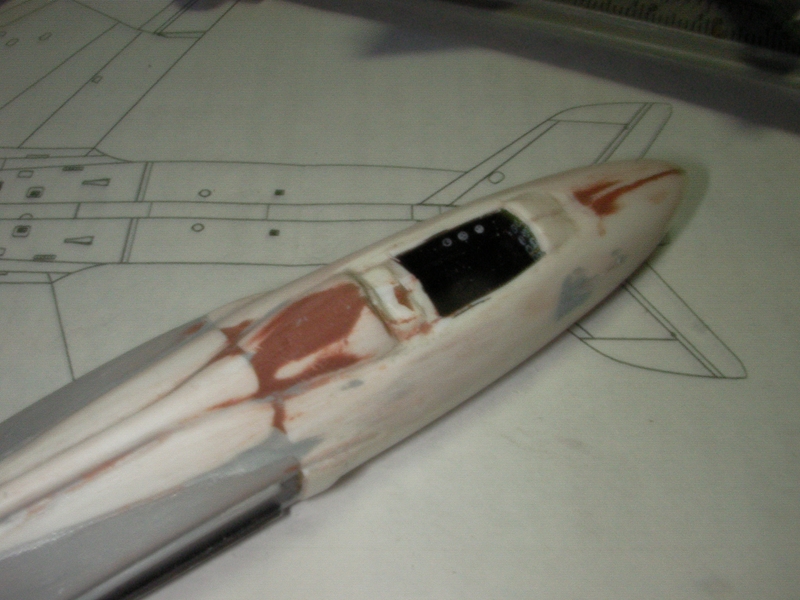
And finally, a whine. I shouldn't have used red filler on the dark green wings. You can probably tell them apart just fine but we colourblind folks (at least this one) can't differentiate the filler from the plastic!

Image

David
User avatar
Gregers
Forum founder
Posts: 8181
Joined: April 10th, 2011, 6:13 pm

Re: David's Mbox with Aeroclub fighter nose correction

Post by Gregers »

This is looking great. Fantastic work. The red certainly shows through. Give it a very light coat of grey and the red should bleed through. That way you may be able to differentiate between the parts and filler.

All the best.

Greg.
Two things are infinite: the universe and human stupidity; and I'm not sure about the the universe.
The difference between stupidity and genius is that genius has its limits.
Albert Einstein
User avatar
DavidWomby
Modelling Gent and Scholar
Posts: 11691
Joined: May 1st, 2011, 8:09 pm
Location: Florida, USA

Re: David's Mbox with Aeroclub fighter nose correction

Post by DavidWomby »

Thanks, Greg. I've pulled out a tube of Tamiya grey putty to use for the rest of it.

The cockpit just got a few P-51 decals to busy it up but it looks OK to me and is the two nose halves have now been joined. The seat and pilot will go in later.

Image

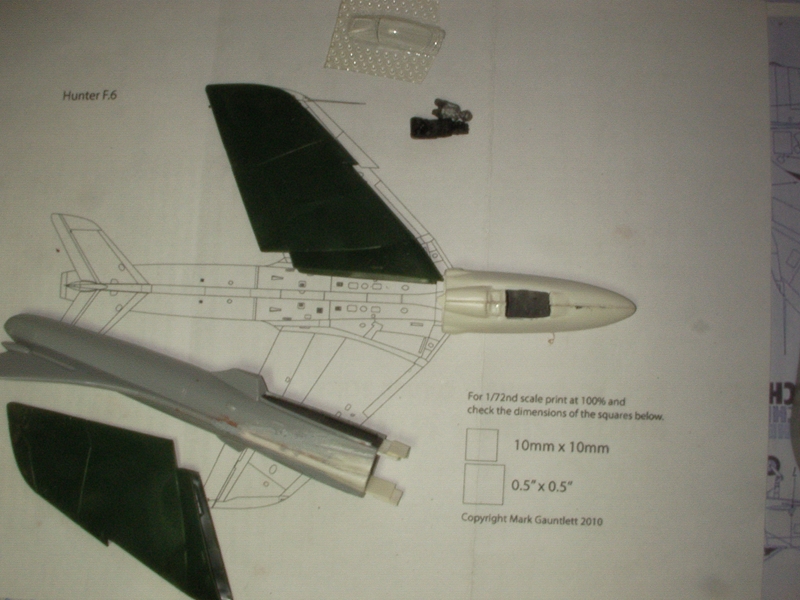
The the Mbox fuselage halves are glued, the upper fuselage piece aft of the cockpit has been added and I've put some plastic card at the front to try to help locate the Aeroclub nose properly when the time comes.

Image

Now I am doing a bit of work on the wings. They need some bent card as intake trunking and I have to scribe the cutouts in the flaps that the FGA9 had to clear the large fuel tanks (except I cannot find my scriber!!!!) as the Mbox kit doesn't have them. I have to fill at least one trench on the upper wings - the Hunter had split flaps so there's no hinge line on the upper side as depicted on the Mbox wing.

David
User avatar
DavidWomby
Modelling Gent and Scholar
Posts: 11691
Joined: May 1st, 2011, 8:09 pm
Location: Florida, USA

Re: David's Mbox with Aeroclub fighter nose correction

Post by DavidWomby »

Hmmm. I have scribed (roughly since I am awful at scribing and can't find my scriber so I used a needle) the cutouts in the flaps so they clear the big drop tanks and I've glued bent plastic card inside the intakes to represent trunking.

Now I see the Mbox wing attachment idea is clever - it ensures you get the anhedral right - but the inner end of the flaps end where the wings join the root fillets on the fuselage and the flaps actually go in a little further than that. Given I am so lousy at scribing and that my model will be 'in flight' and the flaps are on the underside, I think I might choose to forget to correct that.

David
User avatar
JamesPerrin
Looks like his avatar
Posts: 13588
Joined: April 5th, 2011, 8:09 pm
Location: W. Yorkshire
Contact:

Re: David's Mbox with Aeroclub fighter nose correction

Post by JamesPerrin »

I think we can overlook it this time, but don't let it happen again. :ha:
Classic British Kits SIG Leader Better to fettle than to fill
(2024 A:B 5:1) (2023 13:8:7) (2022 21:11) (2021 15:8) (2020 8:4:4)
User avatar
DavidWomby
Modelling Gent and Scholar
Posts: 11691
Joined: May 1st, 2011, 8:09 pm
Location: Florida, USA

Re: David's Mbox with Aeroclub fighter nose correction

Post by DavidWomby »

Thanks, James. :ha:

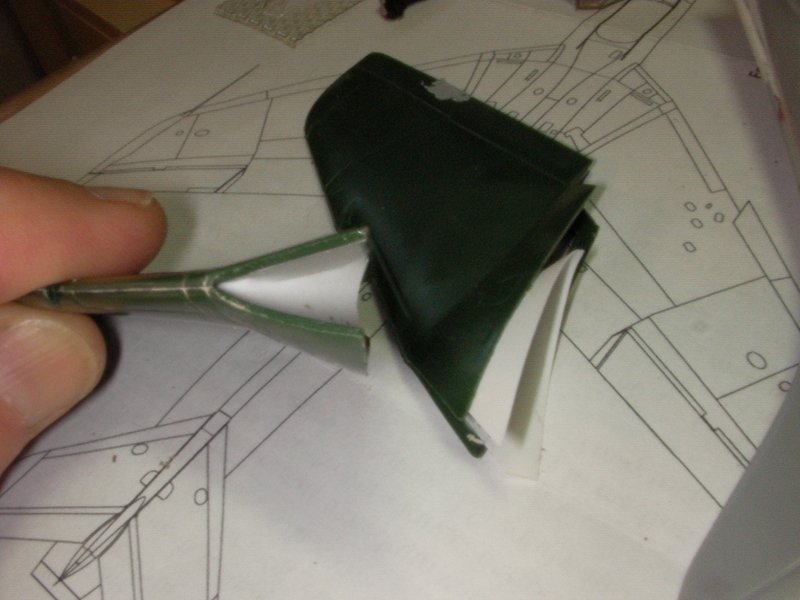
Intake trunking done. I have seen others use cardboard for this as thin plastic card tends to crease and split but I somehow got away with it. It's just a triangle of plastic card bent over a metal rod to shape it then glued down one side at a time in the intakes and trimmed to fit against the roots on the fuselage.
Image

Does anyone know what colour intake trunks should be, please? I think the camo colours were carried into the intakes on most Hunters but I'm not sure.

The big news is I have attached the Aeroclub nose. This took a bit of fettling and compromise. Just as one has to be careful not to sand off too much when sanding down the nose halves or the canopy will be too wide (lots of test fittings needed back in that process), the rear edges of the nose halves need to have been cut perfectly square and equal or the nose will butt up to the Mbox fuselage crooked. I had to sand the starboard side rear edge down a bit more to get the nose on square but that's not the end of it. The nose is really nicely moulded but not an absolutely perfect fit (or, more likely, I have messed it up somewhere along the line) and I couldn't get the intake areas and the spine to both line up perfectly. I chose to align the intake areas and I think I got the whole thing pretty straight in the end. The intakes still need a little PSR but the spine will need a lot more.
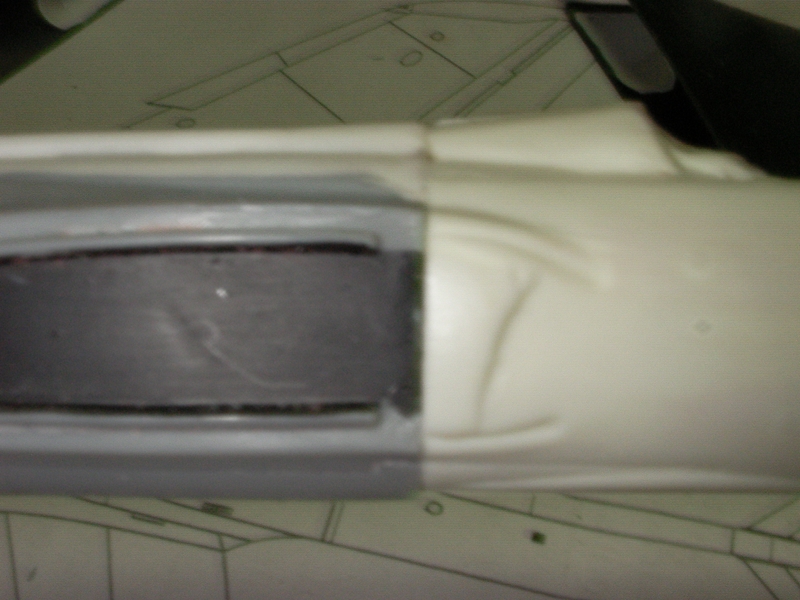
Image

Image

Image

There is also a noticeable step at the bottom of the join but some filler and the addition of the Sabrinas should deal with that.
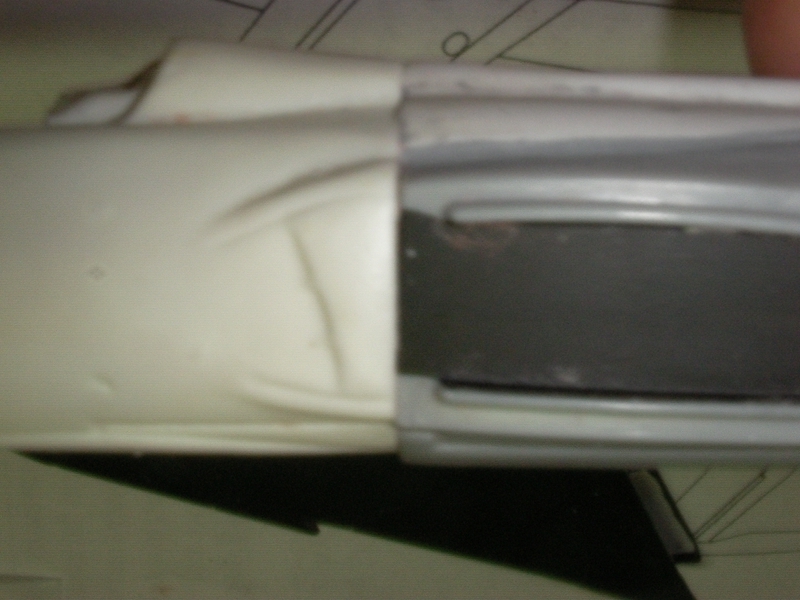
Image

David
User avatar
DavidWomby
Modelling Gent and Scholar
Posts: 11691
Joined: May 1st, 2011, 8:09 pm
Location: Florida, USA

Re: David's Mbox with Aeroclub fighter nose correction

Post by DavidWomby »

Note to self: wait longer for cement to dry before PSR on nose/fuselage joint or nose will drop off.

David

PS - I have reattached it :evil:
User avatar
Old_Tonto
Modelling Gent and Scholar
Posts: 8048
Joined: May 1st, 2011, 7:41 pm
Location: Middlesbrough, Peoples Republic of Teesside.

Re: David's Mbox with Aeroclub fighter nose correction

Post by Old_Tonto »

Superb plastic bashing David.

Hope the new nose job works out. :lol:
2023 - A:0 B:0 C:0
Current Projects:
East German Air Force (1956-90)
South African Air Force (1958-93)
User avatar
DavidWomby
Modelling Gent and Scholar
Posts: 11691
Joined: May 1st, 2011, 8:09 pm
Location: Florida, USA

Re: David's Mbox with Aeroclub fighter nose correction

Post by DavidWomby »

Thanks, OT.

Here we are after getting sensible and letting the cement REALLY dry on the nose/fuselage join. This is after two rounds of PSR - grey then red filler. I am about to prime the area to show up the remaining defects and fully expect another couple of rounds of PSR will follow that. It needs a bit of care as the vacform plastic can't be sanded too much due to its thinness but I think I've done all I need to of that.

Image

I need to start thinking of the final colours and markings. I am leaning towards Rhodesian.

David
Locked

Return to “Hawker Hunter”