Thanks, James.

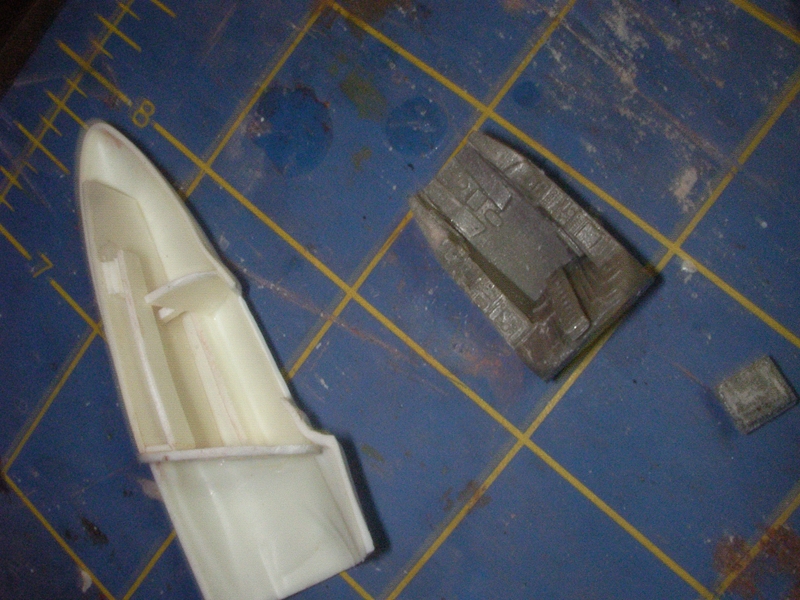
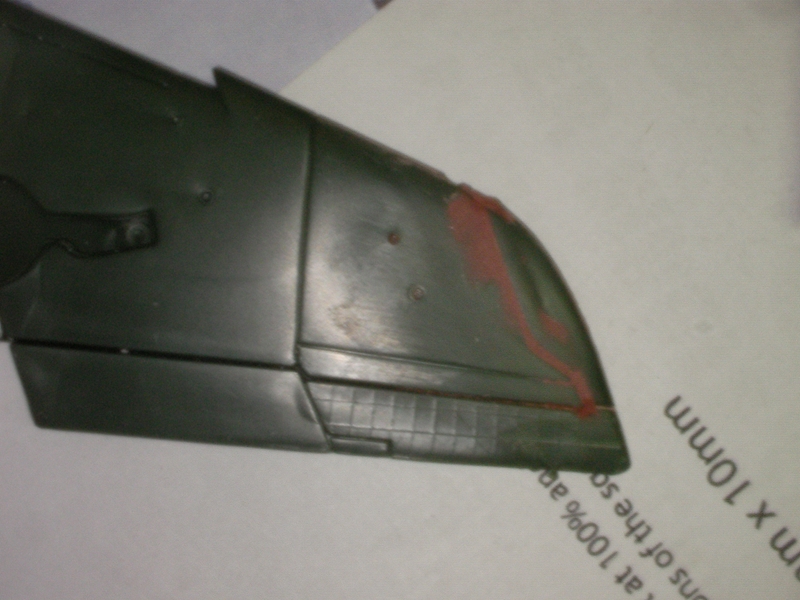
Intake trunking done. I have seen others use cardboard for this as thin plastic card tends to crease and split but I somehow got away with it. It's just a triangle of plastic card bent over a metal rod to shape it then glued down one side at a time in the intakes and trimmed to fit against the roots on the fuselage.
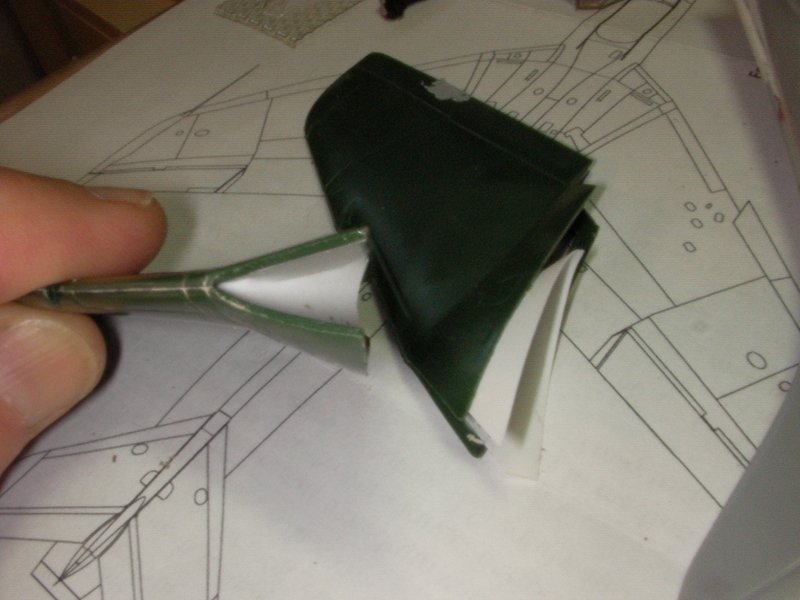
Does anyone know what colour intake trunks should be, please? I think the camo colours were carried into the intakes on most Hunters but I'm not sure.
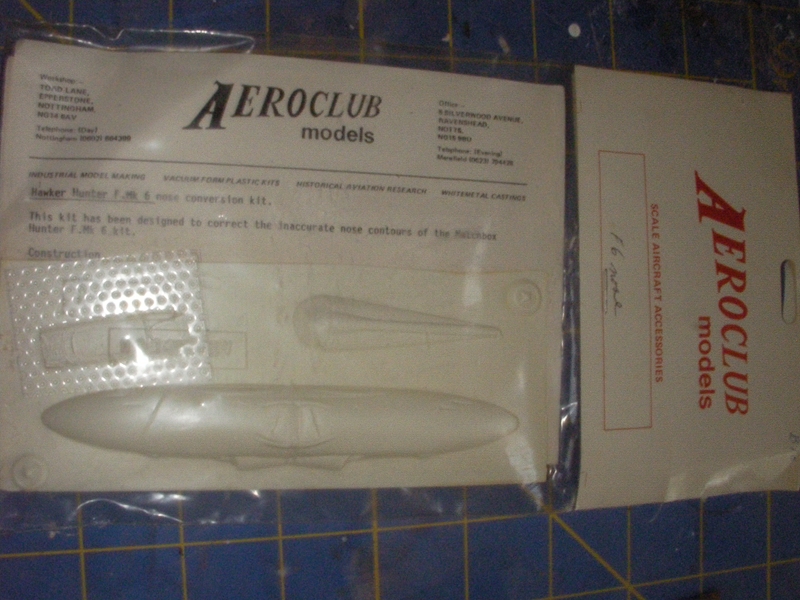
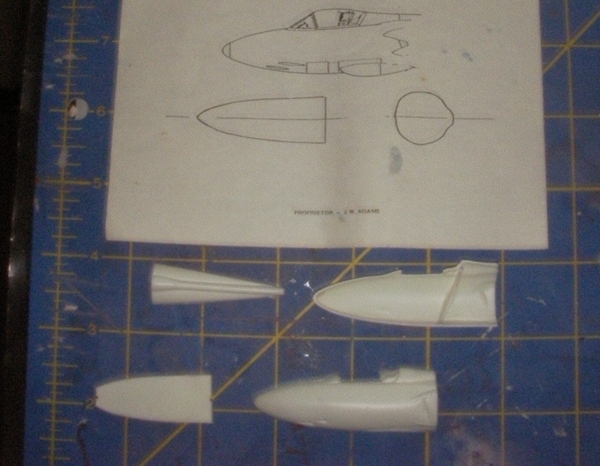
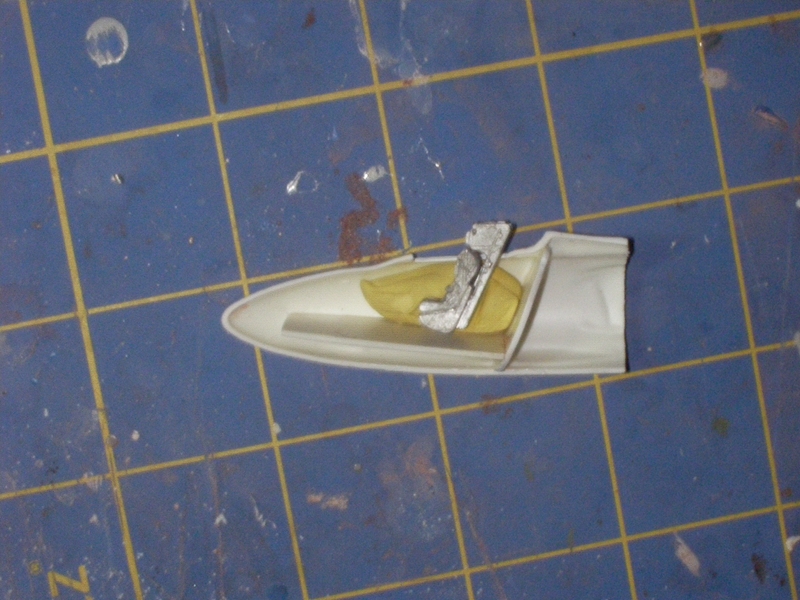
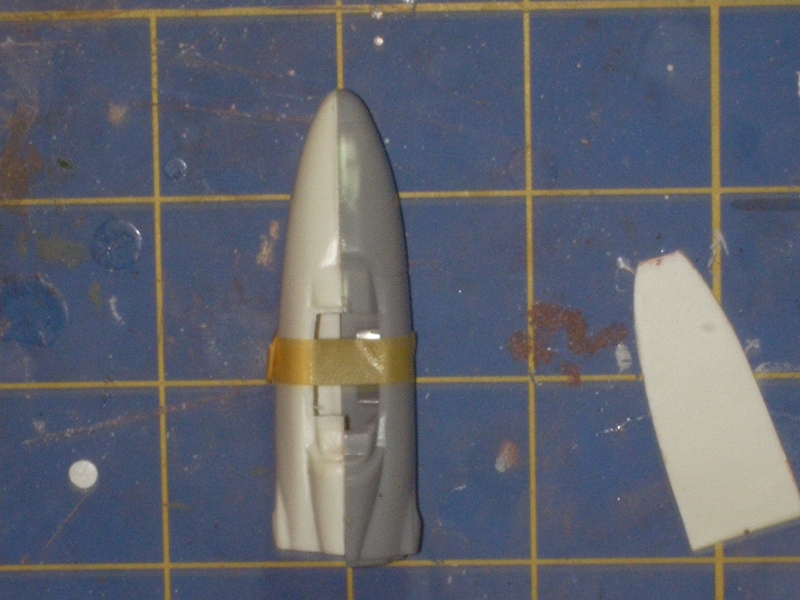
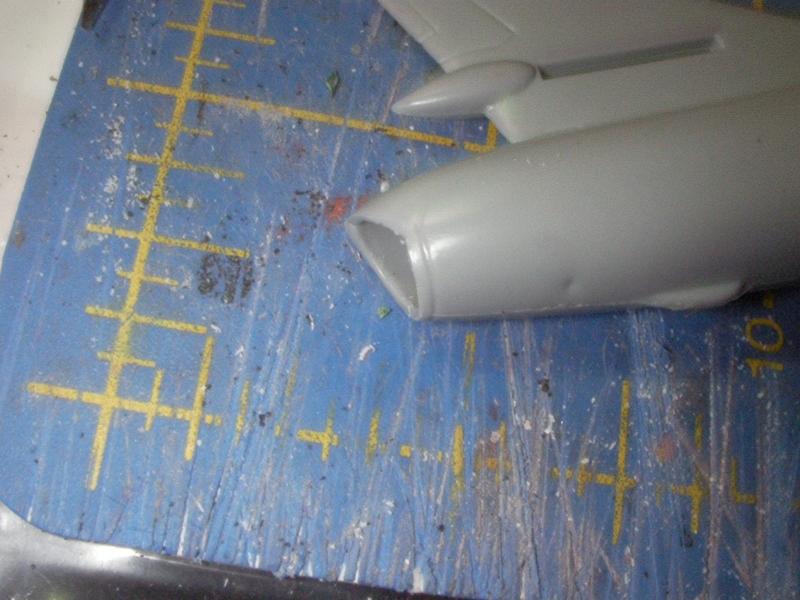
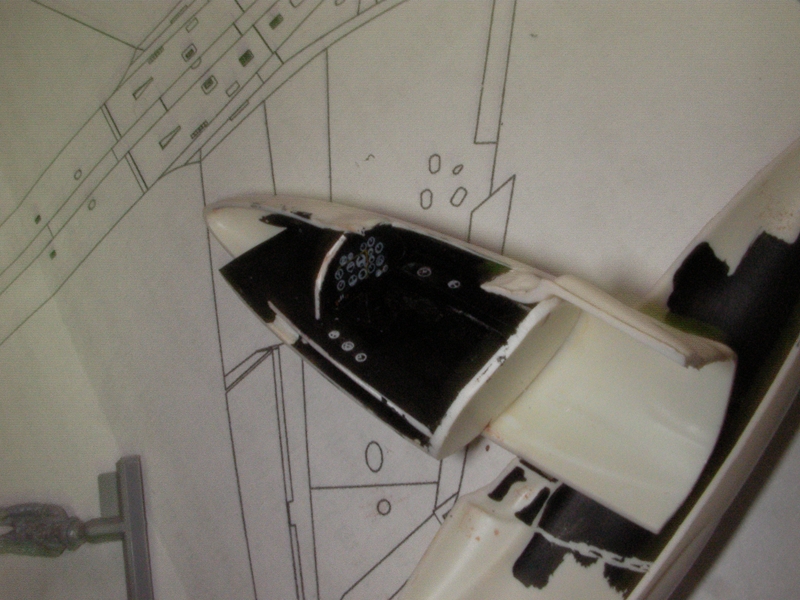
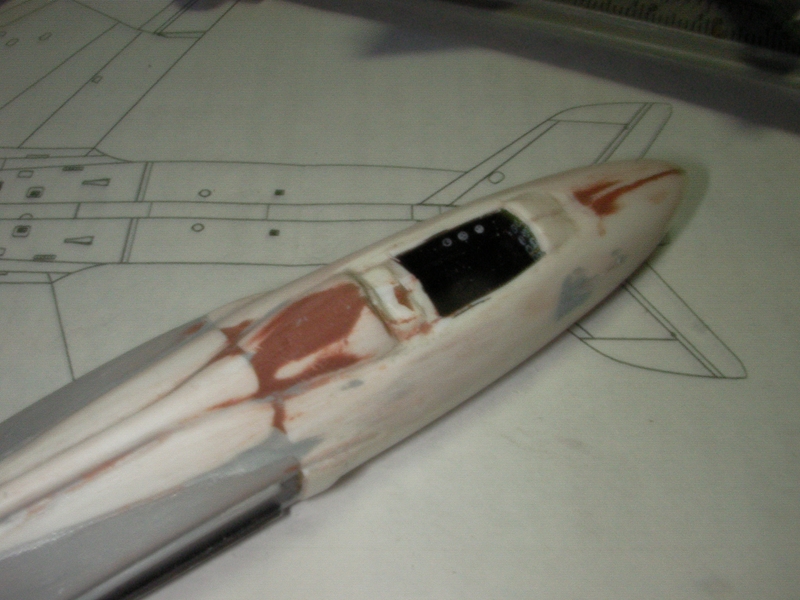
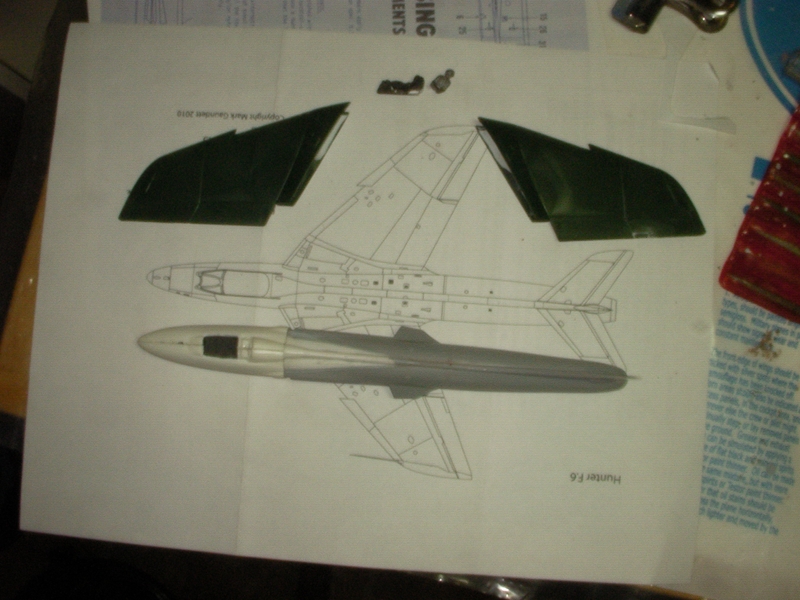
The big news is I have attached the Aeroclub nose. This took a bit of fettling and compromise. Just as one has to be careful not to sand off too much when sanding down the nose halves or the canopy will be too wide (lots of test fittings needed back in that process), the rear edges of the nose halves need to have been cut perfectly square and equal or the nose will butt up to the Mbox fuselage crooked. I had to sand the starboard side rear edge down a bit more to get the nose on square but that's not the end of it. The nose is really nicely moulded but not an absolutely perfect fit (or, more likely, I have messed it up somewhere along the line) and I couldn't get the intake areas and the spine to both line up perfectly. I chose to align the intake areas and I think I got the whole thing pretty straight in the end. The intakes still need a little PSR but the spine will need a lot more.
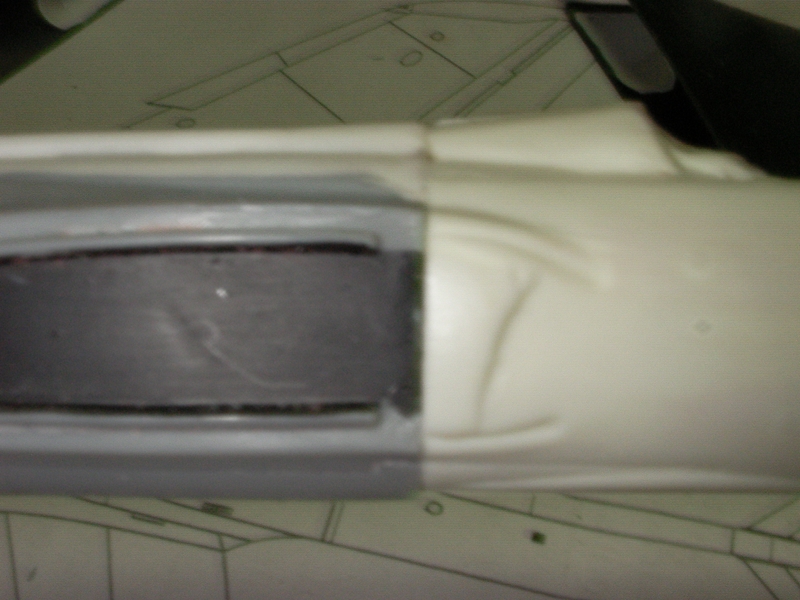
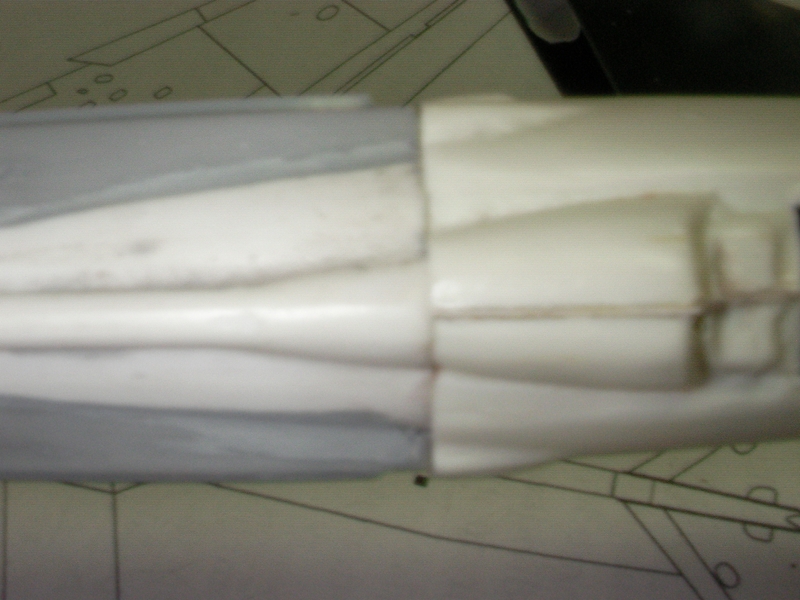
There is also a noticeable step at the bottom of the join but some filler and the addition of the Sabrinas should deal with that.

David