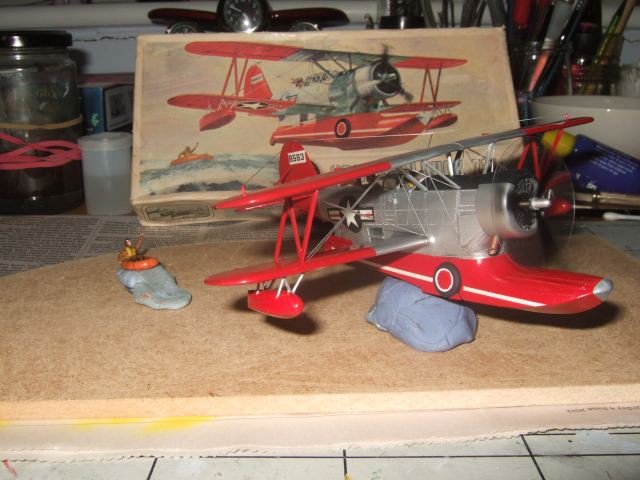
.. moving swiftly on.
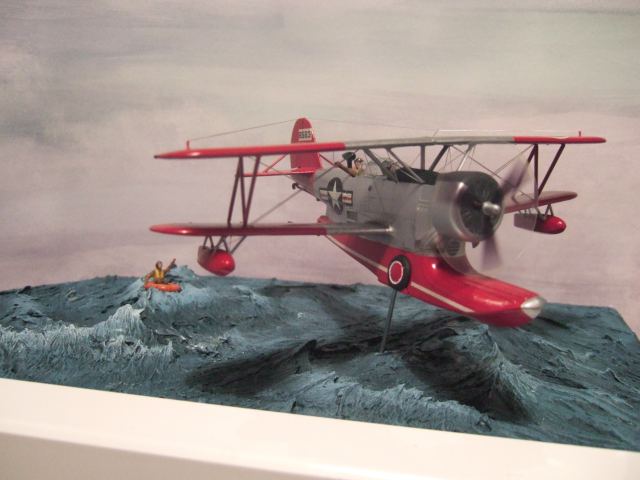
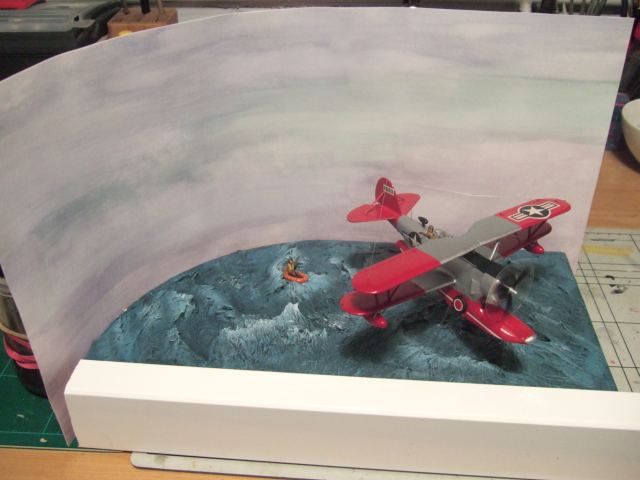
I had spent quite a bit of time thinking about the shape of my dio. The picture has your eye draw into the far left so I decided to wrap my backdrop around this corner. A 13 by 6 inch piece of MDF was duly cut to shape. I then double checked the position of of the actors and marked directions onto the base.
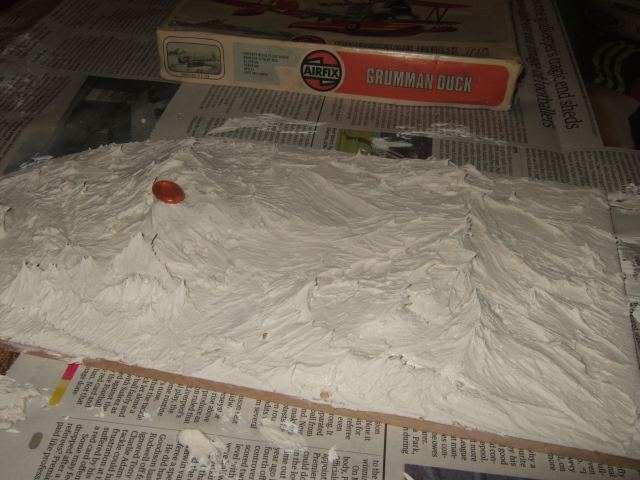
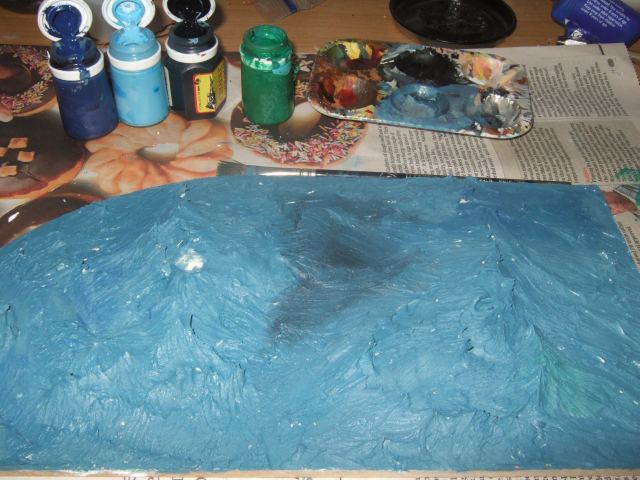
As mentioned previously, I always planned to use 'polyfiller' to create my ocean base.
1. Twice used before for "Dragon" dioramas to great effect.
2. Can create 'dramatic' waves with nice texture.
3. Cheap 450g and easily obtained, cost be £1.07 from Wilko's
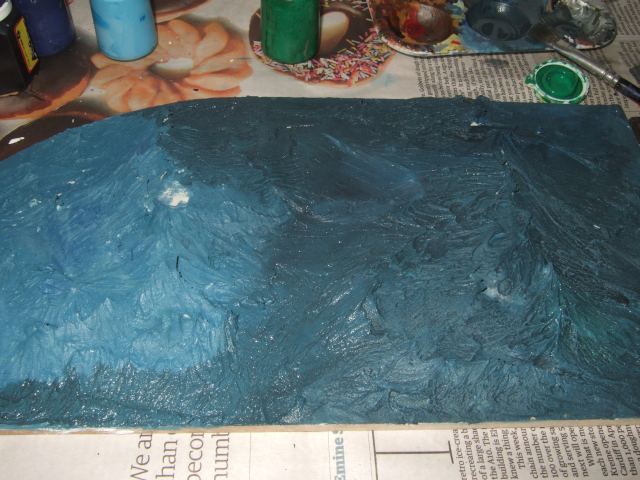
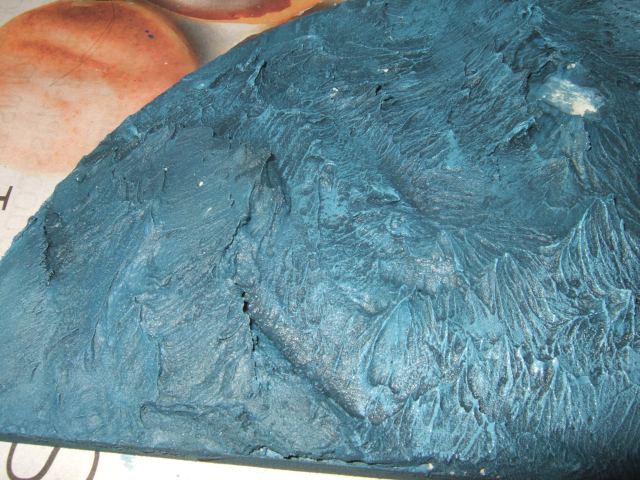
The filler needs to be mixed to quite a stiff consistence so that it will hold the shape of the waves and most importantly the peaks and texture that will become the foaming white of the ocean.
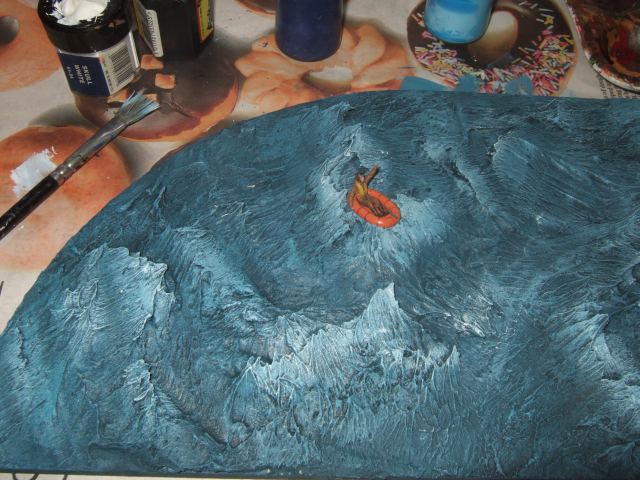
I then spread this on trying to build it up in places to suggest the rolling waves, our downed pilot is just at the crest of one of these. Once happy with the general shape the spatula was put to one side as this produce tool mark and unnatural lines. I used my fingers to do the final working, pulling them away from the plaster produces the wave crests that I was after.
When I'd finish the dingy was placed on top of the wave to make sure it sits in the water.