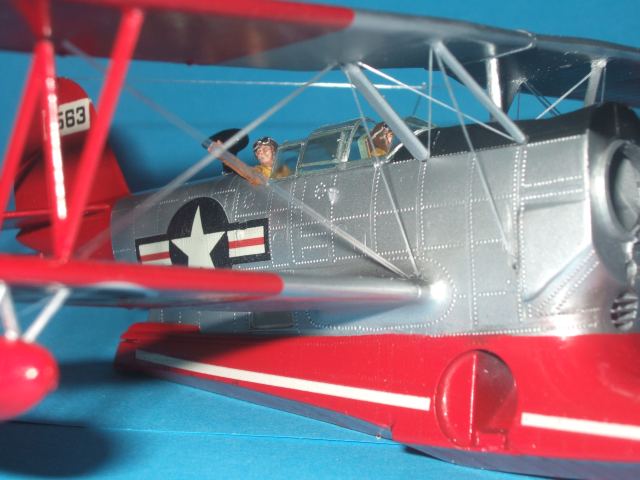
Cheers Jim. I'll taunt a little more with some progress shots of the rigging.
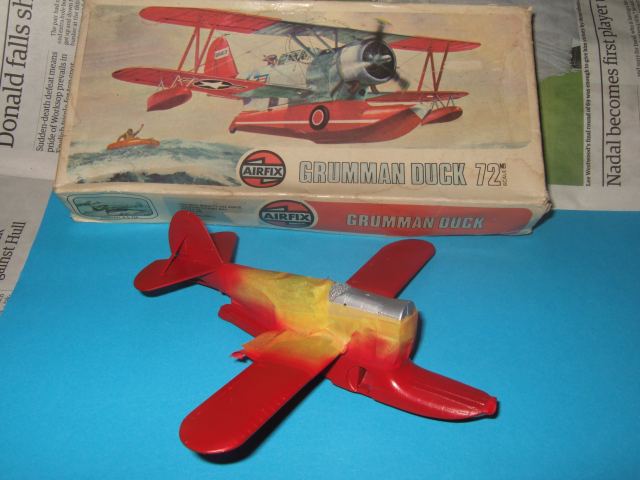
This is only the second fully rigged a/c I've done in recent years (previous was the Avro Triplane so that counts as as least two if not more). I worked in a similar fashion from top down. Holes were drill part way through the upper wing and the all the way through the lower wing and into the fuselage - note the lack of engine. I attempt to drill the holes as close to the angle that the wires will go as possible.
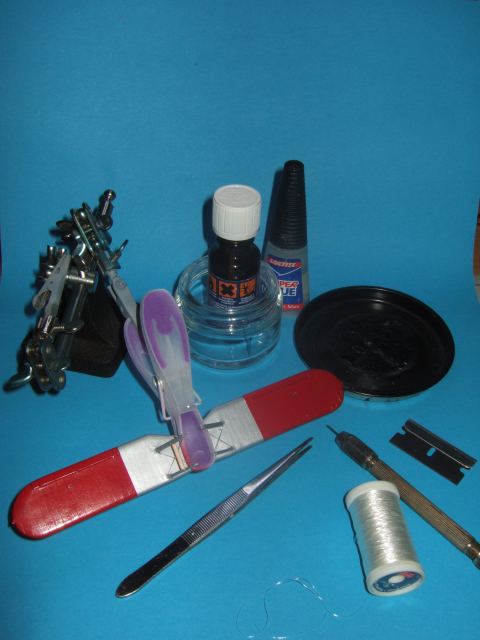
Below I took a shot of the equipment I used. The "helping hand" is almost compulsory as you need both you hands to hold the threads and apply glue. The accelerator in in another jar just so I can't knock it over as easily.
I rigged the cabane struts directly as these would be tricky to access later (unfortunate a weakened strut broke off so as had to return to it anyway). The rest of the wires were 5" threads glued into the receiving holes. I dip the ends in a small pool of super glue and then top up using a pin. Make sure you are working comfortably so your hands are not crossing each other. Practice placing the thread and make adjustments to the orientation of parts if required.
Once all the threads were in place and dry the top wing was added to the lower. I didn't glue the main struts into the lower wing initially as I would have gummed up the thread holes. All the wire were threaded through their respective holes. Those in the fuselage being pull through the nose. clothes pegs are useful to hold groups of threads or apply tension. Threads are then pulled tight individually and glued into position.

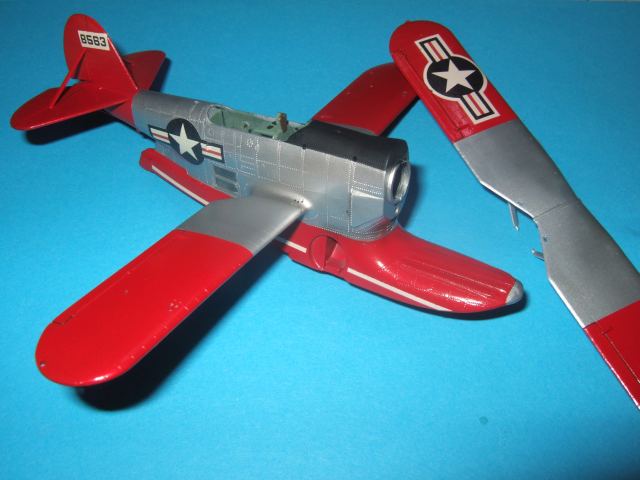
I then trimmed of the remaining end with a razor blade. I've added the floats to which had some rigging was also added.


 BRAVO!!!