Page 1 of 2
Airfix 1/72 Islander Boxart Diorama
Posted: April 21st, 2011, 1:06 am
by PaulBradley
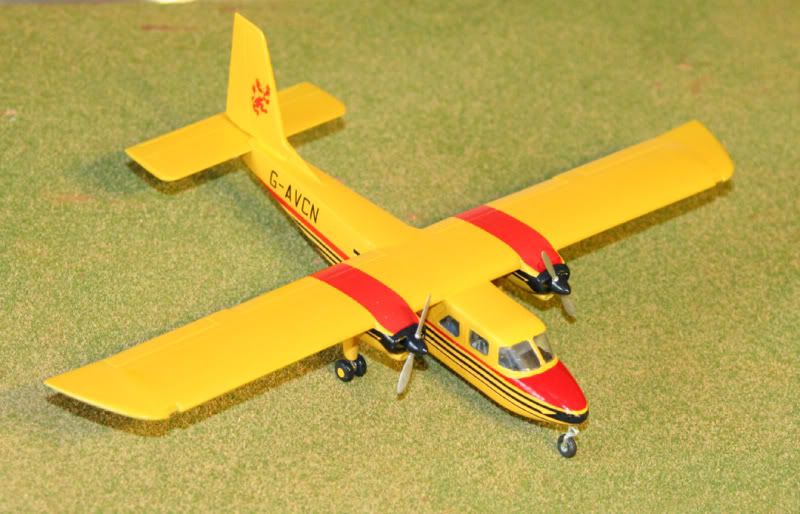
My first contribution will be this:

To help speed things along, I happen to have one of these:
First step was to prize out the windscreen so I can insert a pilot:

Then I shall need to break off the remaining prop blades (

) and add a pair of whirly things in their place. Then, I shall need to figure out how to add one of these:

A Plastruct acrylic rod. Actually, I think I know how to tackle that; I'll practise this weekend.

There are some tidying-up things that need to be done to the kit to make it look more like the boxart, then I can start on the scenery.
Re: Airfix 1/72 Islander Boxart Diorama
Posted: June 24th, 2011, 5:55 pm
by ian lanc
and.......................... !
Re: Airfix 1/72 Islander Boxart Diorama
Posted: June 24th, 2011, 9:28 pm
by PaulBradley
..............I haven't had time to do anything with it given my other commitments. I need to stop making other commitments.....
But it will be domne in time for Telford, no worries.

Re: Airfix 1/72 Islander Boxart Diorama
Posted: August 21st, 2011, 7:56 pm
by PaulBradley
Woohoo! Progress......
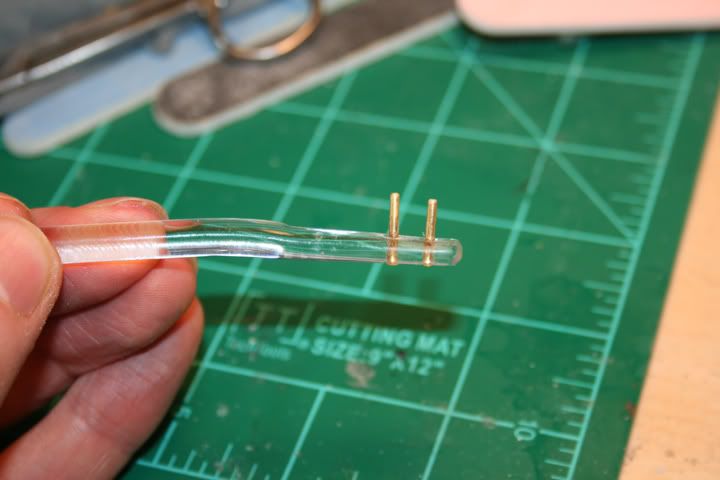
I took one of the acrylic rods and heated it gently over a low gas burner, put a roughly 45 degree gentle bend about halfway along, then flattened the end slightly between two flat pieces of metal. The rod was then cooled under a runnning tap, so it would hold its new shape.
I drilled two holes in the flattened end of the rod, where I superglued two pieces of brass rod:
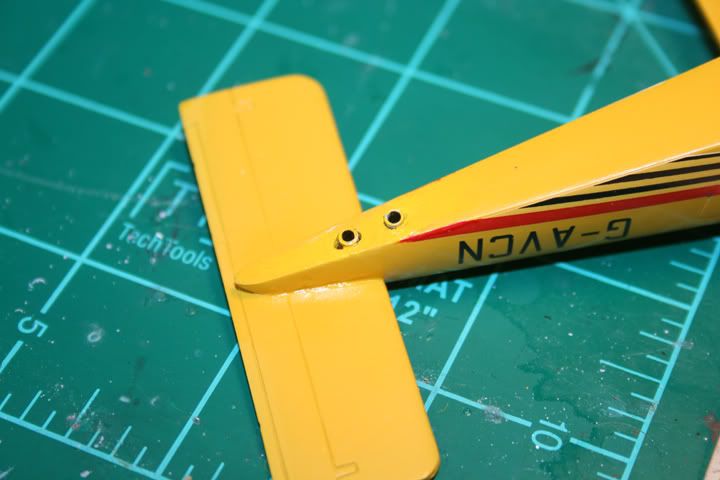
Meanwhile, the bottom of the Islander received two holes of slightly larger diameter, into which were superglued two pieces of brass tube, with an inside diameter slightly larger than the brass rod:
 Ate viola:
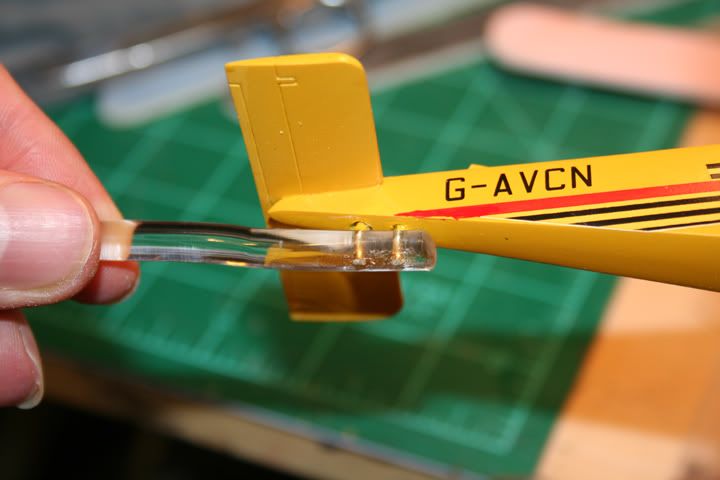
So that's the a/c sorted; now onto the diorama....
Re: Airfix 1/72 Islander Boxart Diorama
Posted: August 22nd, 2011, 12:13 am
by JamesPerrin
My first thought was "that's an odd toothbrush".
Nicely done though Paul.
Re: Airfix 1/72 Islander Boxart Diorama
Posted: August 22nd, 2011, 1:17 am
by Dirkpitt289
JamesPerrin wrote:My first thought was "that's an odd toothbrush".
Nicely done though Paul.
Not if he was from some of the southern states here in the USA

Re: Airfix 1/72 Islander Boxart Diorama
Posted: August 22nd, 2011, 1:27 am
by PaulBradley
"Jist off to praktis me hillbilly handfishin......."
Re: Airfix 1/72 Islander Boxart Diorama
Posted: October 9th, 2011, 10:06 pm
by PaulBradley
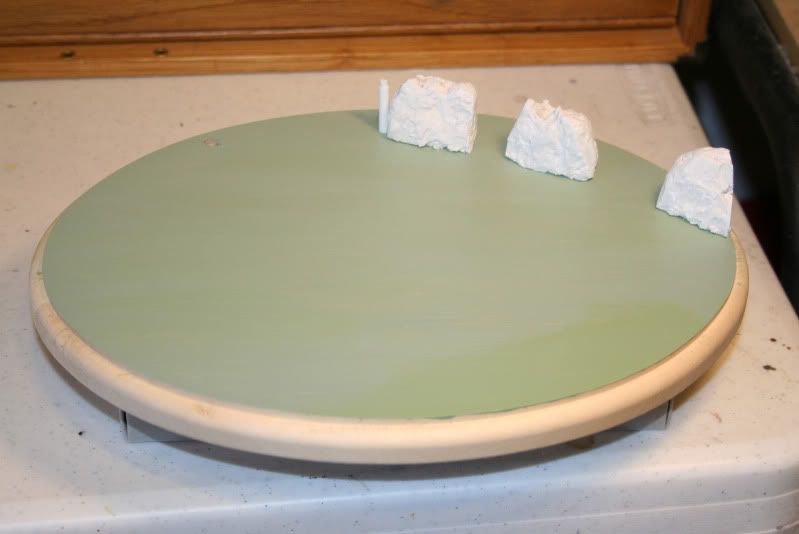
Work started on the base today. As with the Blenheim diorama, I purchased a finished wood oval that I varnished last week. The first step was to paint the base a light sea green, per the boxart, using acrylic medium blue and Sky, with white to lighten. This was not fully mixed to give some tonal variation, and an area in the right foreground had some bright green added to create the darker, greener area seen on the boxart.
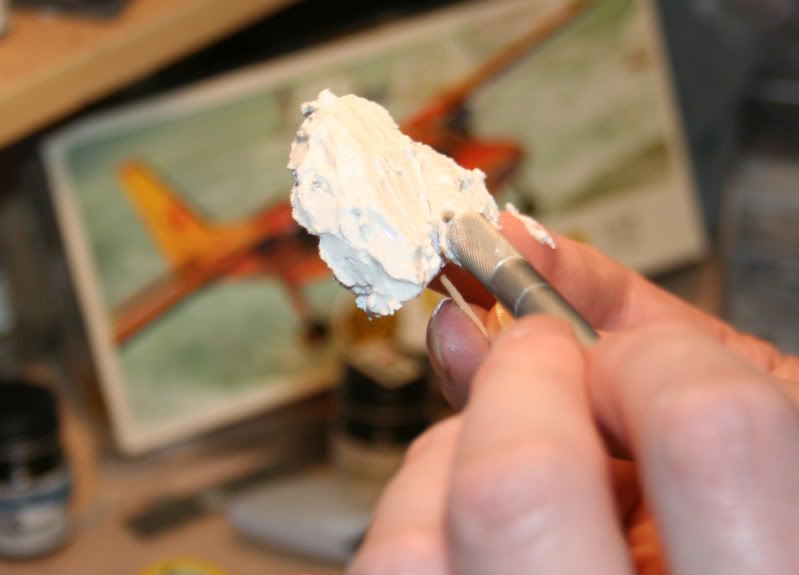
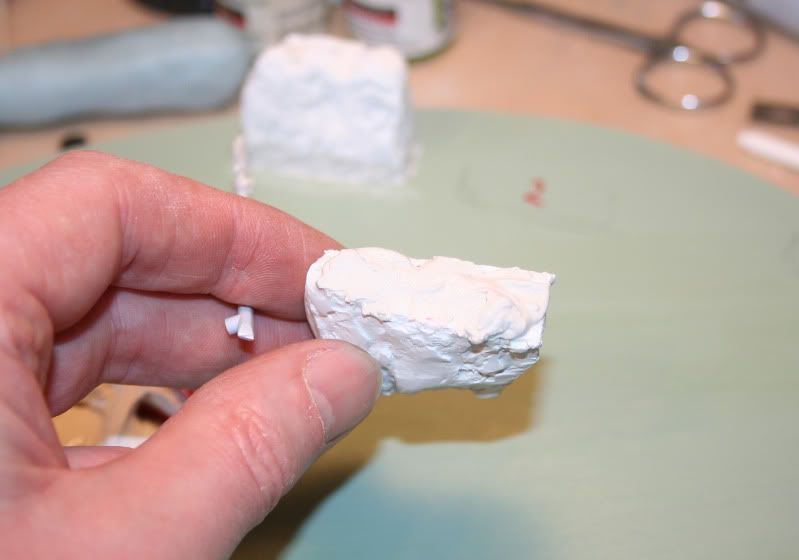
The Islander was built on the Isle of Wight, and the boxart shows an example flying past The Needles, a well-known landmark on the western point of the island. Making The Needles was pretty easy - I took some expanded styrene block and, using a sharp scalpel, cut small blocks from the whole, then roughly shaped them. These were covered with a Plaster of Paris mix and left to dry. Once dried, the plaster was sanded back to prevent them looking like cake decorations.....

The Needles lighthouse was made from a couple of pieces of plastic tubing, with a top cap made from one of those odd-shaped moulding nubs that you find on parts - I don't know how else to describe them, but I knew that keeping some of them would pay off one day....
I positioned The Needles onto the base, and when happy with the positions, they were plastered to it:
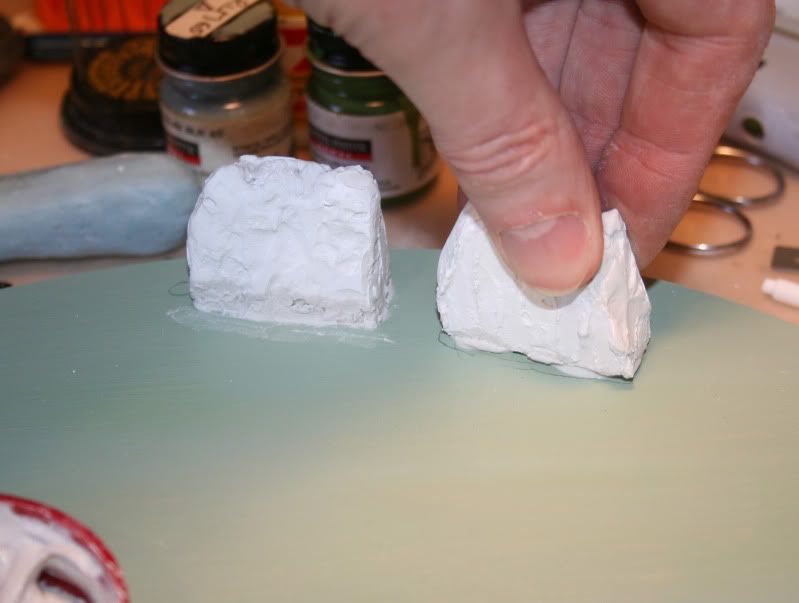
More plaster was added around the bases of each Needle to help secure them; this was shaped, then the whole left to dry.
When I was happy they were set, I painted parts of the bases with a grungy-brown seaweed colour, and a base for the lighthouse painted black-brown. The lighthouse itself had red stripes added, along with a grey base and silver for the light housing. This was glued to its base. I also added a little spare plaster to the base around The Needles as a jumpstart on the turbulent waters around their bases; this will be finished off with white paint, of course.
And where we stand tonight:
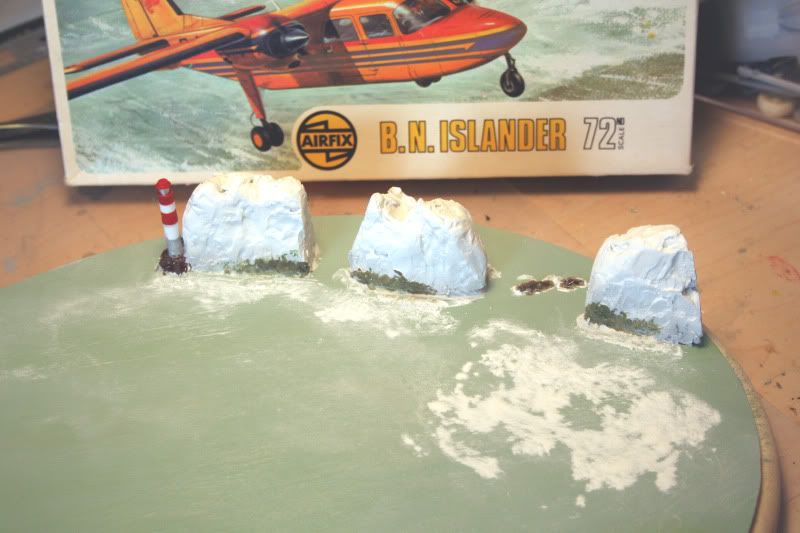
The Needles are perhaps a little large and a bit too close together, but there's not a lot I can do to correct that now....
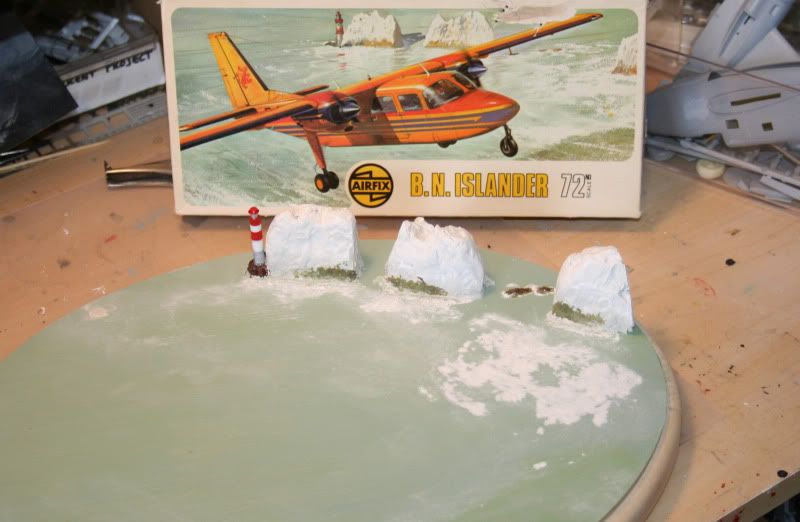
I had drilled a hole in the base for the acrylic rod, but realised it was not in the right place after attaching The Needles, so i had to drill another further over, and fill the original. The perspective is hard to judge sometimes....
Re: Airfix 1/72 Islander Boxart Diorama
Posted: October 9th, 2011, 10:12 pm
by mattbacon
That's looking great, Paul!
bestest,
M.
Re: Airfix 1/72 Islander Boxart Diorama
Posted: October 9th, 2011, 11:20 pm
by JamesPerrin
That's rather nice Paul. Very picturesque.
Re: Airfix 1/72 Islander Boxart Diorama
Posted: October 10th, 2011, 2:33 am
by PaulBradley
Thanks guys.
A bit calmer than yours, James...!
Re: Airfix 1/72 Islander Boxart Diorama
Posted: November 10th, 2011, 9:58 am
by JamesPerrin
Pauls's models made is safely over the Atlantic. I had time to take a quick photo of the completed build this morning (though it's a very grey day). Anyway it's looks very good I'm sure you will agree!

Re: Airfix 1/72 Islander Boxart Diorama
Posted: November 10th, 2011, 11:04 am
by bobblelink
Brilliant!
Re: Airfix 1/72 Islander Boxart Diorama
Posted: November 10th, 2011, 11:27 am
by beany
Stunning - absolutely love that Paul. Thank heaven it made it across the pond safely.
Re: Airfix 1/72 Islander Boxart Diorama
Posted: November 10th, 2011, 6:09 pm
by shangos70
Ooooh thats very good .