I am starting from the Revell mid 90's re-box of the classic FROG kit:
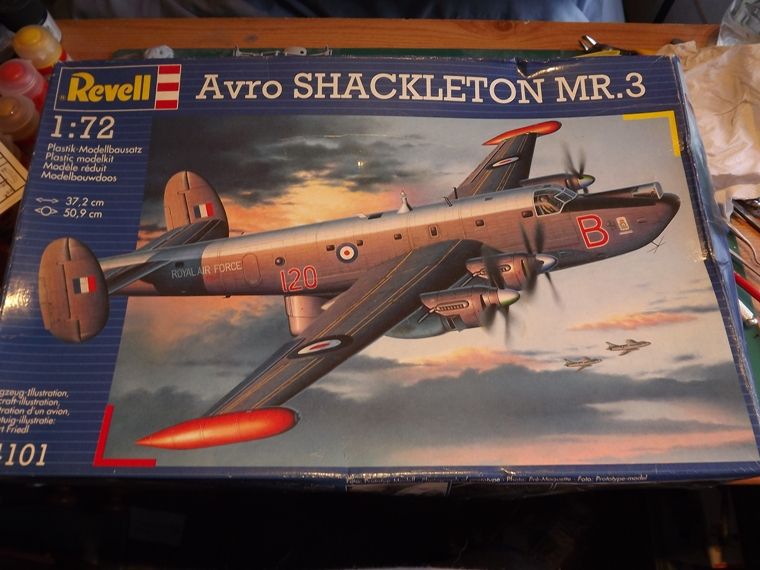
There are no sprue shots as my kit was secondhand and a lot of parts had seperated from the sprues and were rattling about in the bag, when I bought the kit the first thing I did was to strip all of the parts and put them into sealable plastic bags to keep them safe.
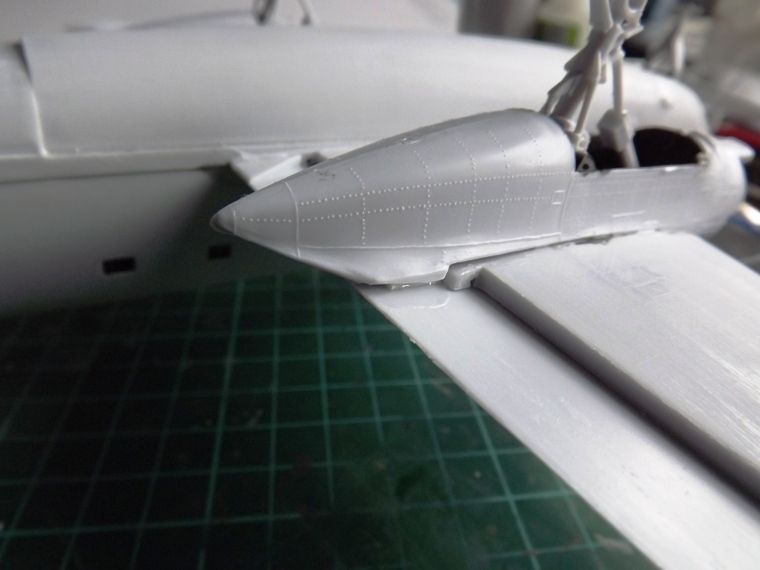
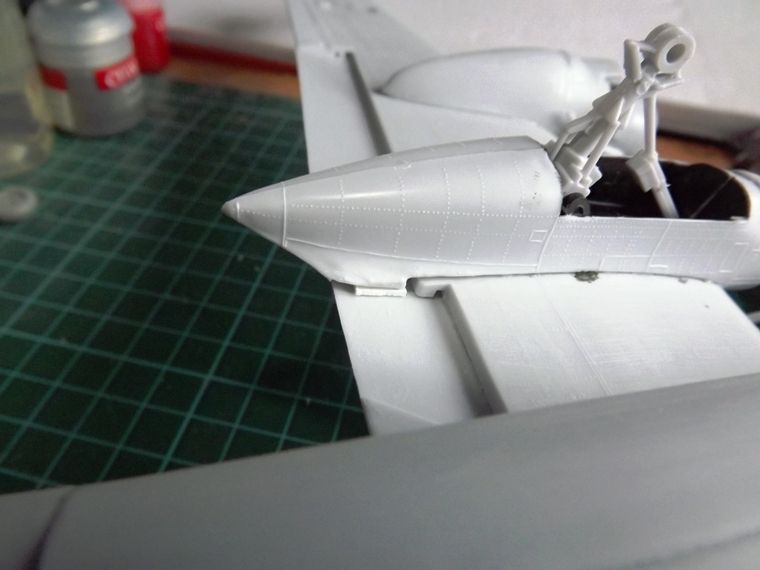
A lot of you are familiar with the FROG Shackleton and the considerable effort the FROG toolmakers must have put in to create its incrediable surface detail that if mishandled will strip the skin off of your fingers
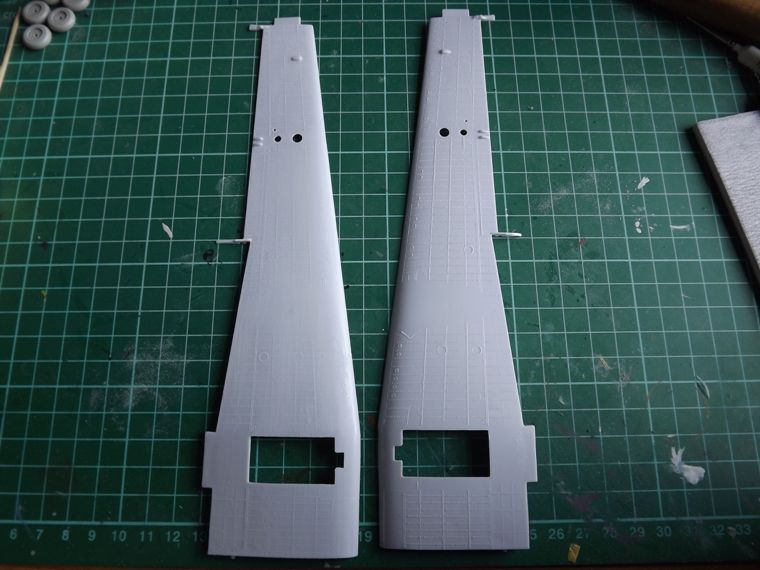
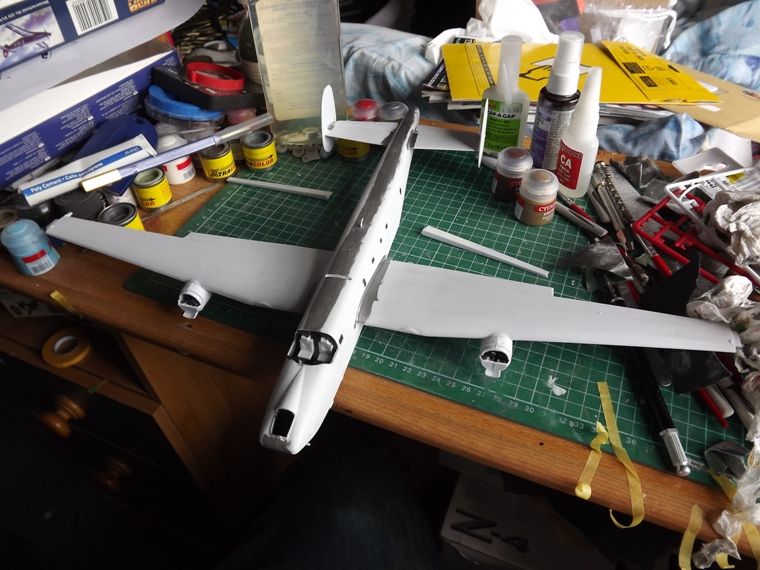
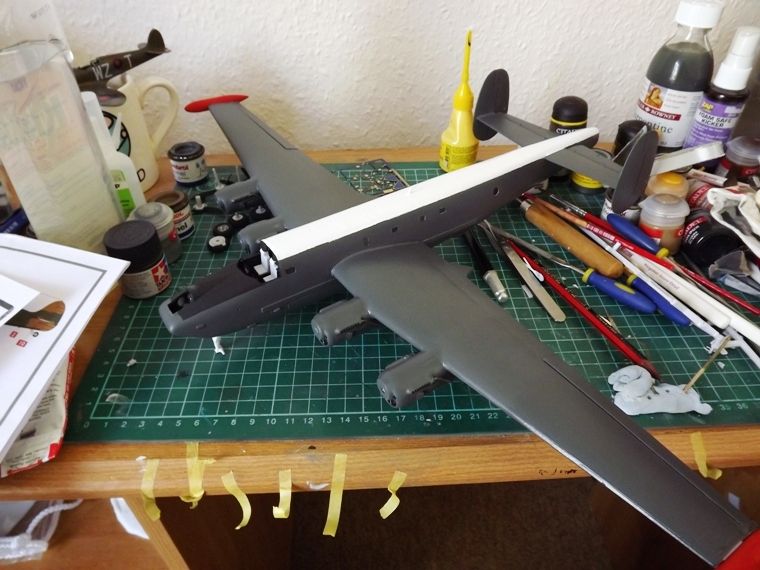
The wing on the right is straight from the box and the left has been sanded back.
But that was last weekend, this is where I am now:
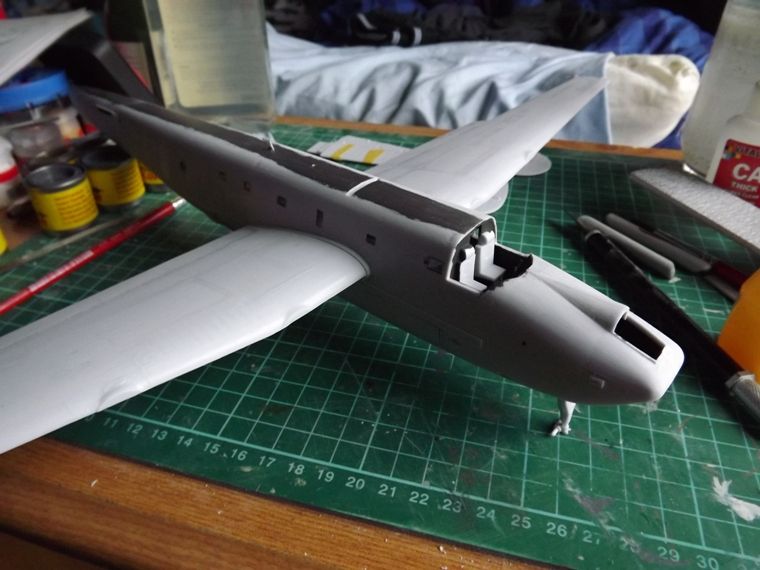

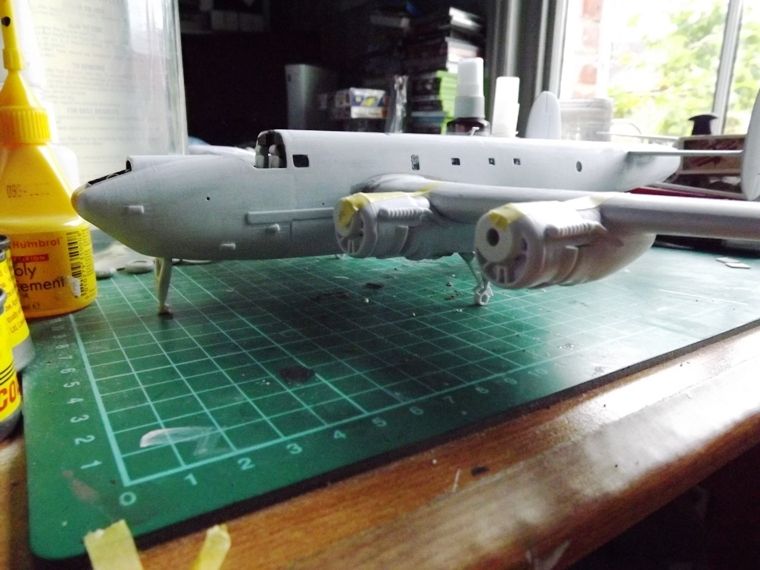
The fuselage has been painted Tamiya NATO black throughout, all the glassware has had three coats of Klear and the fuselage glazing is installed, 20 grams of lead is in the nose (more will be needed in the nacelles) the fuselage is together and has had a hefty step filled and sanded smooth.
Currently I'm removing ejector pin marks from the mating surfaces in the tail assembly than getting them together.
Regards
Tom