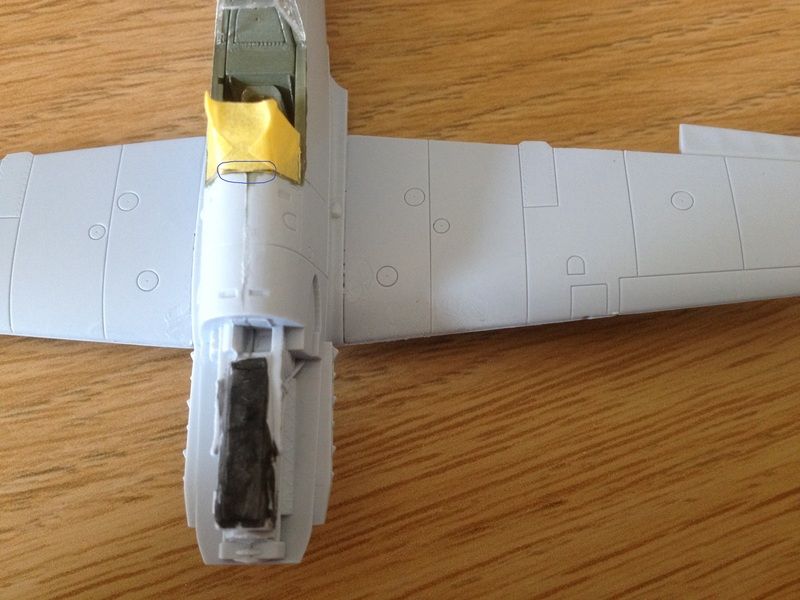
I am currently working on the Airfix 1/72 BF109E-4 which, despite being a great little kit from what I have seen of it so far, has thrown up a problem. There is a small gap of about 0.5-1mm where the front section of the canopy meets the fuselage, which is ringed in blue in this photo:
I have masked off the canopy prior to filling and sanding, but am a bit worried about ruining the canopy. Would I be ok to proceed with using standard filler (I have a tube of Italeri 'putty') or is something else needed?
I would try white craft glue like Elmer's. Apply with a cocktail stick or "tooth pick". Wipe up excess with a damp ear bud. It will dry smooth, will not craze the clear part.
Besting 60 years of mediocre building of average kits in the stand off scale
I'd second jssel's comments; pva will fill without risk to the surroundings
Best wishes
Jim If you can walk away from a landing, it's a good landing. If you use the airplane the next day, it's an outstanding landing "Never put off till tomorrow, what you can do the day after tomorrow"
I have found I need to be patient with this. I recommend the PVA as suggested above but if the gap is deep or wide you may find it shrinks or seems to sink into the gap. I often have to apply multiple coats to get the result I want.
Thanks for the help chaps! I have applied some PVA and am more than satisfied with the result. Running both my finger and the back of a scalpel blade over where the gap was I failed to detect any undulations, so I am confident it has been a success.
dwomby wrote:I have found I need to be patient with this. I recommend the PVA as suggested above but if the gap is deep or wide you may find it shrinks or seems to sink into the gap. I often have to apply multiple coats to get the result I want.
David
Thankfully this one was only a small gap, though I shall certainly bear this in mind for the future. Thanks for the advice, it is good to know what to expect problem-wise before they occur and I wonder what on earth I have done!
I never go near the transparencies with anything containing plastic solvents, and that includes most fillers. If I find myself with a gap like this, I resort to Vallejo filler, which is water based. It's generally not as good as the nastier ones, but it's transparency safe. I squirt a big solid line of the stuff over the gap, give it perhaps 15 seconds to get a good grip, and then wipe off the excess with a wet thumb. Yeah, this will make a bit of a mess, but don't get spooked. This stuff is water based, so you can simply proceed to rub it off anything it shouldn't be on with more slightly wet fingers.
Although you can sand this, once the layer of filler gets very thin it tends to peel off. Not good for surface work, but perfect for gaps like this. In the actual gap, there will be enough not to peel off, and the surrounding area can easily be cleaned up (if necessary) after the filler has set by rubbing over it with something non-scratching (toothpick, erasor, etc..) You rarely have to sand these smaller blemishes though.
Get some of the stuff, and play around with it to learn the characteristics. You won't regret adding it to your toolbox, even if you only use a few dabs of it per model.
Sometimes, the gap is too large to fix with this technique. If the gap is actually an opening into the cockpit, piller will be pressed through the gap, into the cockpit, where it will sit and be a very visible ugly white blob. In those cases, I put a bit of Crystal Clear in first. You'll need to look closely to see if this has blocked the hole, because it is very clear indeed (it's intended for making small windows..). Once dry, paint over it from the outside with something dark (to block visibility from the inside), then proceed as above with Vallejo.