Page 2 of 2
Re: Skybirds 86 1/72nd Percival Prentice T Mk 1
Posted: February 22nd, 2014, 9:28 pm
by bluesteel
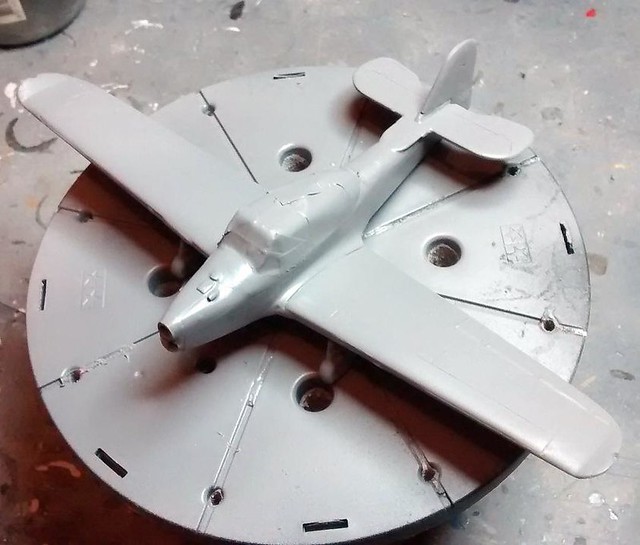
The process of undercoat/sand out and fill/undercoat has begun:
Re: Skybirds 86 1/72nd Percival Prentice T Mk 1
Posted: February 23rd, 2014, 6:36 pm
by bluesteel
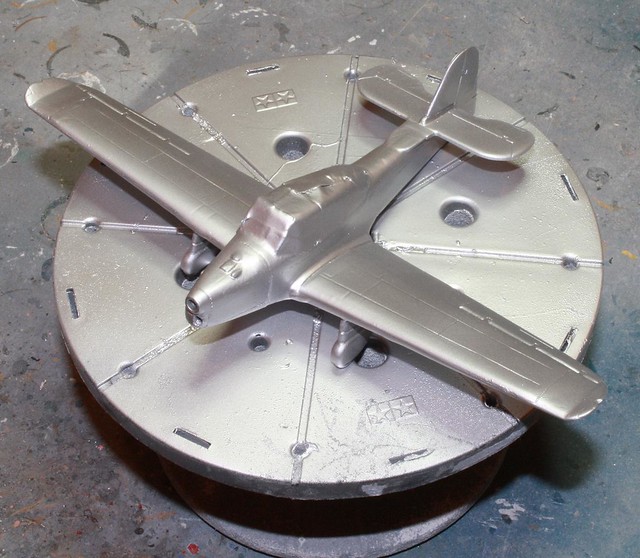
Now it's gone all shiny aluminiumy...
Re: Skybirds 86 1/72nd Percival Prentice T Mk 1
Posted: February 23rd, 2014, 8:04 pm
by bluesteel
Now bright and shiny with yellow bands:

The problem is it shouldn't be bright and shiny aluminium. It should be dull grey aluminium. But I think I have a solution that I'll test first on my Vampire painting Test Bed..
Re: Skybirds 86 1/72nd Percival Prentice T Mk 1
Posted: February 23rd, 2014, 8:37 pm
by bluesteel
My plan appears to have worked. A coating of Army Painter Anti Shine Mat Varnish has dulled it down to something pretty close to the dull aluminium seen on photos of RAF Prentices:

Re: Skybirds 86 1/72nd Percival Prentice T Mk 1
Posted: February 24th, 2014, 2:19 am
by PaulBradley
Mmm, nice. How'd you do the yellow?
Re: Skybirds 86 1/72nd Percival Prentice T Mk 1
Posted: February 24th, 2014, 10:30 am
by bluesteel
PaulBradley wrote:Mmm, nice. How'd you do the yellow?
The yellow was masked up and hand painted using Revell Aquacolour. Revells yellow acrylic is quite nice and goes on evenly after a few thin coats.
Re: Skybirds 86 1/72nd Percival Prentice T Mk 1
Posted: February 24th, 2014, 1:26 pm
by PaulBradley
So it seems from your photos. Nice.
Re: Skybirds 86 1/72nd Percival Prentice T Mk 1
Posted: February 24th, 2014, 3:15 pm
by bluesteel
Canopy framing next. That will be fun.........
Re: Skybirds 86 1/72nd Percival Prentice T Mk 1
Posted: February 24th, 2014, 4:39 pm
by T-21
Great build and finish inspiring me to get on and do mine, will look even better with the decals well done. Are you using Metal foil or strips of painted Sellotape for the framing ?
Re: Skybirds 86 1/72nd Percival Prentice T Mk 1
Posted: February 24th, 2014, 4:50 pm
by bluesteel
T-21 wrote:Great build and finish inspiring me to get on and do mine, will look even better with the decals well done. Are you using Metal foil or strips of painted Sellotape for the framing ?
It'll be the trusty old painted Sellotape technique for this one I think

The kit it a lovely build, all apart from the vacform canopy. The problem is not cutting the canopy out but rather how it attaches to the recessed areas in the fuselage. I have a second one of these and if I build it I'd fill in the recessed areas and cut the canopy out so it sits on the top as per most other canopies.