Roden Gladiator.
Posted: February 10th, 2014, 12:33 am
Another shelf queen gets a look in. The Roden Gladiator.
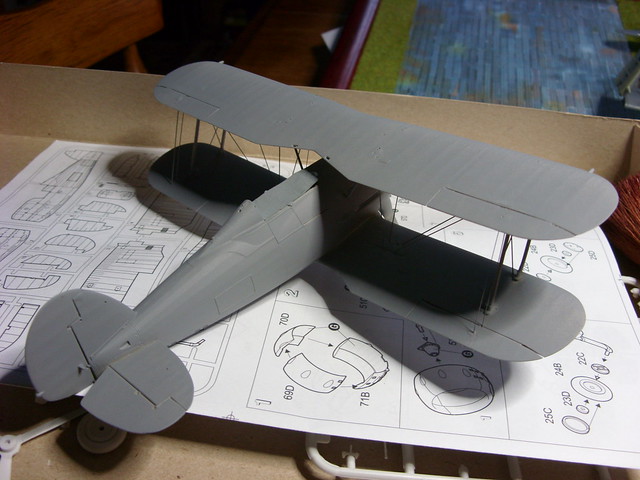
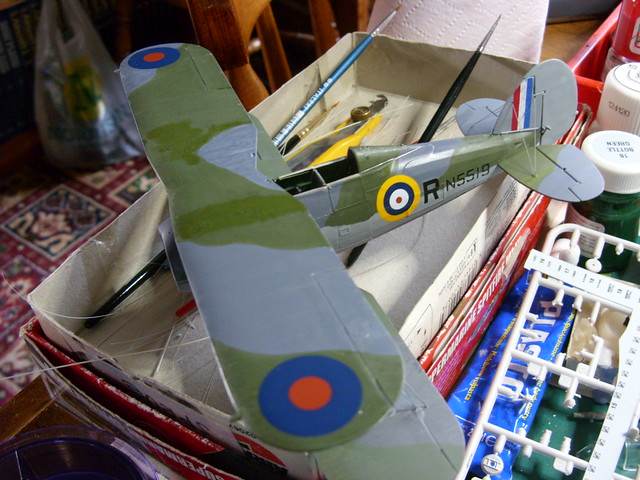
I decided to prime it, not realising at this point that there was still a bracing cable or two to add.
A couple of coats of acrylic camo.
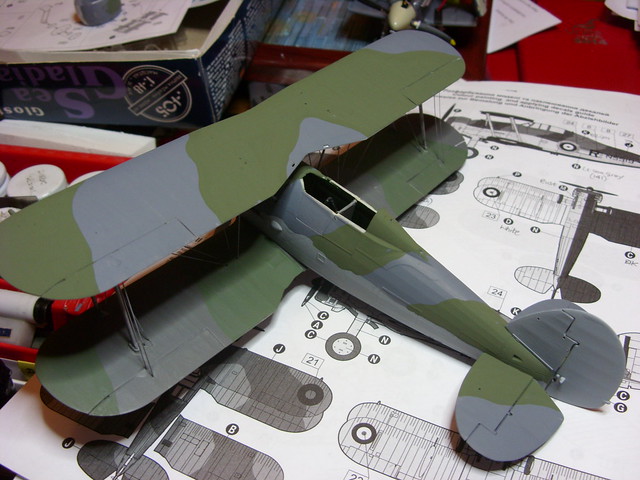
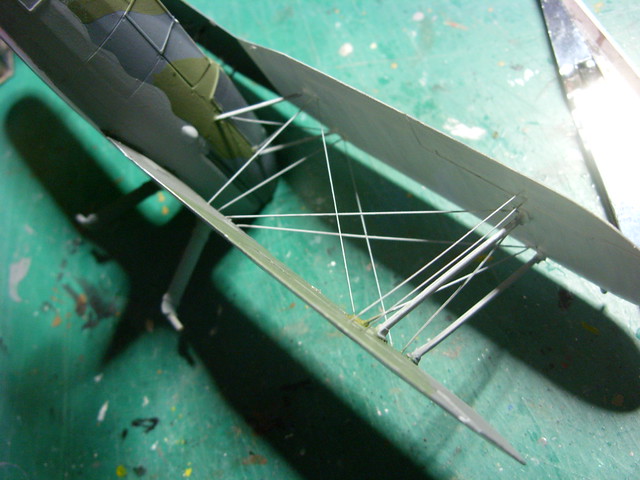
Rigging sorted.
The decals were not good and disintegrated.
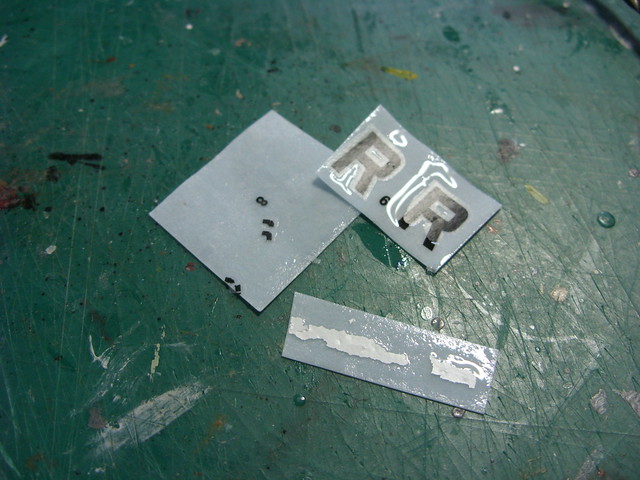
Broken decals.

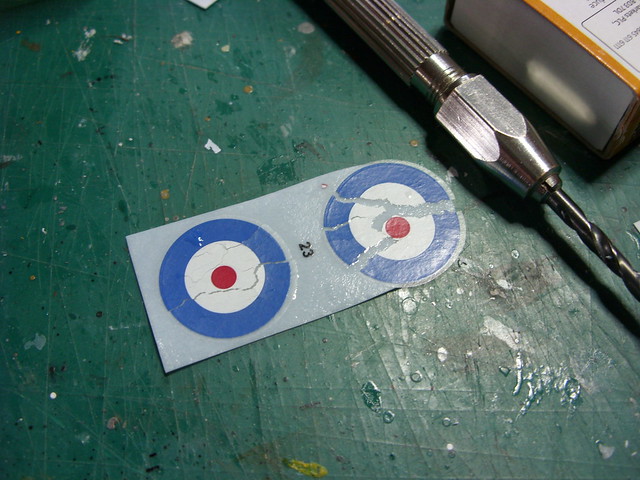
Replacement decals plus a bit of white paint does the trick.
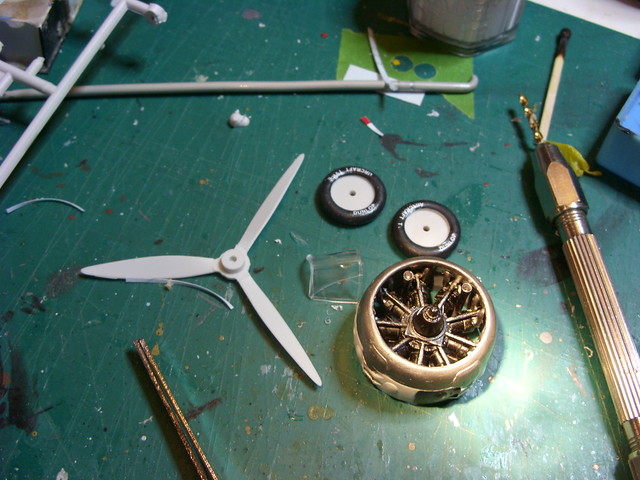
The engine assembly is a fiddle, bit it looks OK once it's all together. The decals for the tyres were dreadful. The printing is neat, but they break up. I ended up putting the letters on a couple at a time and sealing with Klear.
I decided to prime it, not realising at this point that there was still a bracing cable or two to add.

A couple of coats of acrylic camo.

Rigging sorted.

The decals were not good and disintegrated.

Broken decals.


Replacement decals plus a bit of white paint does the trick.

The engine assembly is a fiddle, bit it looks OK once it's all together. The decals for the tyres were dreadful. The printing is neat, but they break up. I ended up putting the letters on a couple at a time and sealing with Klear.
