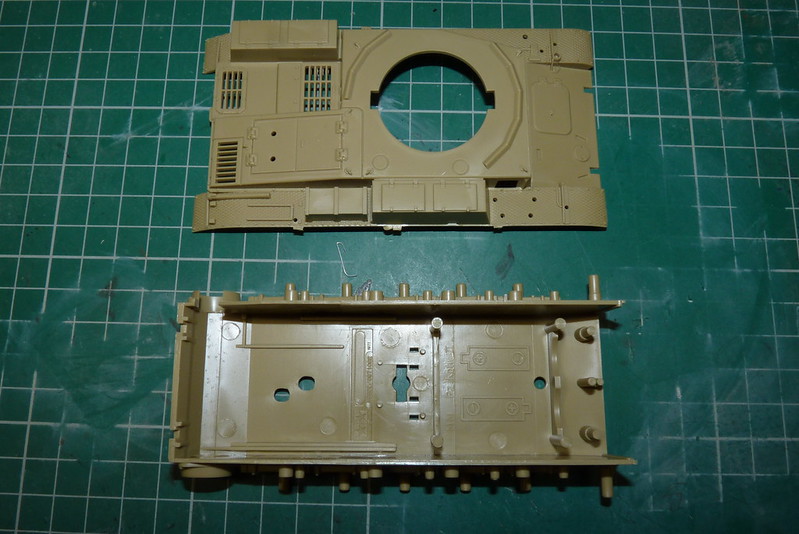
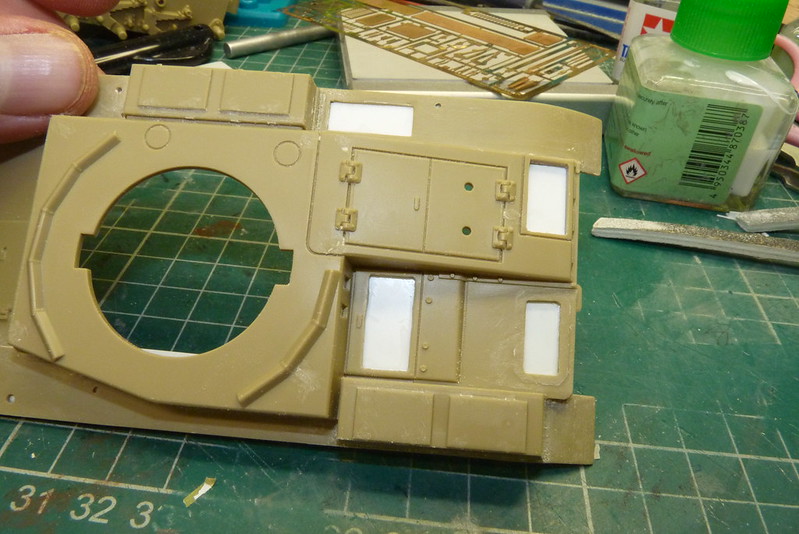
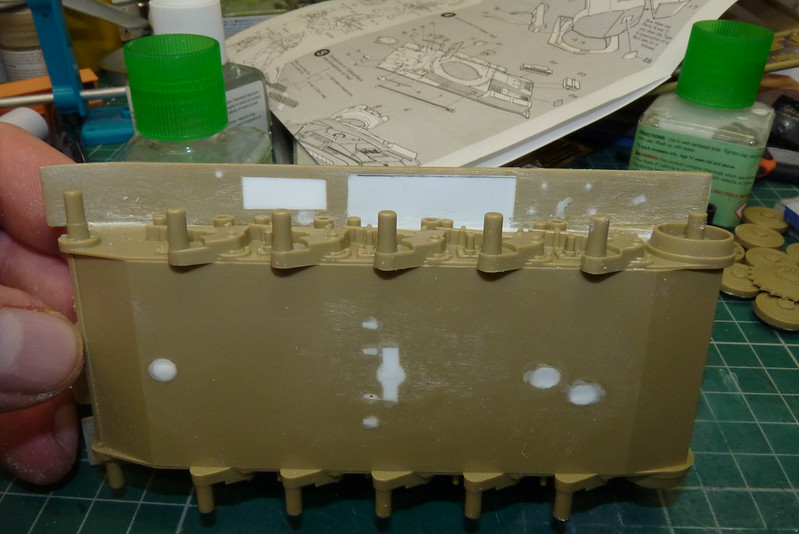
Well I am off and running. First job was to clean up the upper and lower hull parts which didn't take too long then I filled the holes in the lower hull. I also started to remove the plastic detail off the upper hull ready for the photo etch.
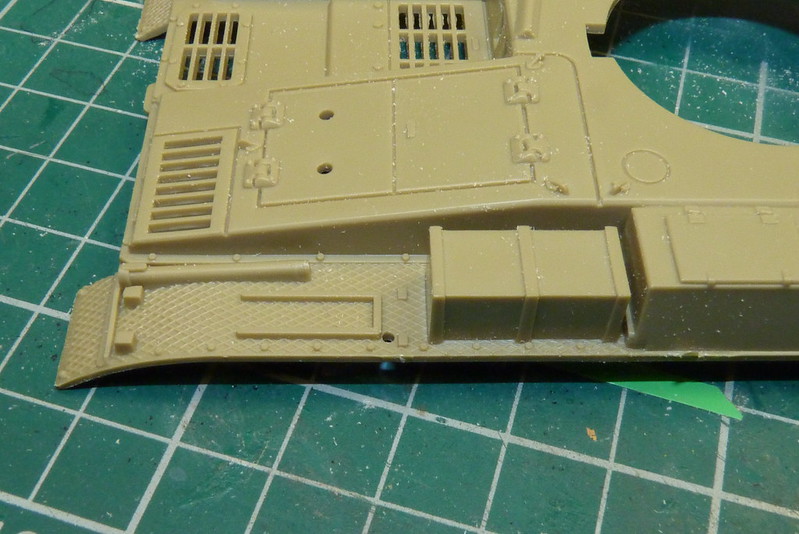
To do this I just used a needle file for the moulded detail, a razor saw for the storage box and a knife for the plastic grills.
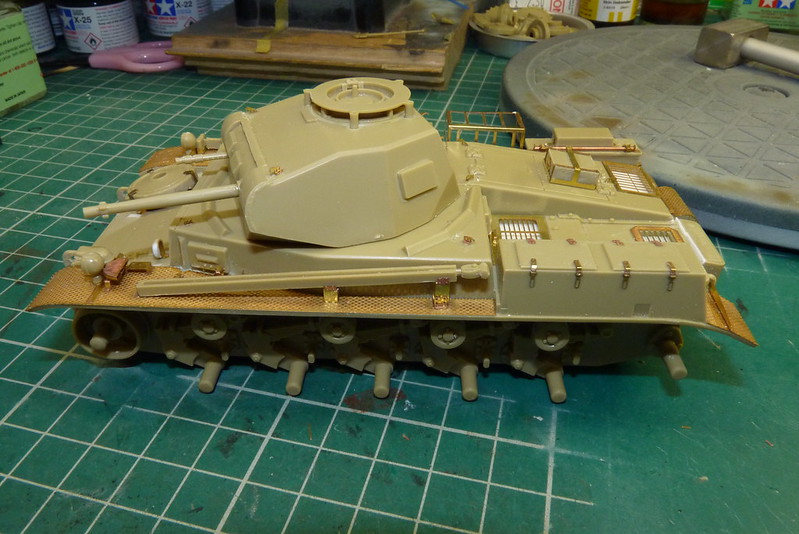
I also used a dremel to thin down the mud guards.

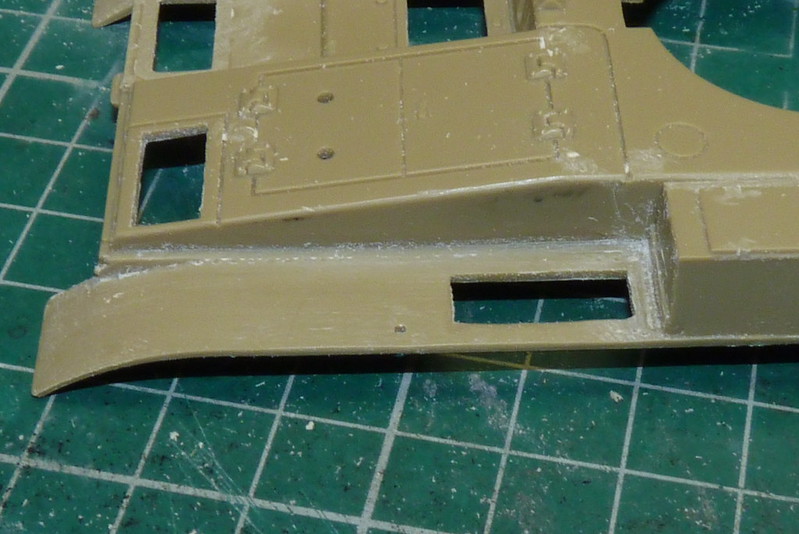
As this is an old kit I decided to fill in the gaps in the mud guards underneath where the moulded box detail. To do this I used scrap bits of plastic and plastic sheet.
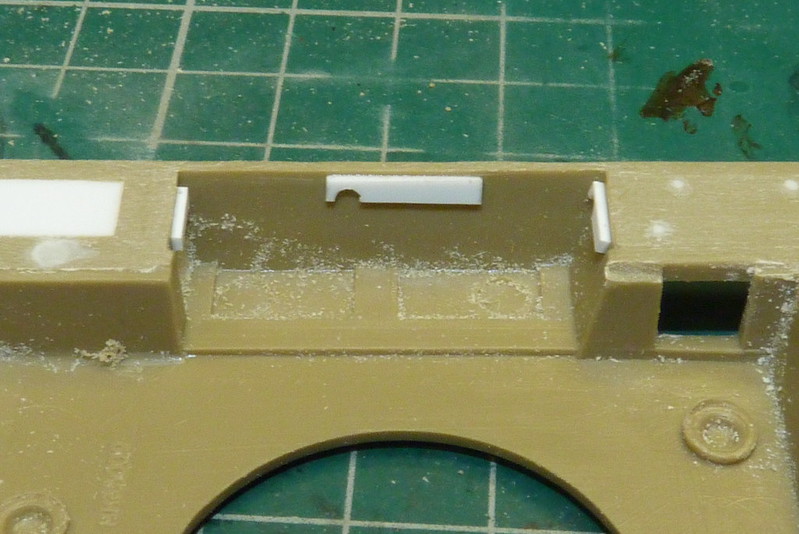
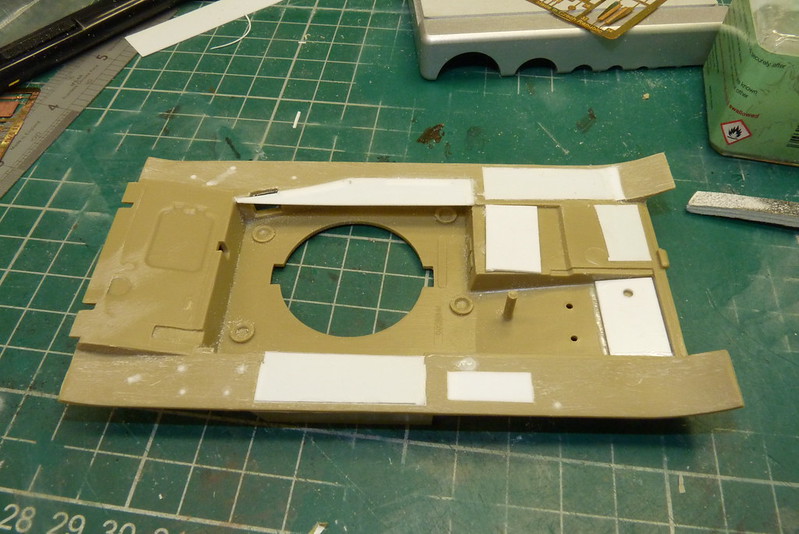
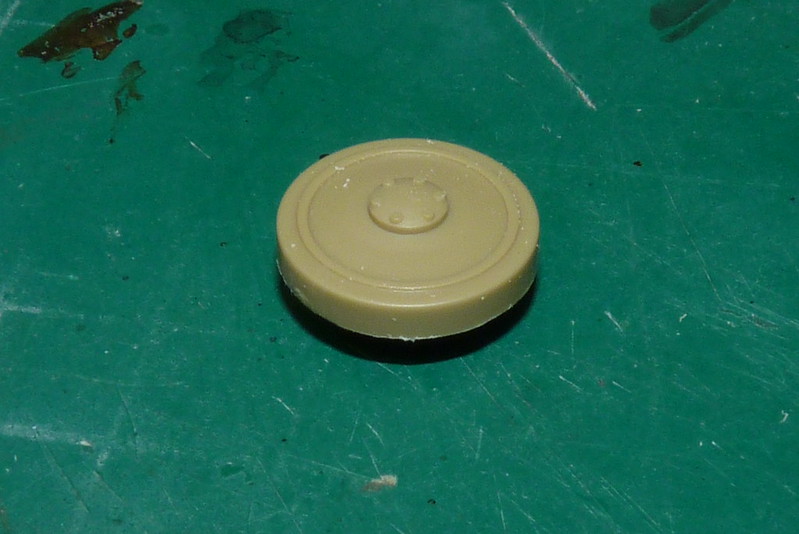
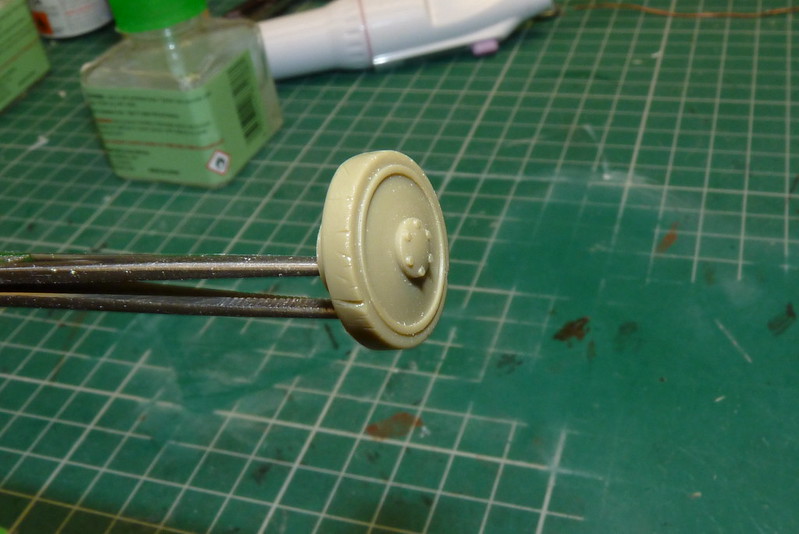
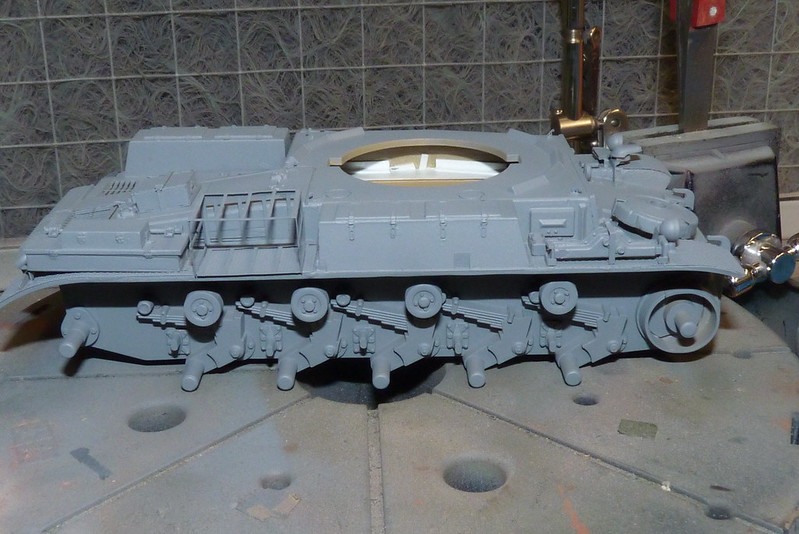
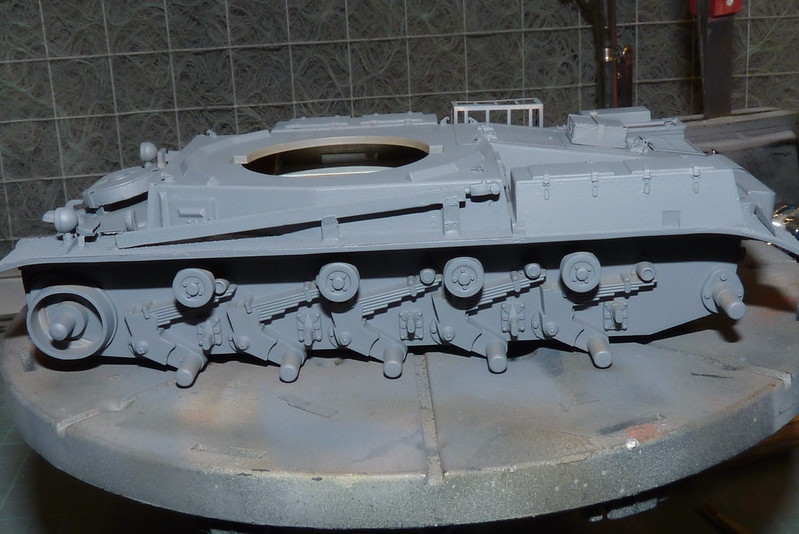
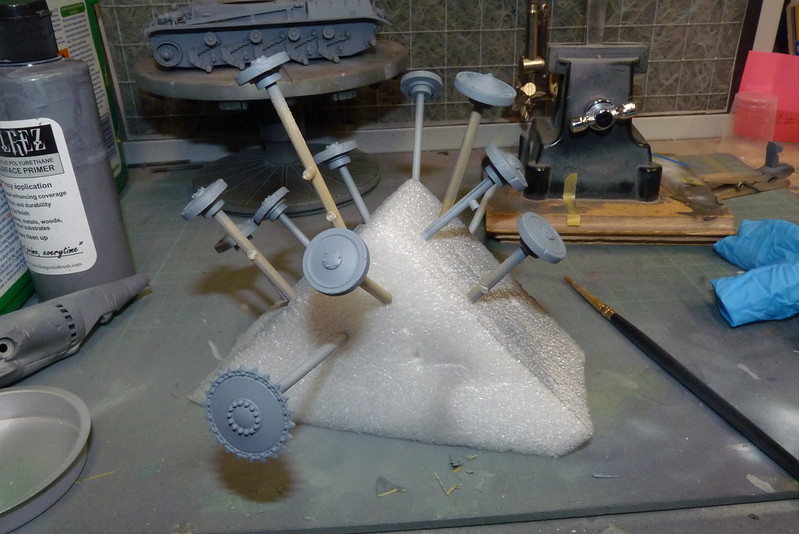
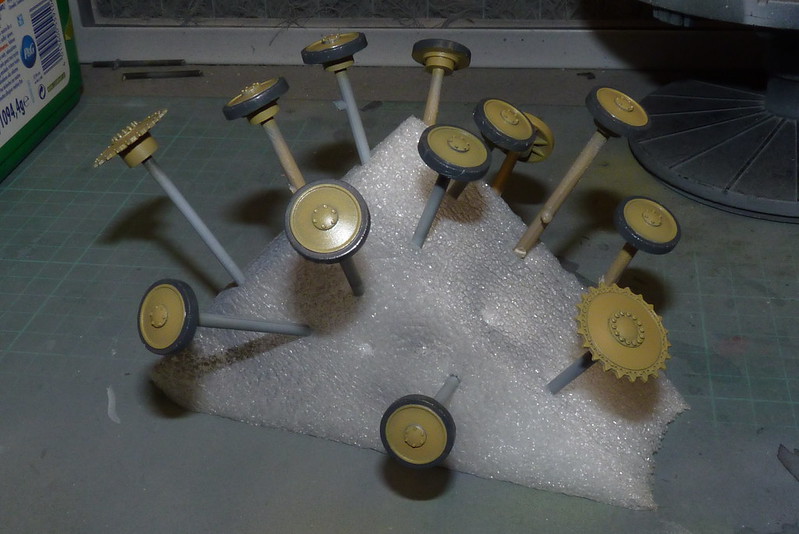
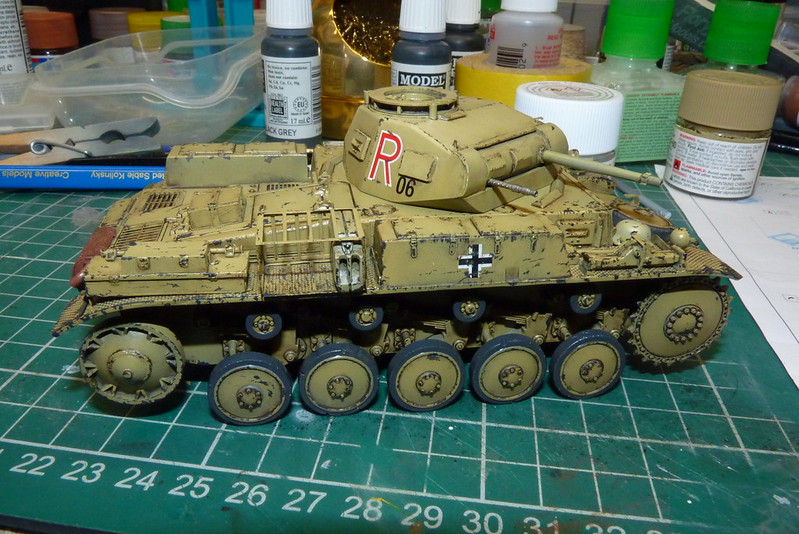
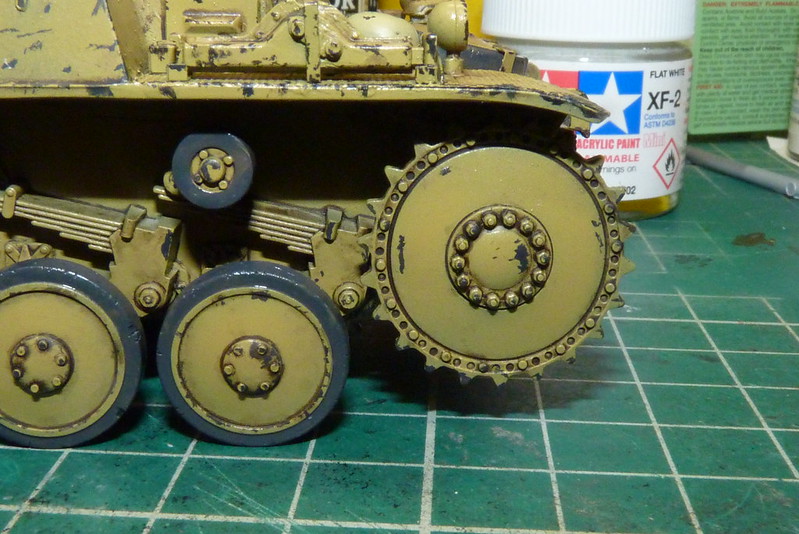
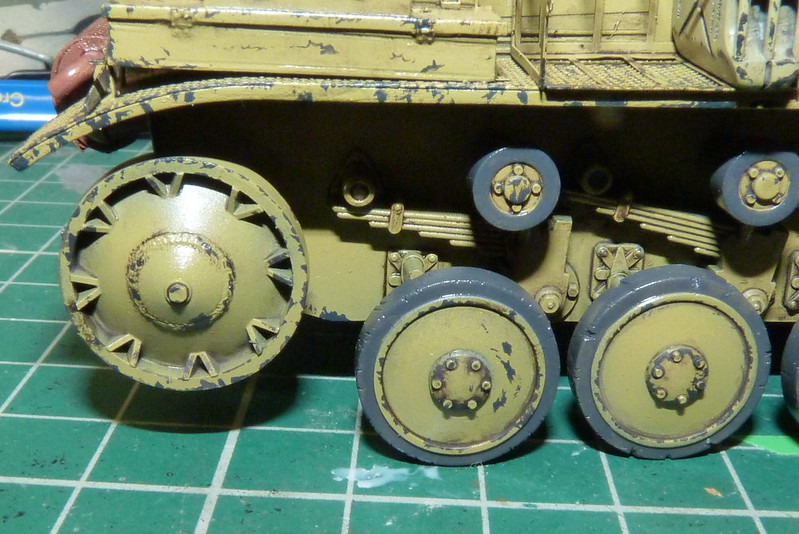
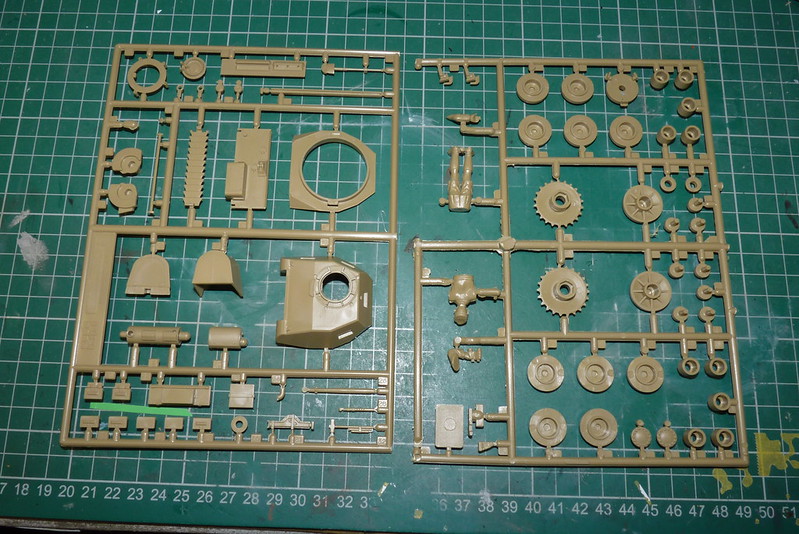
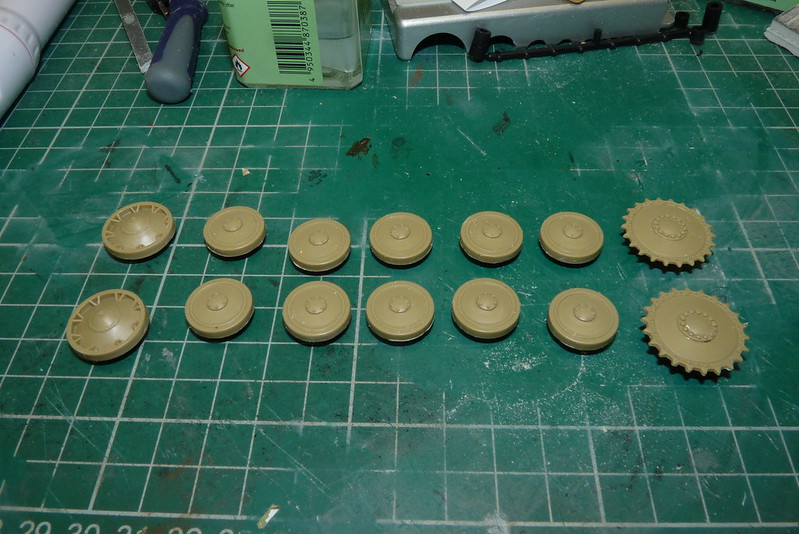
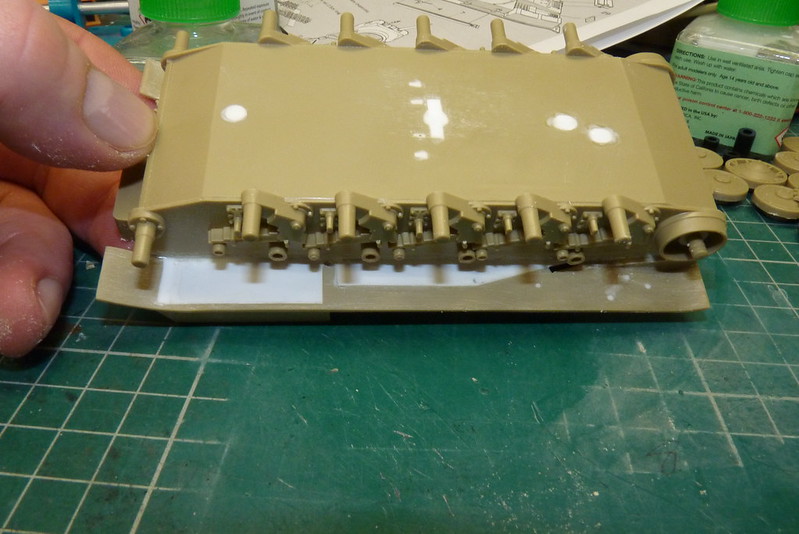
I filled any small holes as well with homemade filler and I added plastic sheet where the grills are going to be to make the hull light tight. While I was waiting for the glue and filler to cure I assembled the wheels.
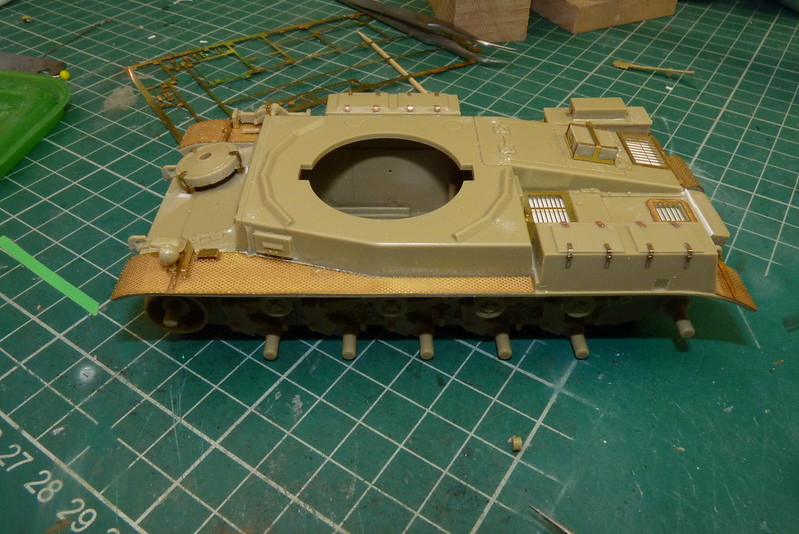
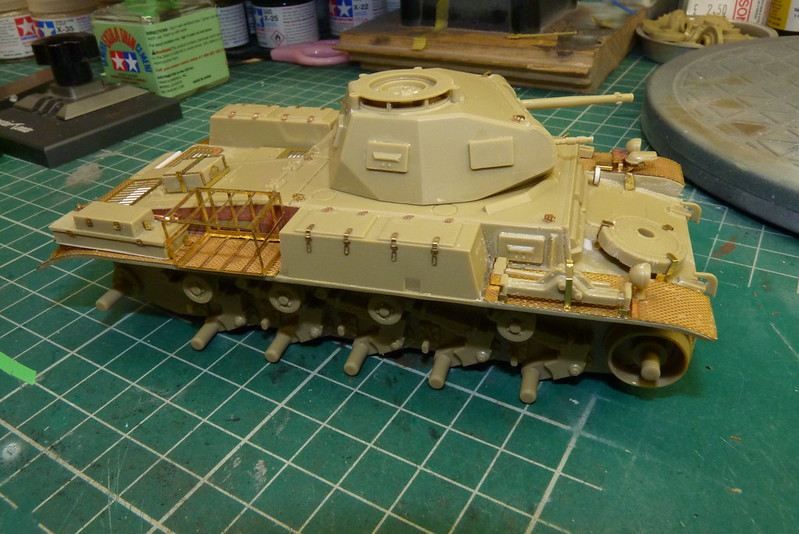
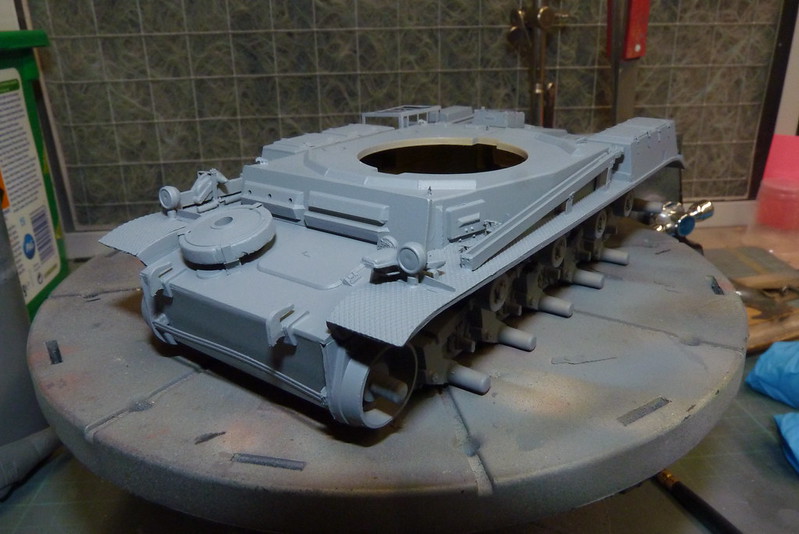
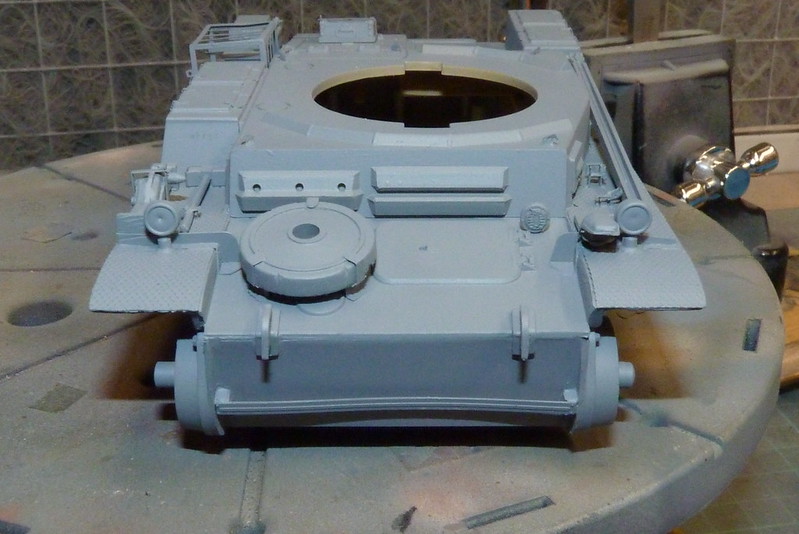
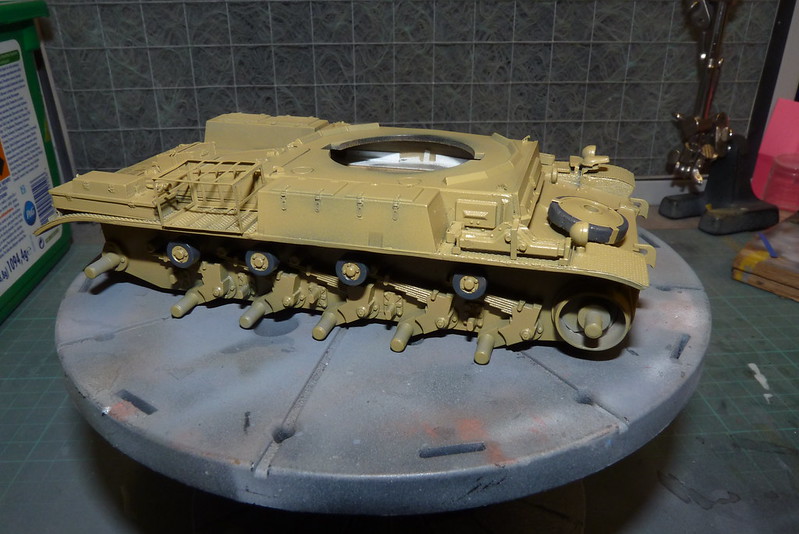
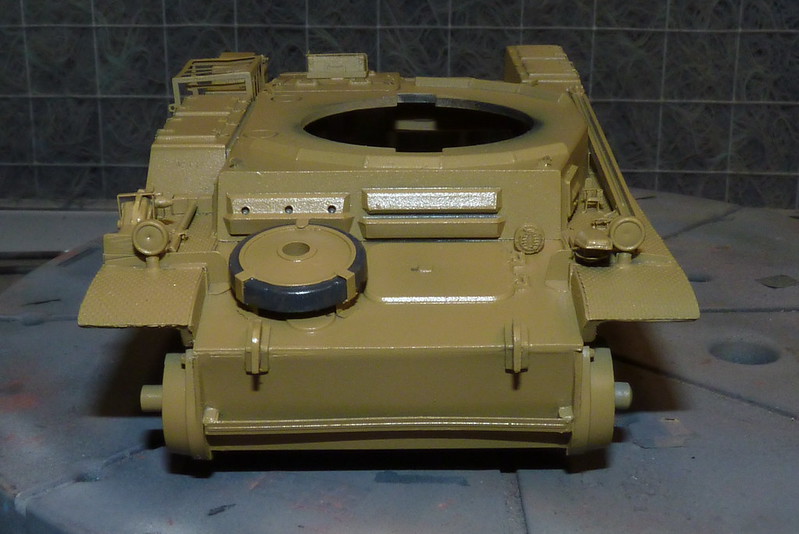
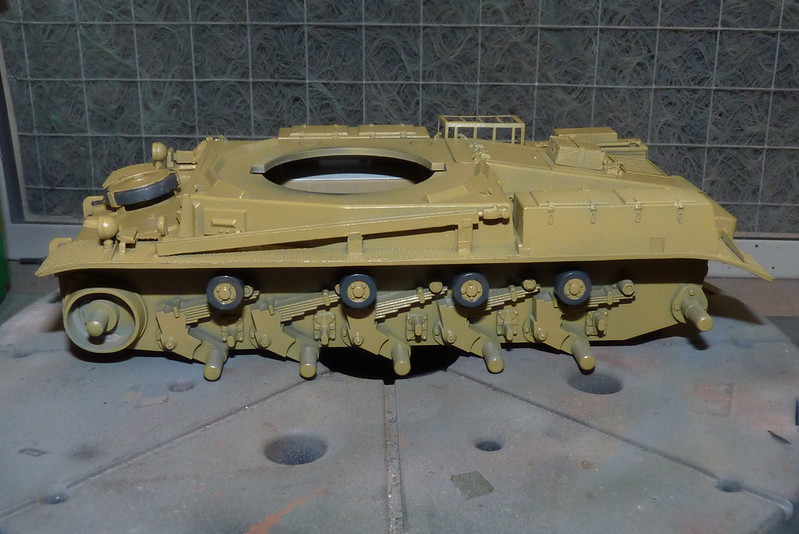
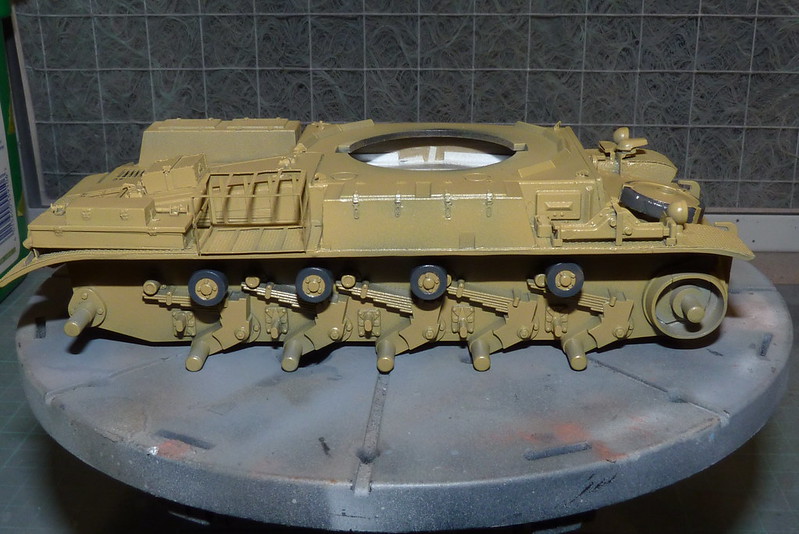
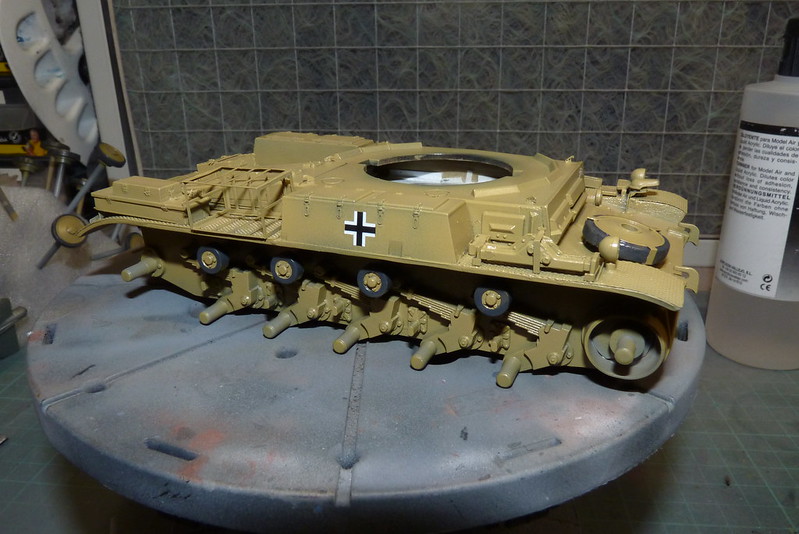
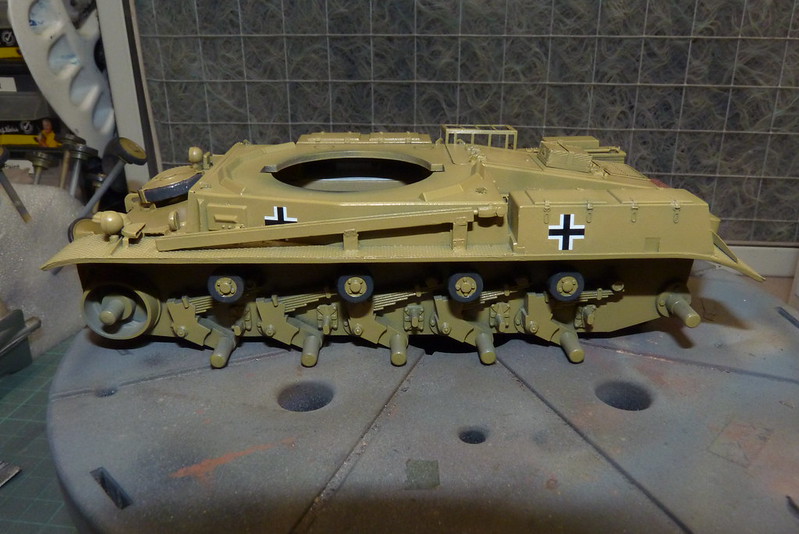
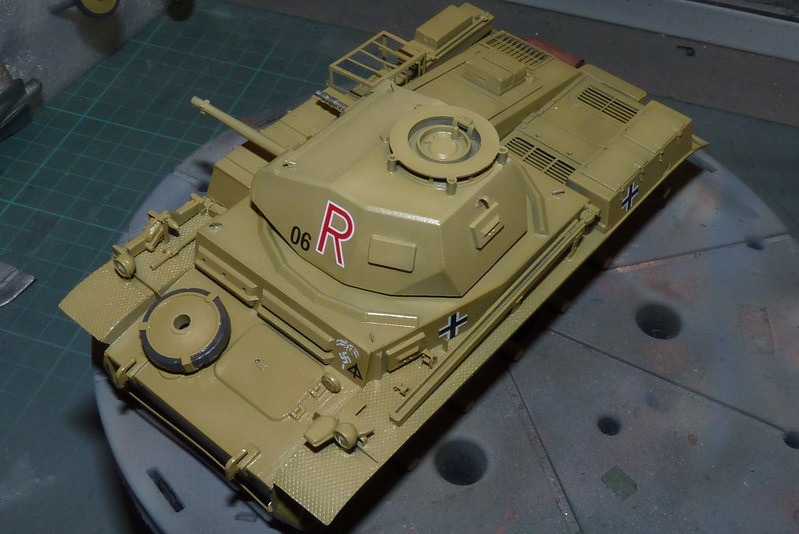
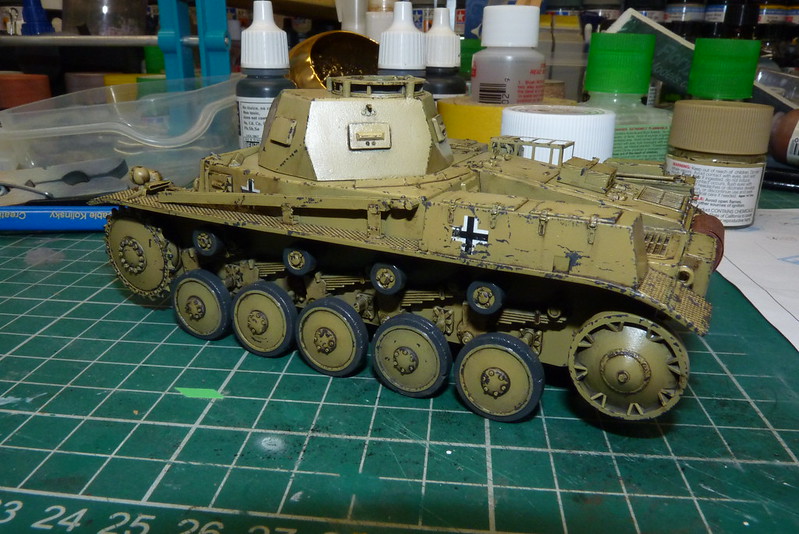
When I was happy I started to assemble the hull as per the Tamiya instructions which was straight forward.
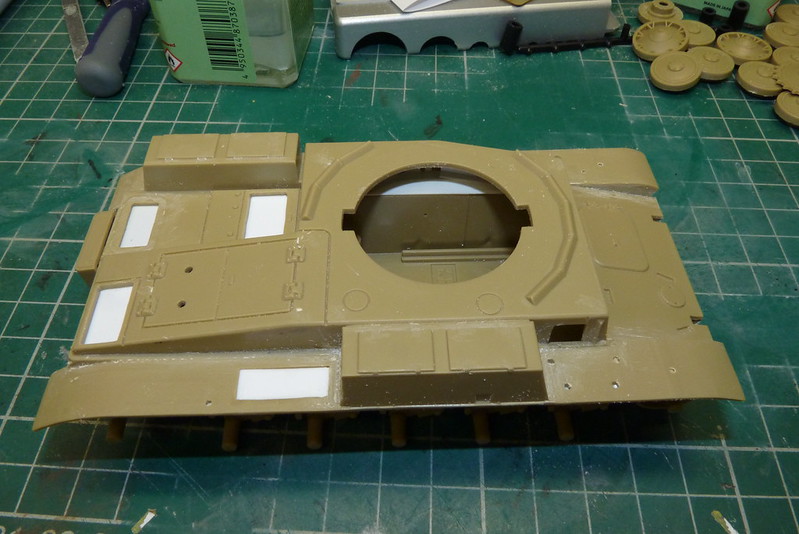
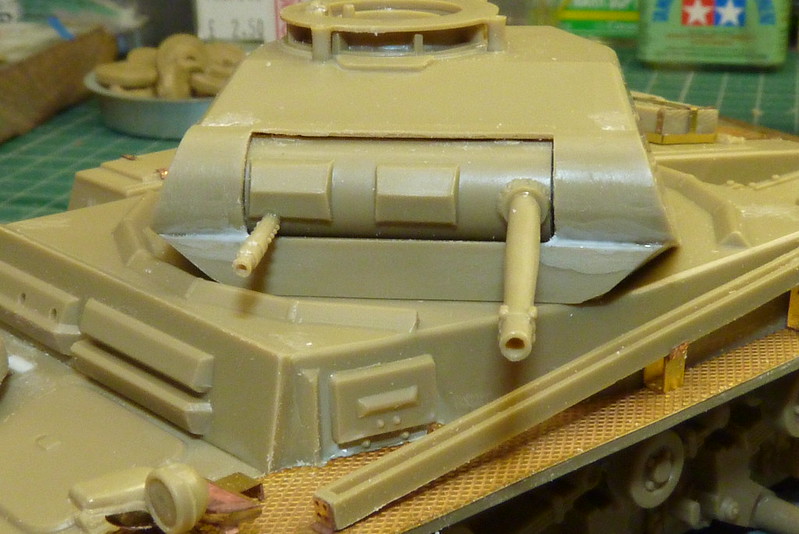
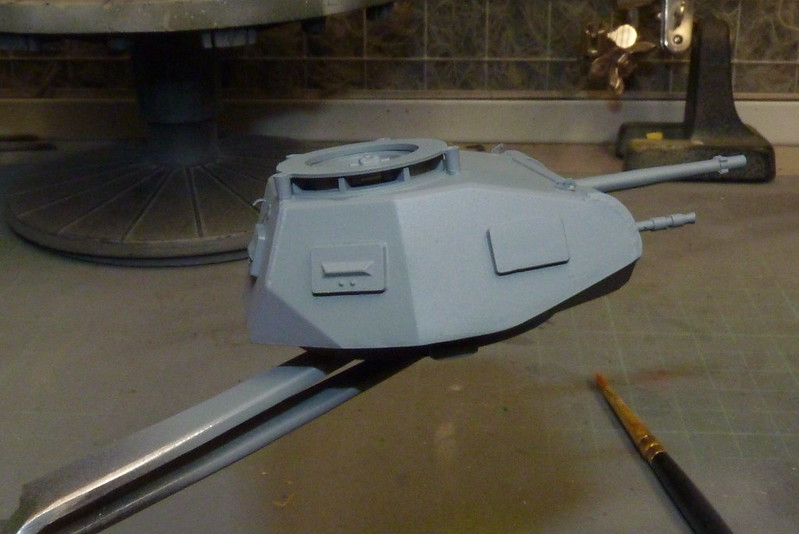
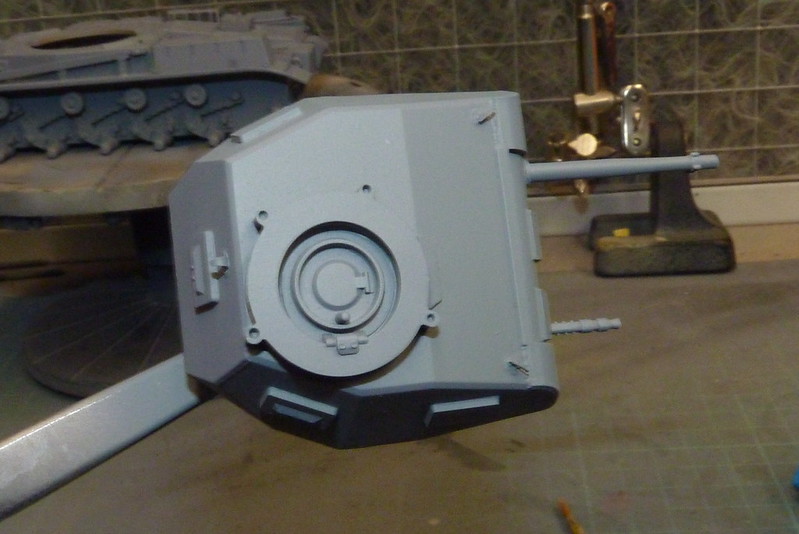
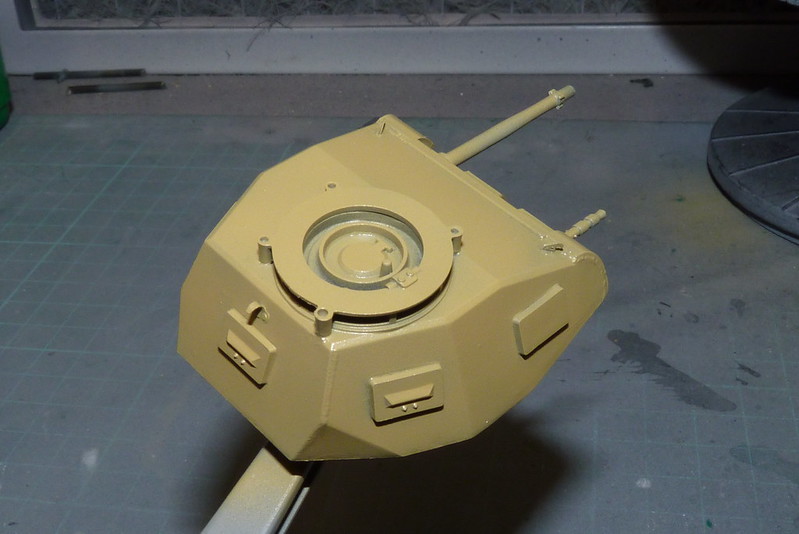
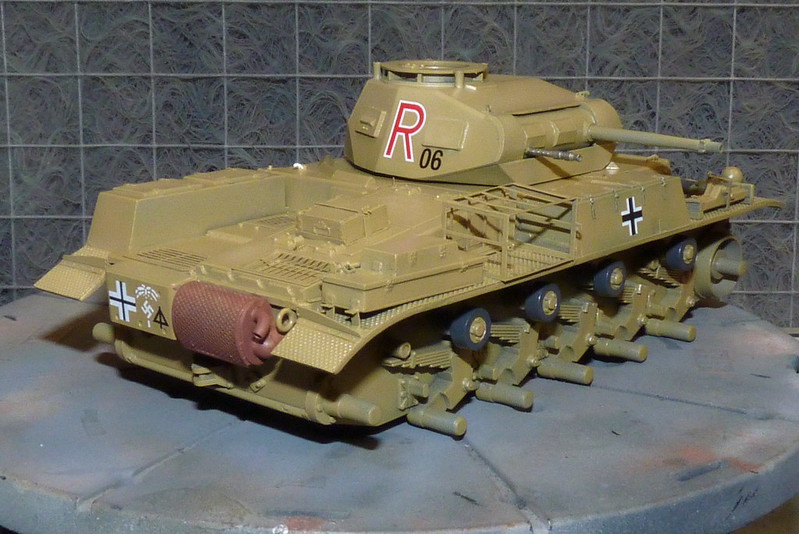
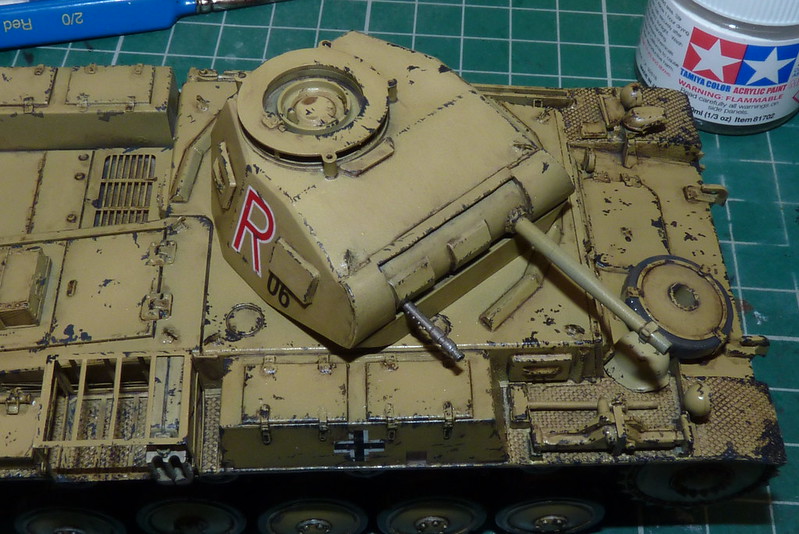
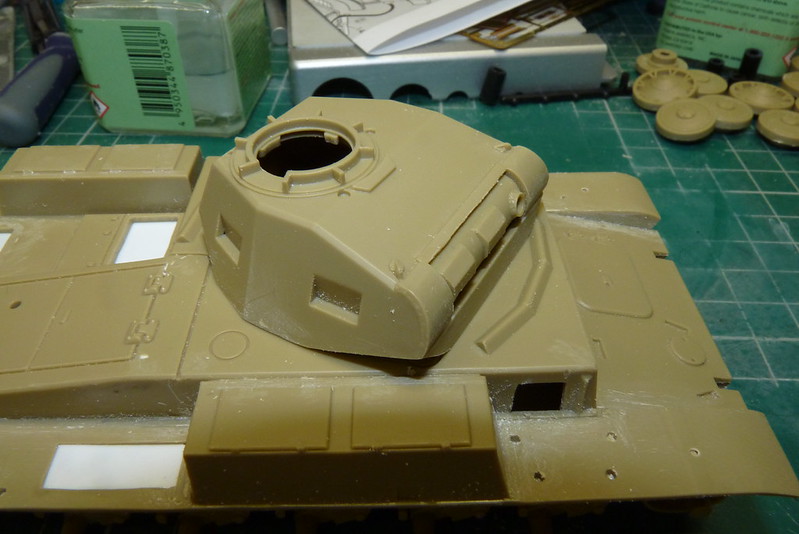
The turret went together next without any problems.
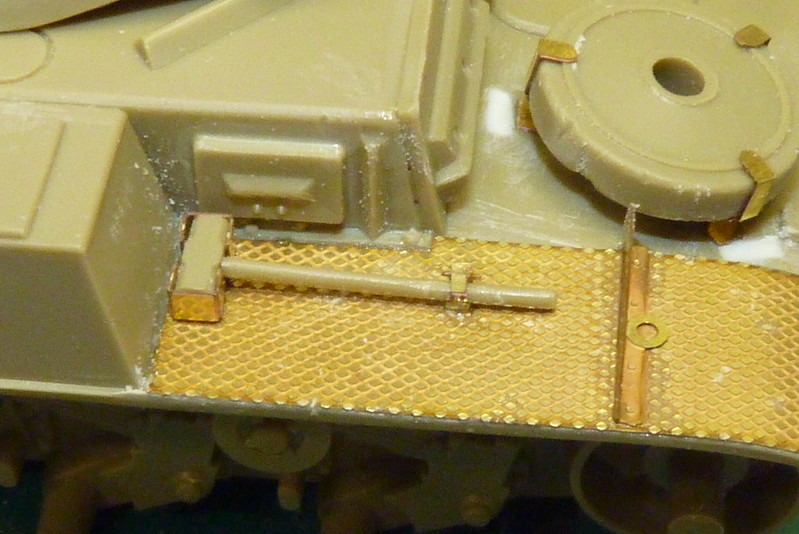
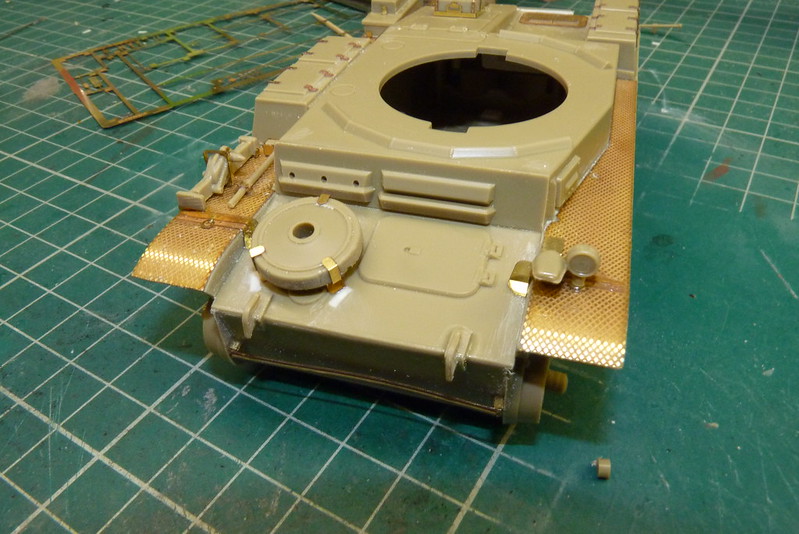
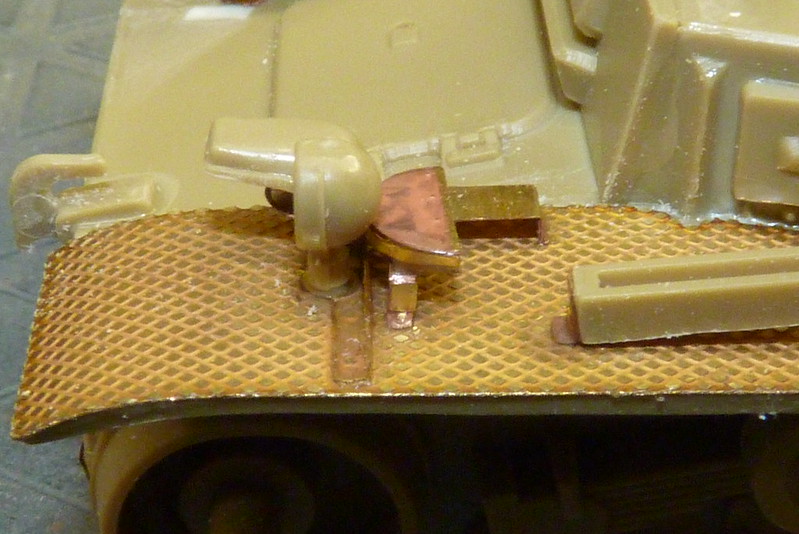
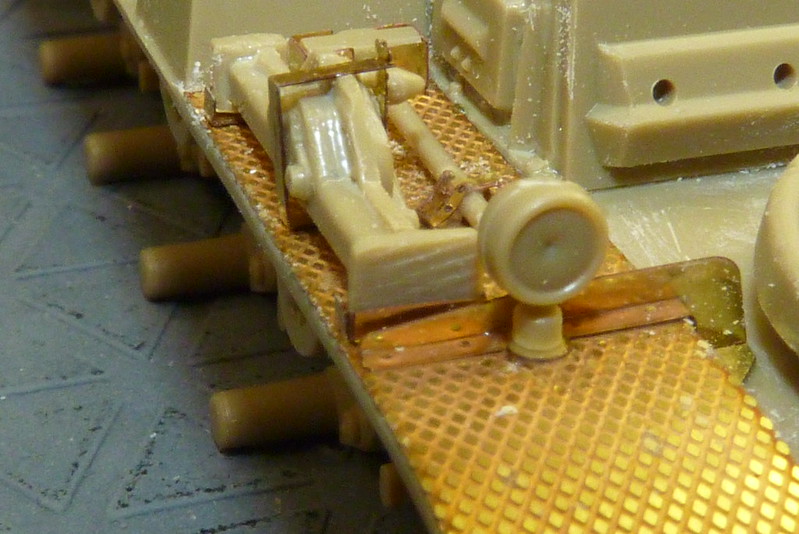
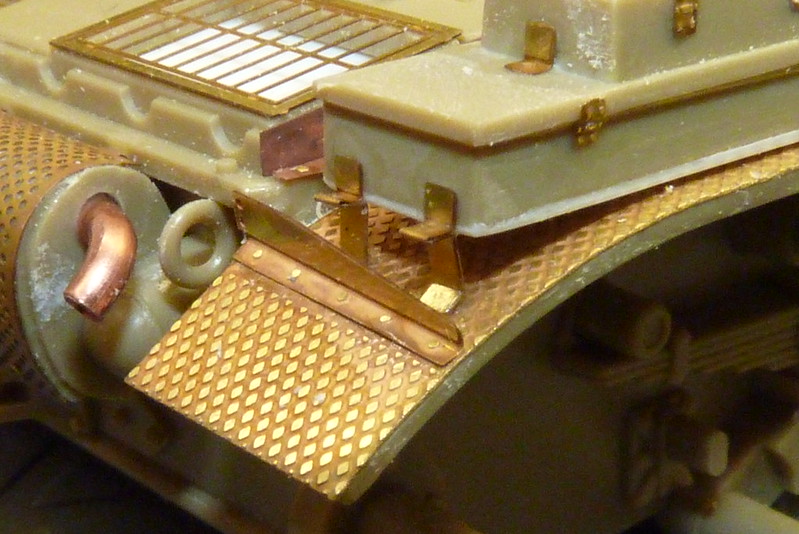
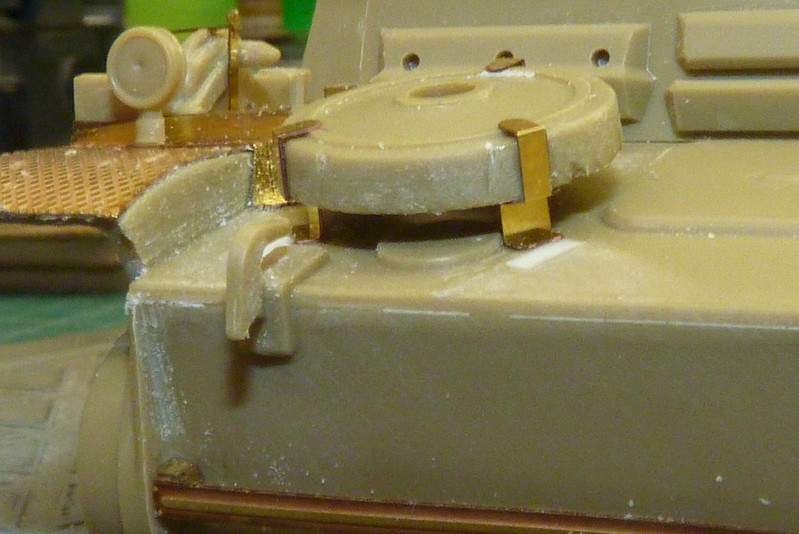
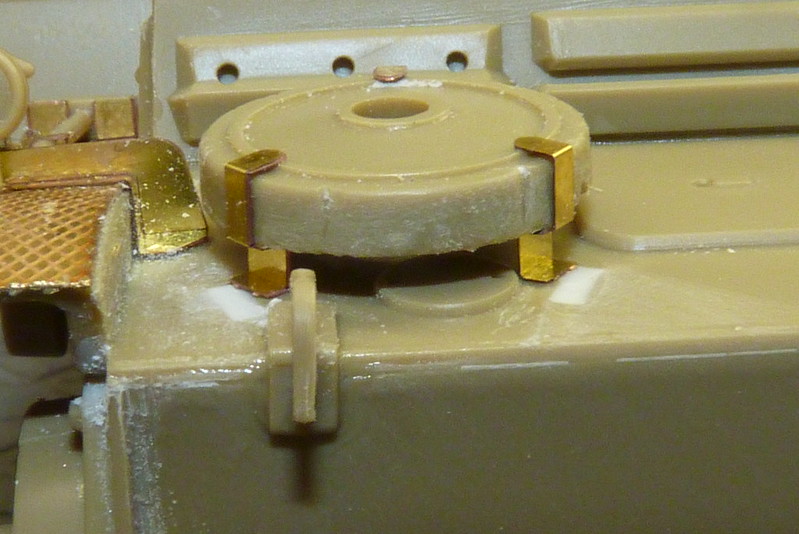
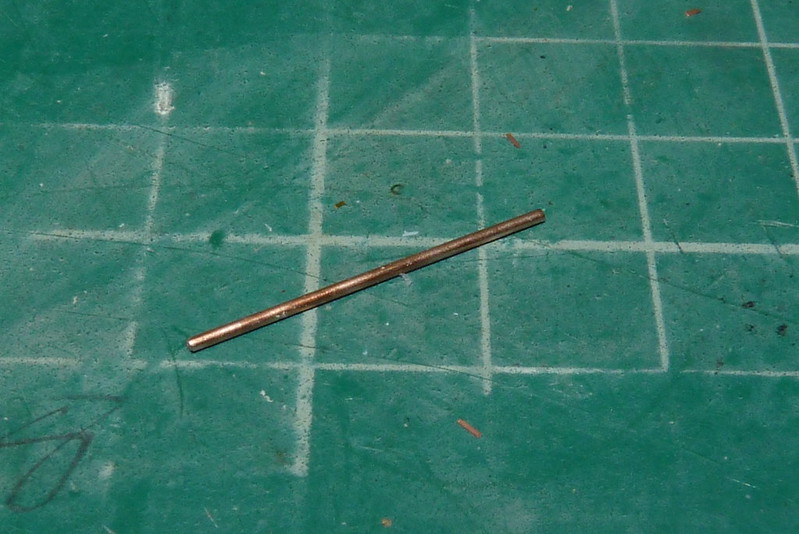
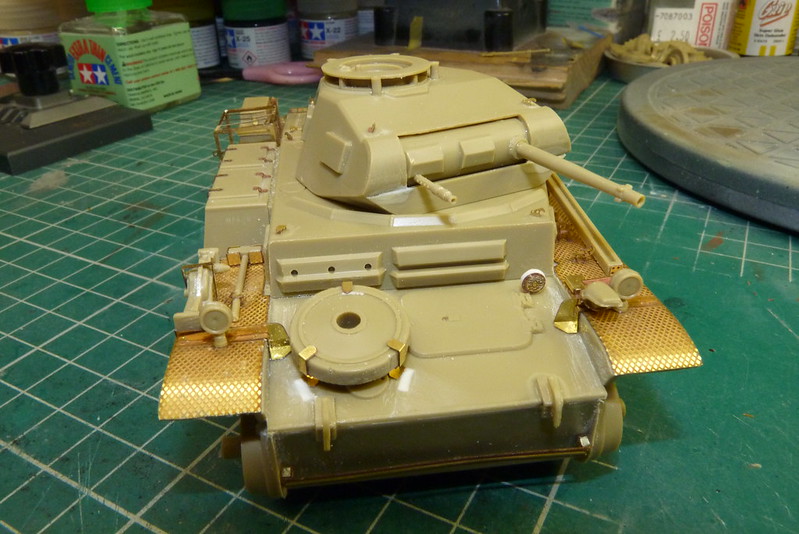
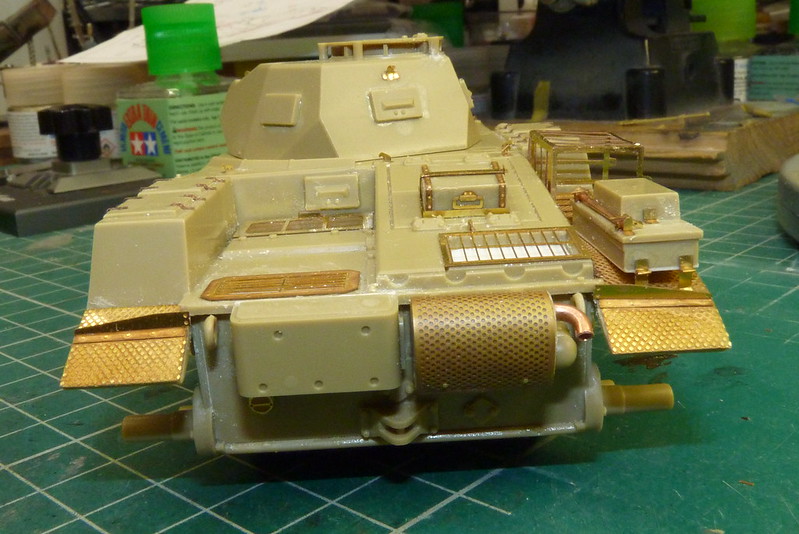
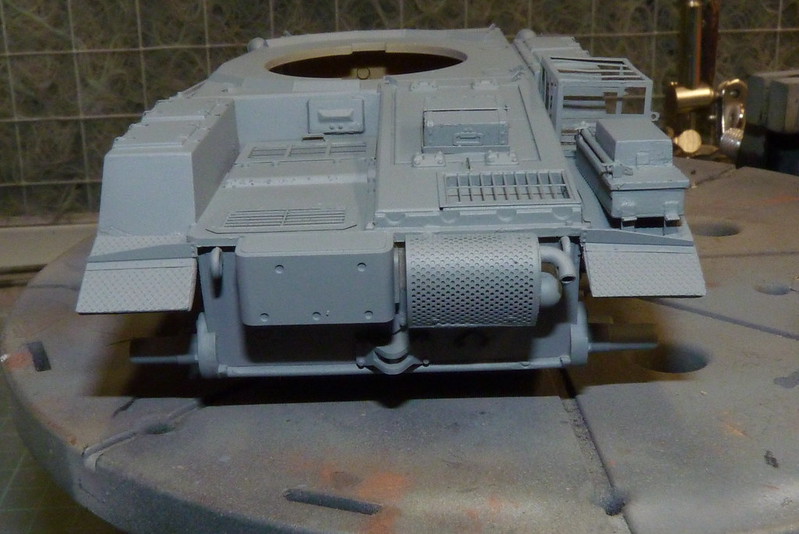
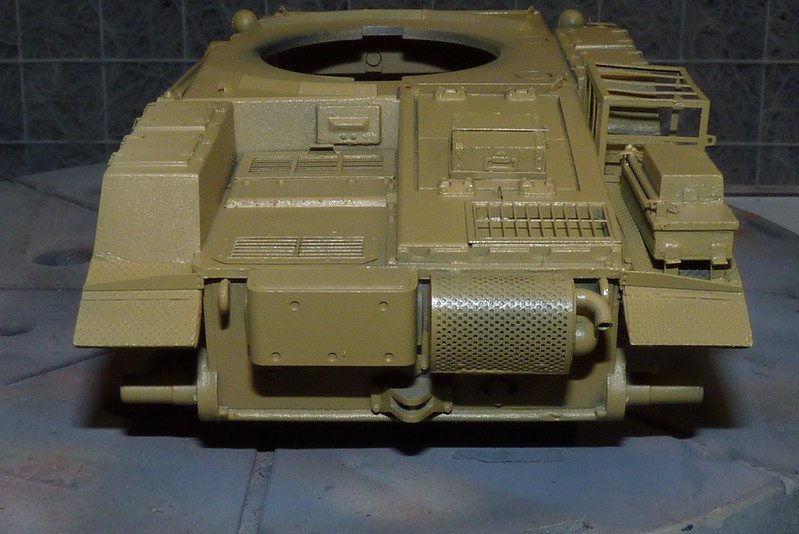
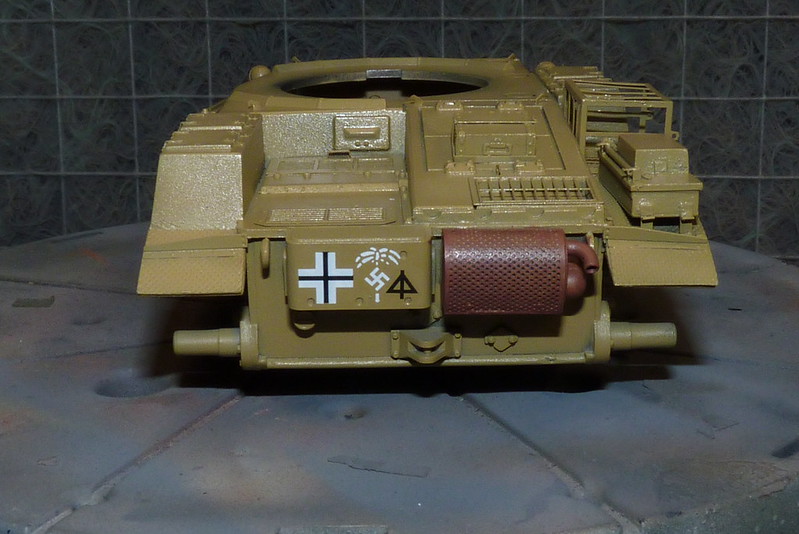
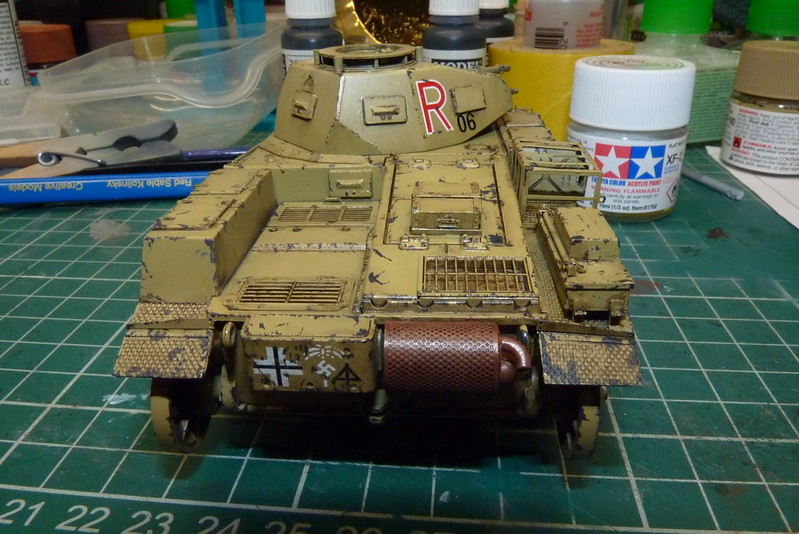
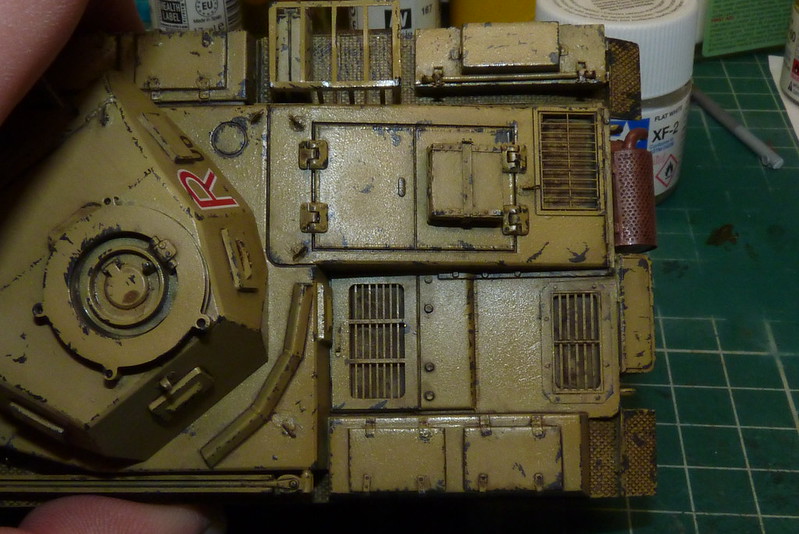
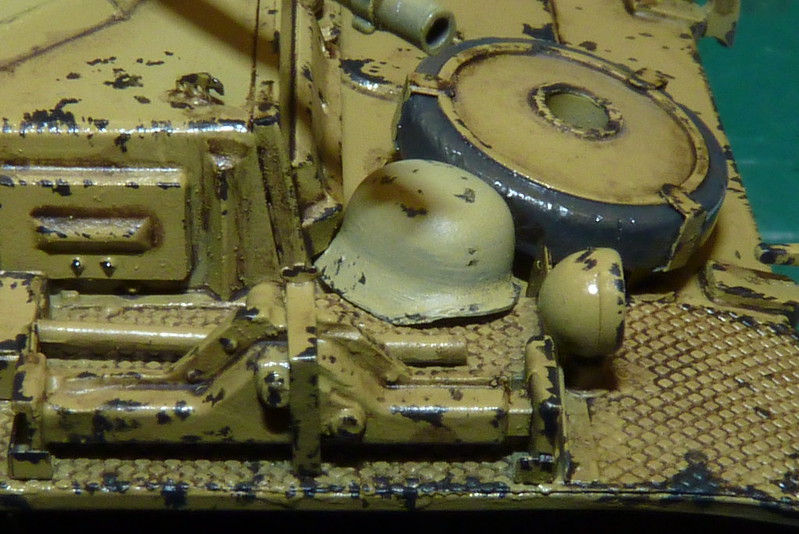
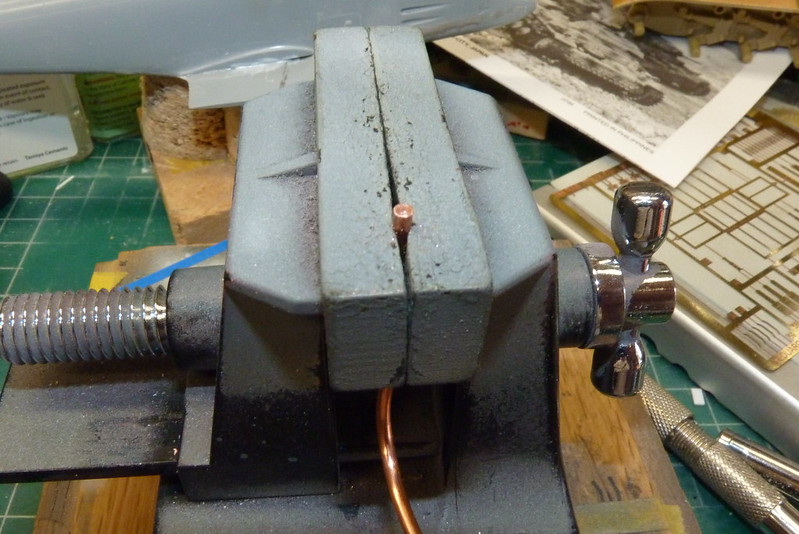
Now for a bit of photo etch and a tiny bit of scratch building. I attached the photo etch for the mud guards and grids with CA glue and then I bent the photo etch for the exhaust muffler and used CA glue to attach that. When I had a look at the kit part for the exhaust pipe I though I would have a go and see if I could make a better pipe myself. All I used was a piece of copper wire which was roughly the same thickness as the kit part. I clamped the copper wire in a vice then I flat the end with a file. I marked the centre with a metal scriber and then I slowly drilled out the centre.
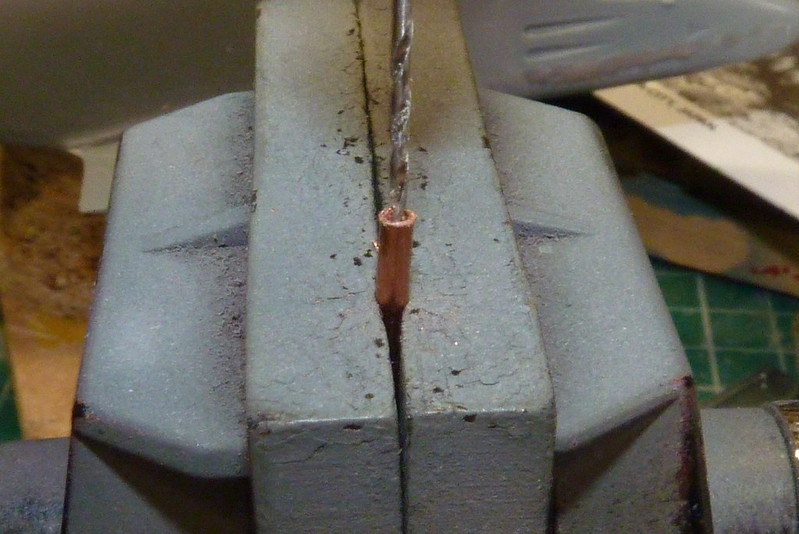
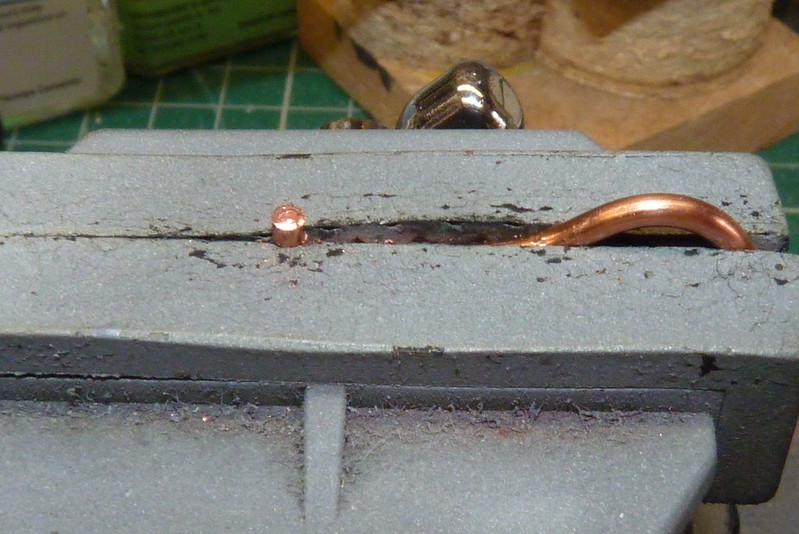
The problem I had with my first attempt was that when I tried to bend the pre-drilled copper to the required shape the copper sides of the now copper pipe would start to collapse. So take two. This time I bend the copper first then I drilled it and that worked a lat better.
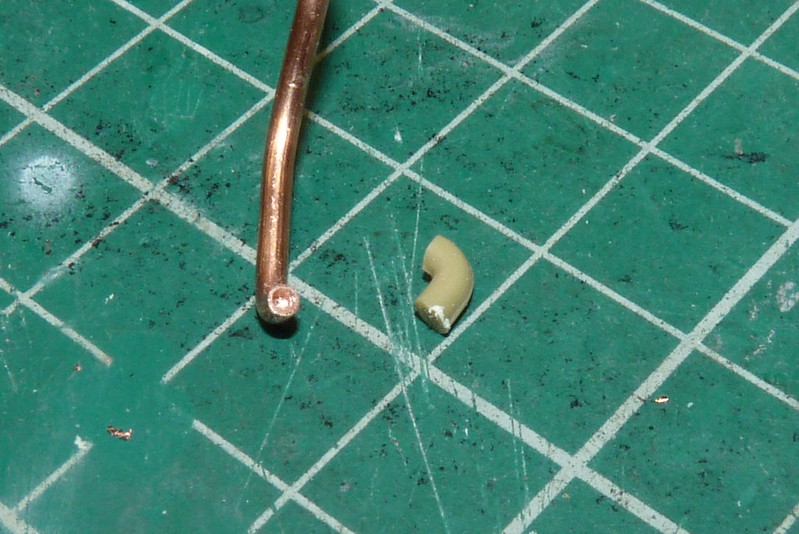
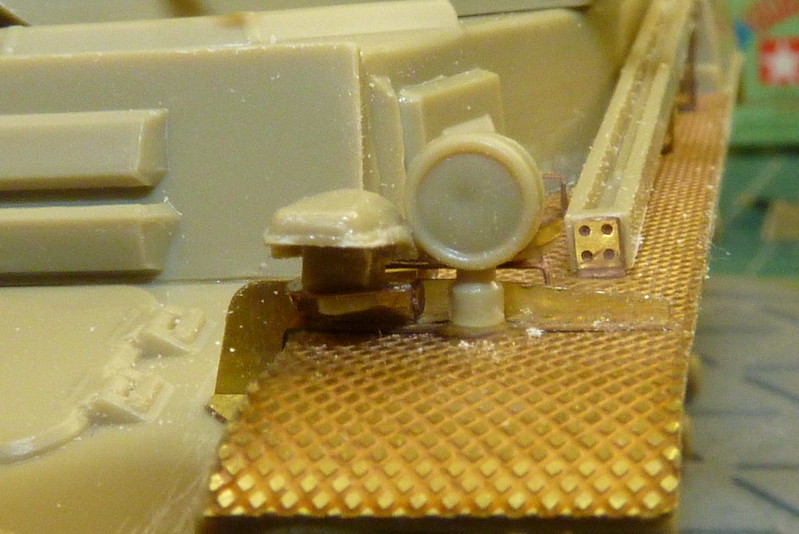
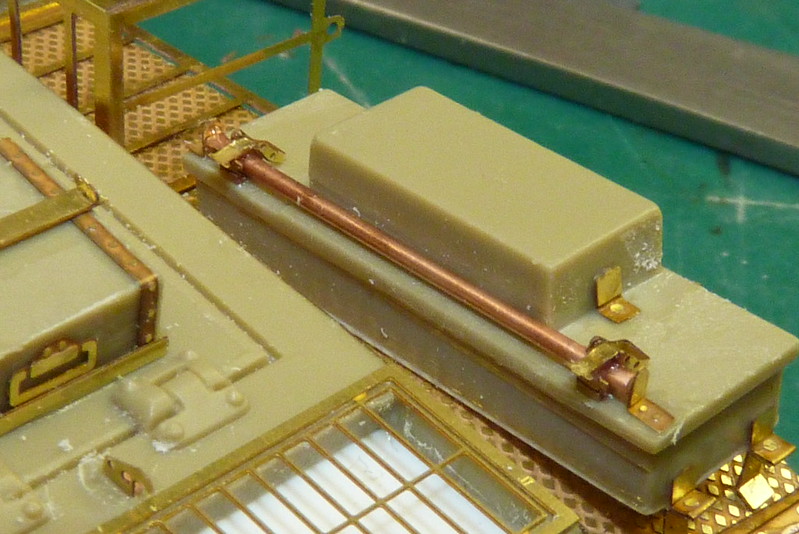
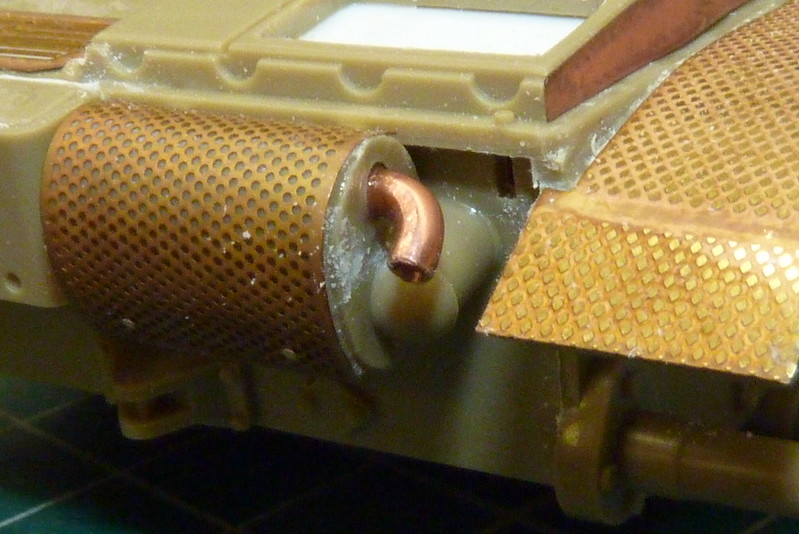
All I had to do was then cut it to size and fit it. To make the exhaust from copper wire was really easy to do. I only had two attempts and I found the copper easier to drill than plastic. If you have a go and you will see what I mean. Anyway here is the pipe attached.

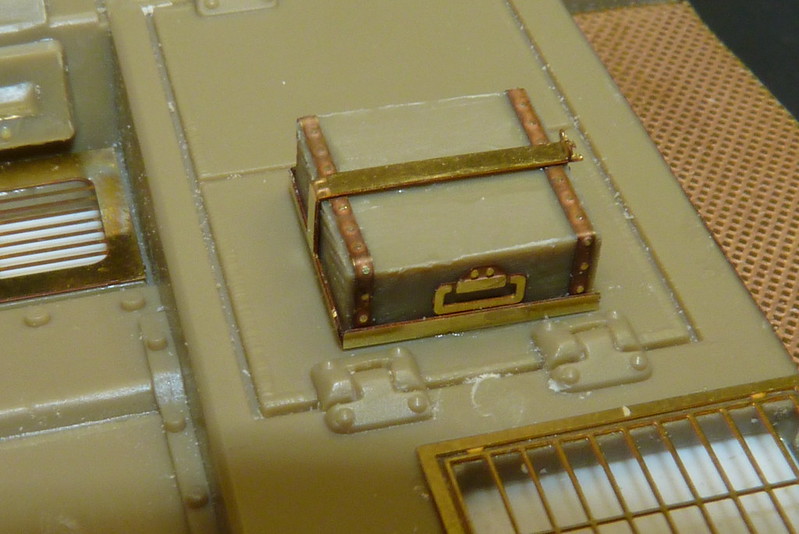
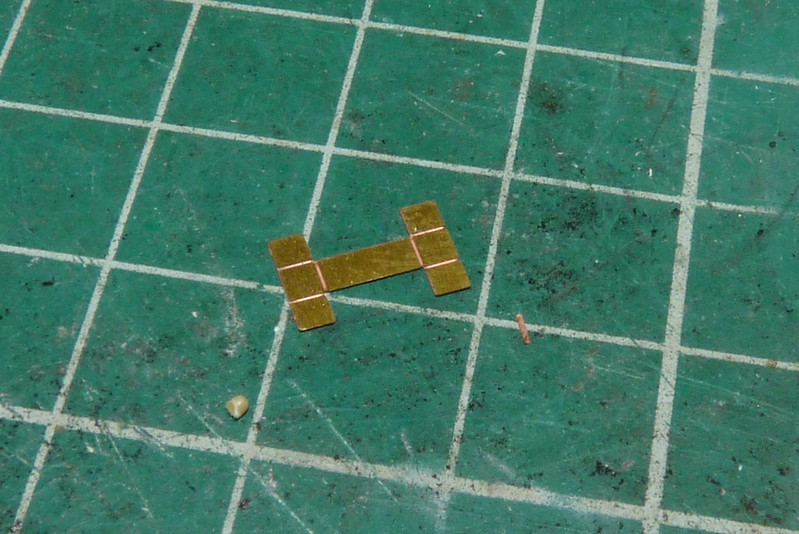
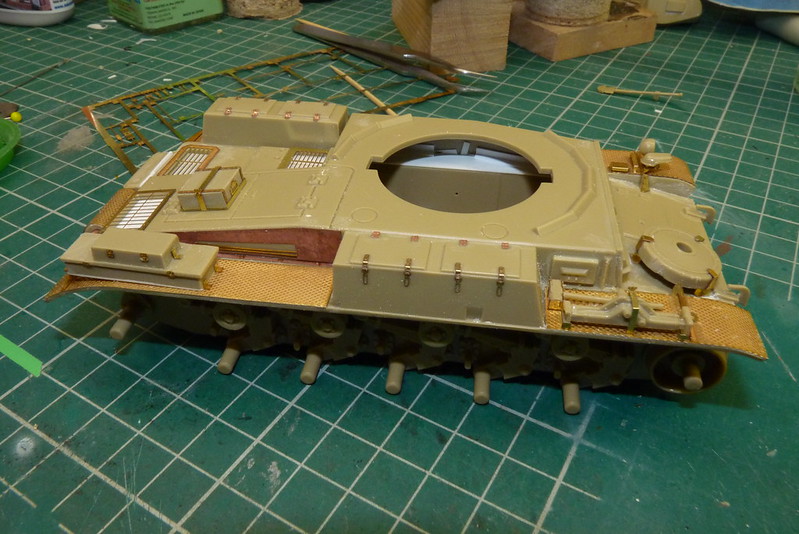
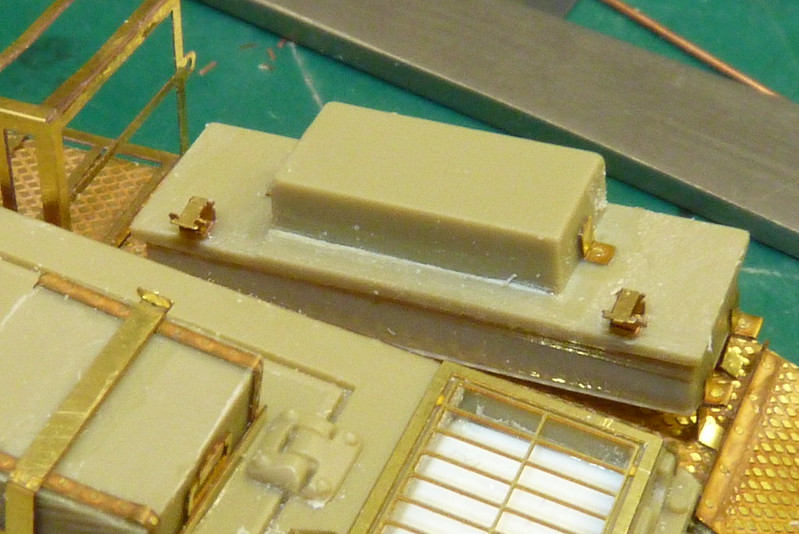
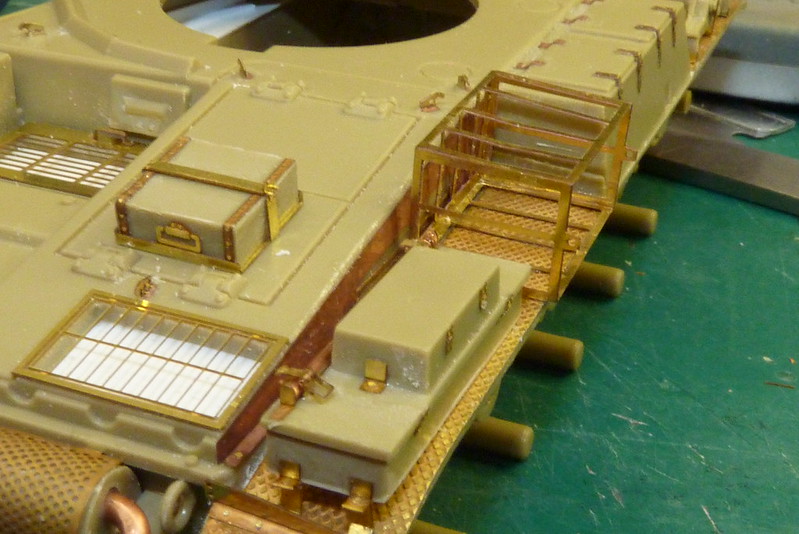
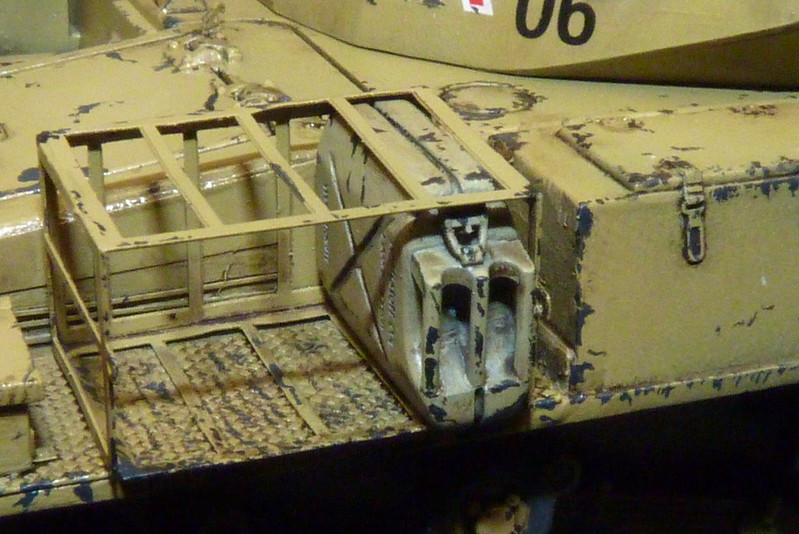
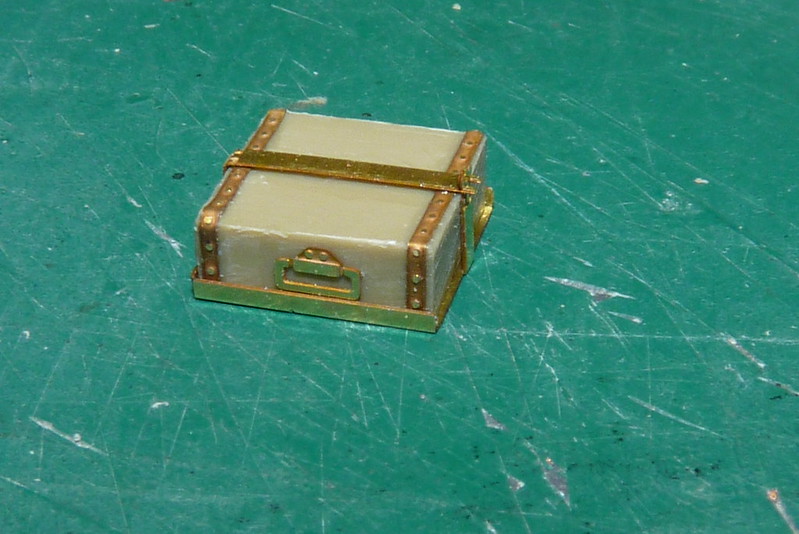
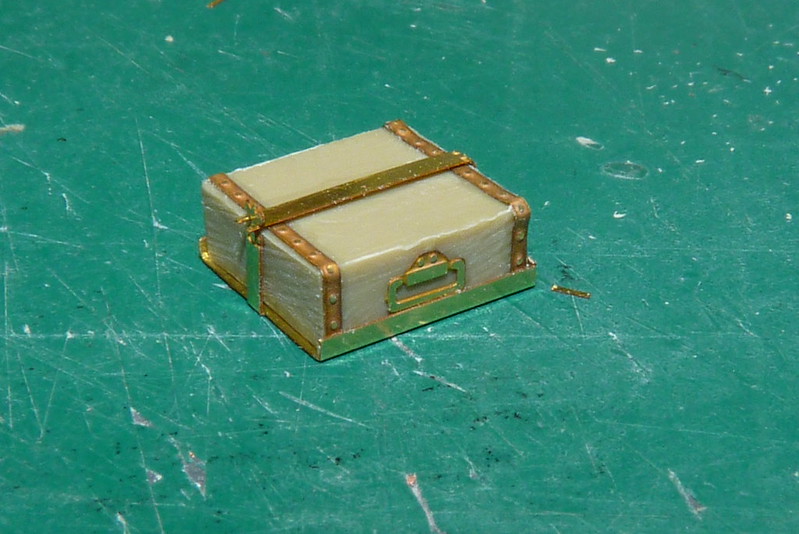
Next was a bit more photo etch to do. This time on a box.
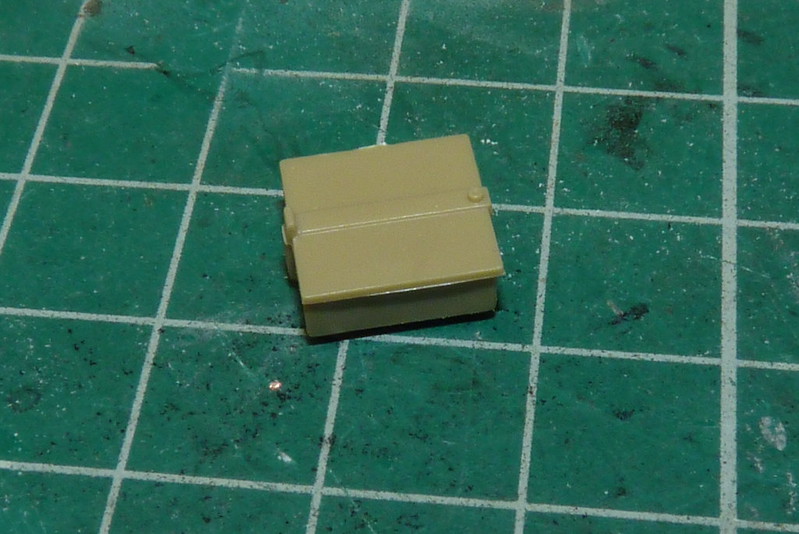
I removed the detail.

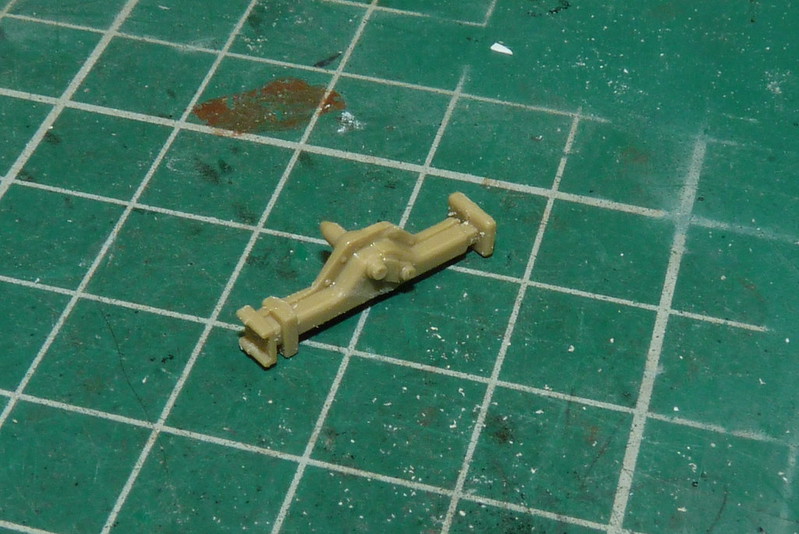
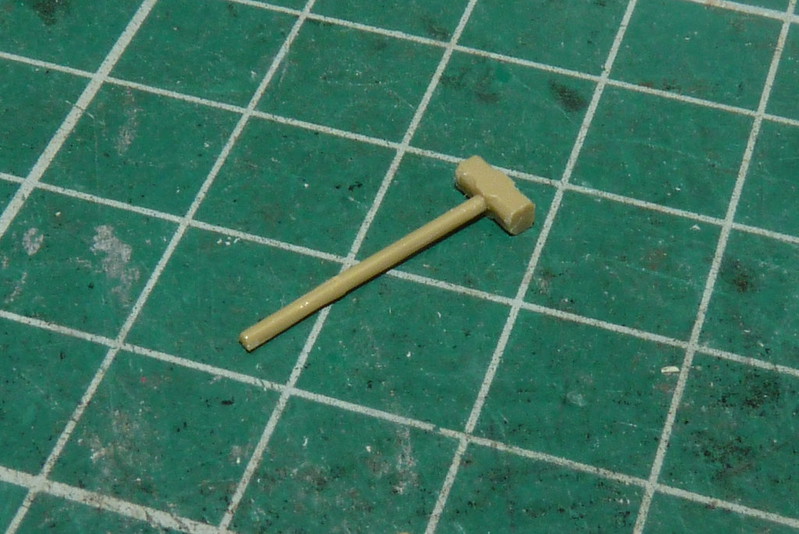
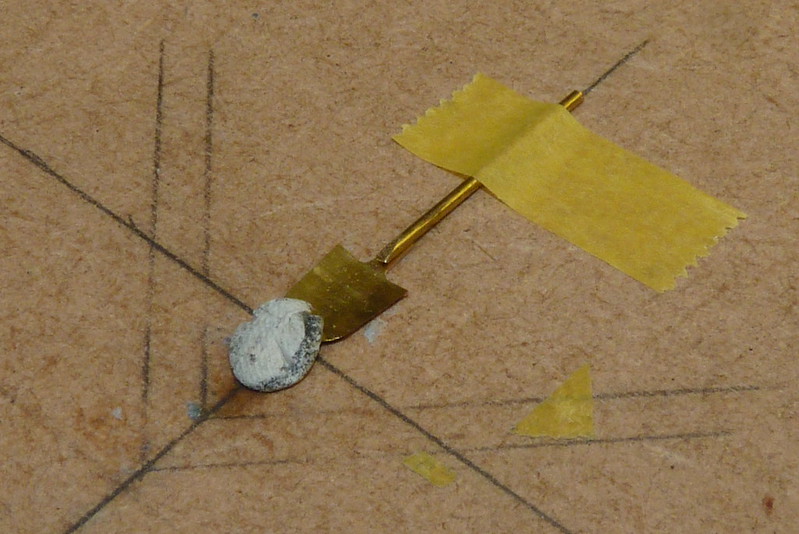
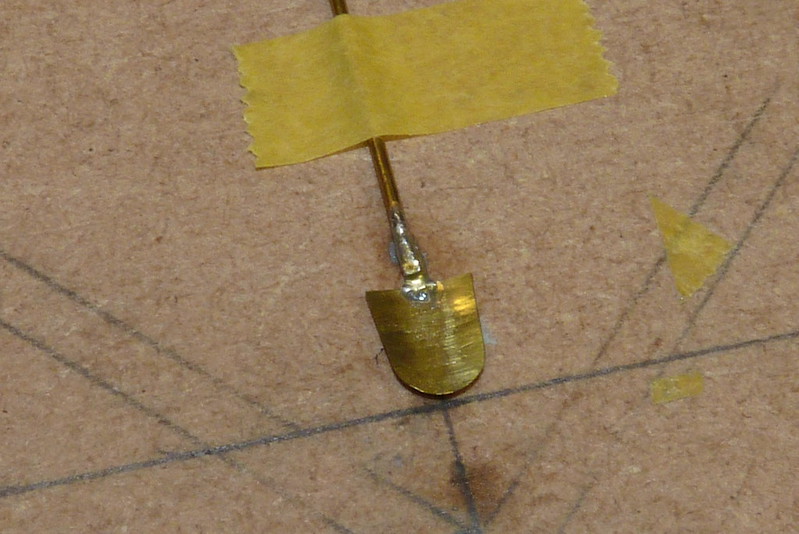
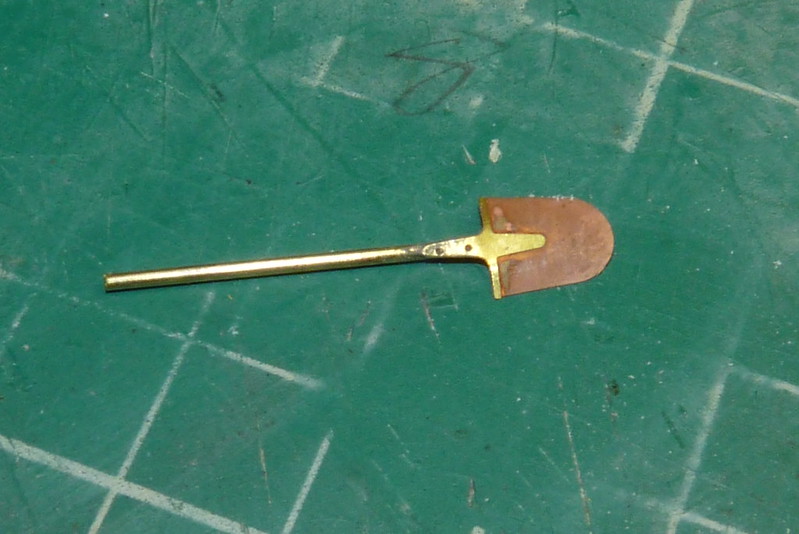
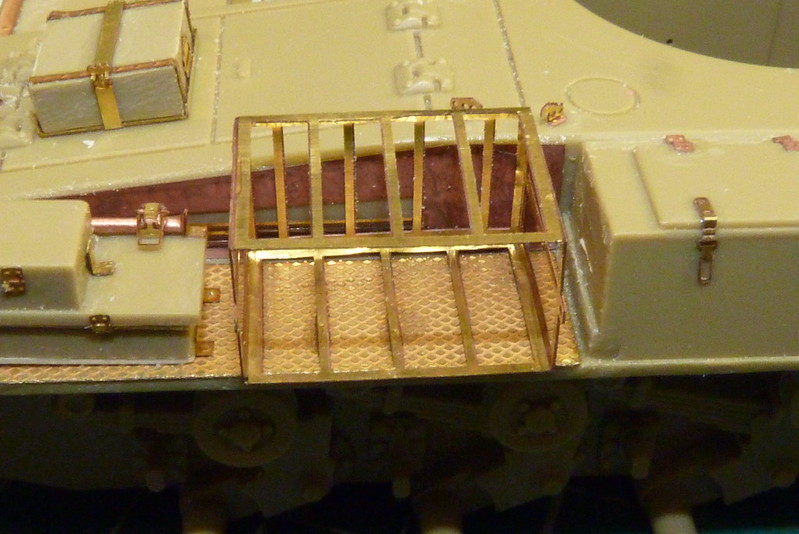
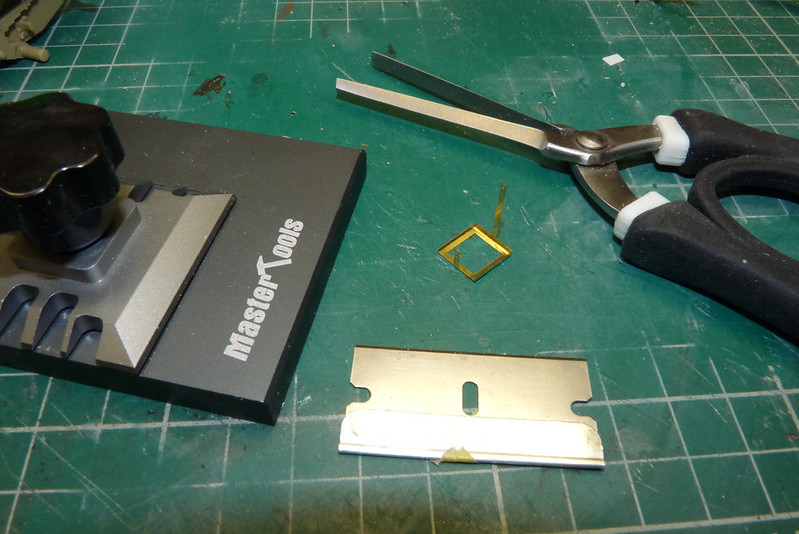
I then started on the frame and here are the tools I used.

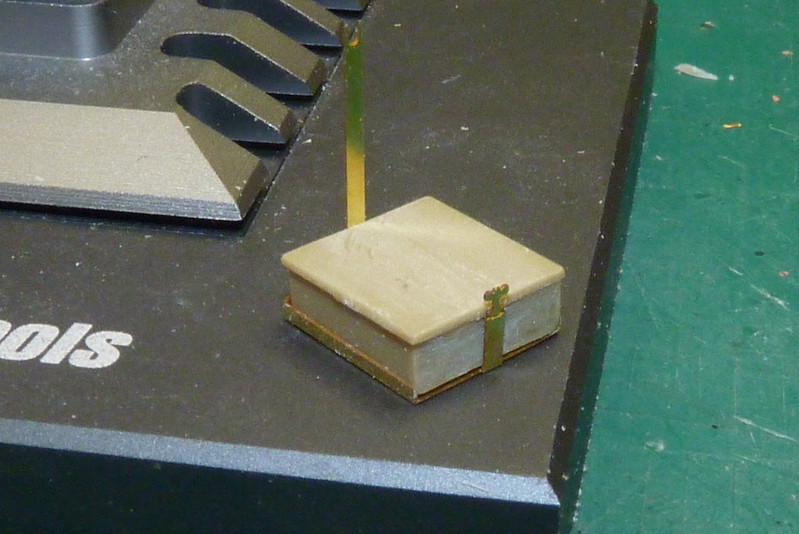
Then just checking the fit.
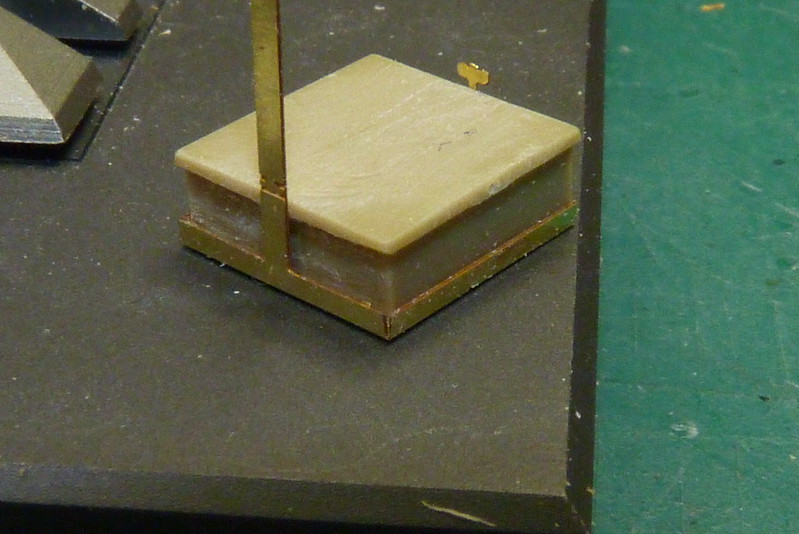
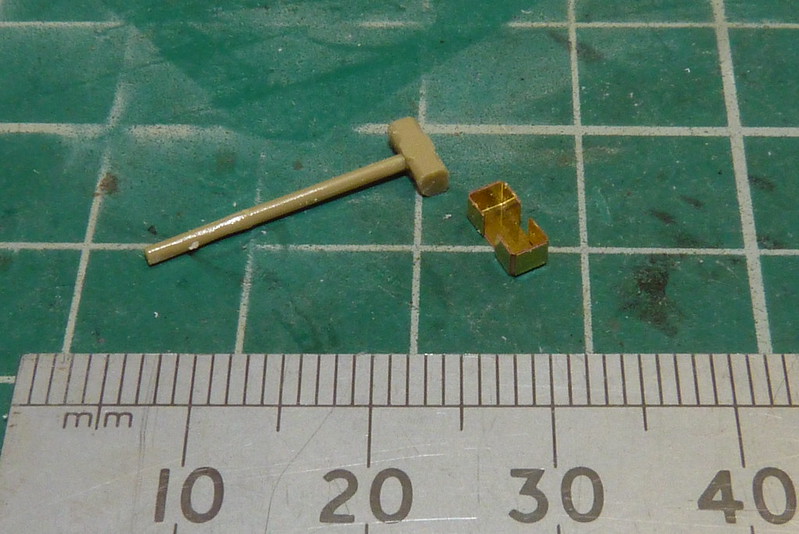
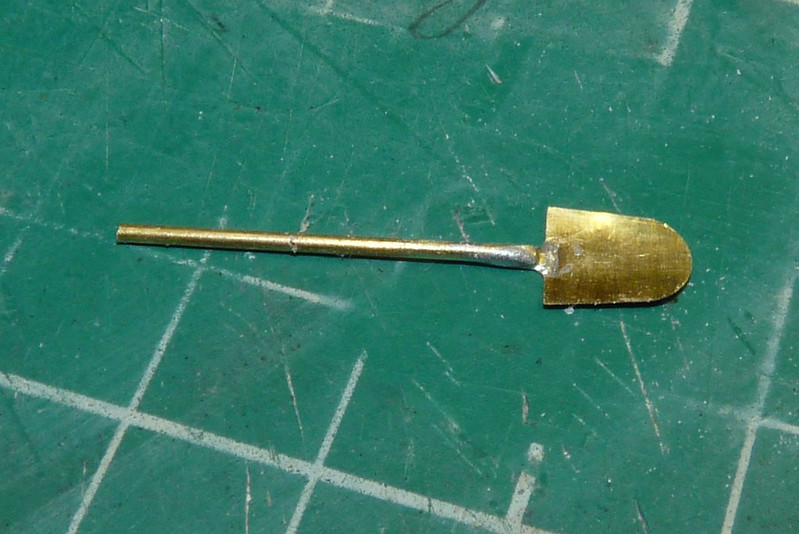
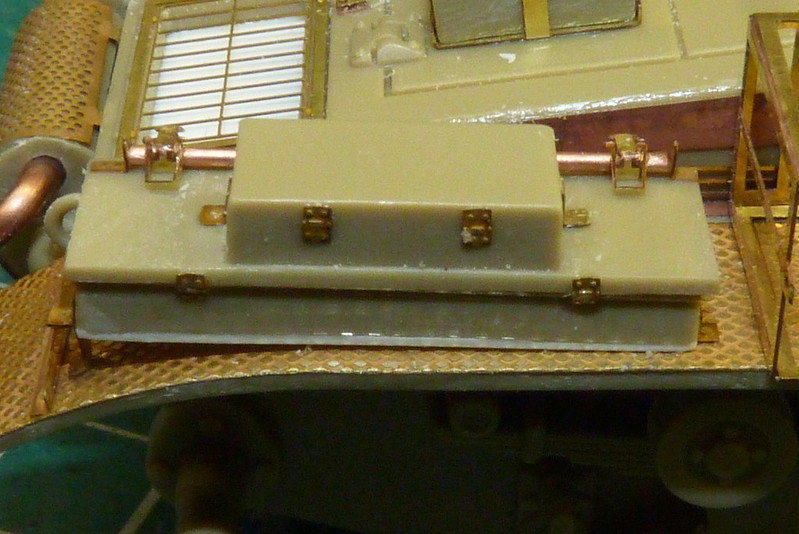
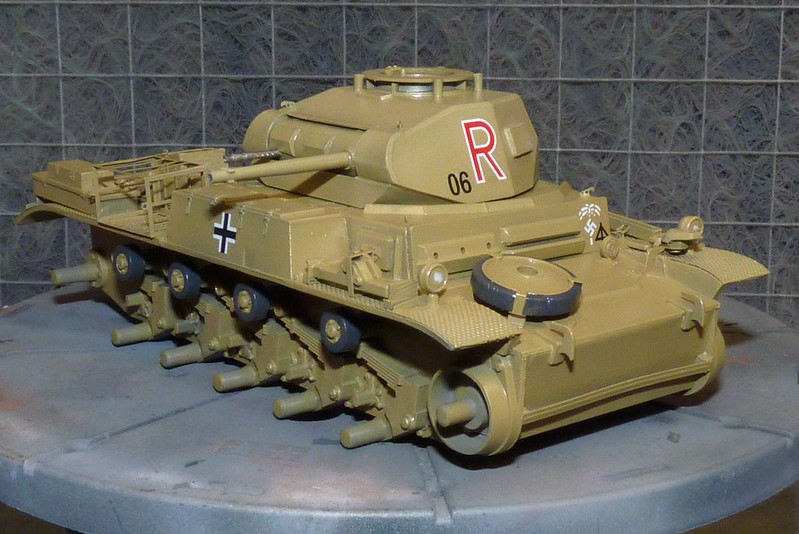
Then I added the handles and a few other things.
Then on the hull it went.