After a light coat of Xtraxylix Flat with a bit of Gloss in it (which by the way does thin with IPA very nicely) weathering was applied using oils to add streaks around the engine covers and underneath mainly around the centre section, following photos that I had in my references. Exhaust stains were Tamiya Smoke sprayed on.
My backwards sequencing of jobs came back to bite me as the cockpit on unmasking didn't just have a couple of dust sprites but was chock full of resin shaving from drilling the hole for the support. As the the windscreen has had quite a bit a fairing in I elected somewhat rashly to slice through the canopy so only that needed to be removed.
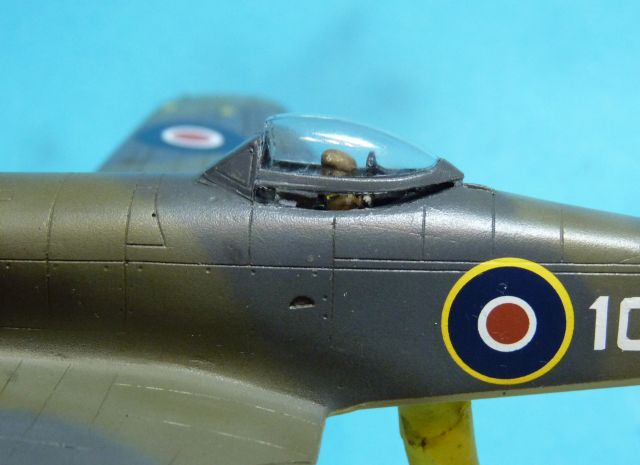
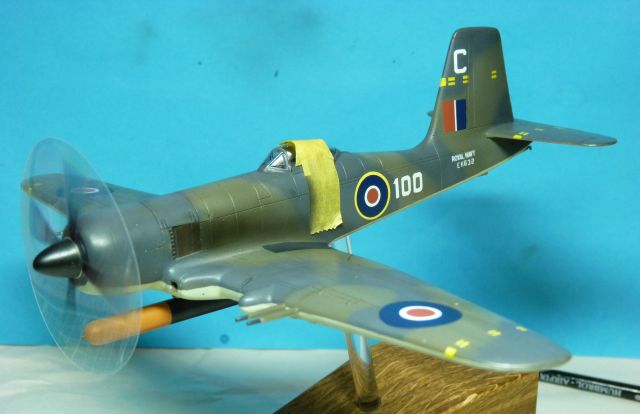
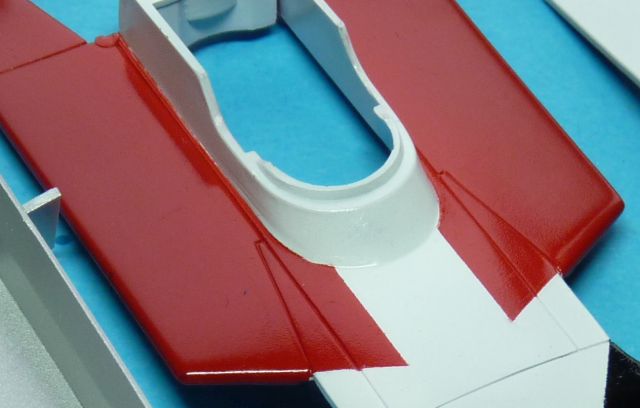
Once the debris was shovelled out and the canopy given a clean it was re-glued with PVA. Of course there was yet more painting to do as closer study revealed that there were black anti-slip wing walk areas though not immediately apparent. Once that was done (after making a hash of mixing a small drop of white into the black and obtaining light grey) hook and torpedo were added. So here's a final preview, the prop blur is temporary as the Firebrand had a big 13'3" propeller and the ones I had printed are 12'. My detail added to the nose of the torpedo means it just grazes the disk