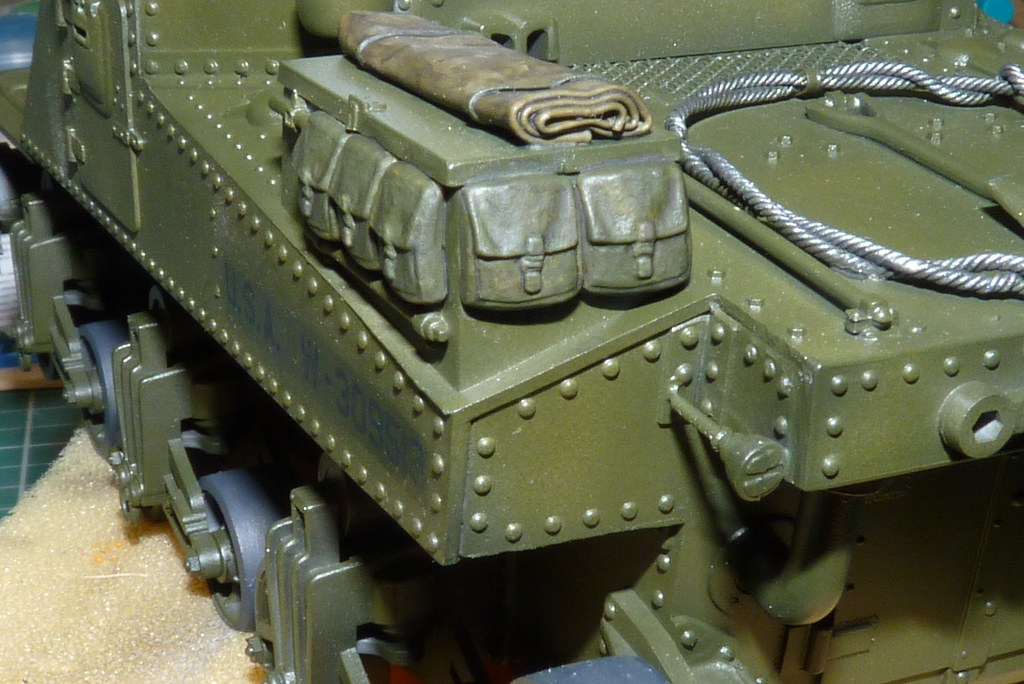
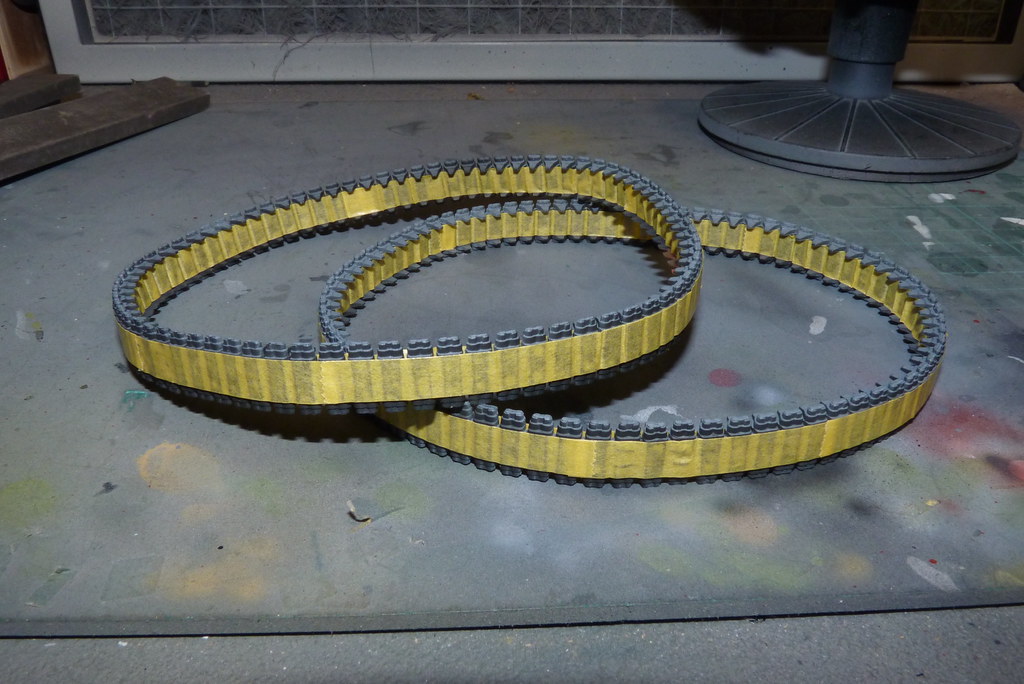
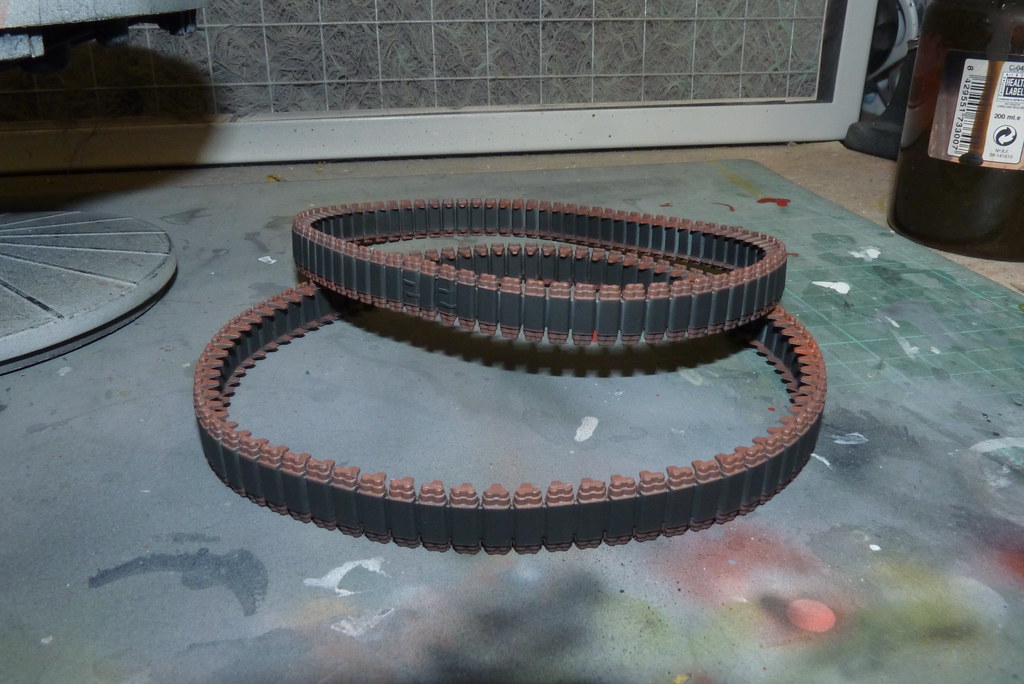
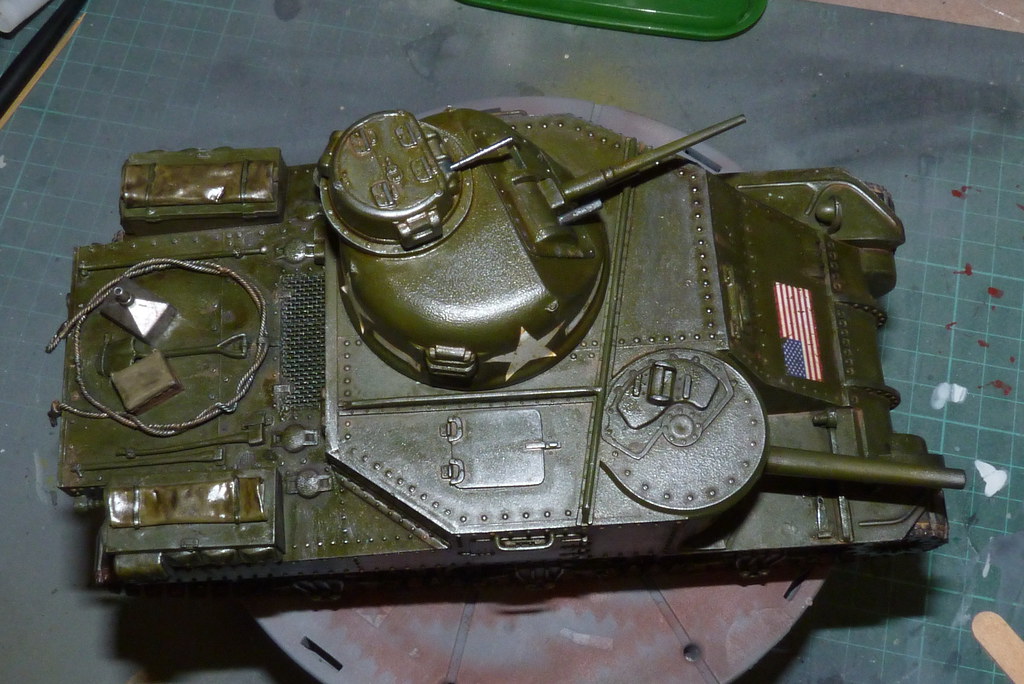
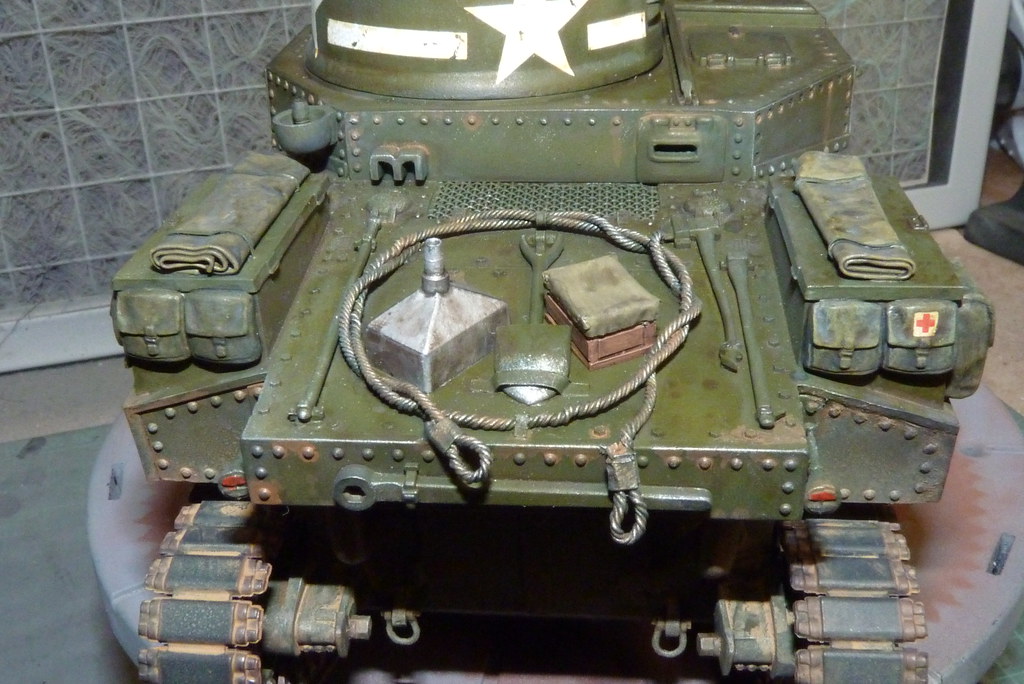
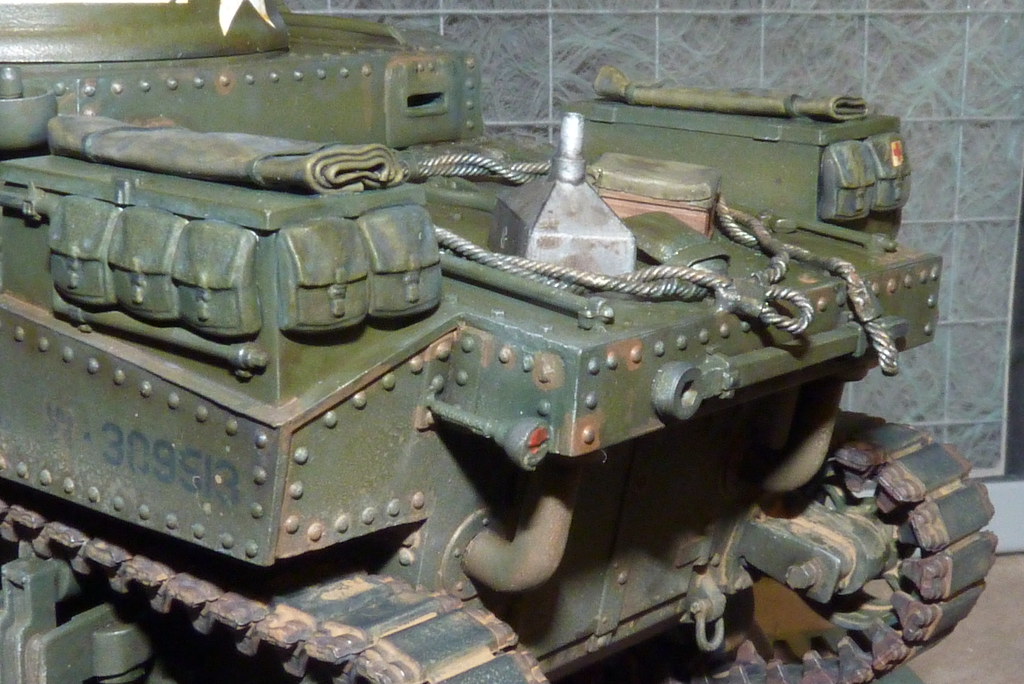
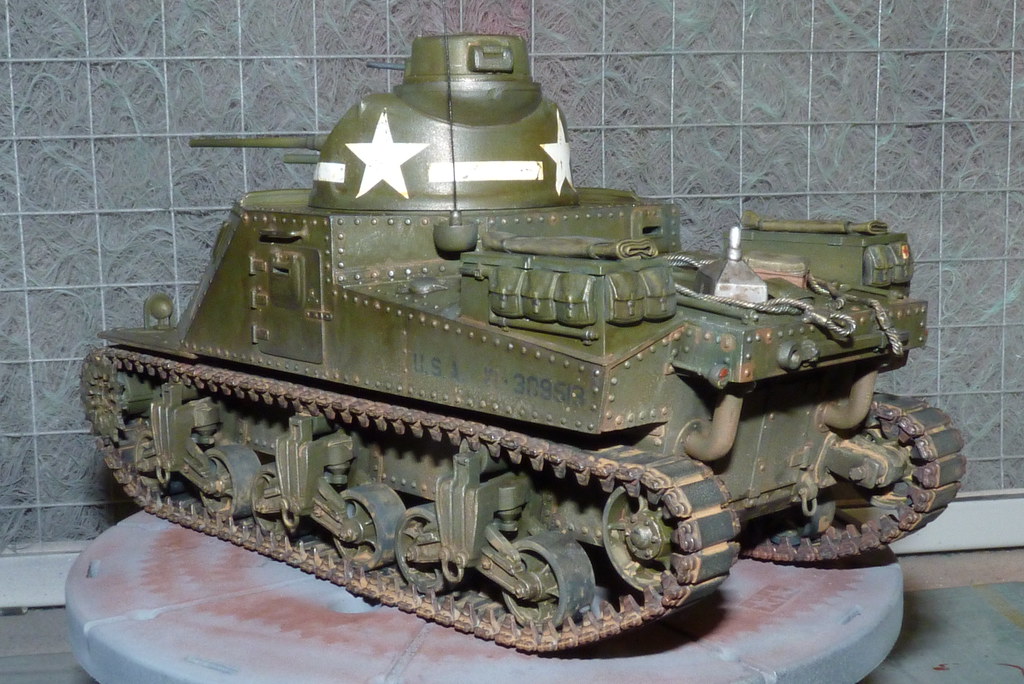
Thanks Larry I have been busy doing other things but I have managed to do some work on the Lee. I decided to add some bags which are 1/32 I found in my spares box. They needed tiding up but that didn't take long.LarryH57 wrote:I'm looking forward to see it completed!
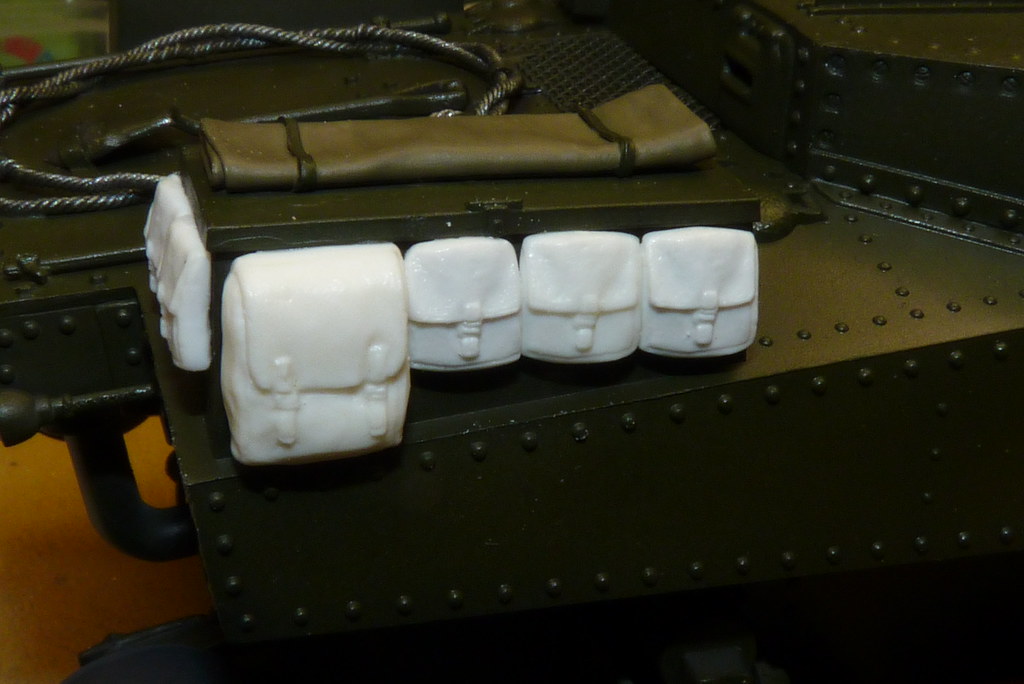
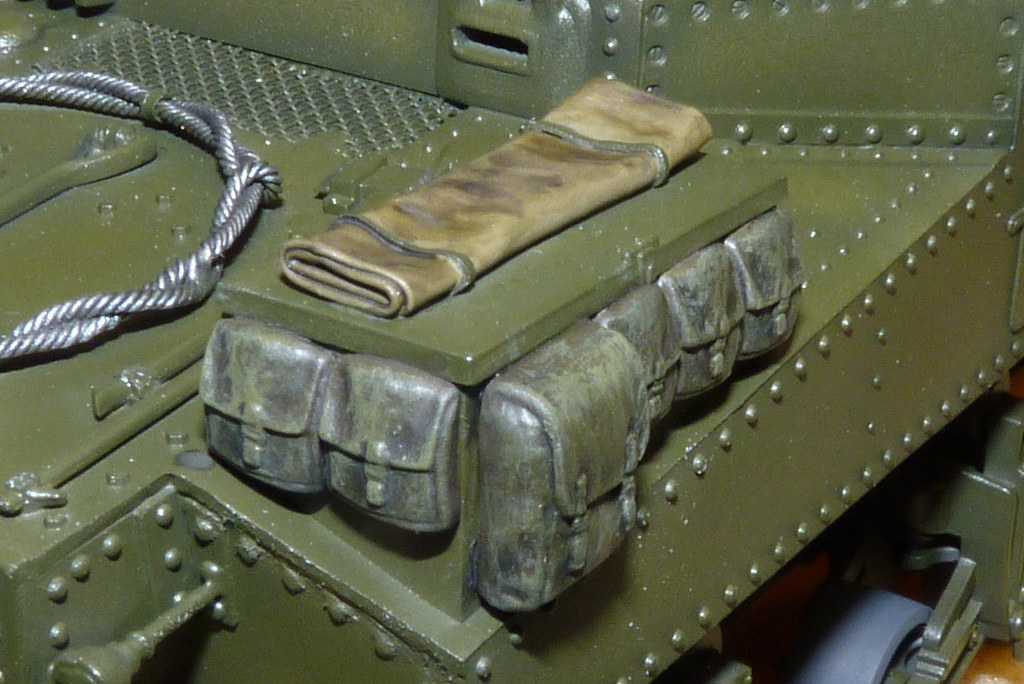
Once painted they didn't look too bad.

Now I have come to the part of the build that requires the decals, so I proceeded to apply the kit decals. I used Micro Set and Sol without any issues but after the first application of Micro Sol I noticed the decals didn't crinkle up as normal. I have had this happen before so I waited over night. The following day I noticed a few bubbles and loads of silvering. So I popped the bubbles with a pin a gently tapped the silvering also with the pin and then I reapplied the Micro Sol but I had the same result. I even applied a coat of Tamiya X20 Thinner to the decals and again with the same result. Then when I had a closer look and you could see that decals had not adhered to the surface plus they were brittle. So I put this down to the age of the decals and I came to the conclusion they were unusable. So I decided to remove the decals and I will make my own, I have made them before on a RC 1/16 Walker Bulldog upgrade I did a few years ago and its not hard.

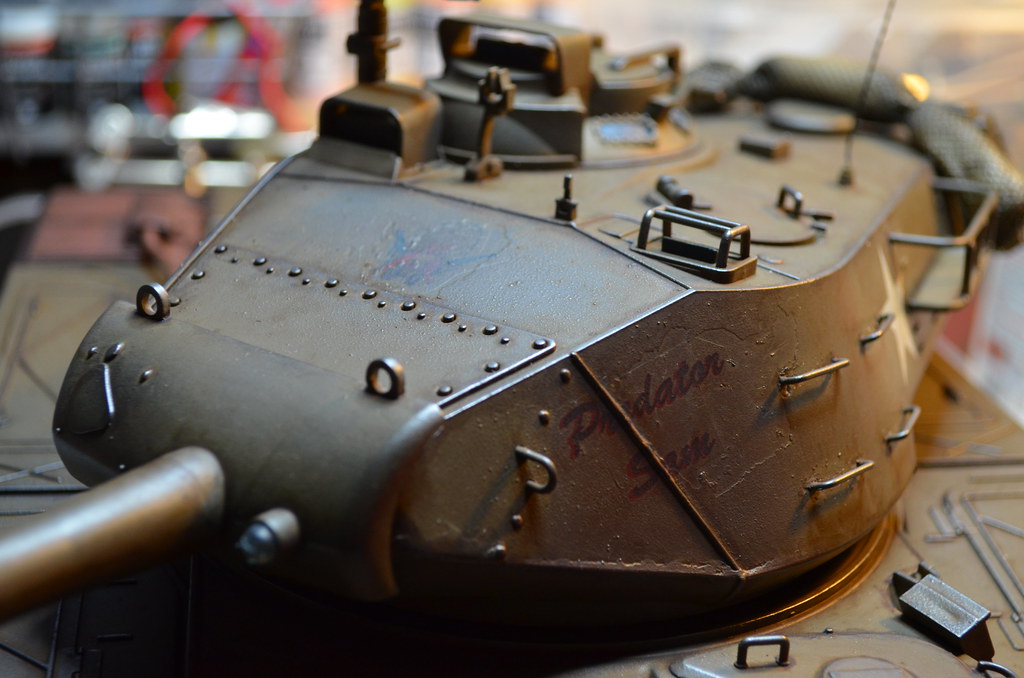
First you have to get the special paper and that depends on what printer you are going to use. I have tried making the decals on an inkjet and a colour laser. Out of the two I find the colour laser the best and quickest to use. The reason being if you decide to use an inkjet printer, once you have printed the decal sheet you have to give it a coat of varnish to seal in the ink before you can use the decal sheet. With a laser you don't and you can use it almost straight from the printer. The other reason is that because the laser doesn't require a coat of varnish the decal itself is a lot thinner. In the photo below "Predator Sam" & "Uncle Sam" were printed using a inkjet printer and they were given coat of varnish before being cut to size and applied.

As you can see the decals are quite thick so I removed them and printed new ones using a laser printer instead. The photo's below are the laser printed ones.
http://farm9.staticflickr.com/8516/8463 ... 594d_b.jpg;
o I am going to use a colour laser printer. For a laser printer (as the same for an inkjet printer) there are two types of paper, clear or transparent and white. The reason for this is that your printer doesn't print white so if your new decal has white in it, you can either paint the area where the decal is going to be placed white and use the clear paper or use the white paper. The problem with using the white paper is that you have to be really good with a modelling knife if your decal is say white lettering, etc. This is the only real draw back as I can see. The "white stars" were printed on white paper and what I did was to draw the stars with a very thin black hairline as a cutting guide in the software I was using (an old version of CorelDraw). So as I cut out the star it destroyed the thin black line.
You can buy your paper on Ebay but I got mine from
http://www.homecrafts.co.uk/laser-water ... r-a4-white
http://www.homecrafts.co.uk/laser-water ... aper-clear
They also sell the inkjet version. It costs £8.99 for ten A4 sheets but on your first order you get 20% discount with a code. What I do is cut the A4 in half and then you have twenty sheets of A5.
For the software I use CorelDraw but there are loads of free drawing apps available on the web or just use Windows Paint. The other thing you might require is the correct font which again can found in most cases free on the web.
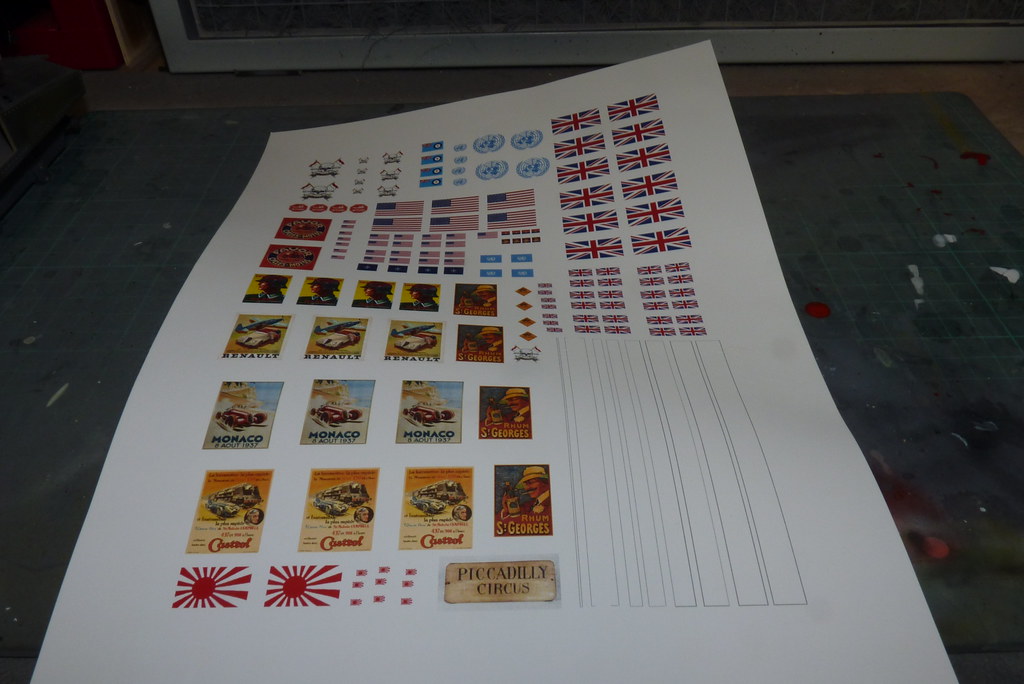
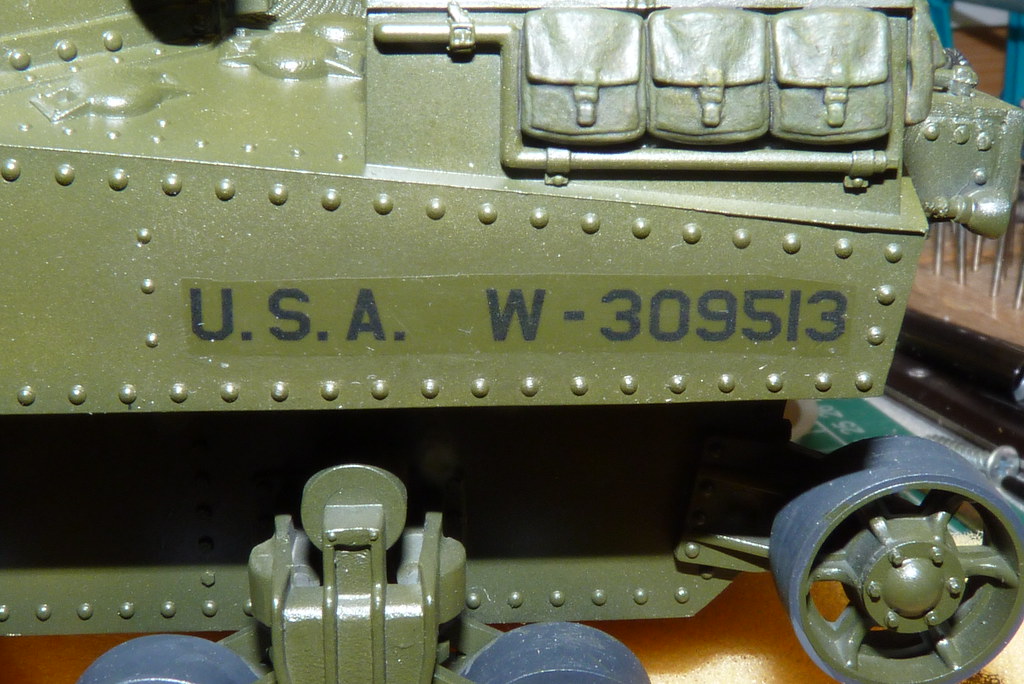
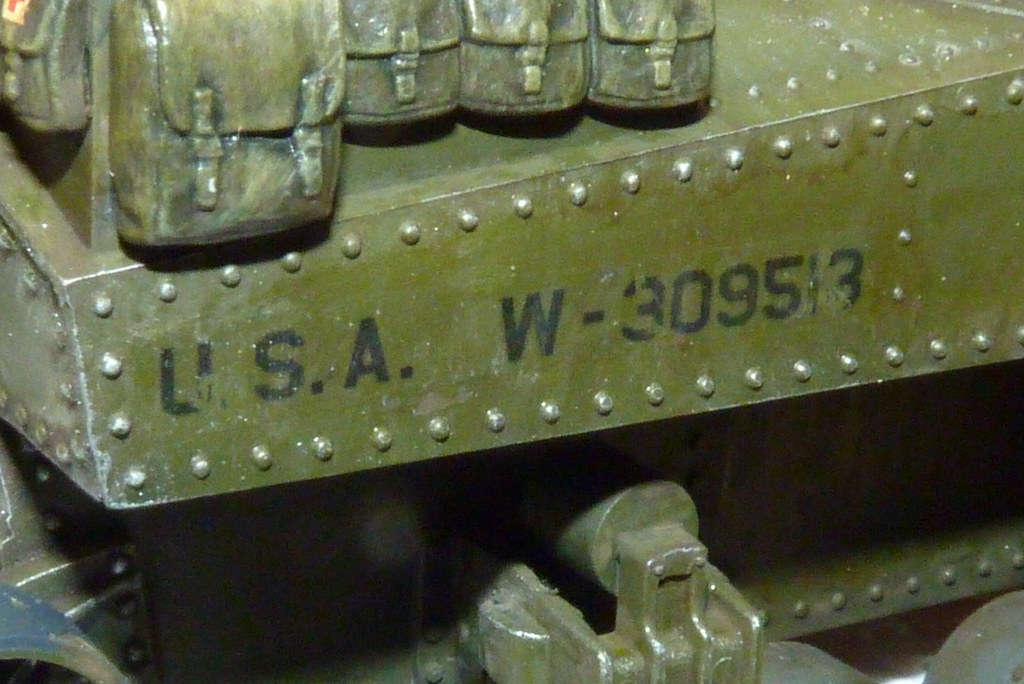
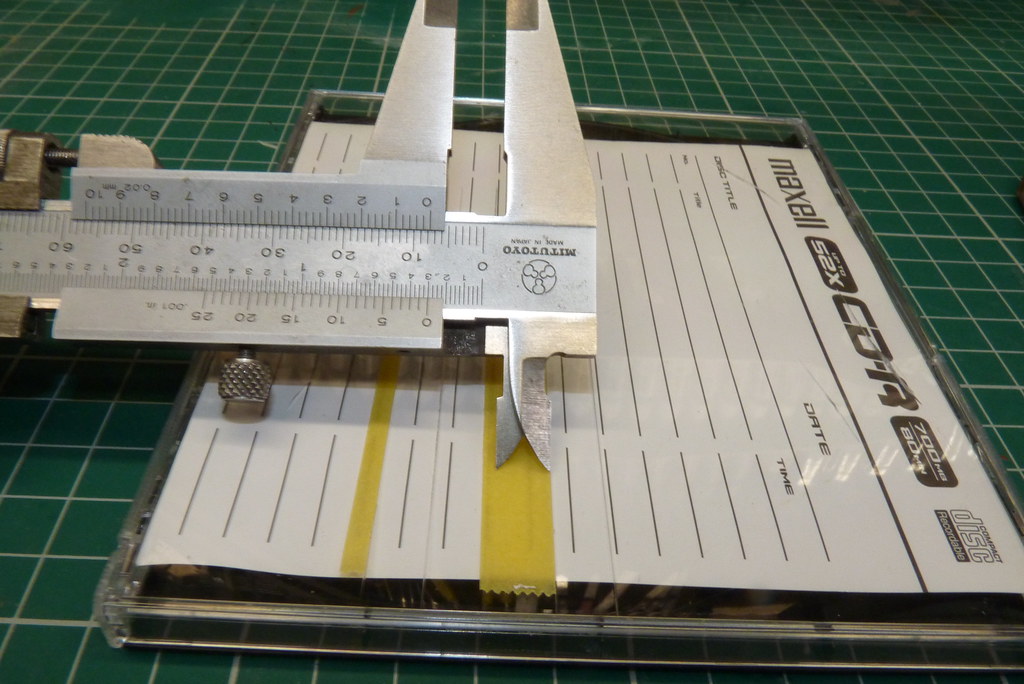
Now I am ready to go. What I need for my tank is the serial number which isn't a problem because the one I am after is in black and I also need a stars & stripes. So for the serial number I will use a clear sheet of decal paper and for the stars & stripes I will need the white paper. I also measured up the original decals so to get the correct size. What I also do is to print off a test sheet on normal white paper to check the decal size, etc before I use the decal paper.
All you have to do now is print off the sheet.
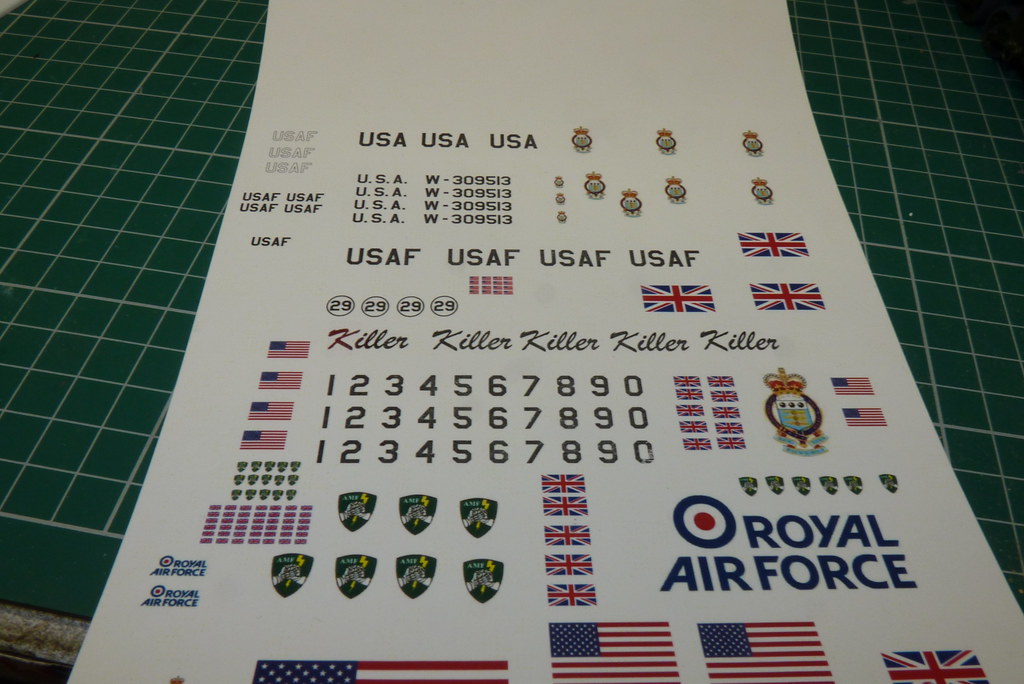
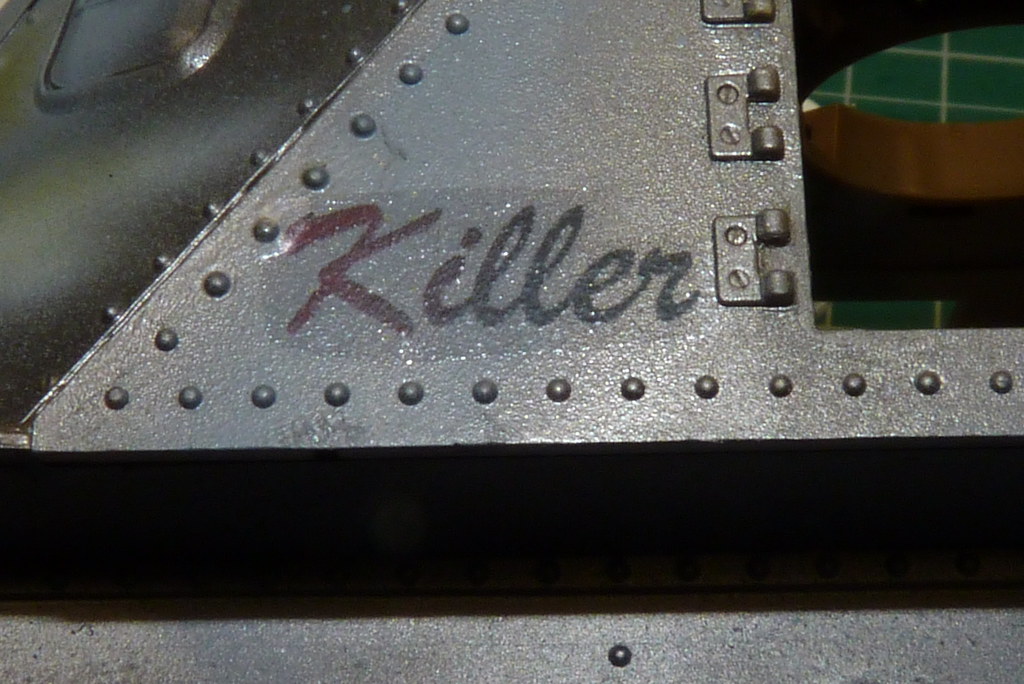
As to not waste the paper I have added one or two badges, etc that I might need on future builds and to practise on. At the minute I am not ready to apply the new decals as I have one or two things to do to my tank so I got my "Buster" out to give you a demo. I am going to use one of the "Killer" decals, so I cut it out as normal and placed it in the water. The water doesn't need to be warm as I used cold and it took less than 30 sec to slide off the backing sheet. I used some Micro Set and then applied the decal. The surface of my Buster isn't glossy at all and is more a matt finish.
Then I removed the excess water and pushed out any bubbles with a soft brush and cotton bud. Then I applied the Micro Sol. As you can see from the photo below I added a bit too much Sol but it doesn't matter.
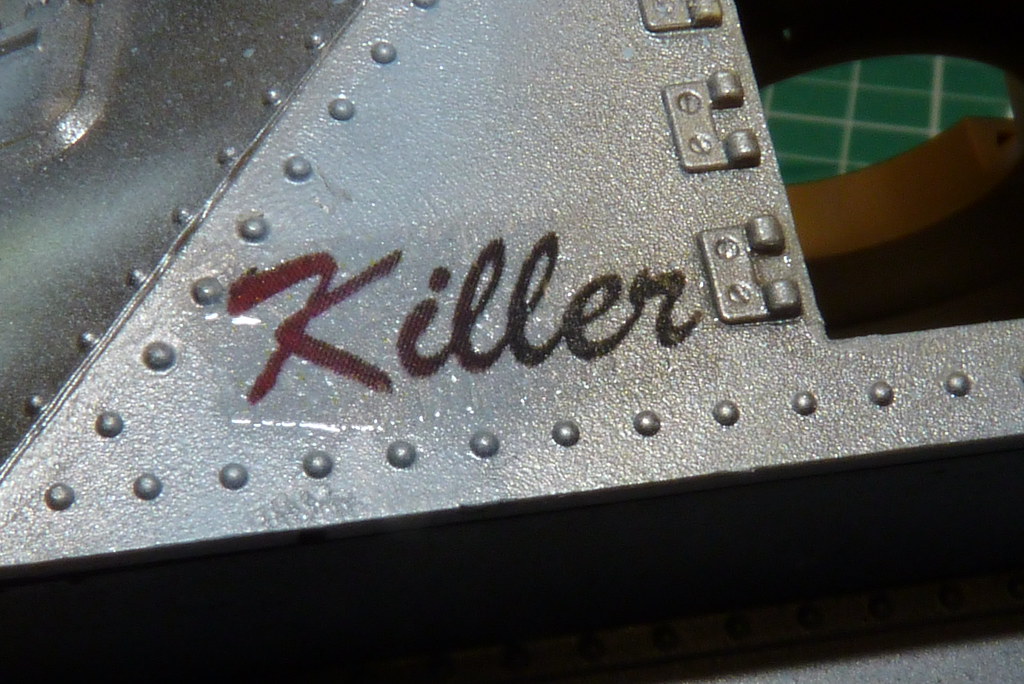
The decal started crinkling almost straight away.

And after ten minutes here is the result.

Just to see what would happen I gave it another go with the Micro Sol.
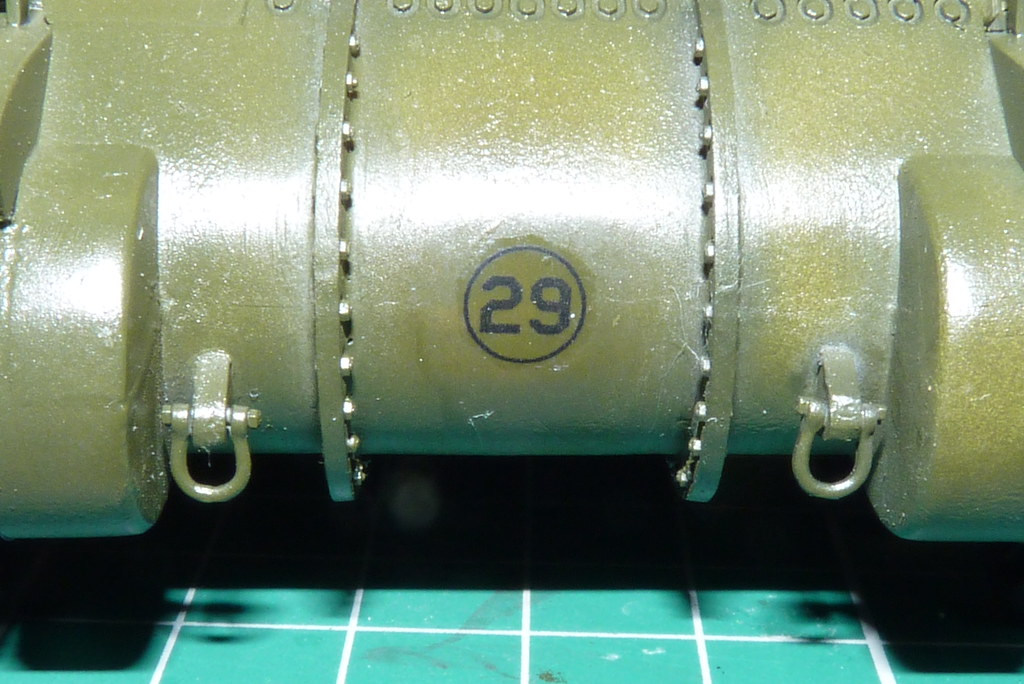
There is no silvering at all and thats on an uneven surface. So as I have said earlier I removed the old ones from the tank. It was only the transparent kit decals that needed replacing. The others were ok.

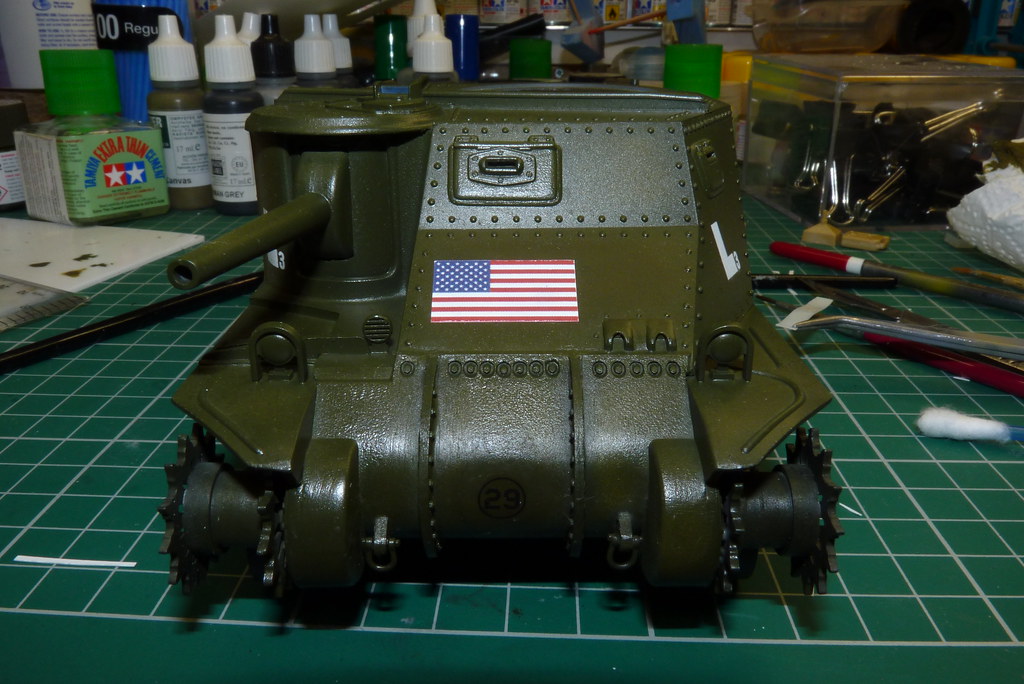
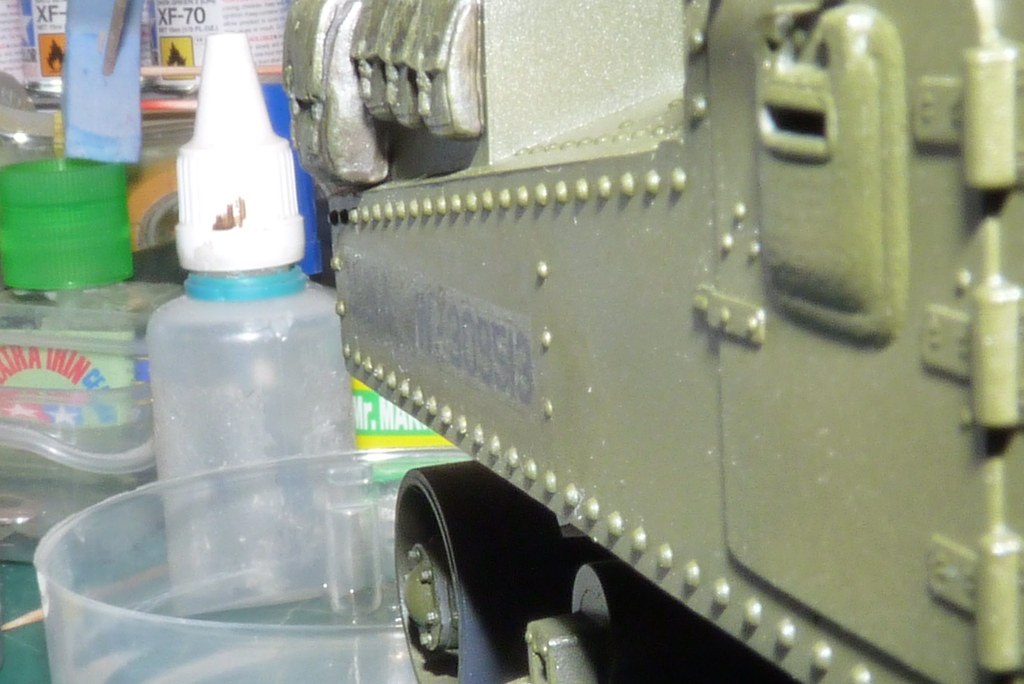
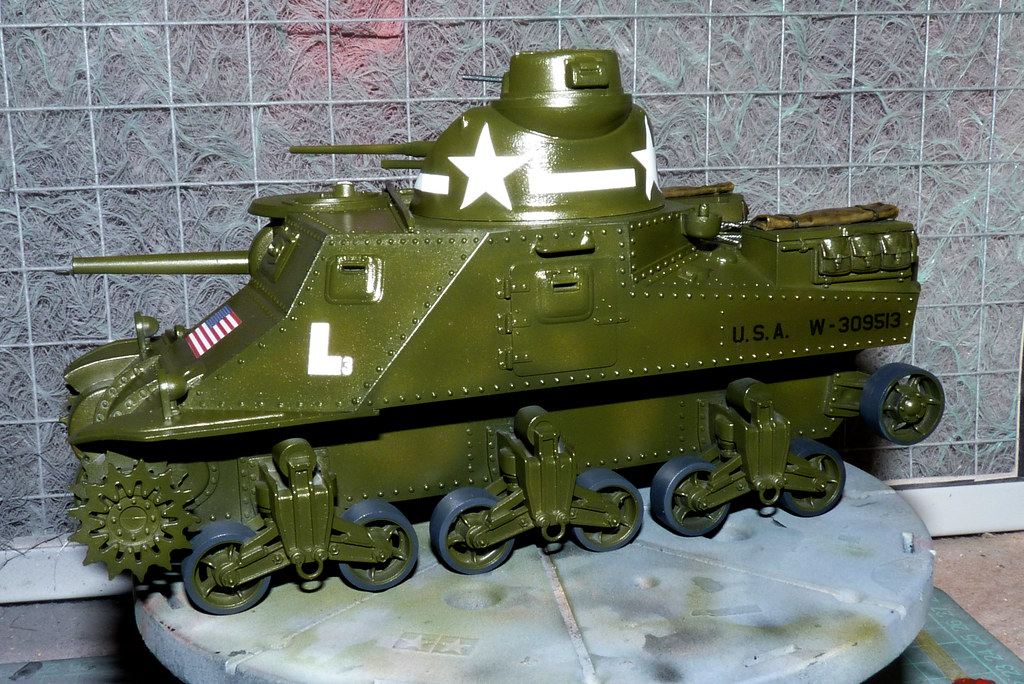
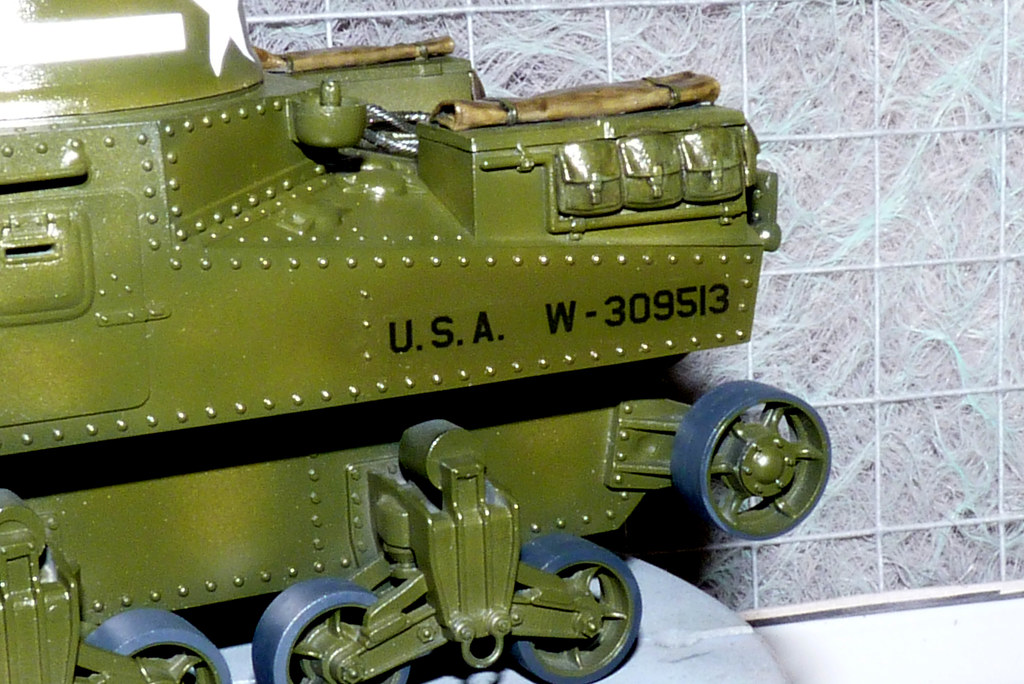
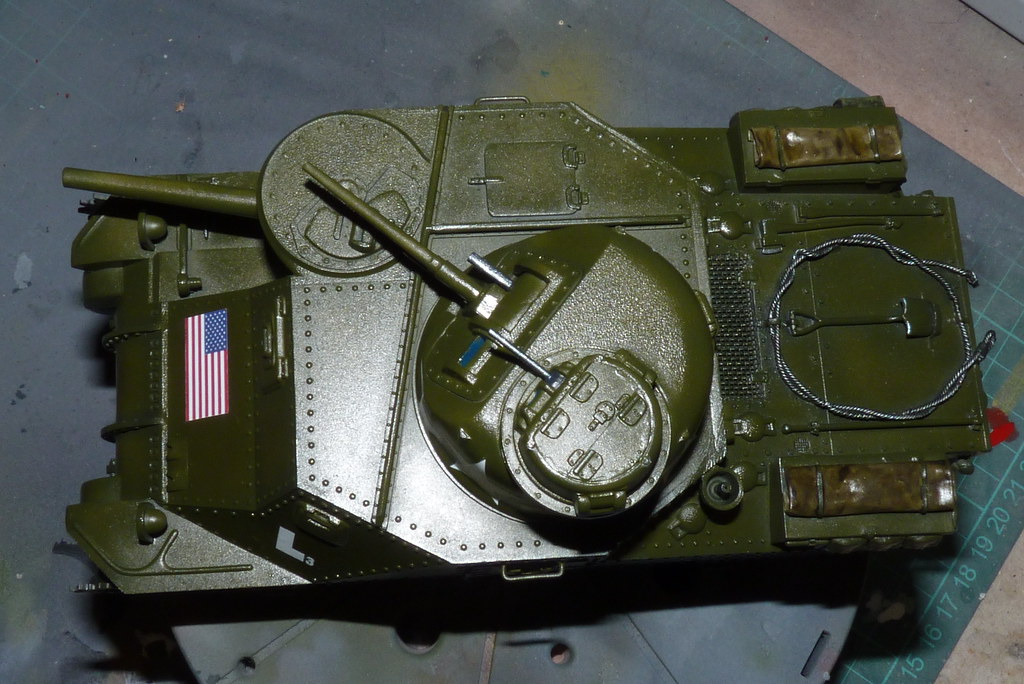
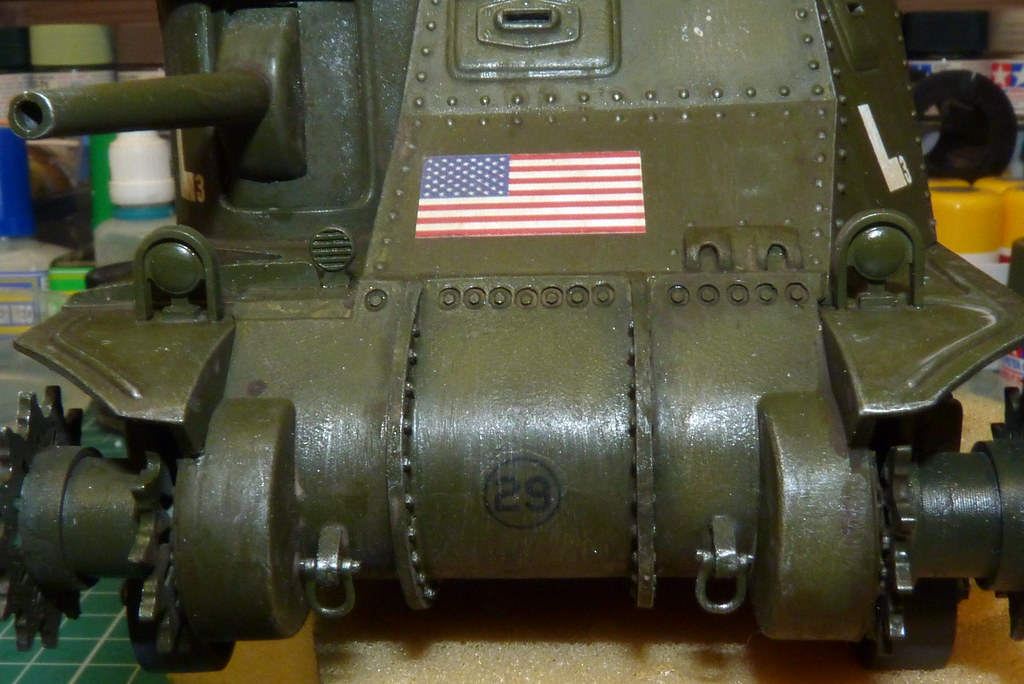
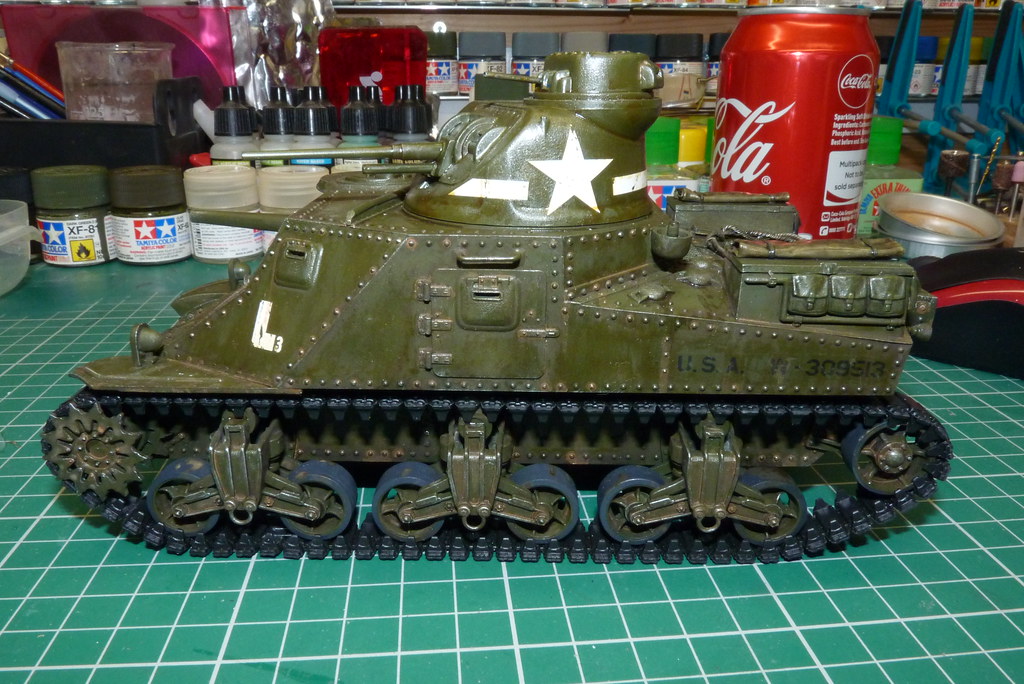
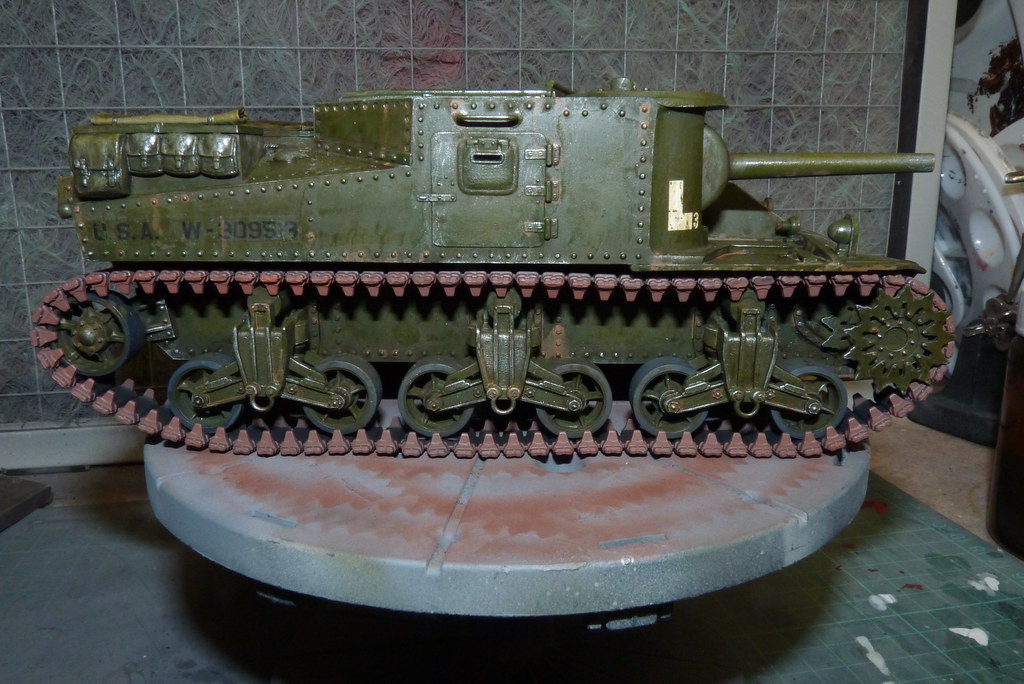
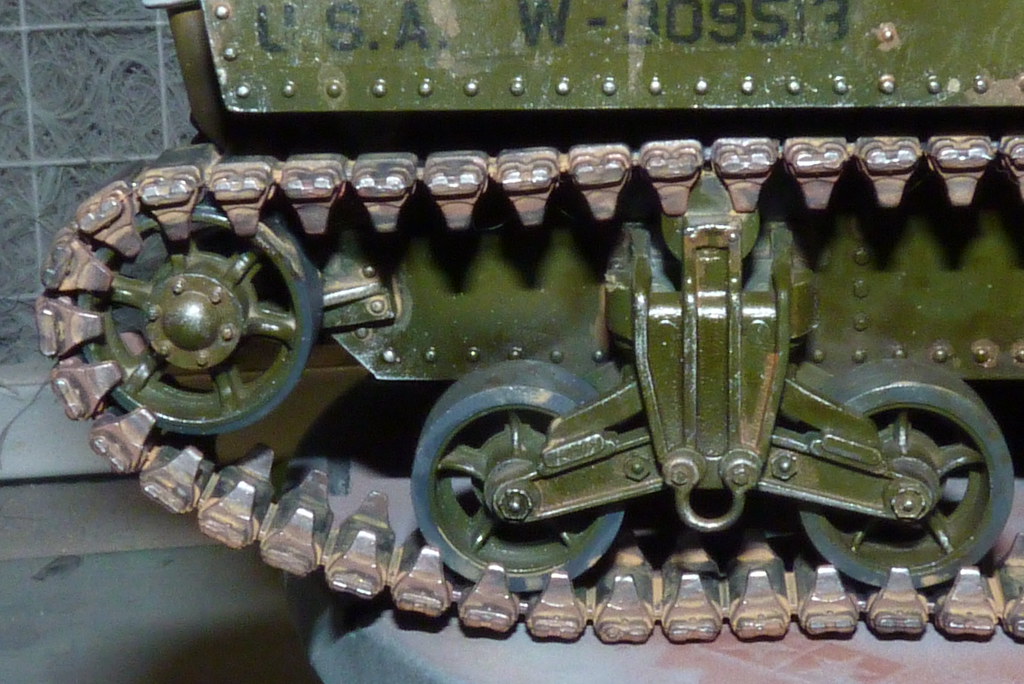
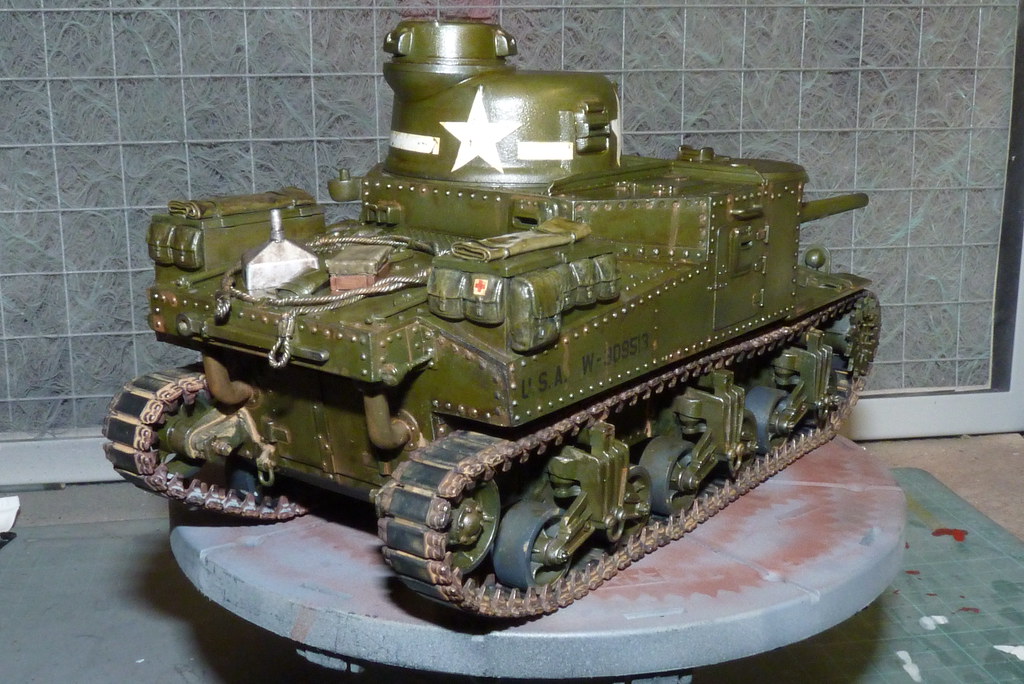
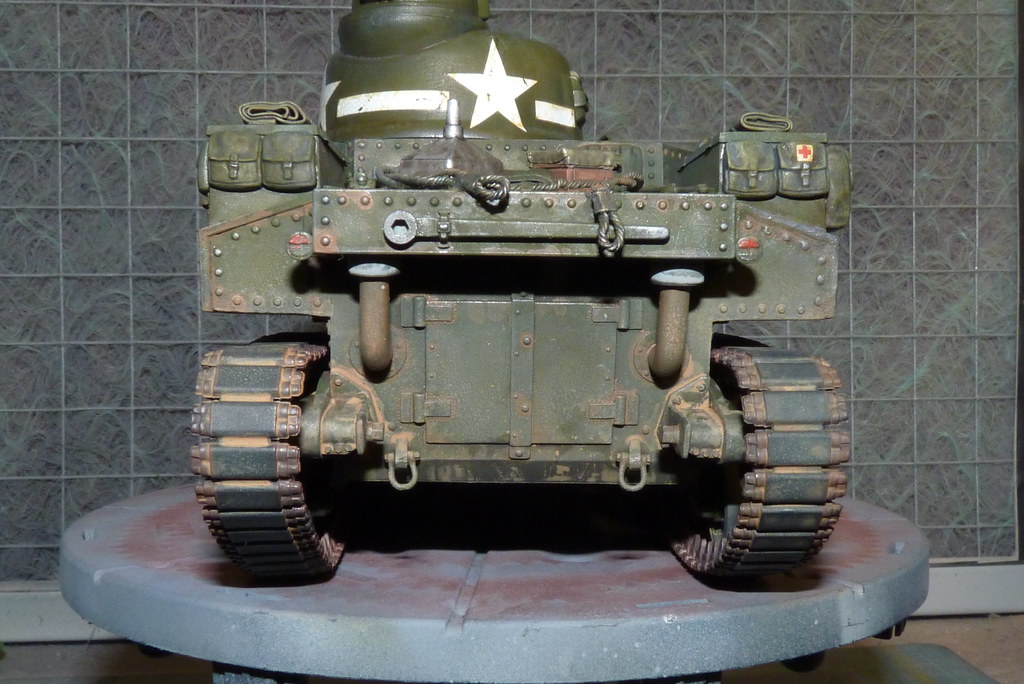
I then resprayed the area again and made my decals on clear decal paper. I applied the home made decals using Microsol and Set.

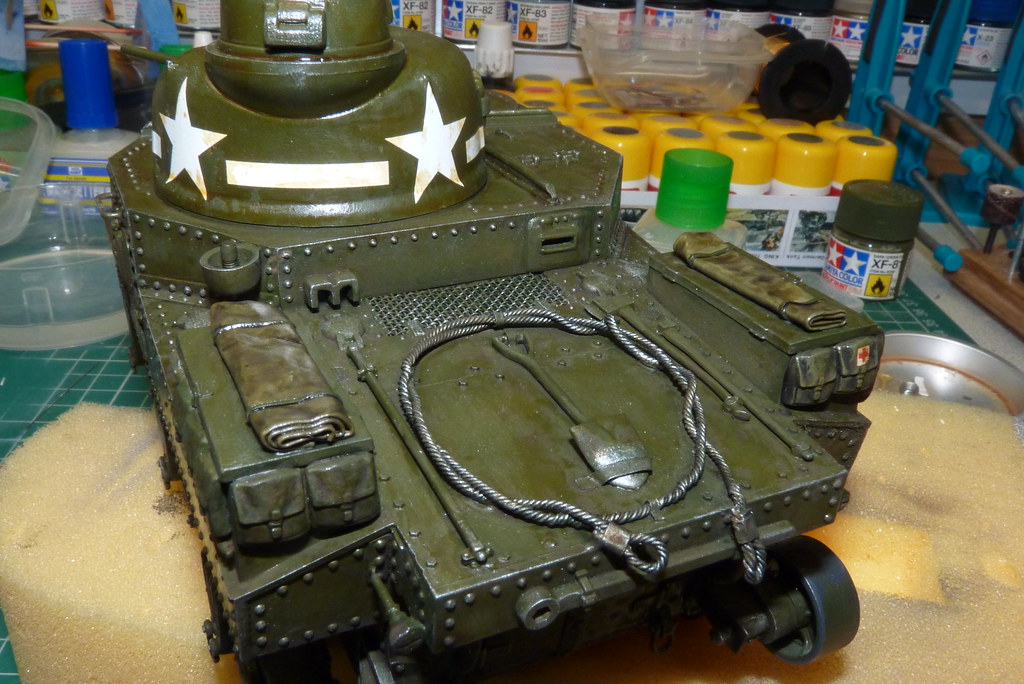
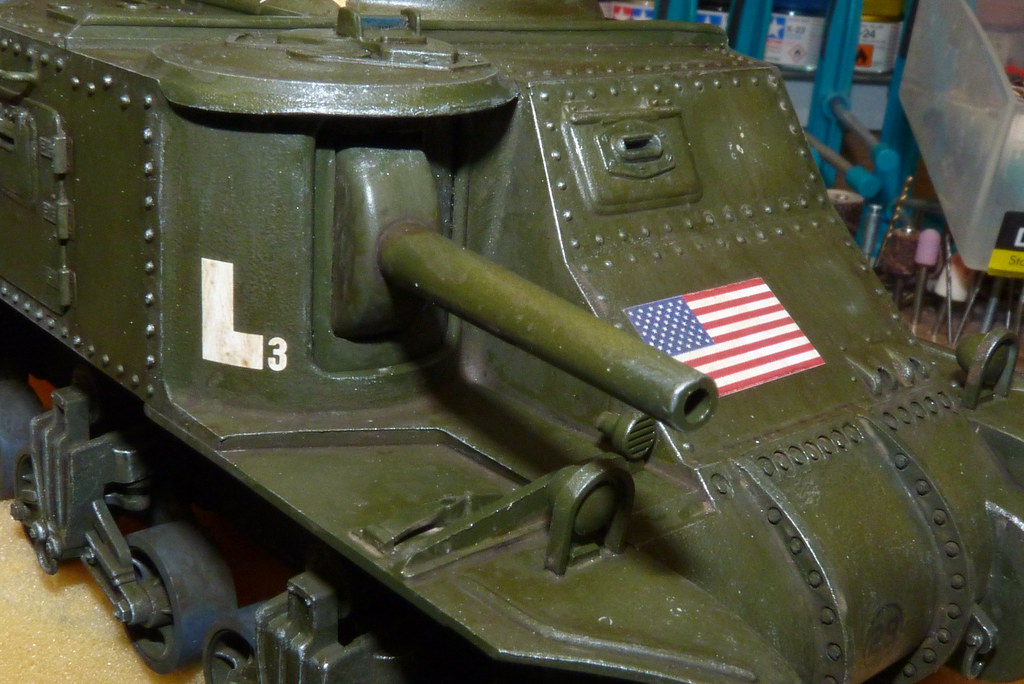
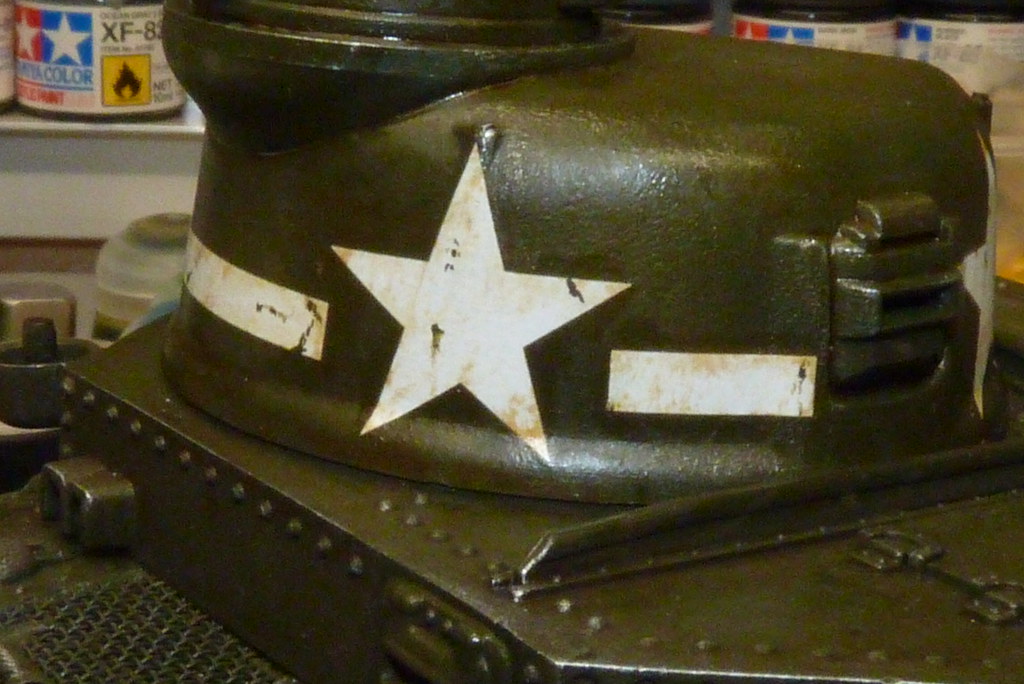
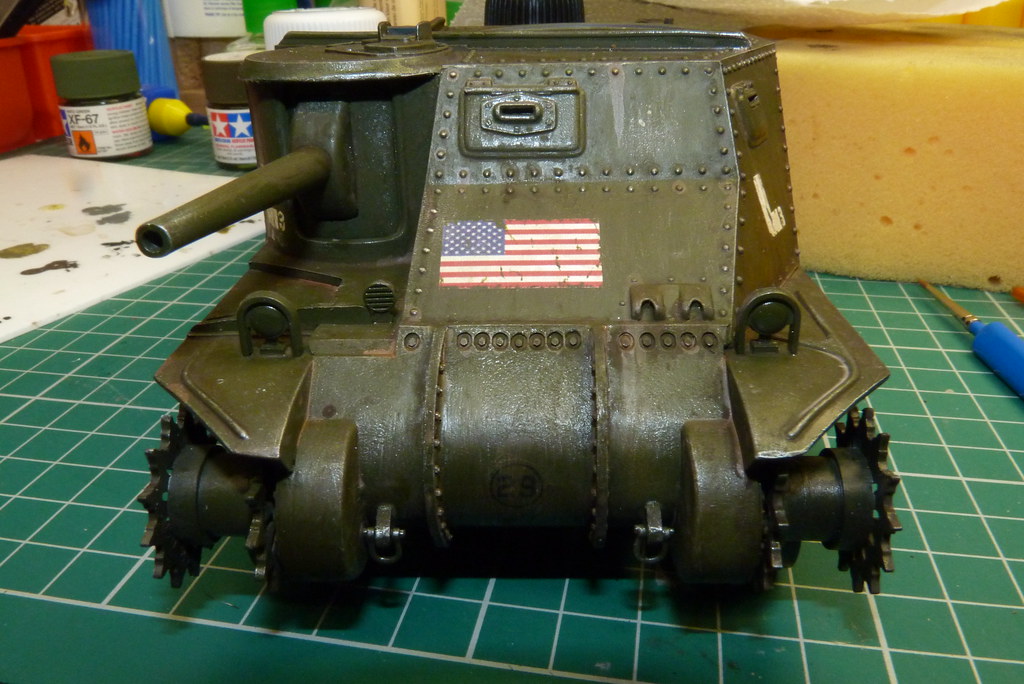
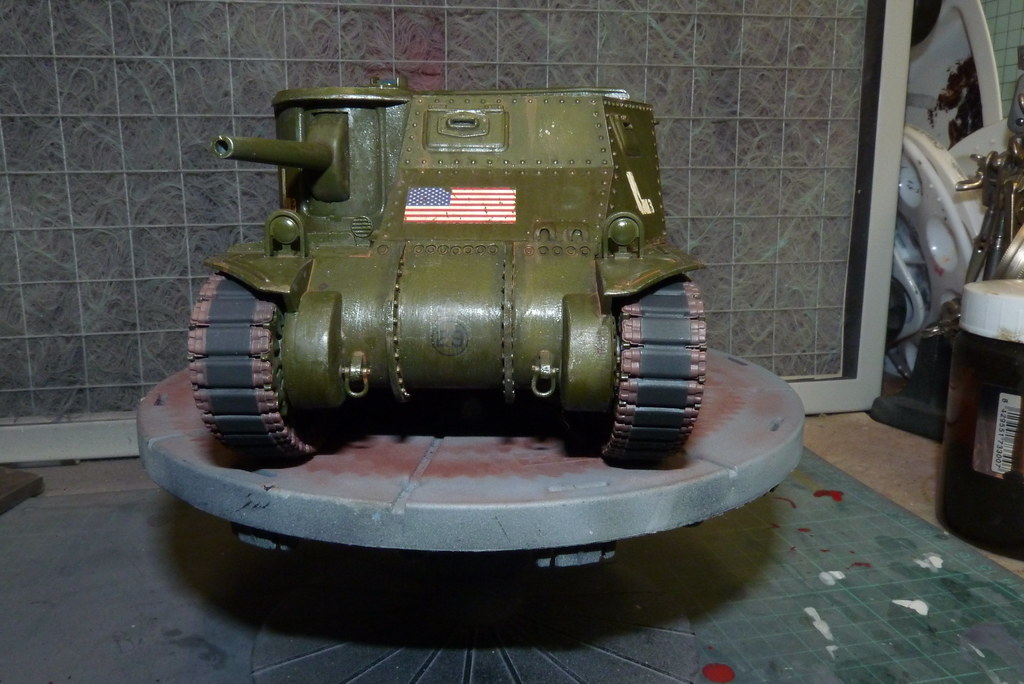
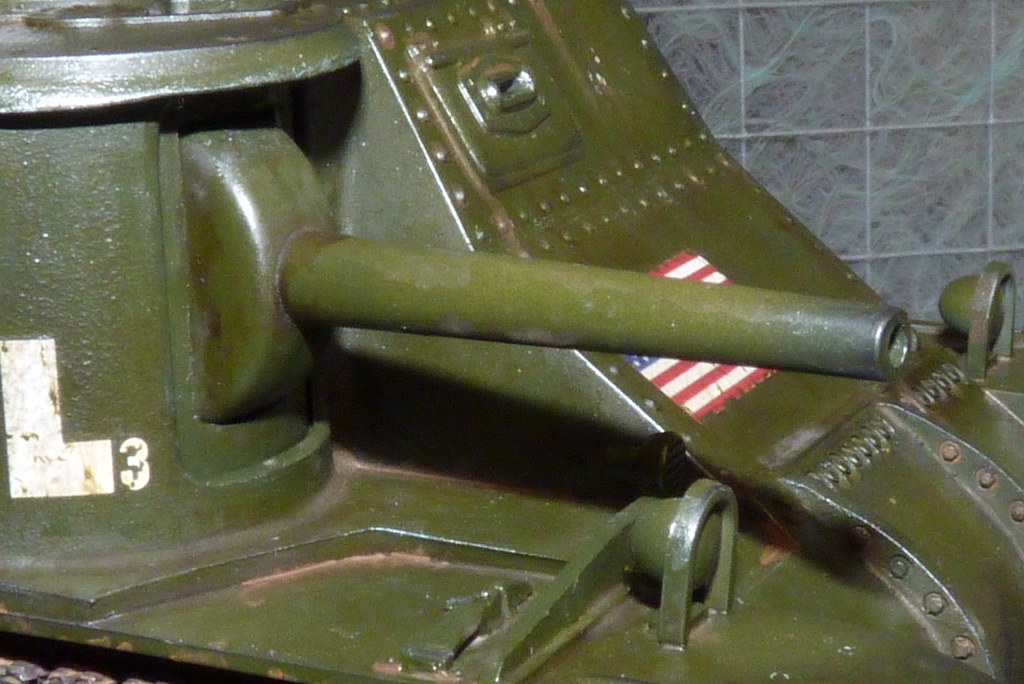
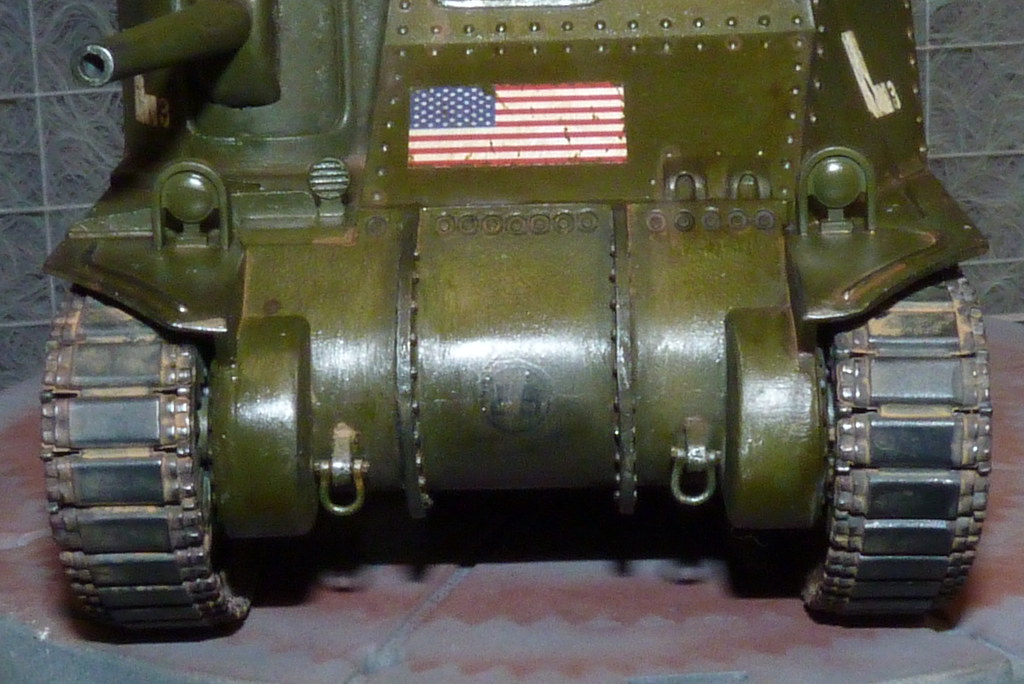
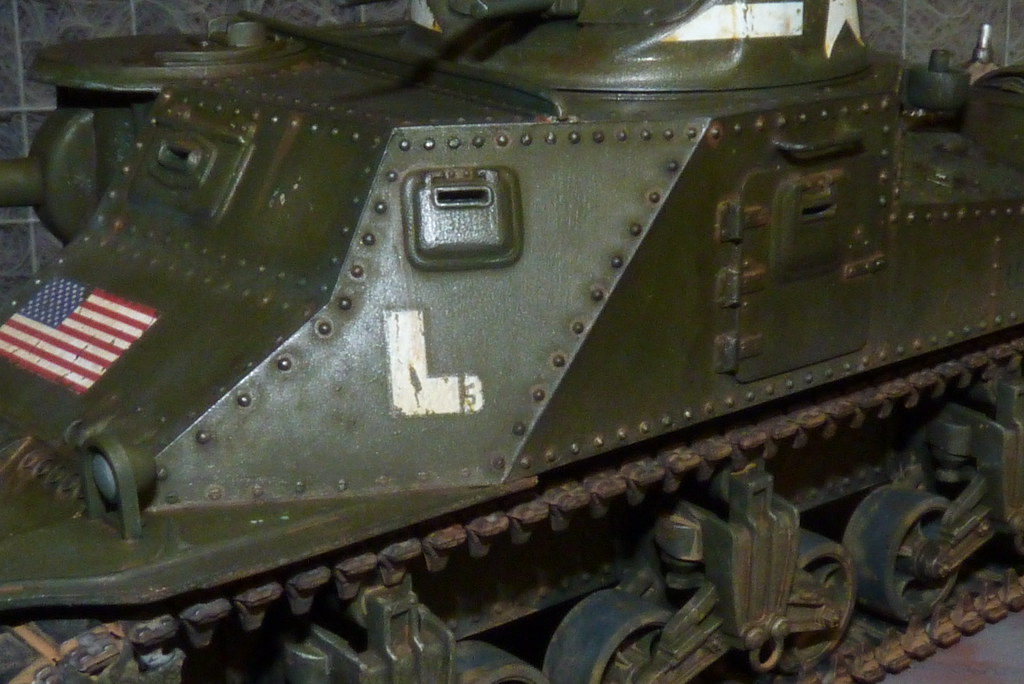
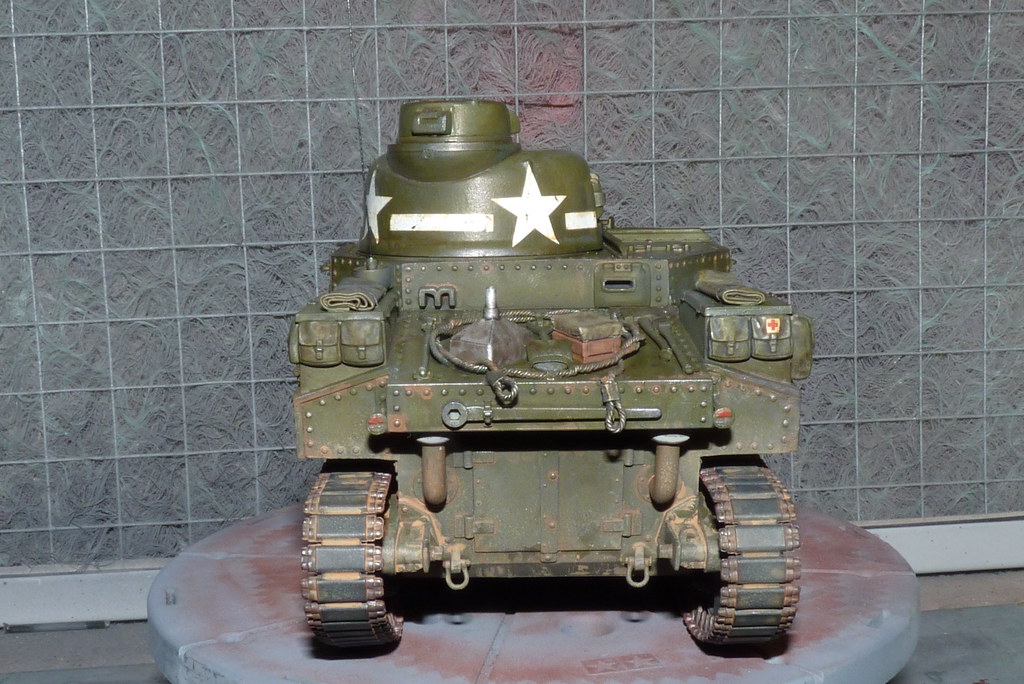
For the Stars & Stripes flag on the front of the hull I used white decal paper. As the sheet was A4 I added a few other things that I might use in future builds as with the transparent decal sheet.
I cut out the flag with a knife.

Then I applied as normal.
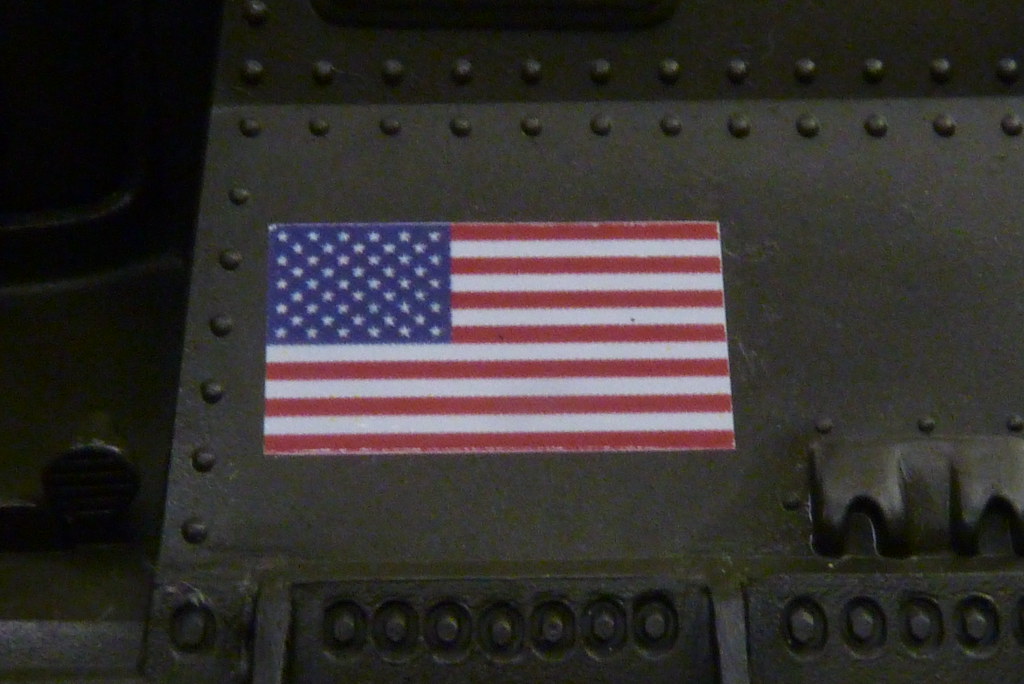
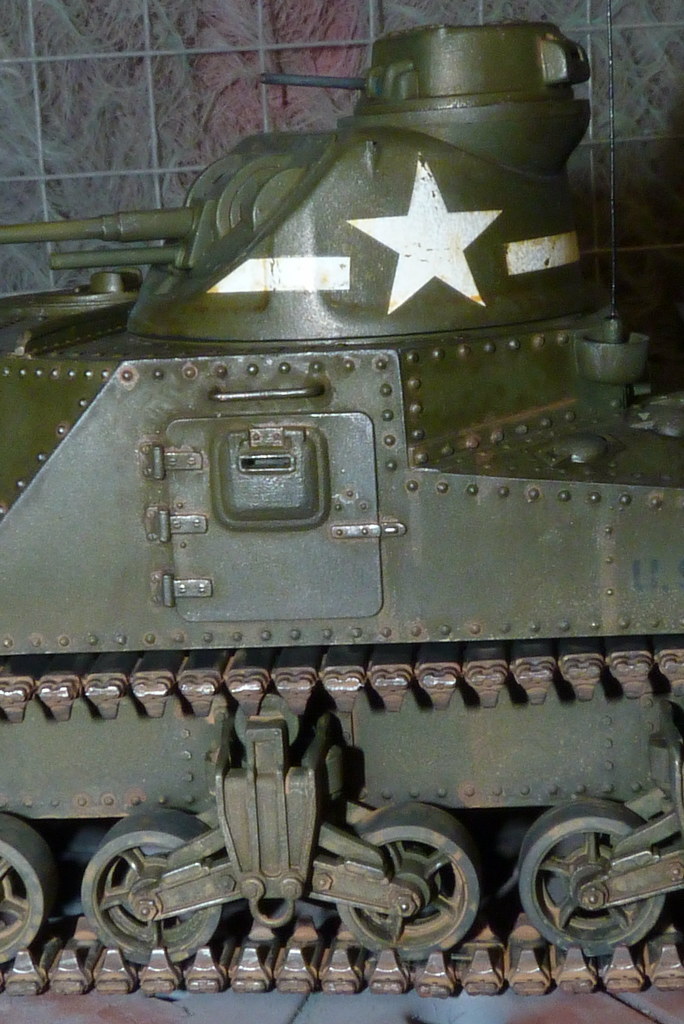
The decals adhere extremely well. The film is very thin but for decals they are quite robust.
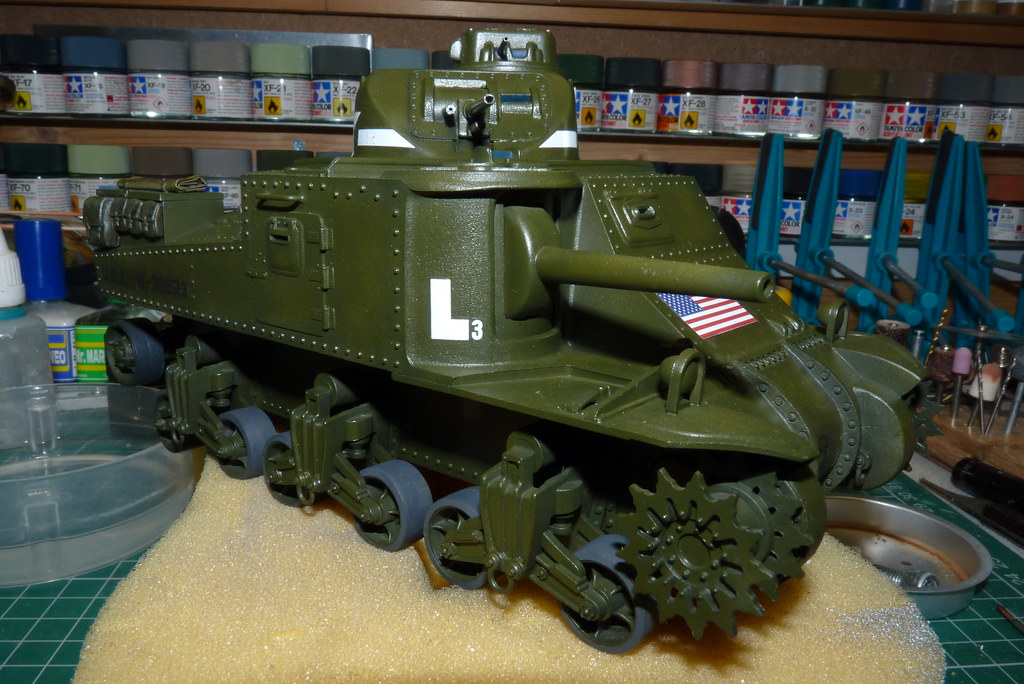
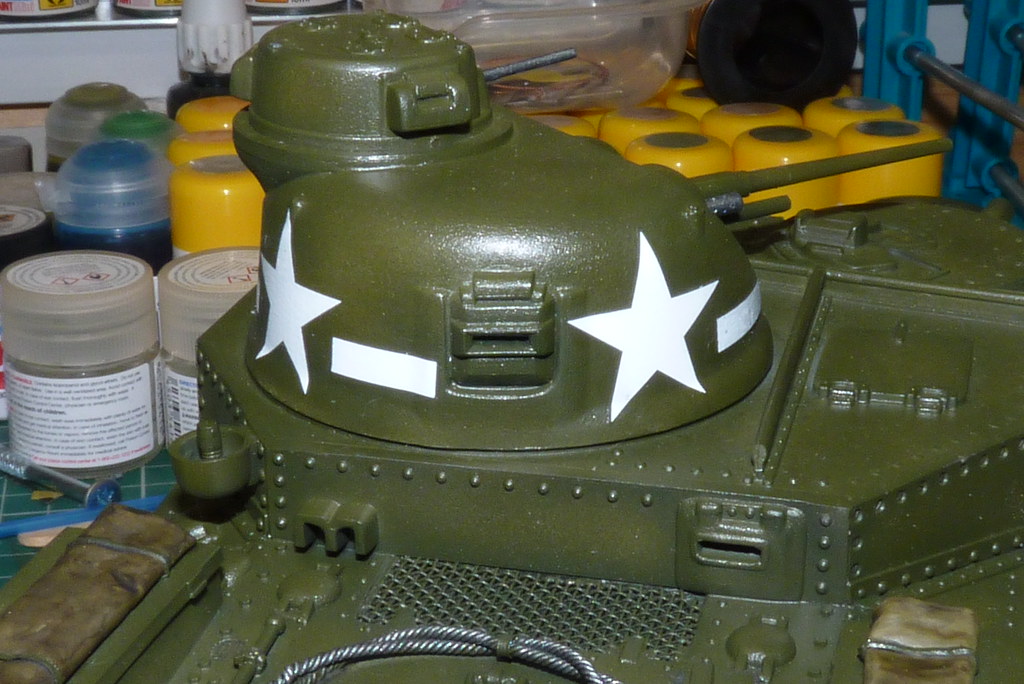
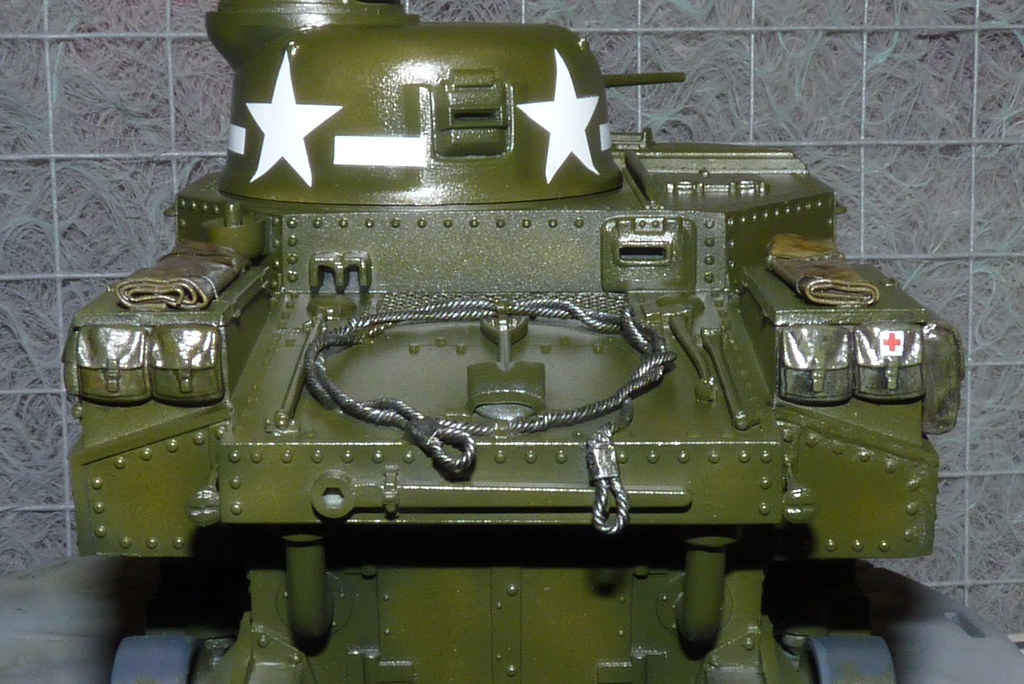
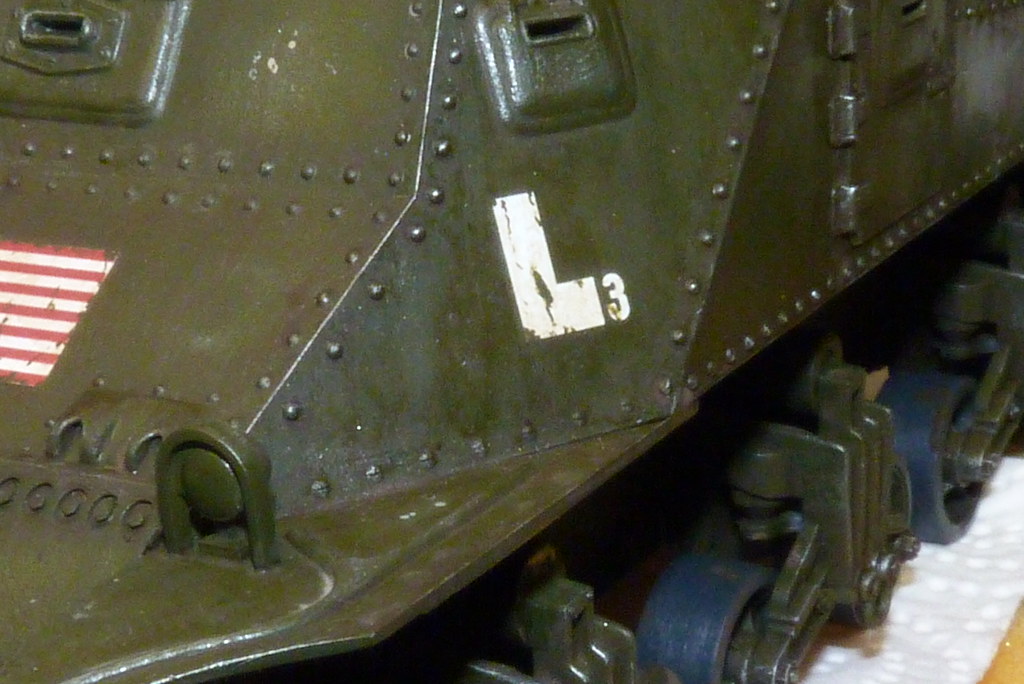
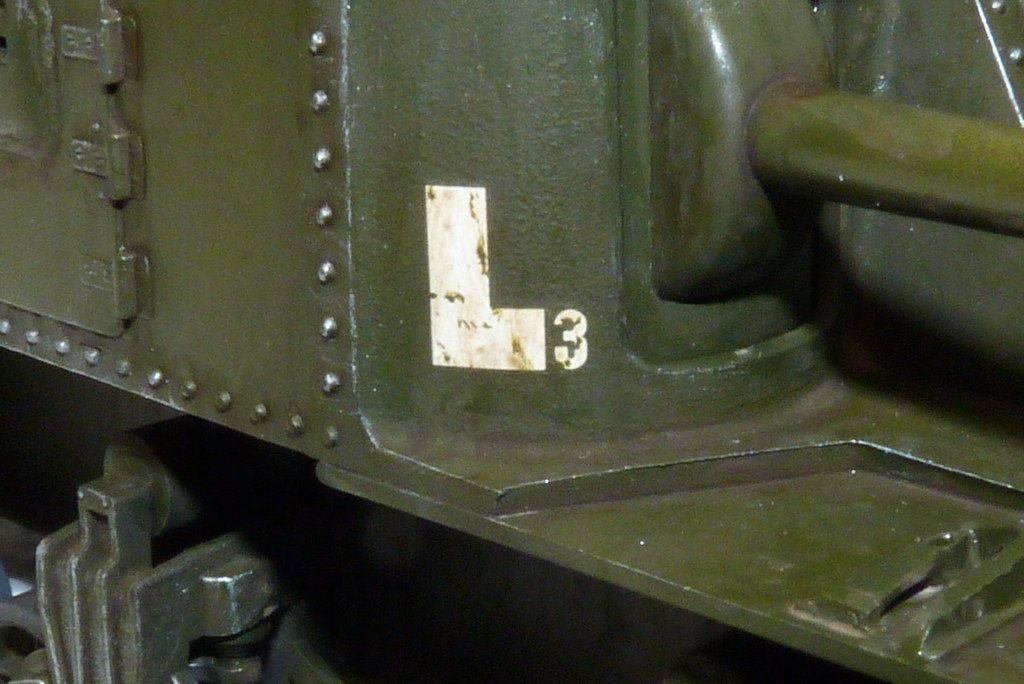
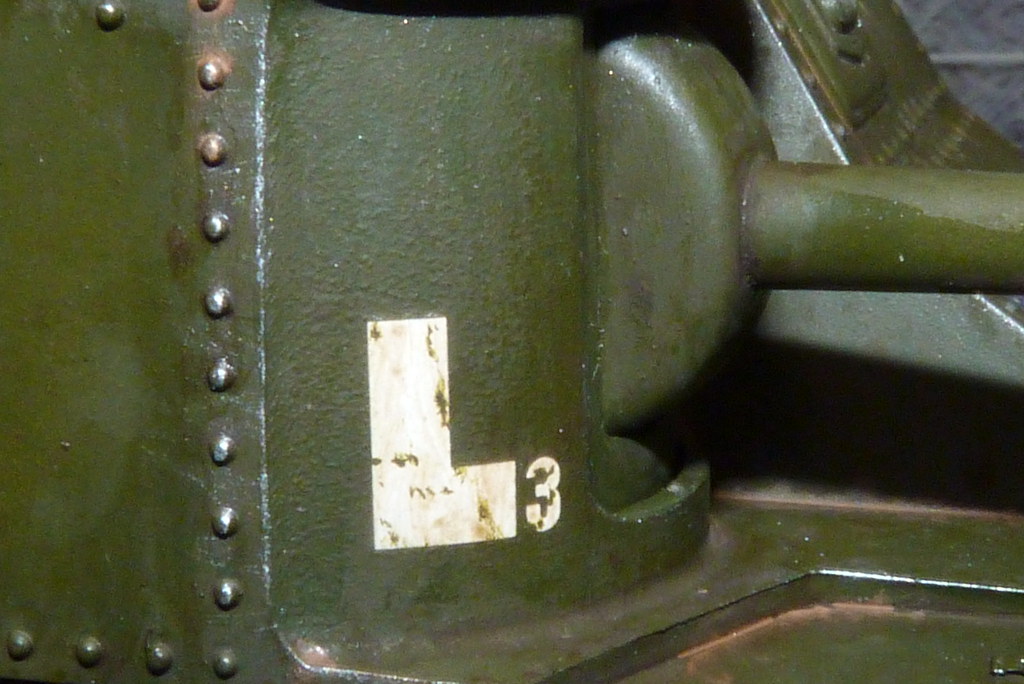
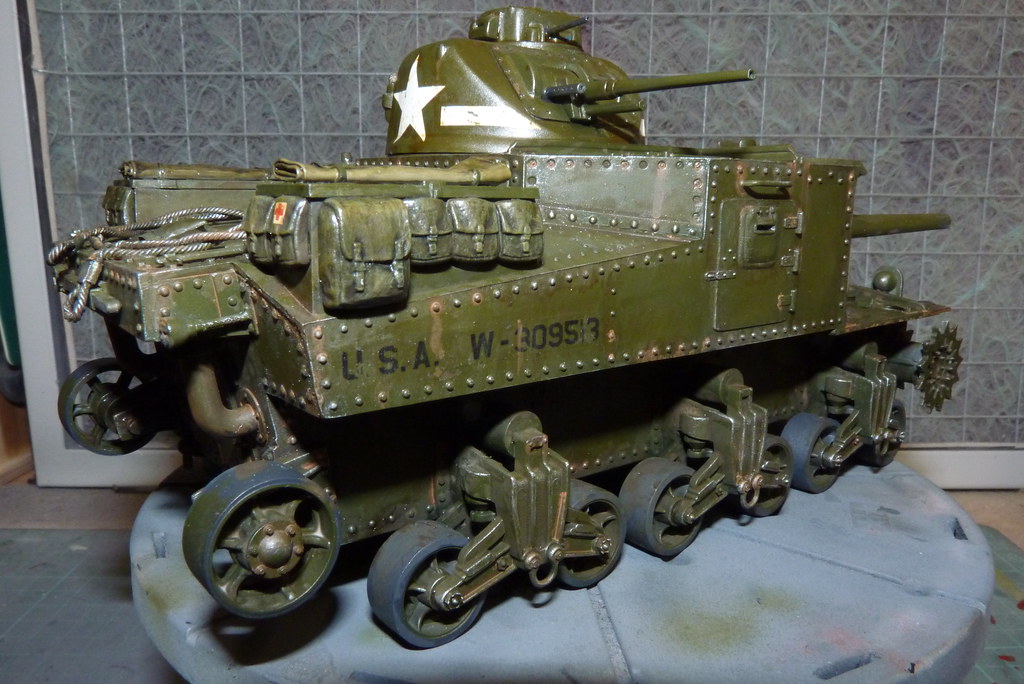
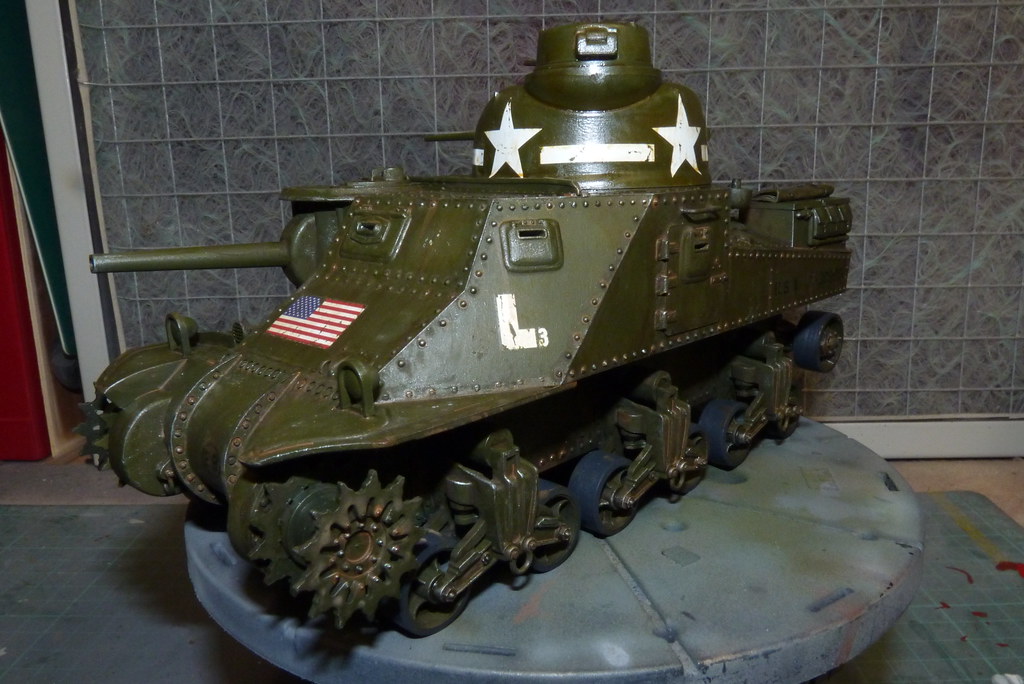
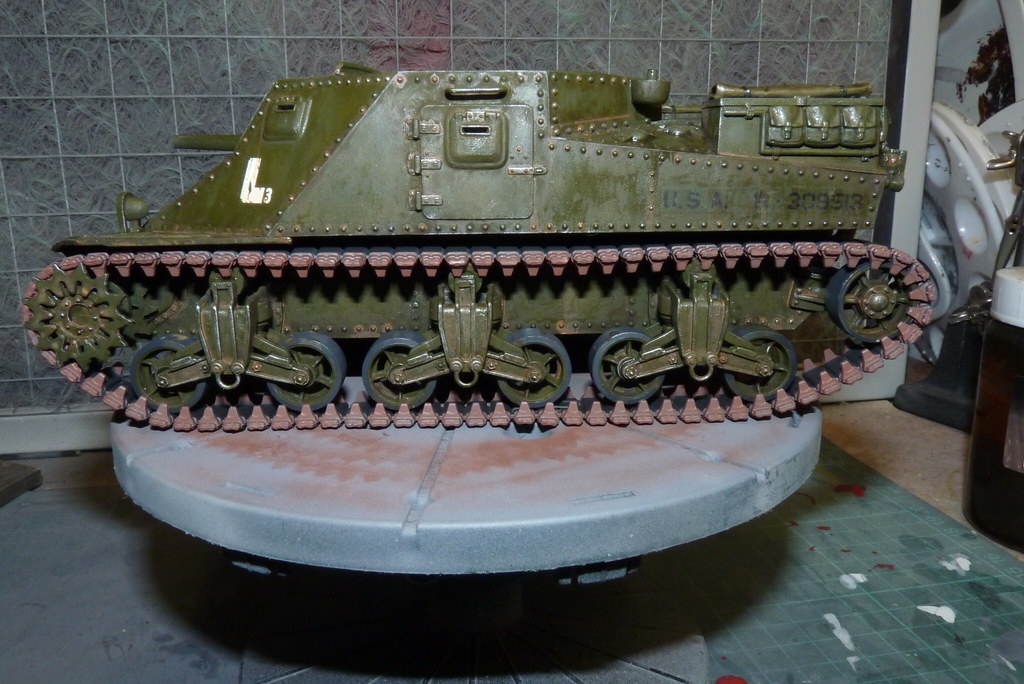
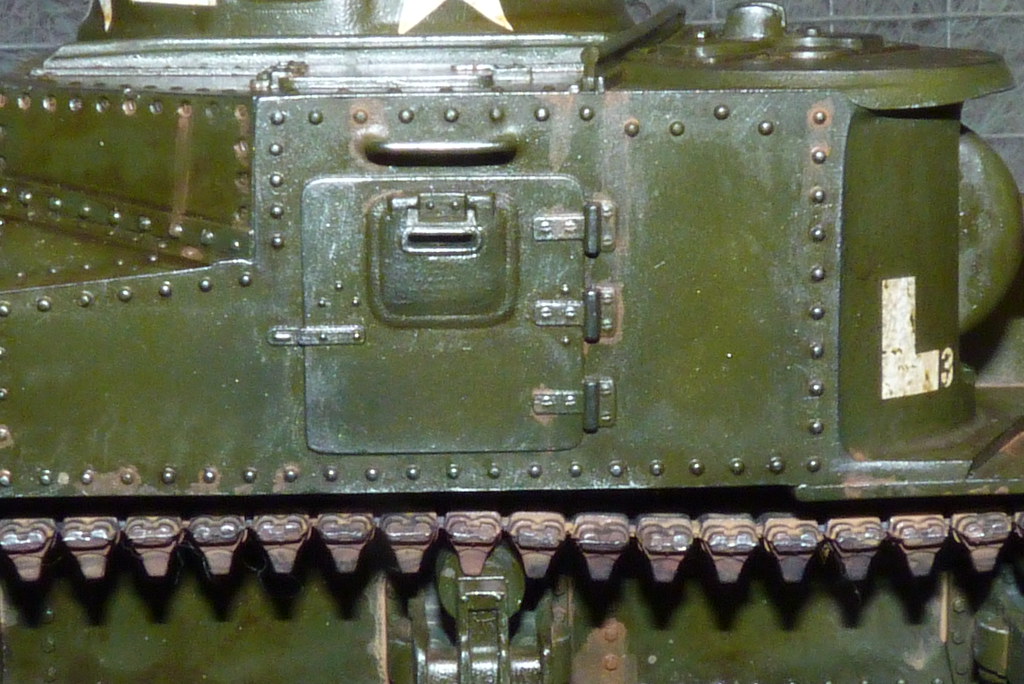
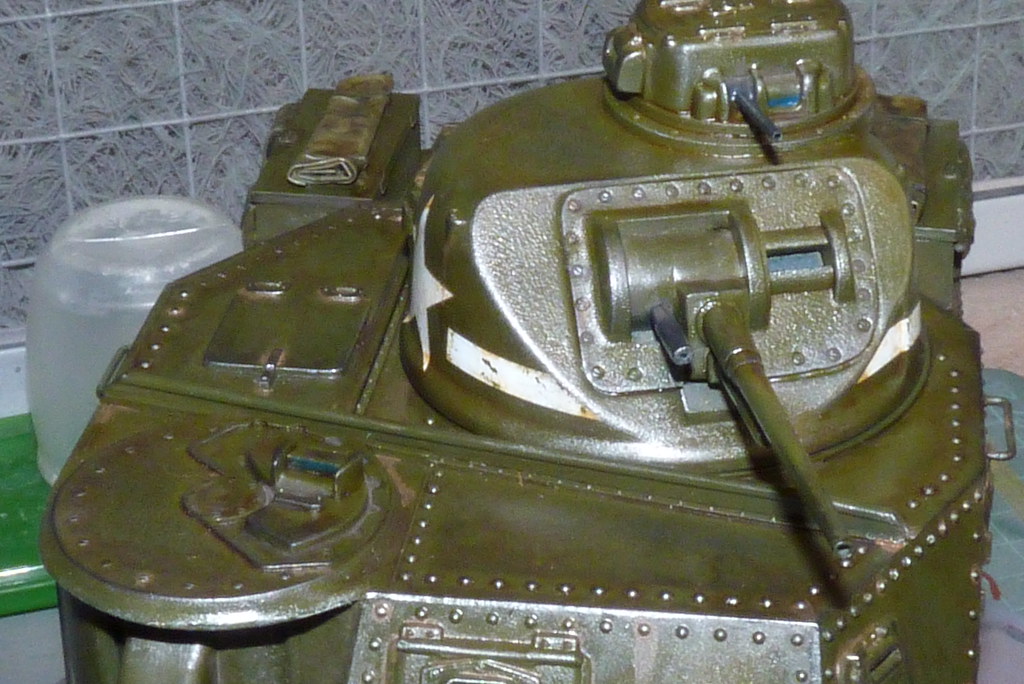
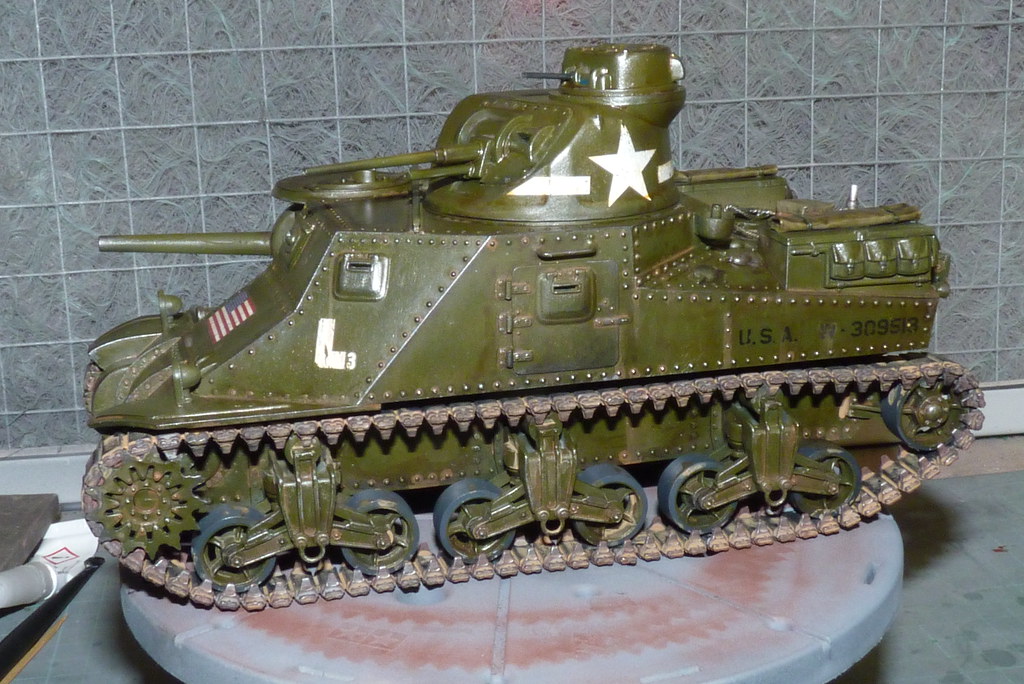
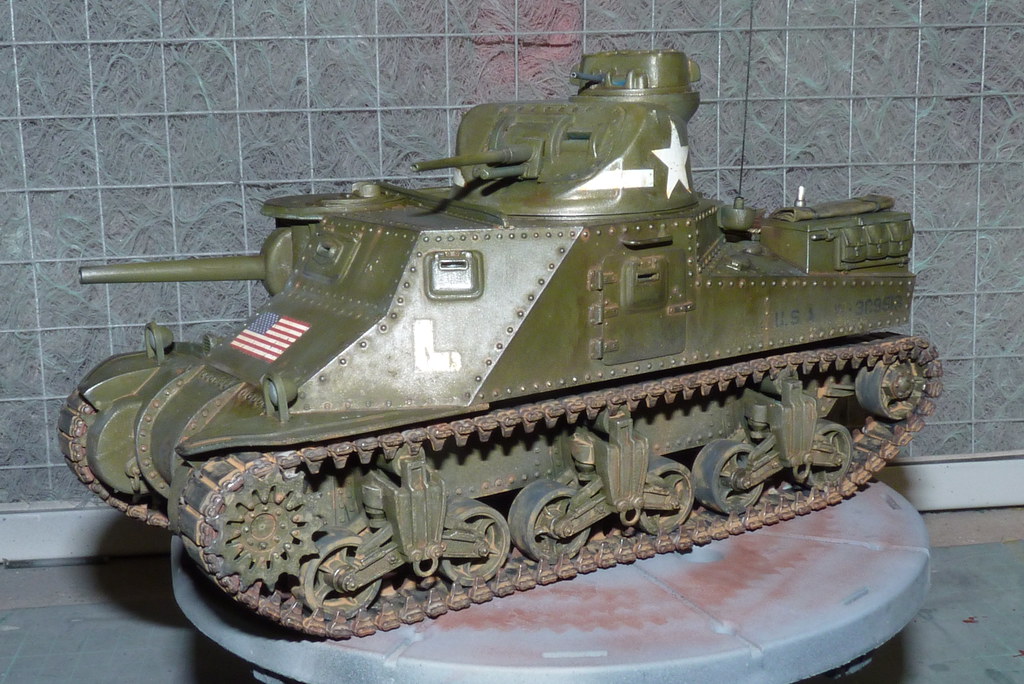
The decals on the turret, the "L 3's" are from the kit and the rest are homemade.
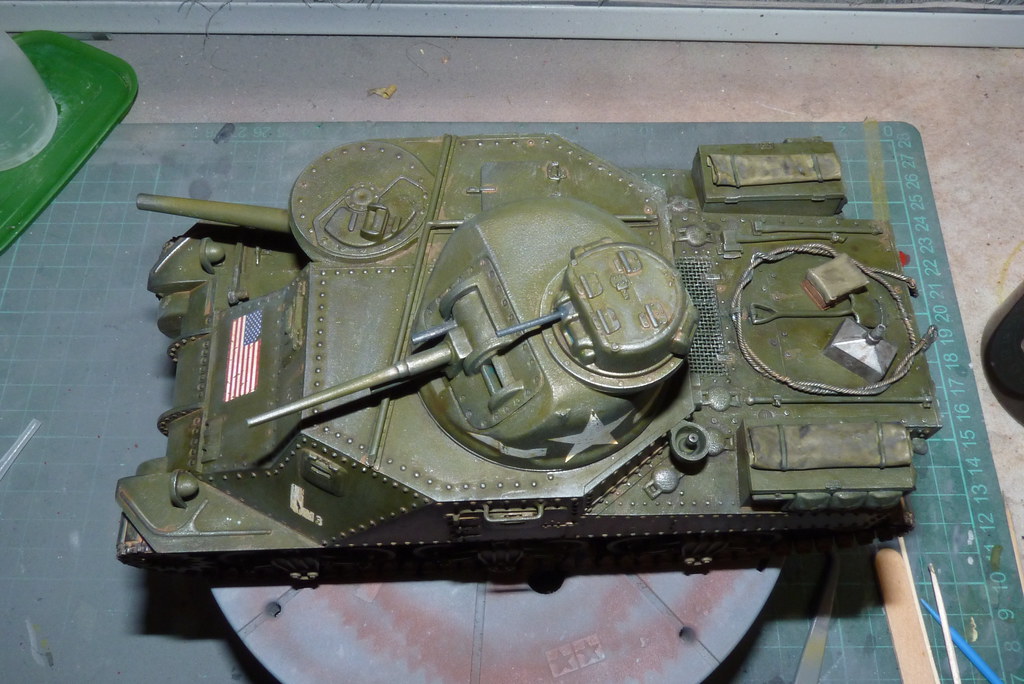
Then I gave everything a coat of Klear to seal.
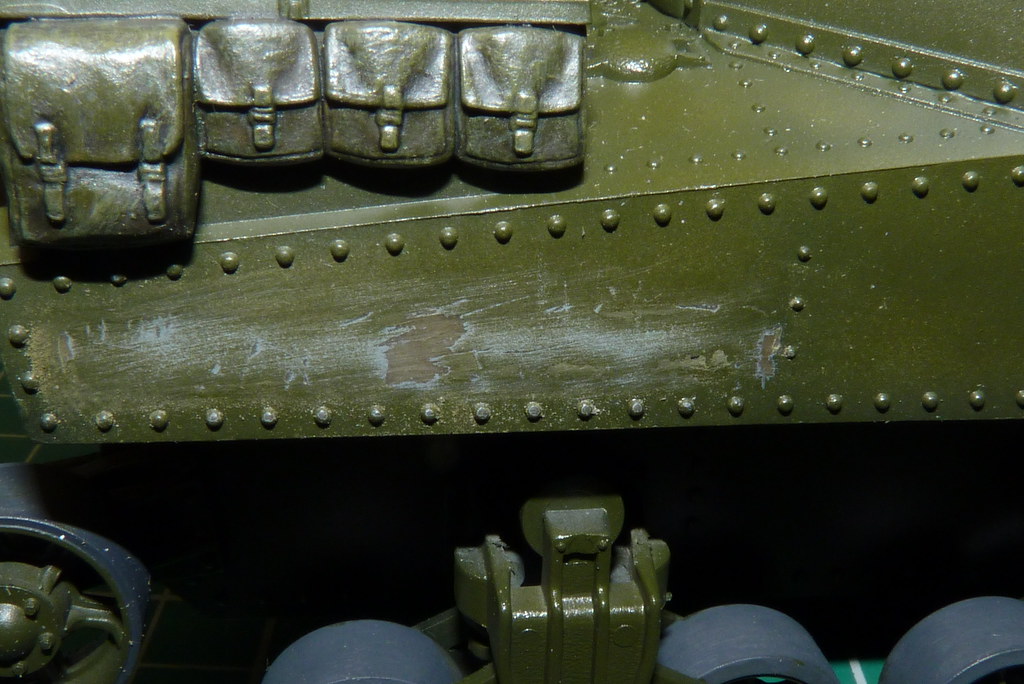
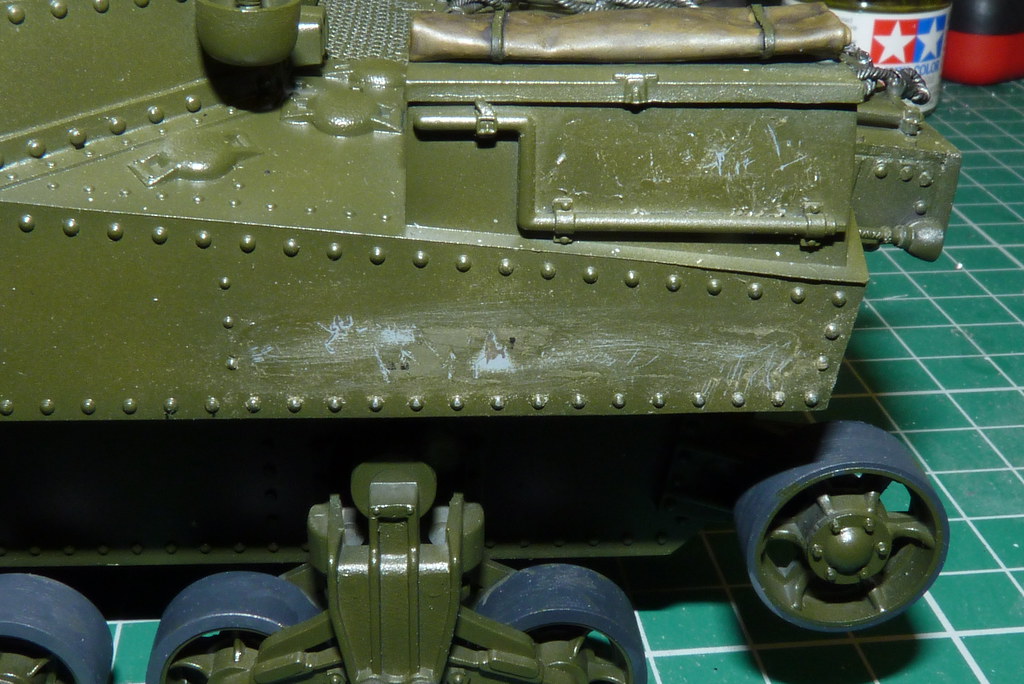
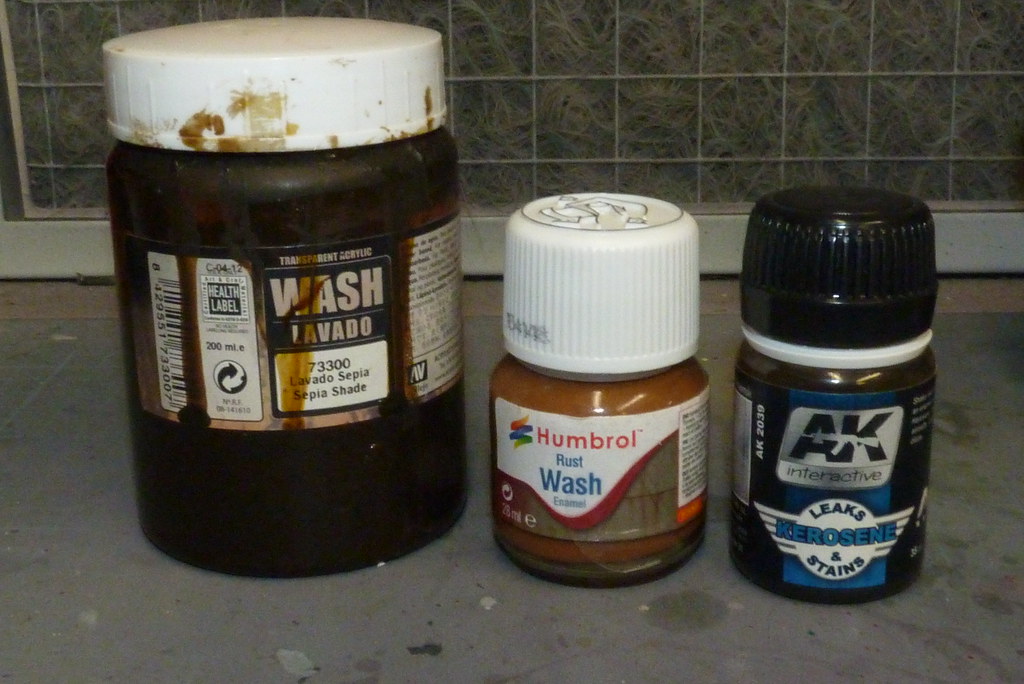
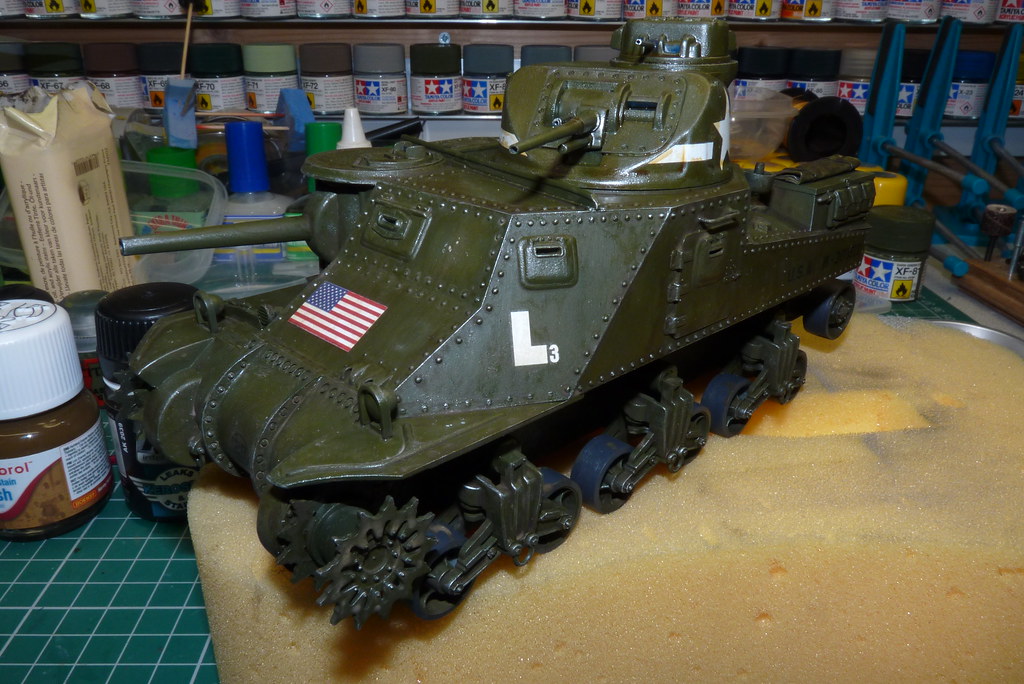
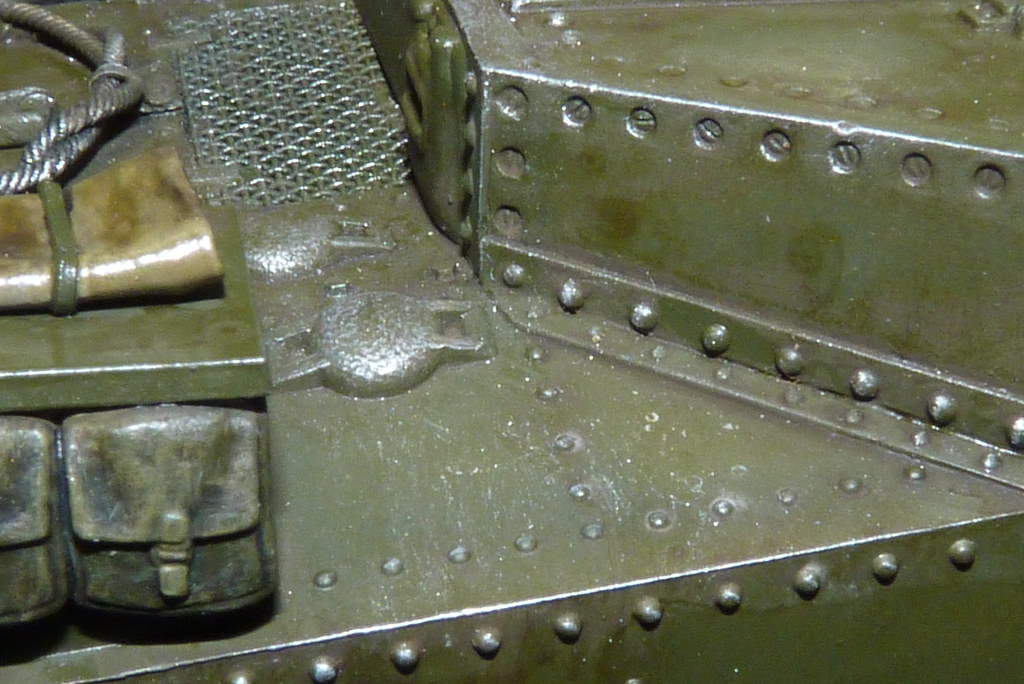
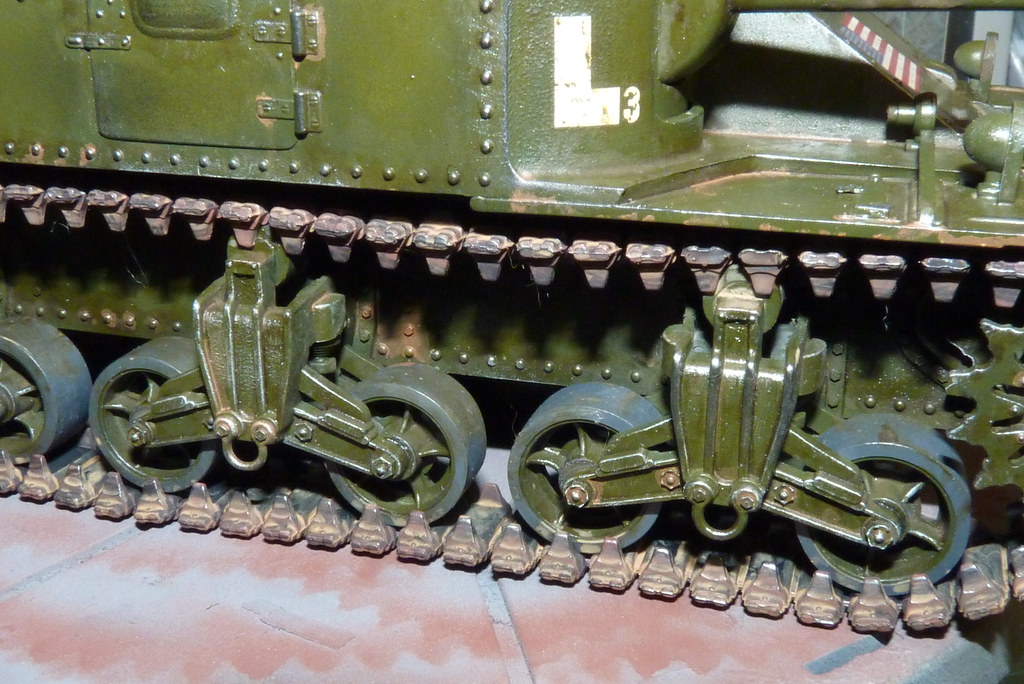
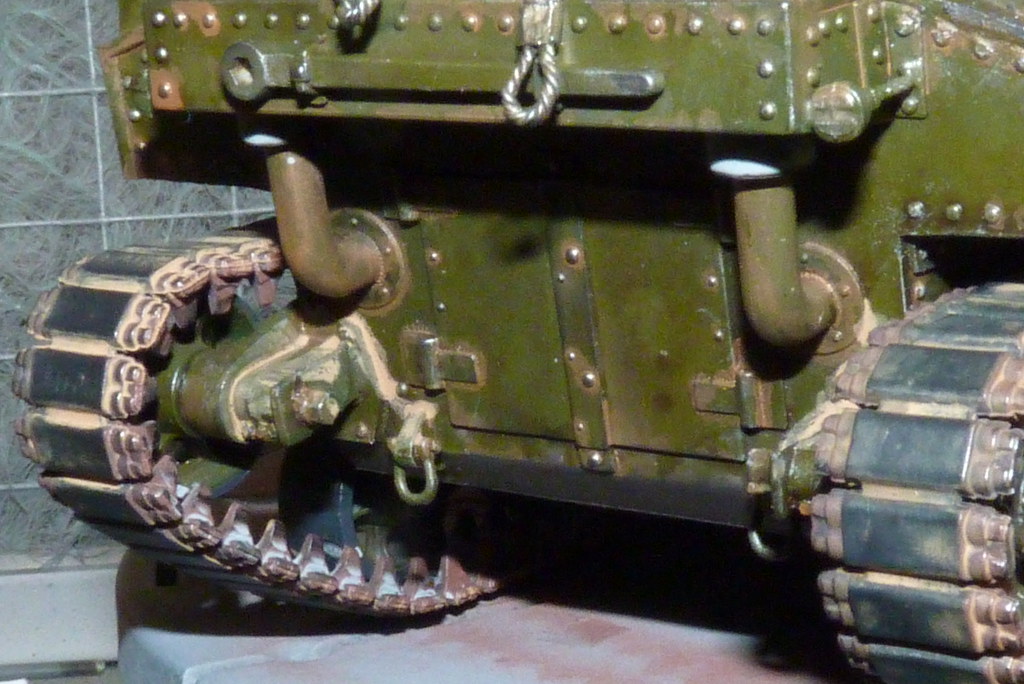
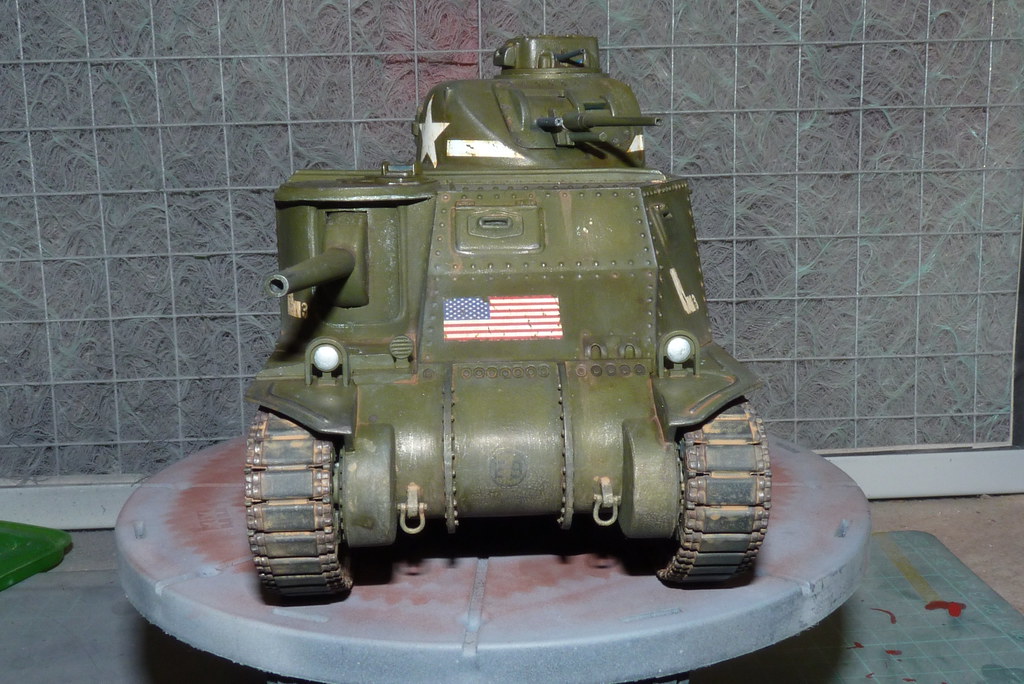
I have given the tank a few extra coats of Klear, then the next little job is the weathering. The look I am after is a tank that has been worked hard and worn, so a bit of chipping, rust. I gave the tank a quick going over of dry brushing using Vallejo Model Air Steel to pick up edges, bolts, etc, and then on to the washes. The washes I have used so far are Vallejo, Humbrol and AK.
The first wash I used was Vallejo which was applied basically all over the tank and then I used Vallejo Airbrush Thinner and water to push the wash around. Using the thinner you have to be careful not to work it in too much in case its starts eating into the base coat. Thats why I gave the tank a few extra coats of Klear to protect the base coat, but if this happens I just stop and add a bit of water to dilute the thinner. The paint turns a pale grey colour as it sometimes picks up a bit of the primer coat but once dry the area it changes to a paler shade of the base coat adding to the effect. I find this wash gives a dirty, grimy and worn look.

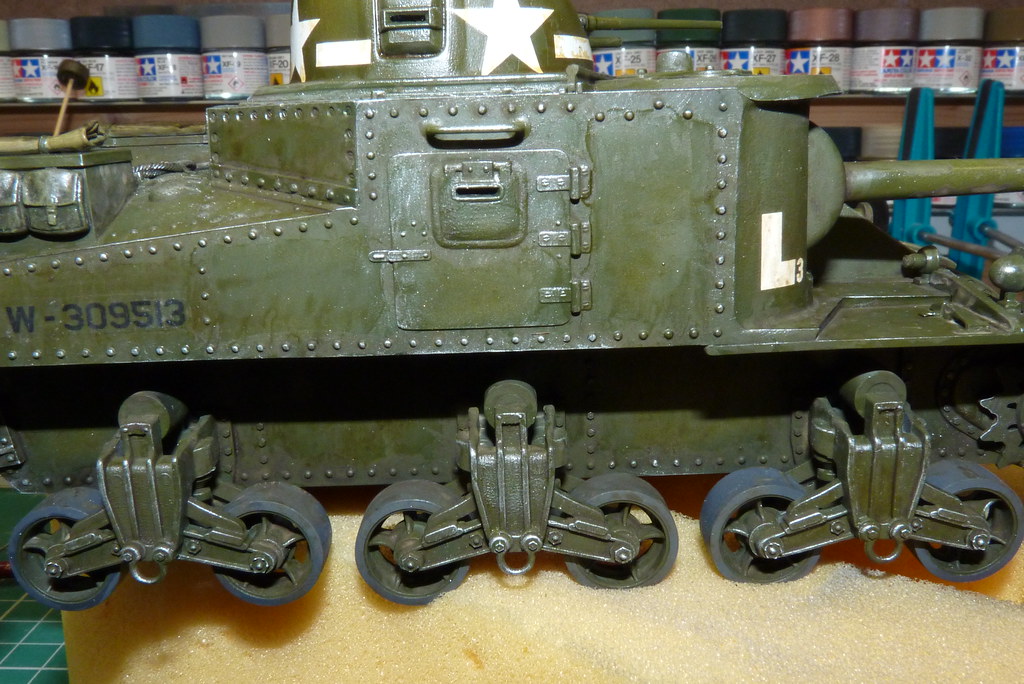

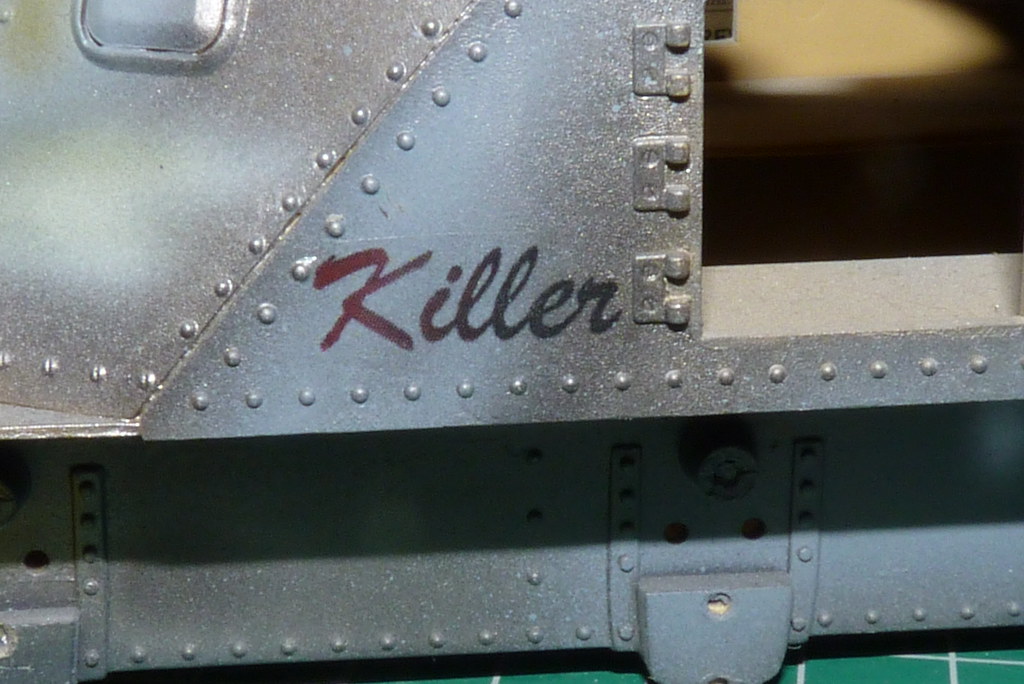
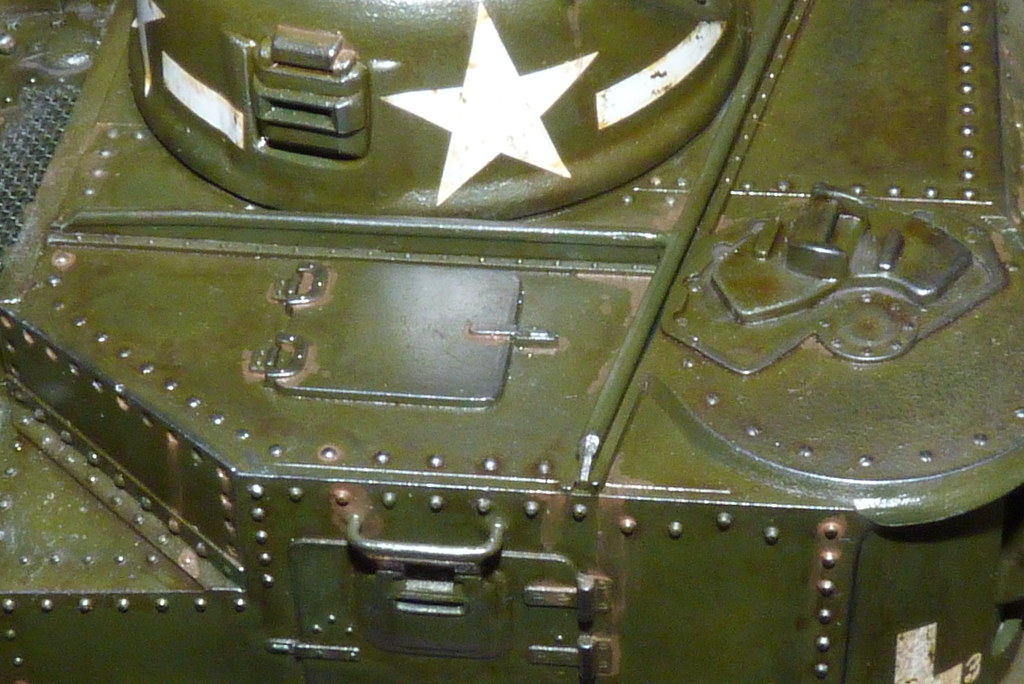
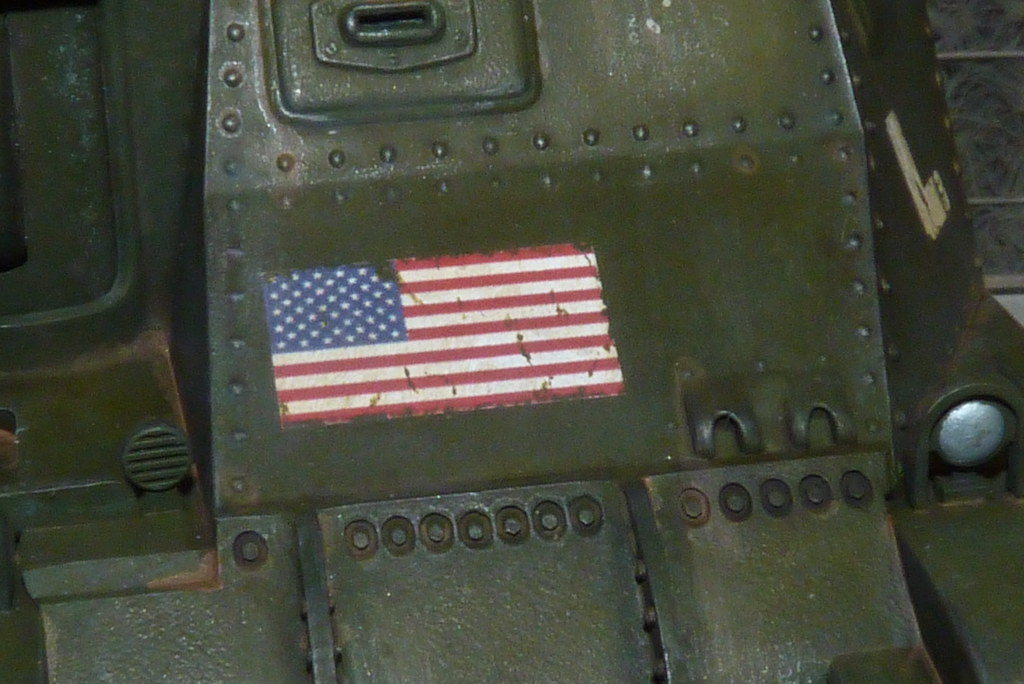
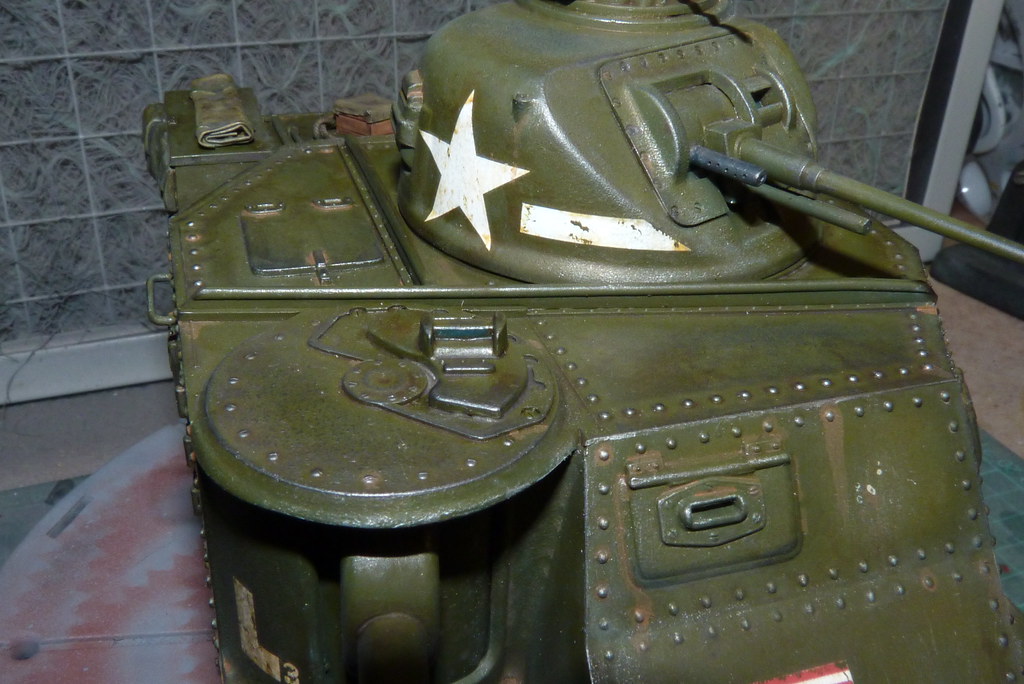
With that done I moved on to the decals and I added a touch of chipping. All I used was a fine brush and the base colour Olive Drab.
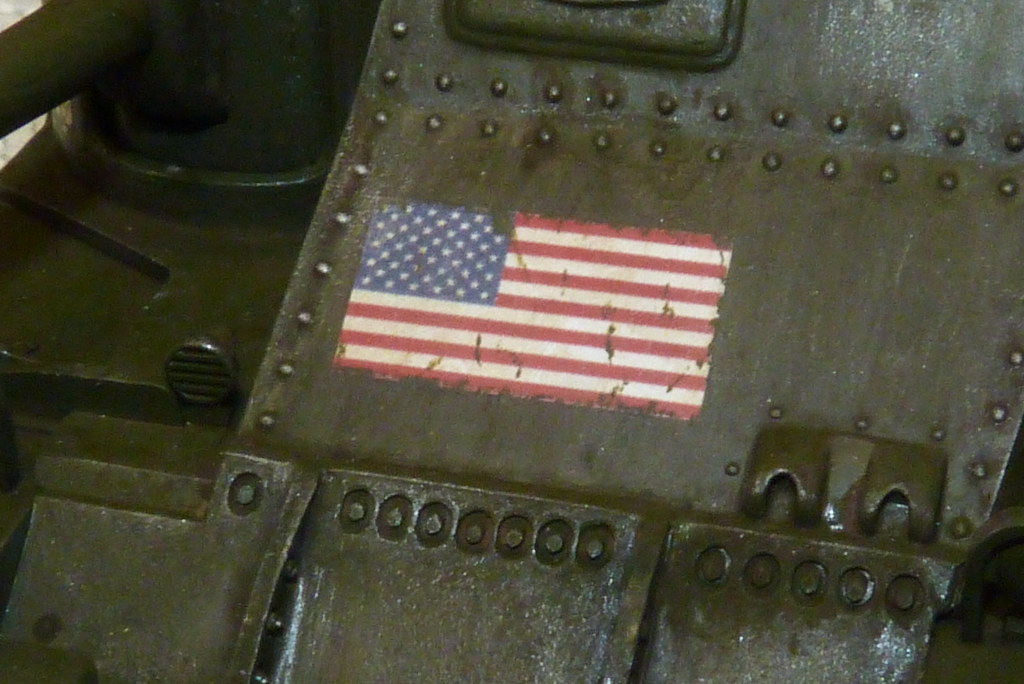

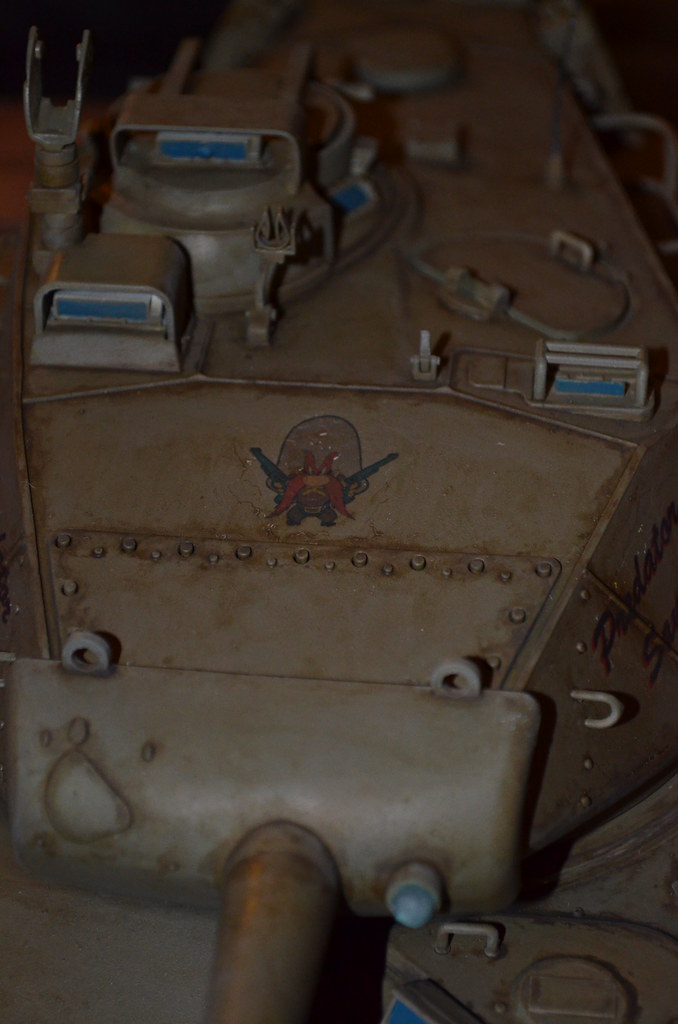
As the eye is drawn to the decals due to their shape or colour I think the chipping of the decal adds to the worn effect plus its a good way of hiding damage. In this case the Stars & Stripes had a very thin white line on the outside edge of the top and bottom red stripe when I cut the flag from the homemade decal sheet but now it just looks worn.
When doing chipping I try to keep it as nonuniform as possible.
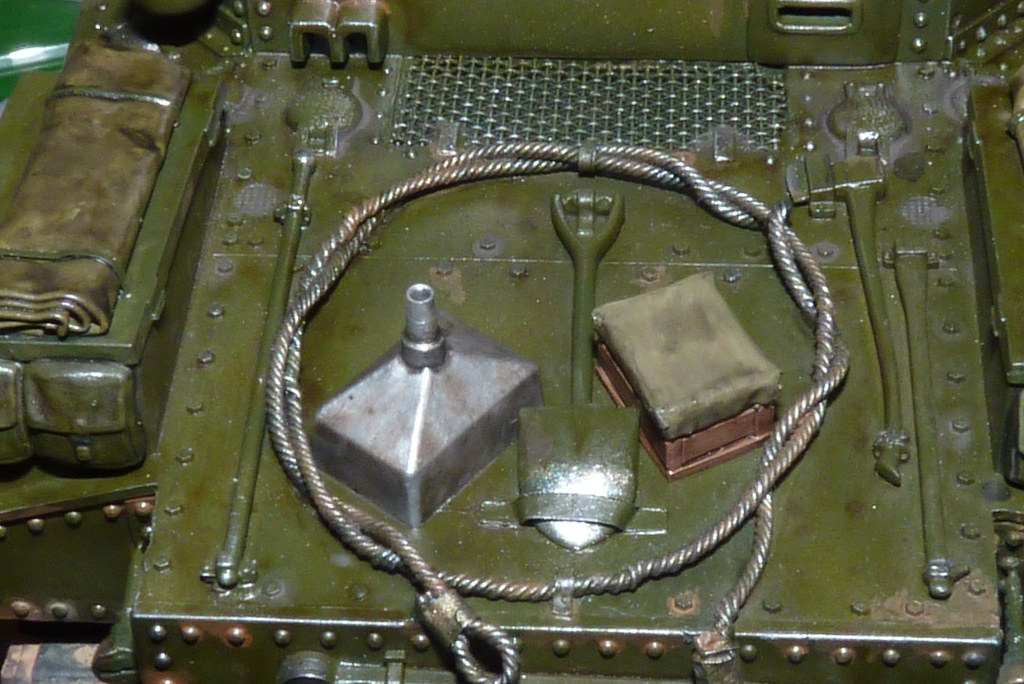
The next wash I used was the Humbrol for the Rust. As the Vallejo was an acrylic wash the Humbrol is an enamel wash and I find it easier to control. So using a find brush I add a drop on a hinge or bolt and let capillary action do the work. If I have added too much I use a larger brush to draw the wash down.

After the rust I used the AK Kerosene wash to an oil feel on wheel hubs, fuel spills, etc.


