

Getting started involved all the usual sorts of grockles associated with new hardware and learning the ropes. Silhouette provide their own software, Silhouette Studio, in order to create graphics and transmit to the machine. As a daily AutoCad user I found the drawing tools a bit meh, but no worries you can save files in dxf format in any vector drawing programme and import them into Studio. My first attempt was at creating circle masks for the wheels on my Tamiya Crusader, easy peasy to draw, but getting the plotter to cut was a learning curve as sending files and getting the machine to register on either the cutting mat or media is initially a bit of a palaver until you get it sussed. Also the plot parameters are something you pick up as you go along and depend upon the media you're cutting, such as knife depth and strength of cut. After a couple of misfires I got there.
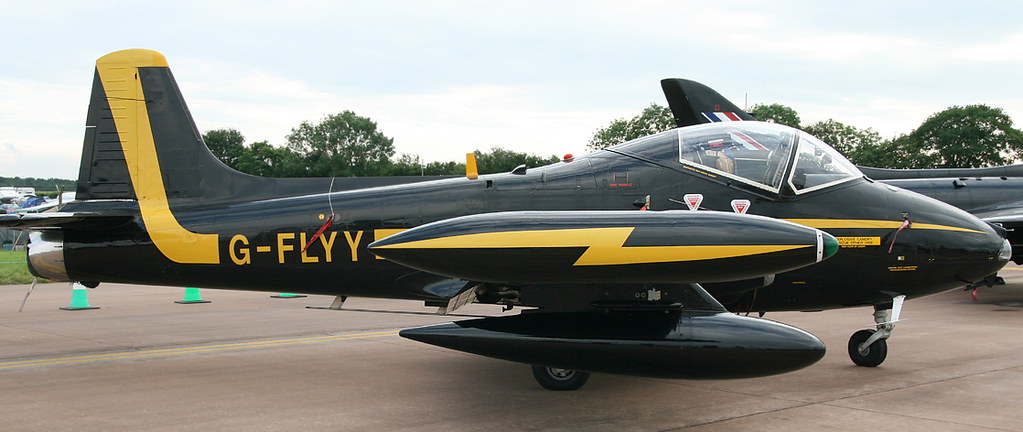
Next up was helping TeeELL paint yellow registration letters onto a black JP5 model. This involved finding some good side on views of the aircraft, exporting and scaling an image in AutoCad, then drawing the letters. Here's the full size.
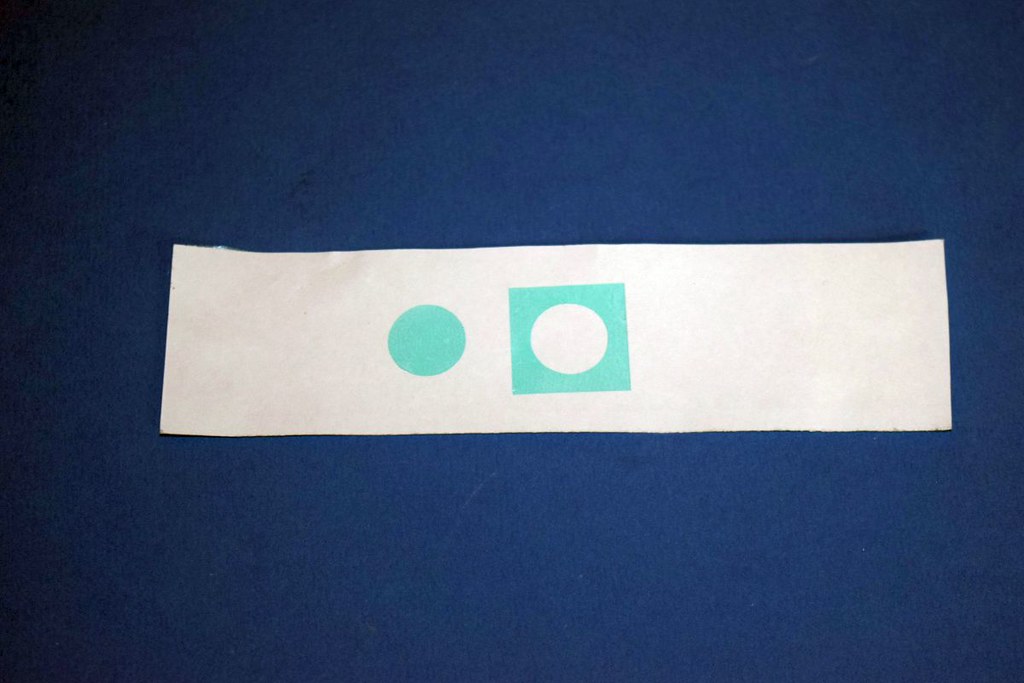
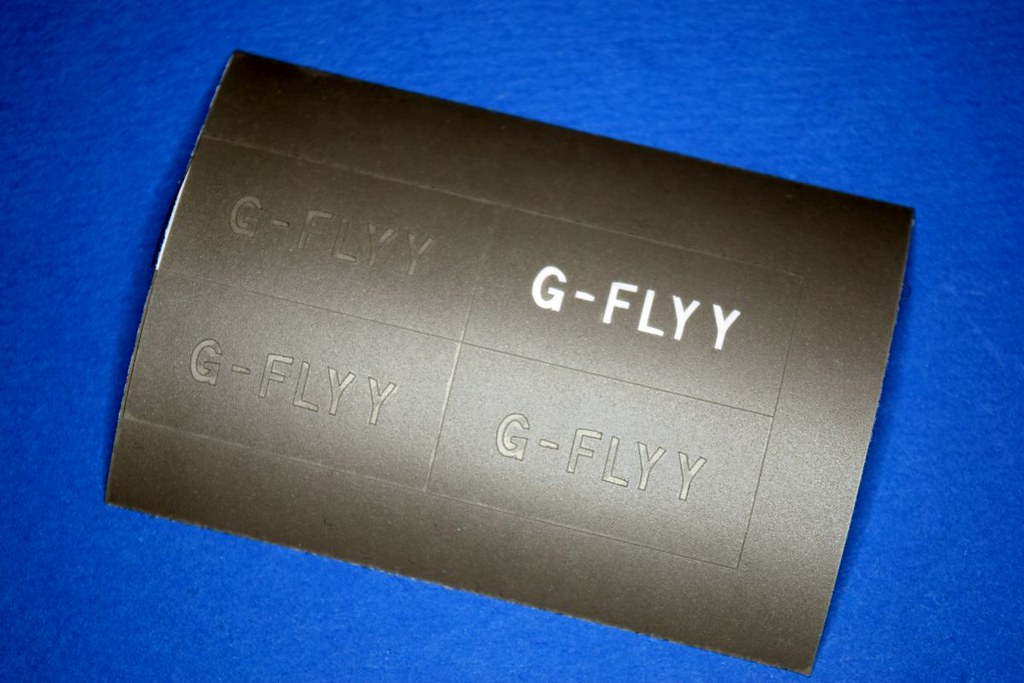
I also needed to do some letters for the underwing registration, they're a bit larger than the fuselage and this was a simple job of scaling in AutoCad to create a new Studio file. Here's the fuselage letters, they're 4mm high with the strokes about half a millimetre. The latter dimension was a bit worrying since I'd read elsewhere that 1mm was about as narrow as you could get for a successful cut for use as a mask. I was able to weed the letters off the backing without any problem and Tony reported back that they worked OK.
Following on I accepted to help out fellow modeller Duncan Black. Some of you may know Duncan as proprietor of Blackmike Models. Duncan was in the middle of decaling a 1/48 Me 262B, but had come to a halt because the kit supplied red-numerals-with-white-outline were out of register. He had some spares from another kit, but they were black, not red. Cutting some masks seemed feasible, using the alternative decals as a template. Duncan sent me this image:
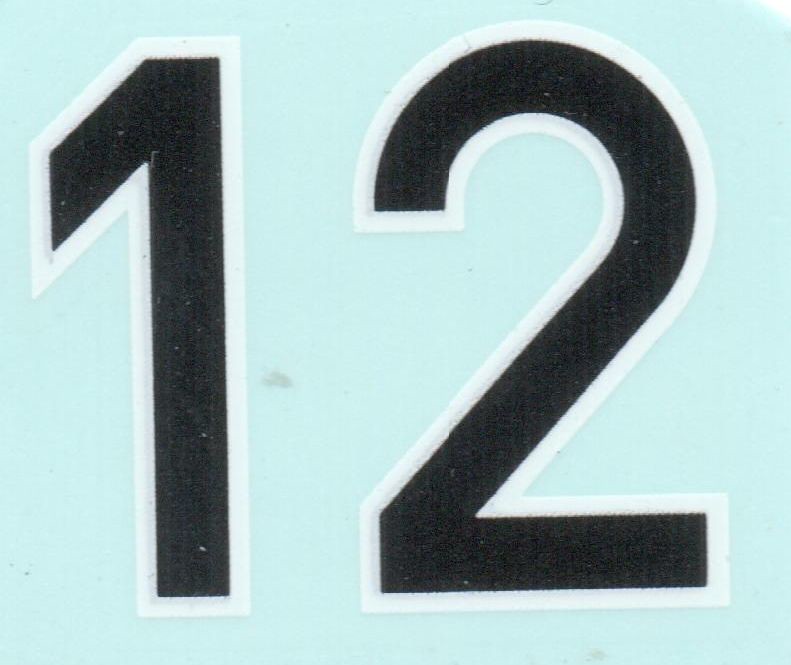
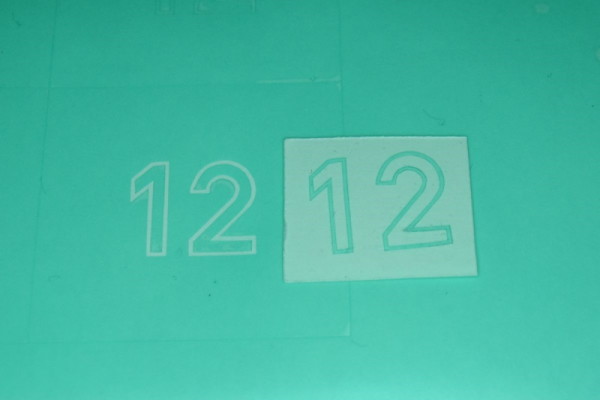
This is several times magnified, the letters are actually 12mm high, but it does give you some insight as to what's going on in a decal. Originally I was going to open the file in Studio and use the trace command to get the outlines, but I thought the software might struggle to differentiate between the pale blue and white and then the black and grey areas. So I pasted the image into a AutoCad, scaled it, drew a trace in model space, then tidied everything up. The file was saved in dxf format that can be read by Studio and in no time I was doing a cut. After examining the cut I was a little concerned because the white outline was less than half a millimetre and the cuts were not entirely clean. Back into AutoCad and I offset the outlines exactly at 0.5mm and tried again. This time they looked a lot better, here is the result, with the outline removed from the backing:
I allowed a fairly generous border around the numerals to minimise additional masking for overspray. I was pretty pleased with the outcome, but the proof of the pudding would be in the spraying so to speak. Duncan received the masks earlier this week and here is how he got on with them:
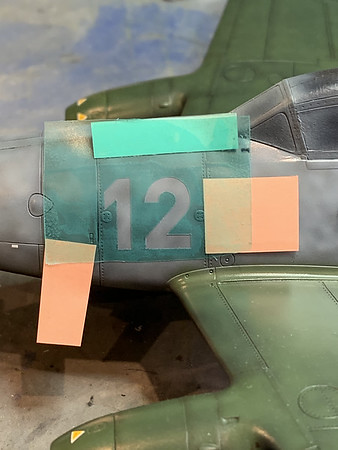

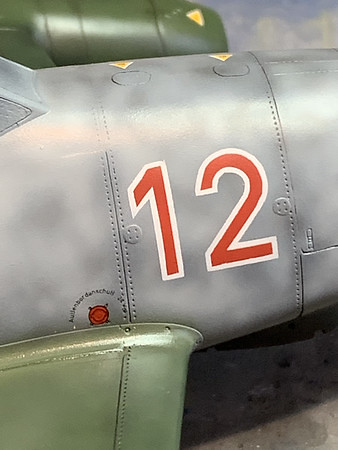
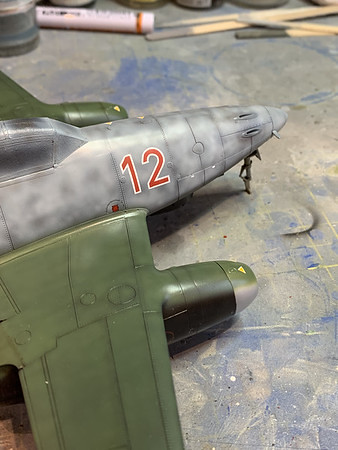
The letters are 12mm high with 0.5mm outlines. The close up image is a bit brutal in exposing the tiniest of flaws, but at a normal viewing distance I think this has turned out really well. I'm not sure what the next venture will be, but at some stage I'll look at creating more intricate graphics and camo patterns, maybe even for one of my own projects!

