In an old magazine I found a picture of a bird I recently have done, well some two years ago ...
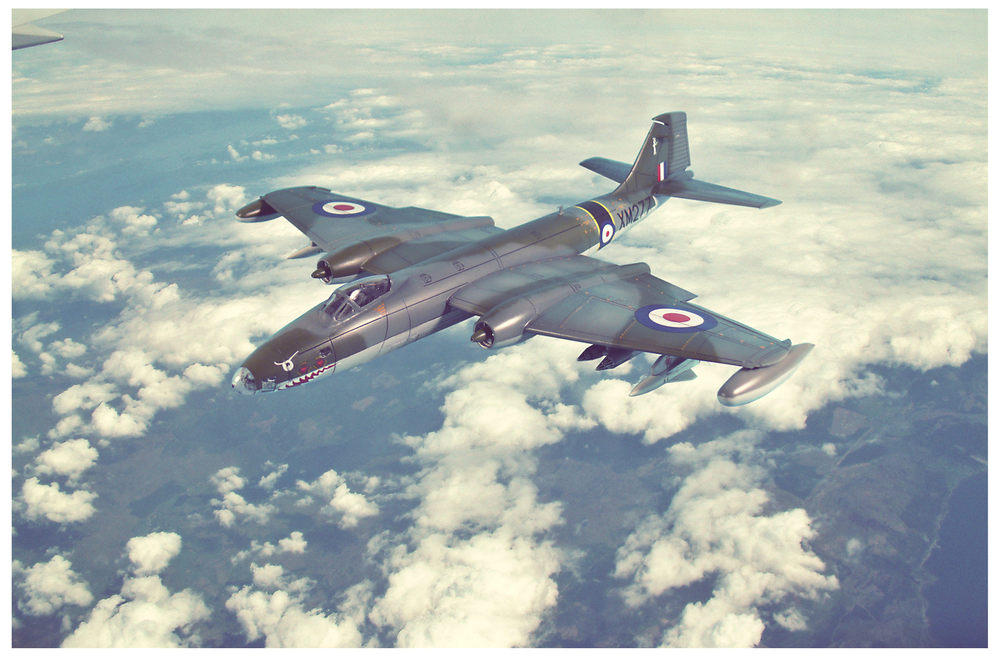
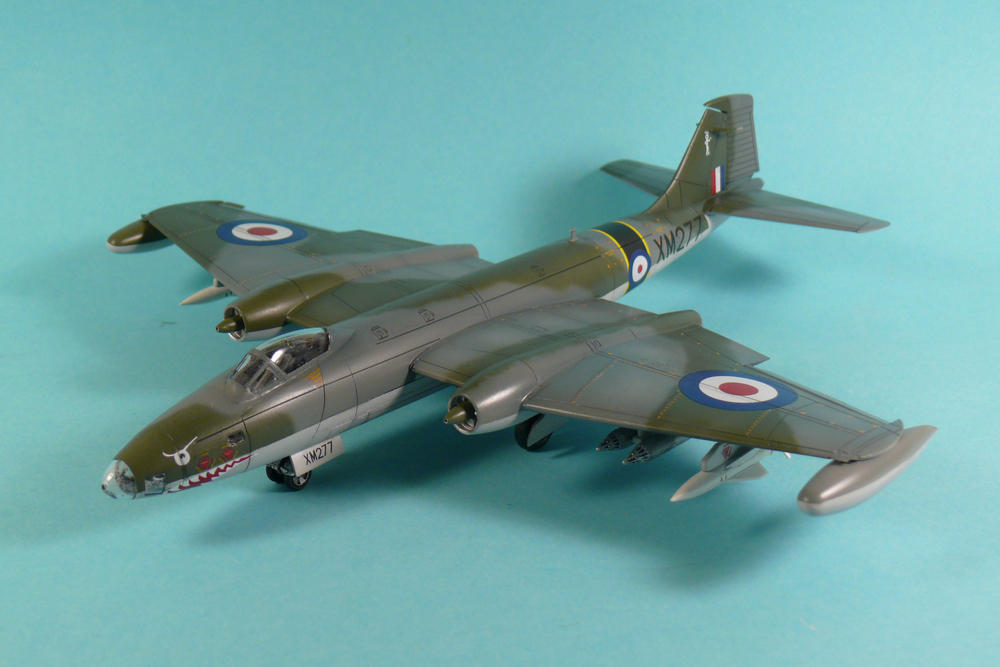
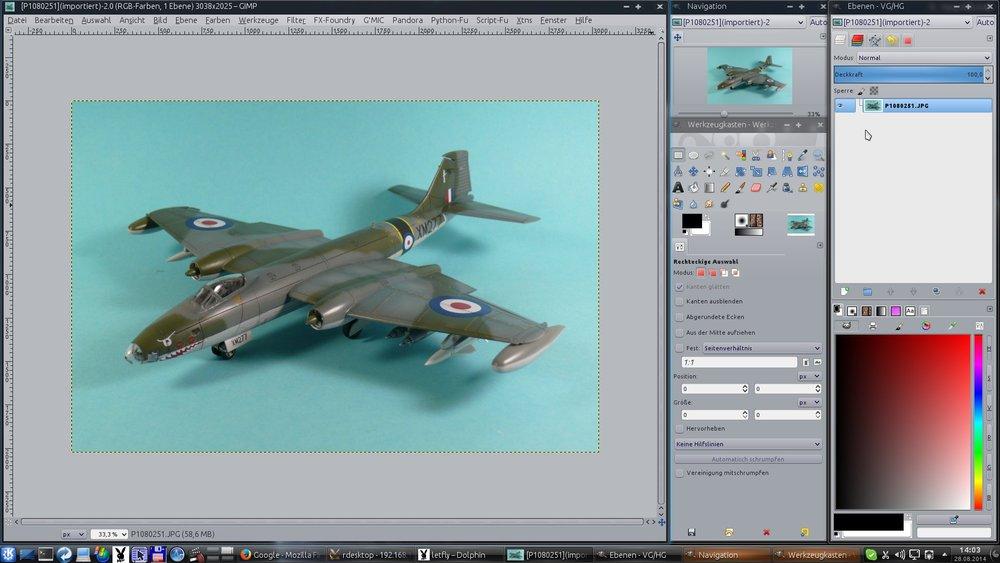
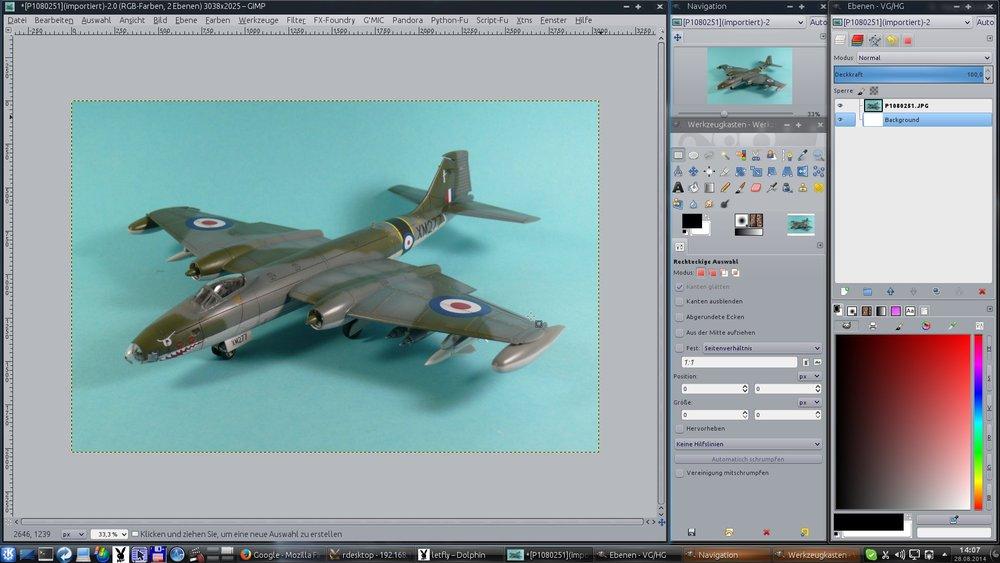
well not really. It all began with this, an old build of mine - it's the Airfix Canberra in 1/72
But step by step …
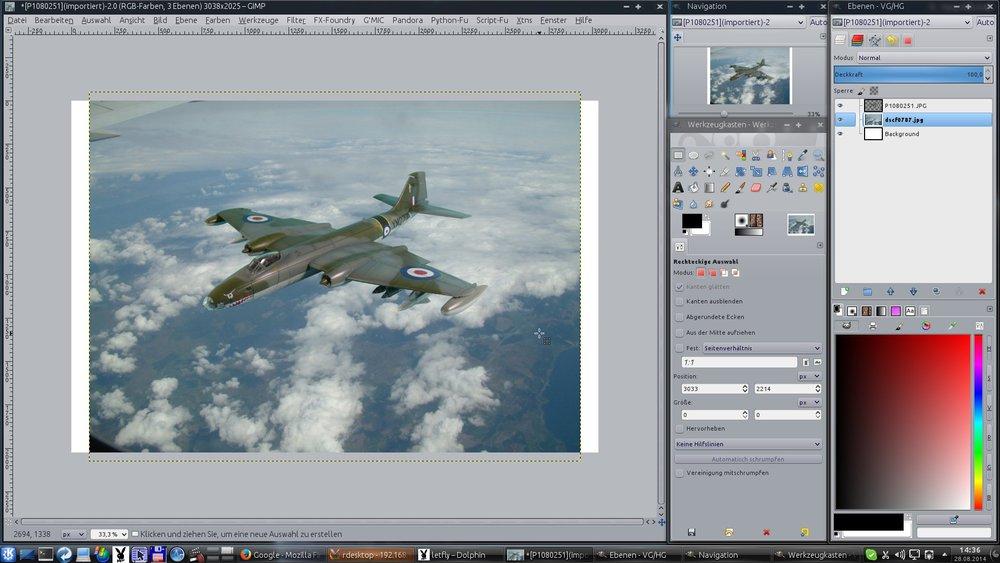
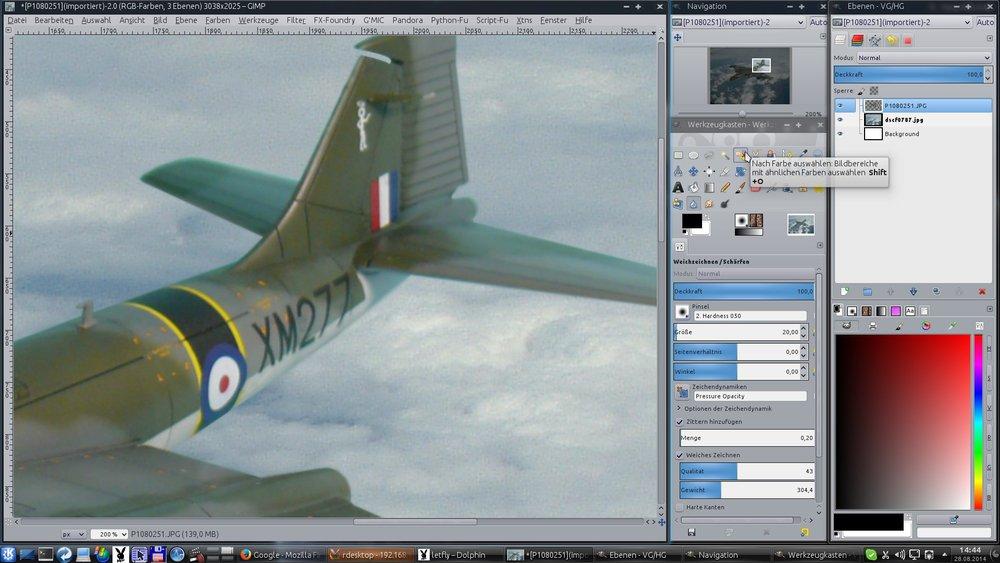
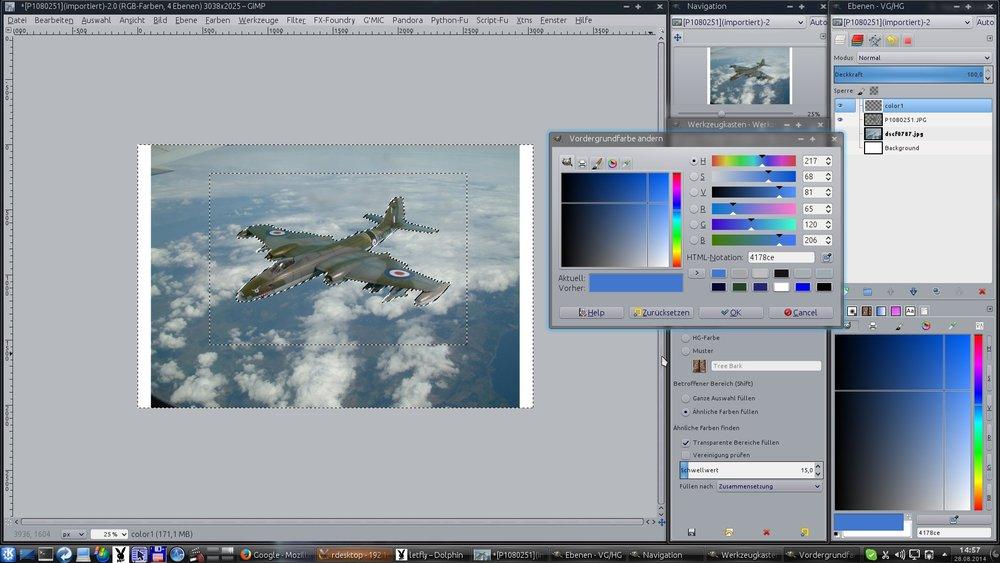
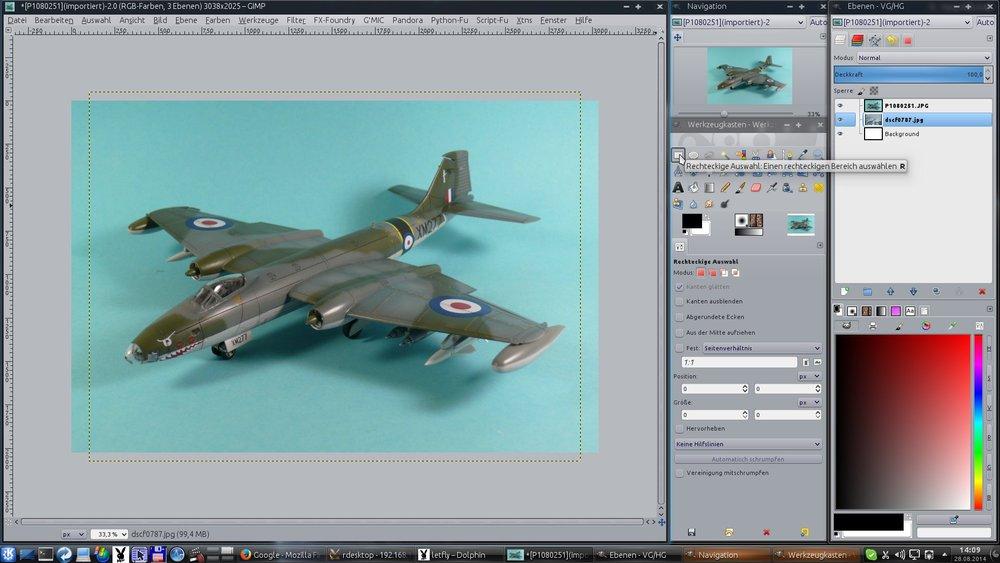
I opened this image above in GIMP – sorry the GIMP interface here is in German, but I think the steps a quite easy to understand so the interface language does not matter that much.
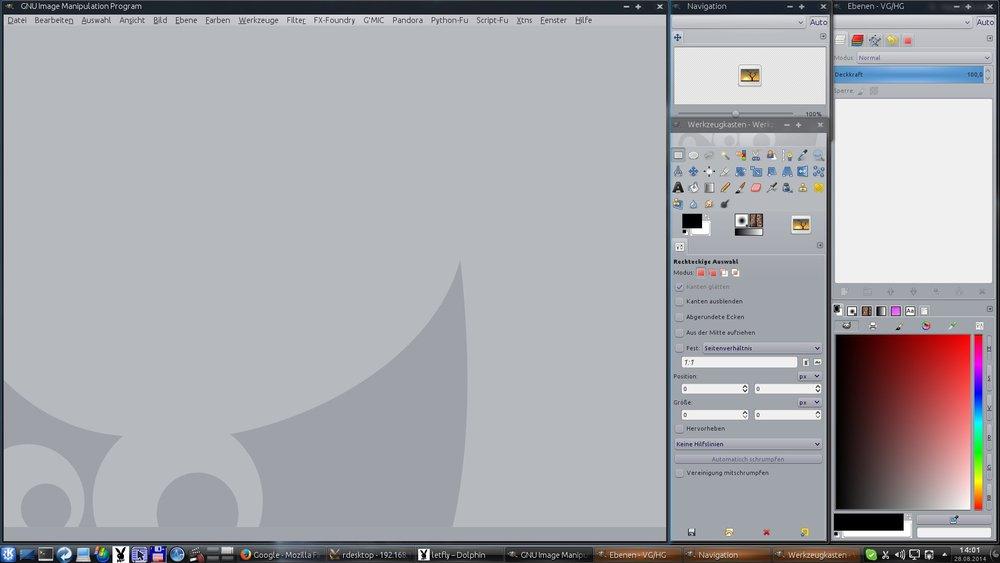
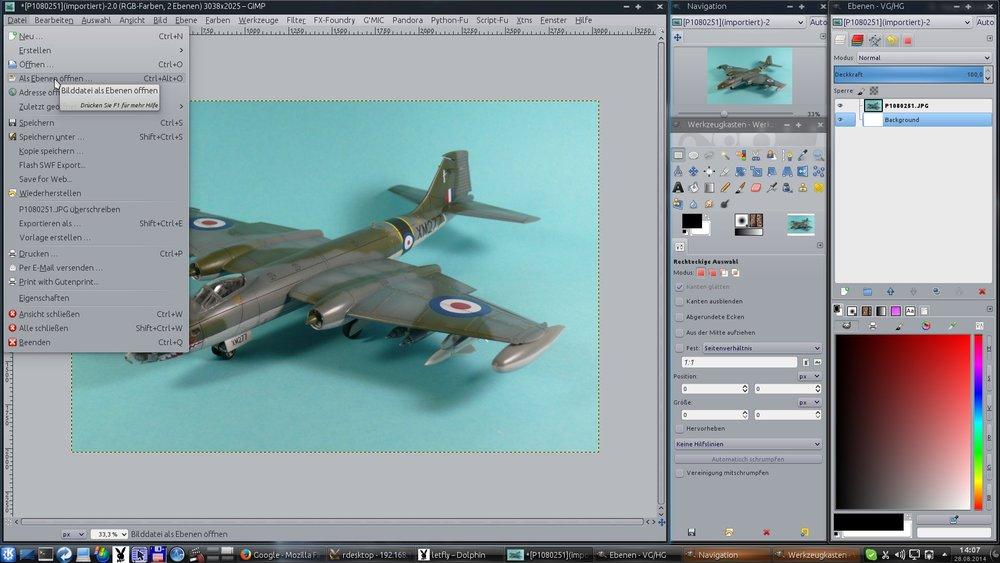
Open image
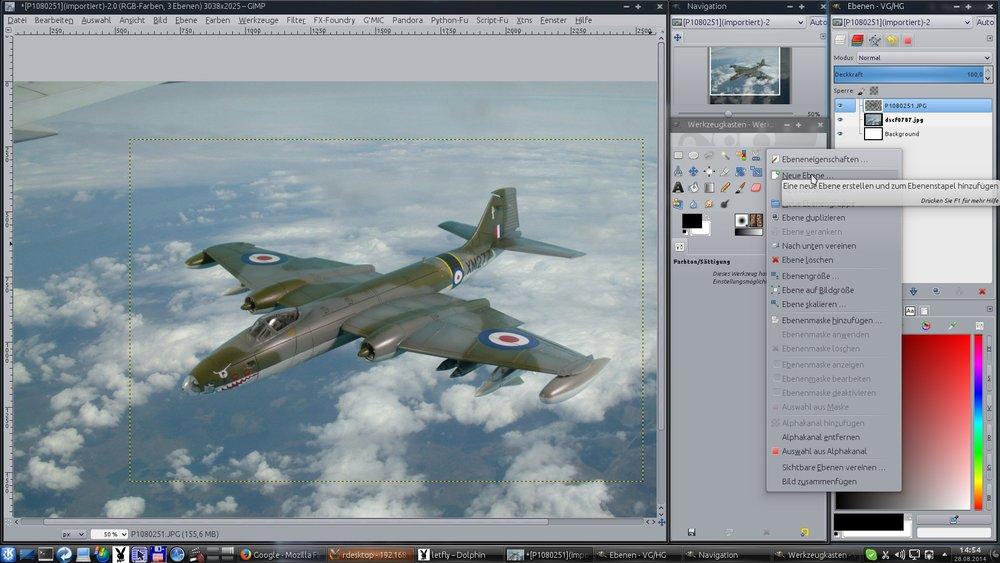
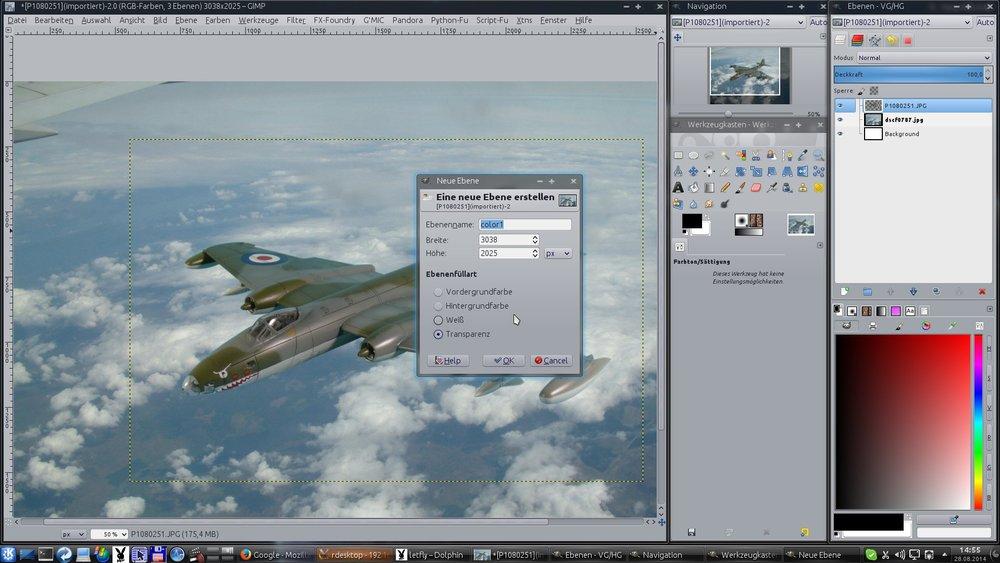
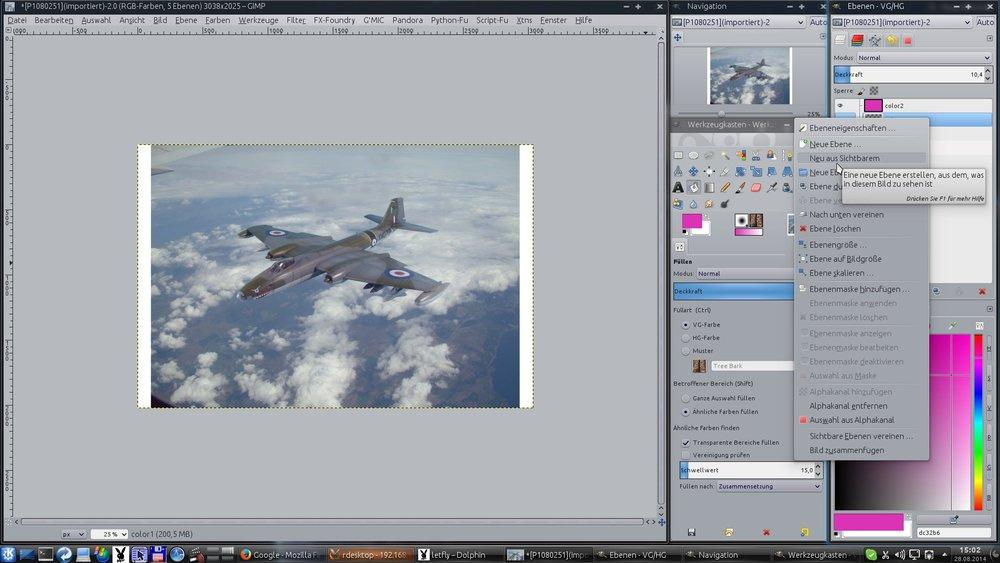
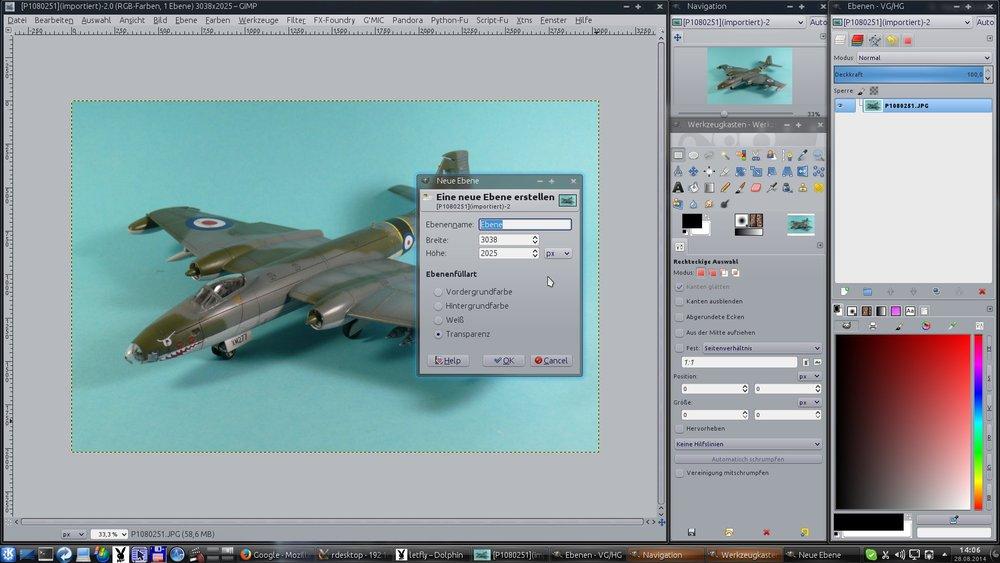
Then a new white layer was added
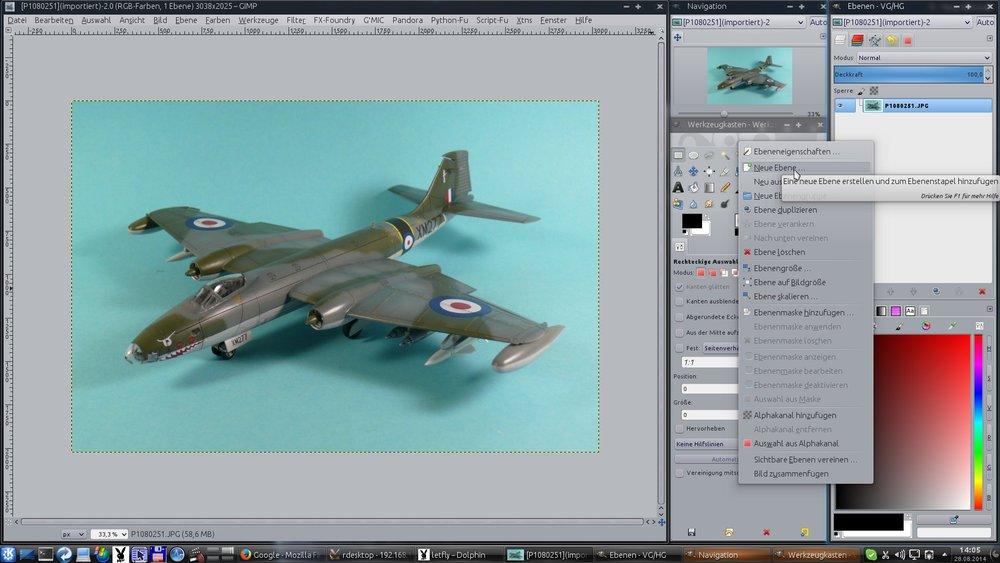
a layer filled with white color
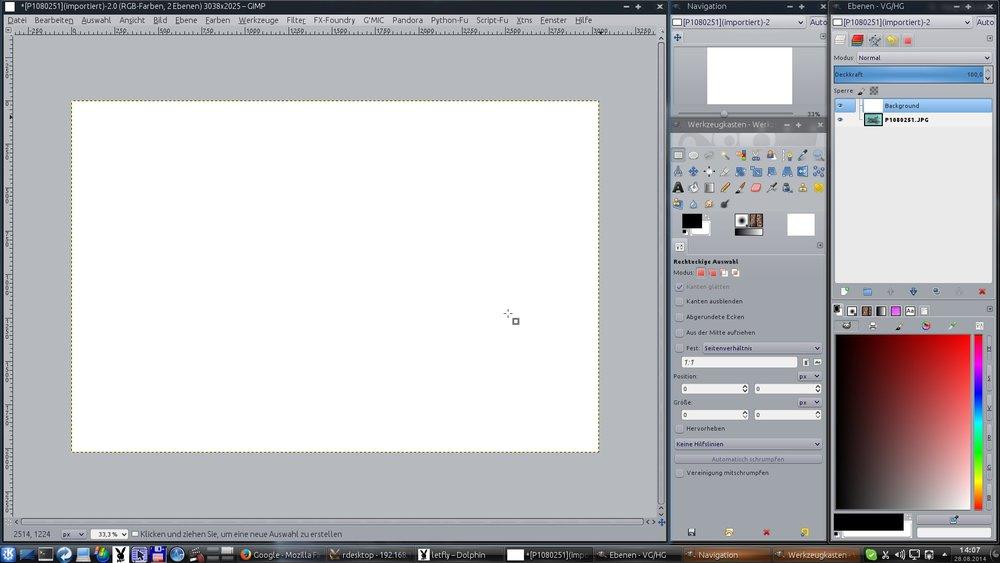
and then this white layer was sent to back
This is just to have a background other than the plane image. This step depends on the application you use. In GIMP it's easier to have a background layer beside the images you are working on – and it's just my way
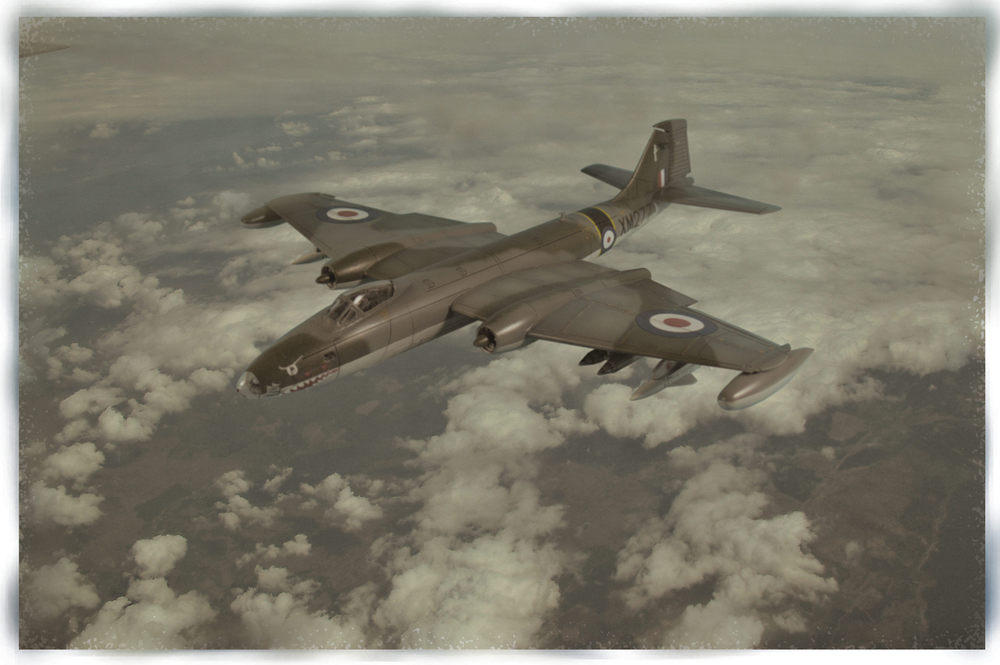
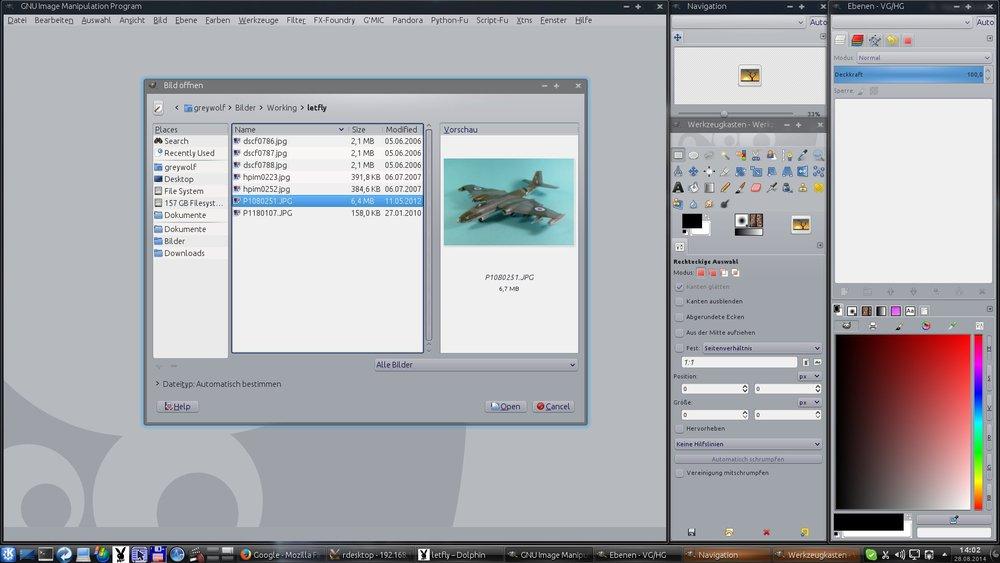
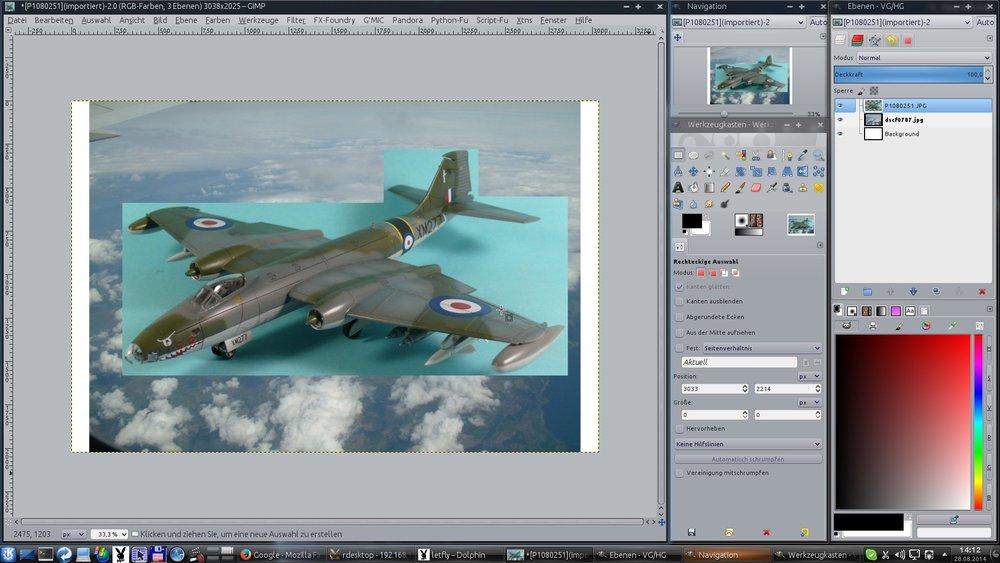
Next step then is to choose the sky.
In GIMP you have the command „open image as layer“. When the background layer is active and you open a new image as layer it then will be placed on top of the background layer.
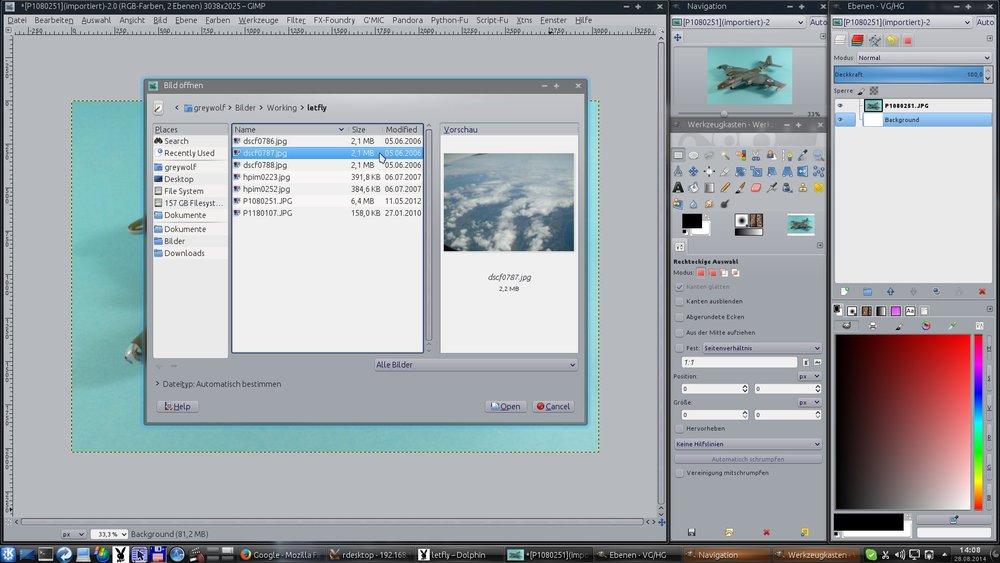
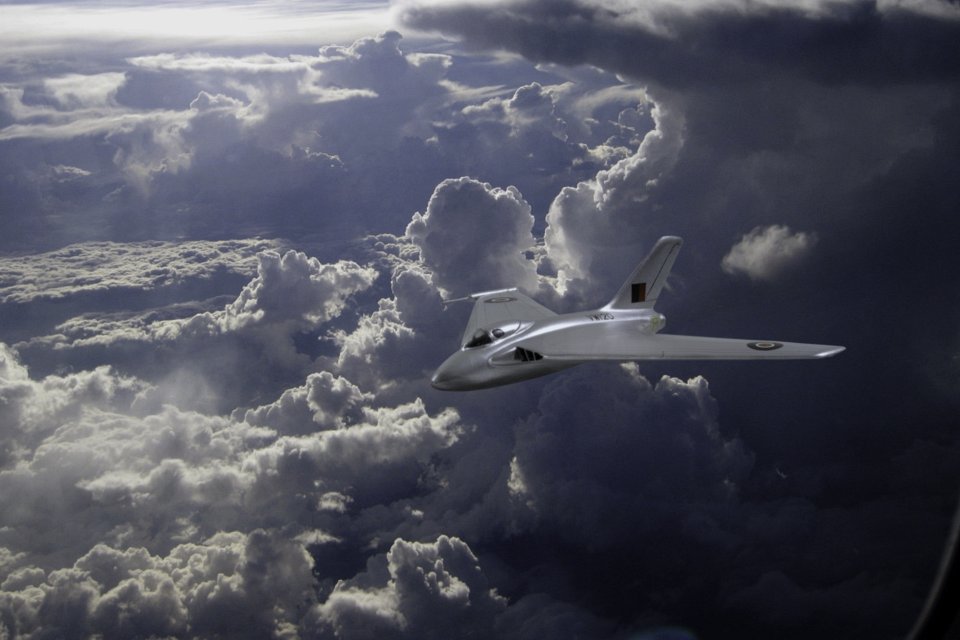
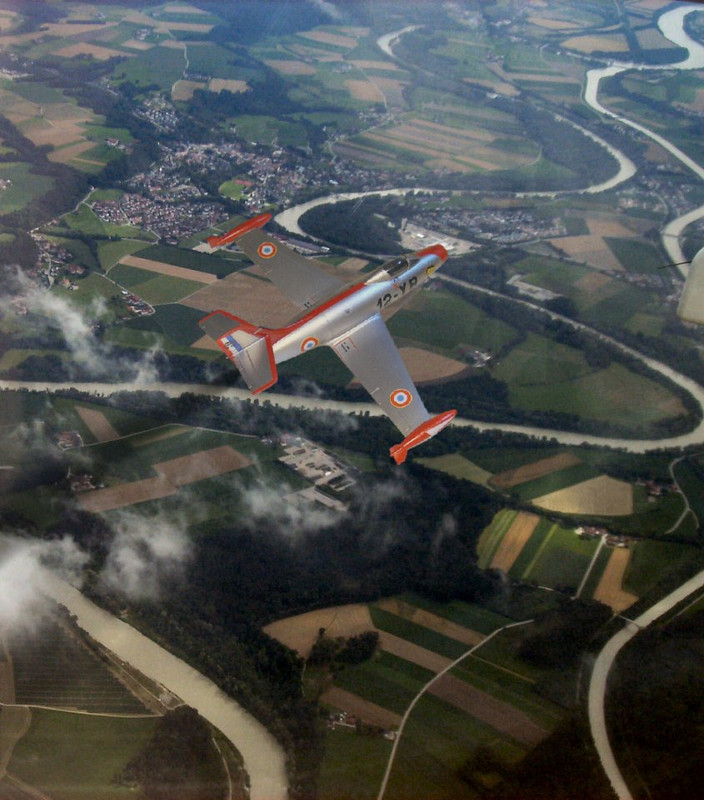
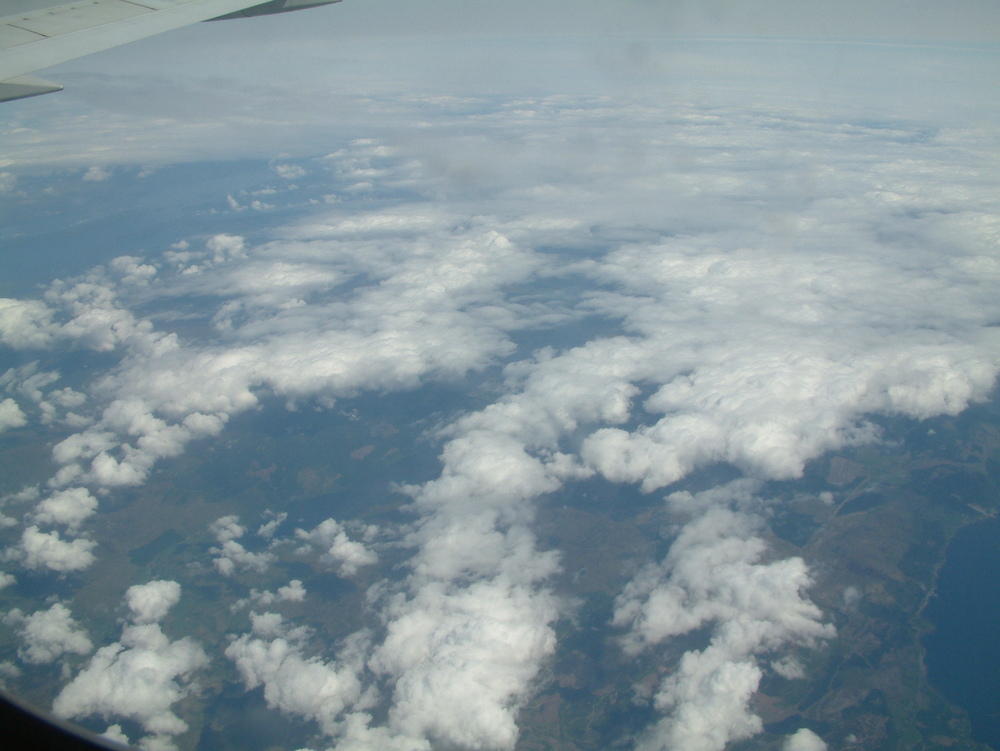
So I've chosen this sky image I've taken on a flight to Turkey
If you don‘t have any own sky or “from above” images, there are several fre available image hosting pages where you can find those, examples are https://pixabay.com/;, https://www.pexels.com/;, https://unsplash.com/; and a lot more.
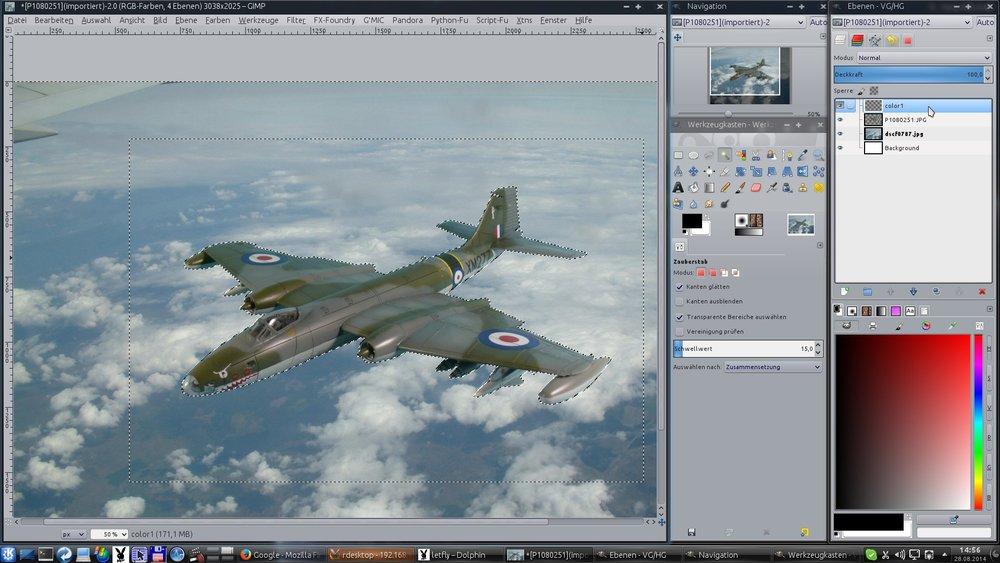
Now you have three layers – bottom up: background layer completely white, the sky image and the model plane image
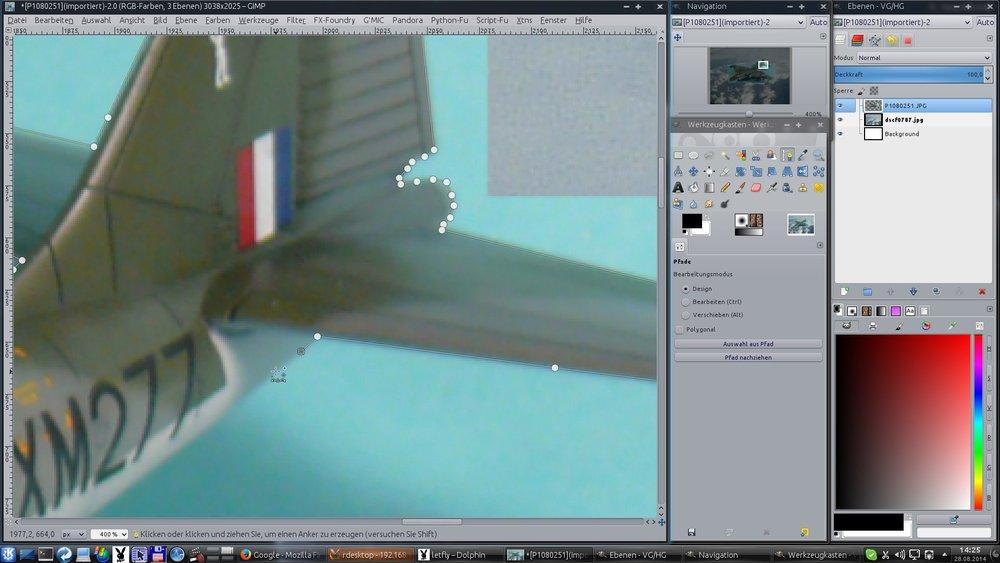
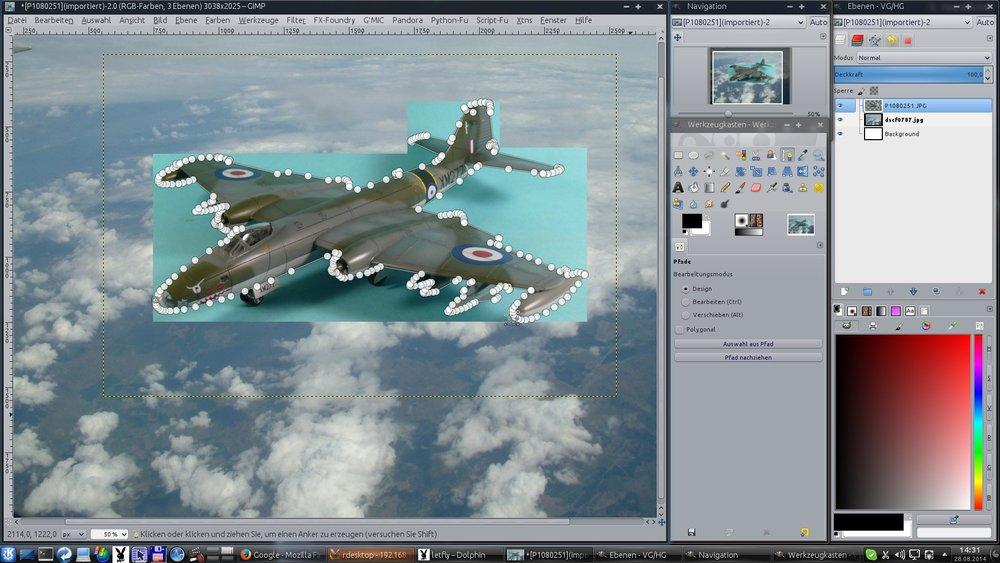
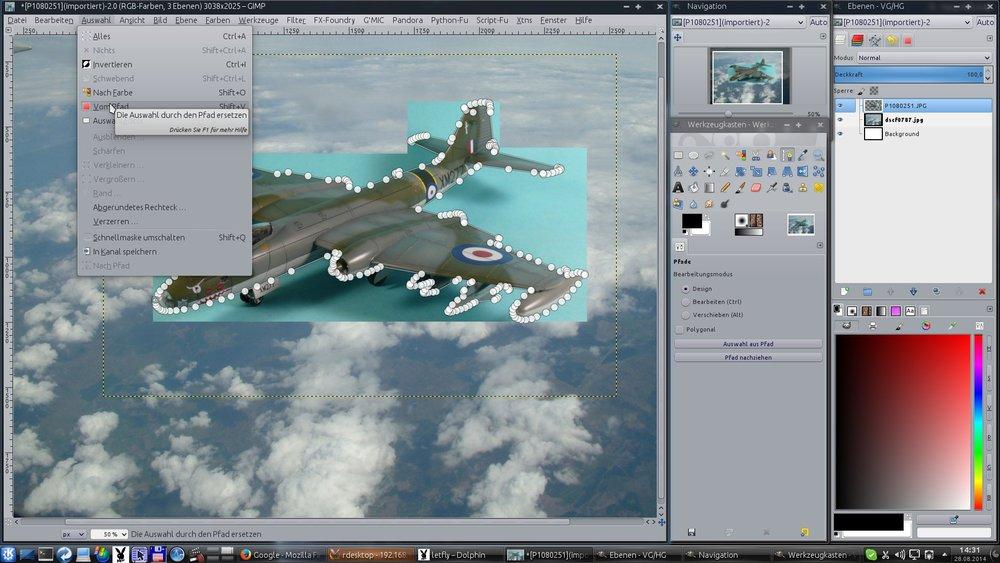
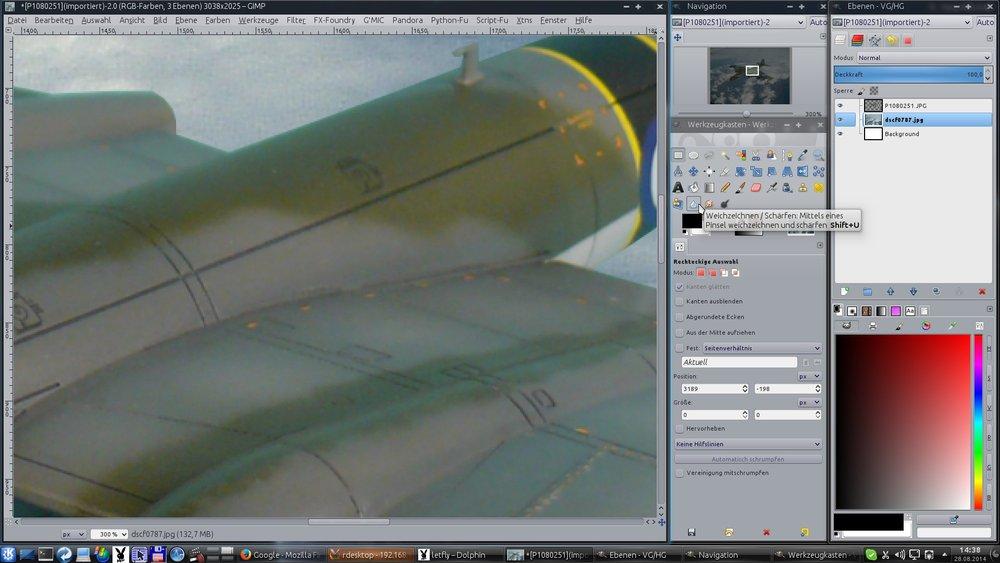
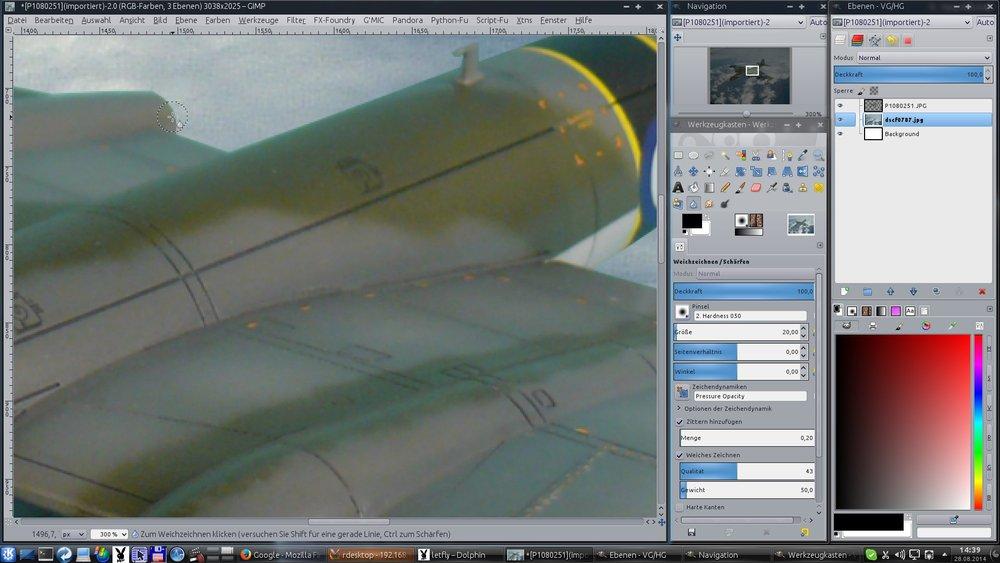
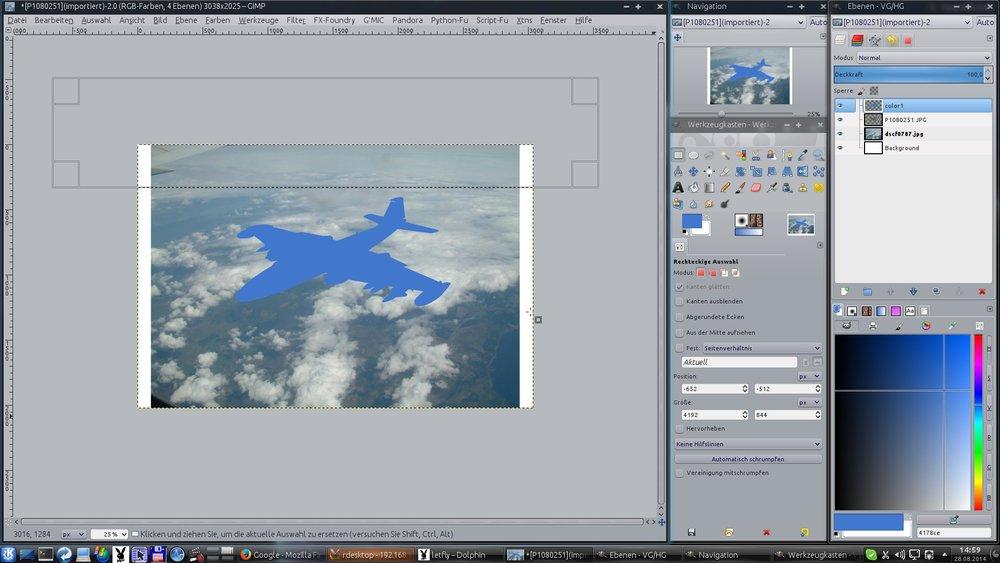
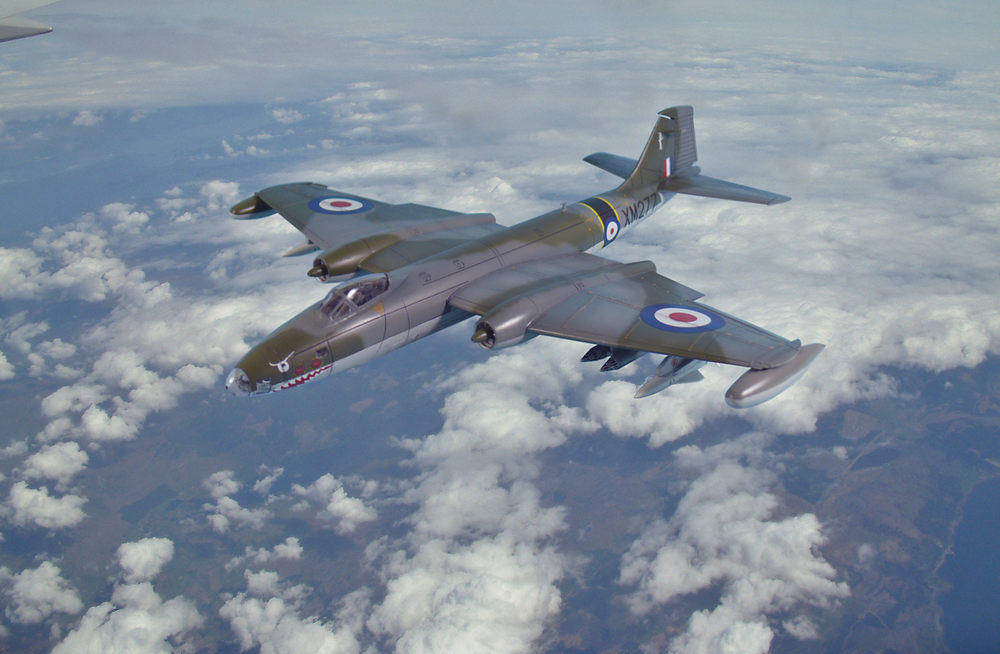
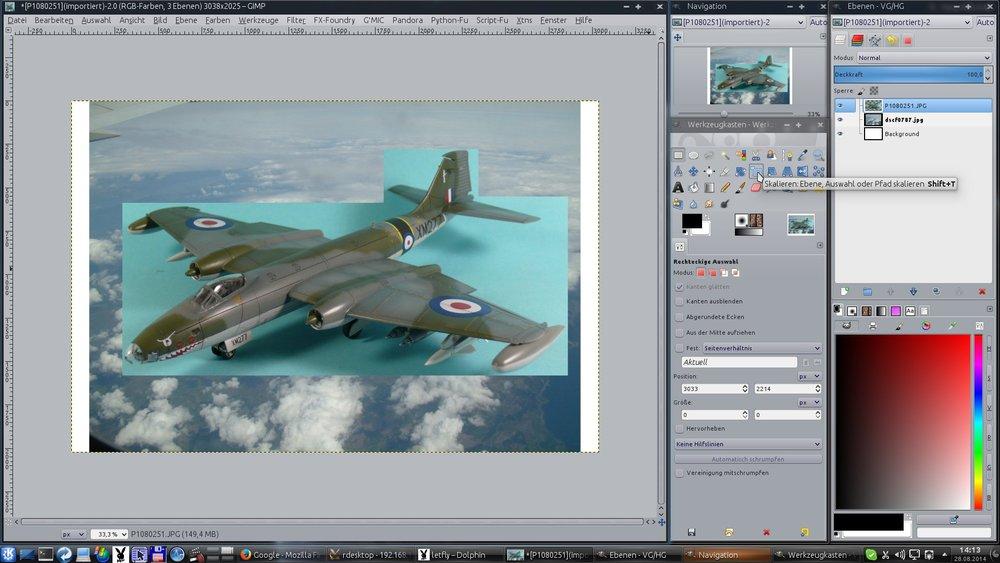
Now make the model plane image layer active and in first step delete the blue around the plane
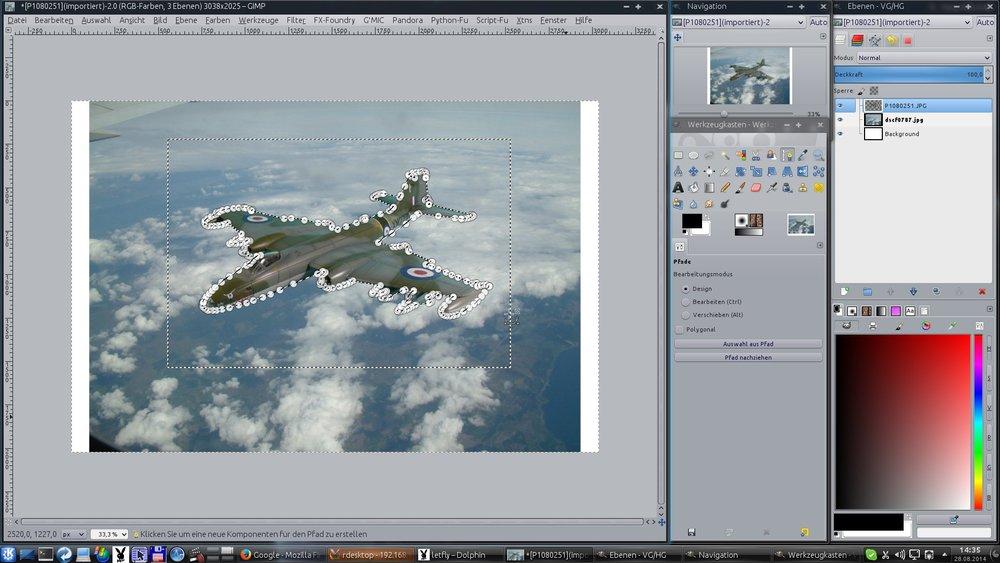
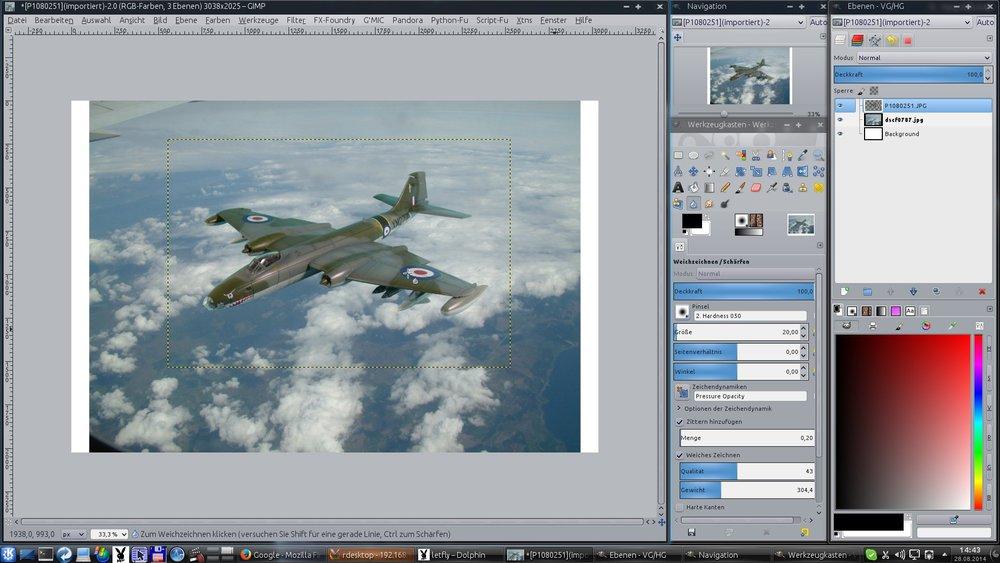
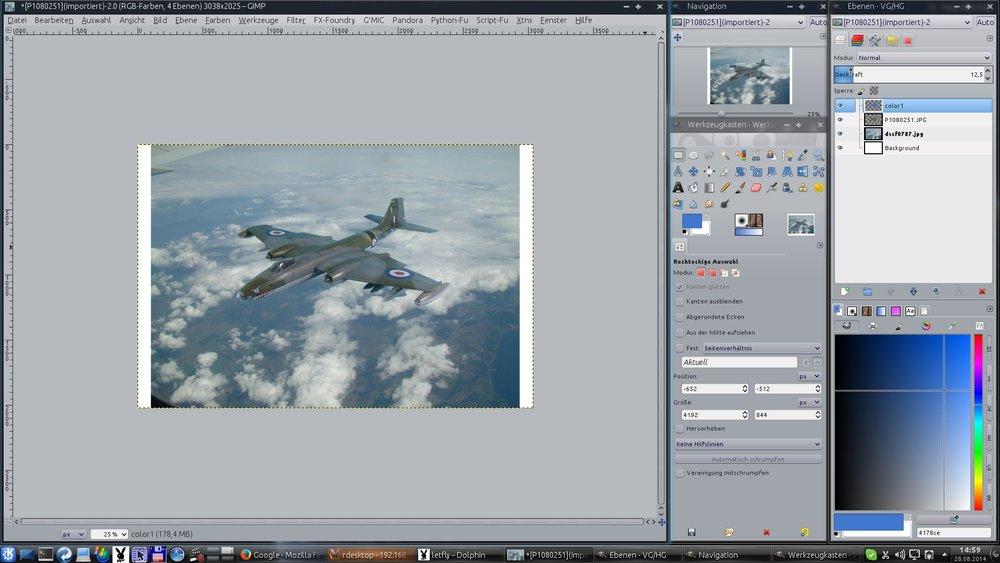
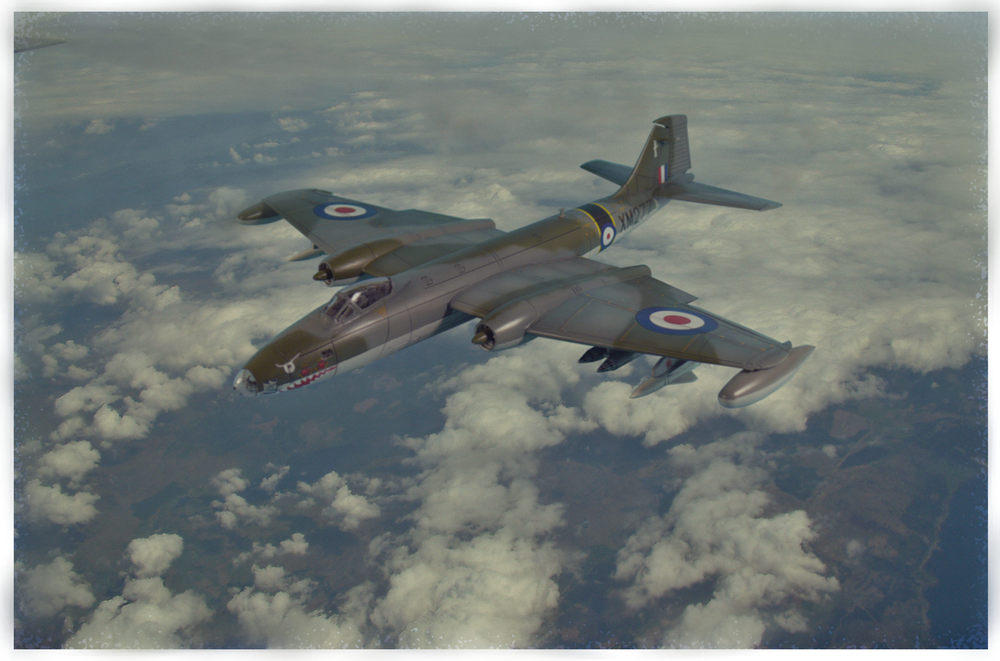
Now it's time to scale the model plane image to the sky and move the layer into place
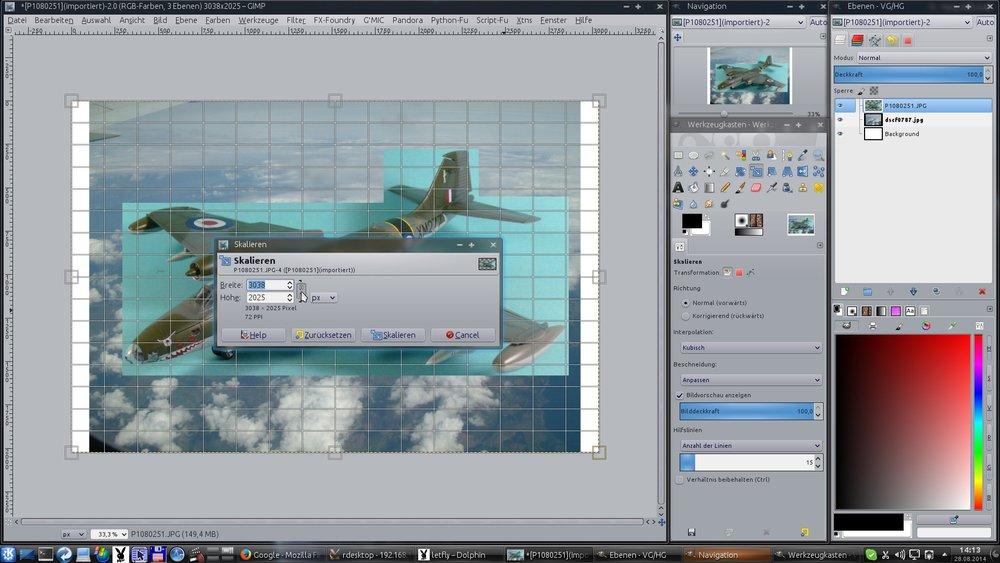
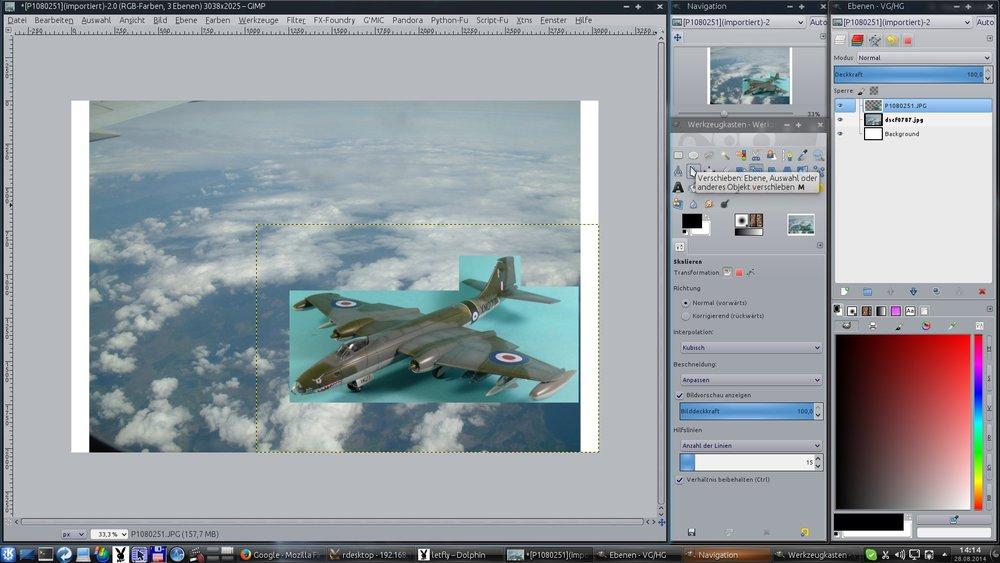
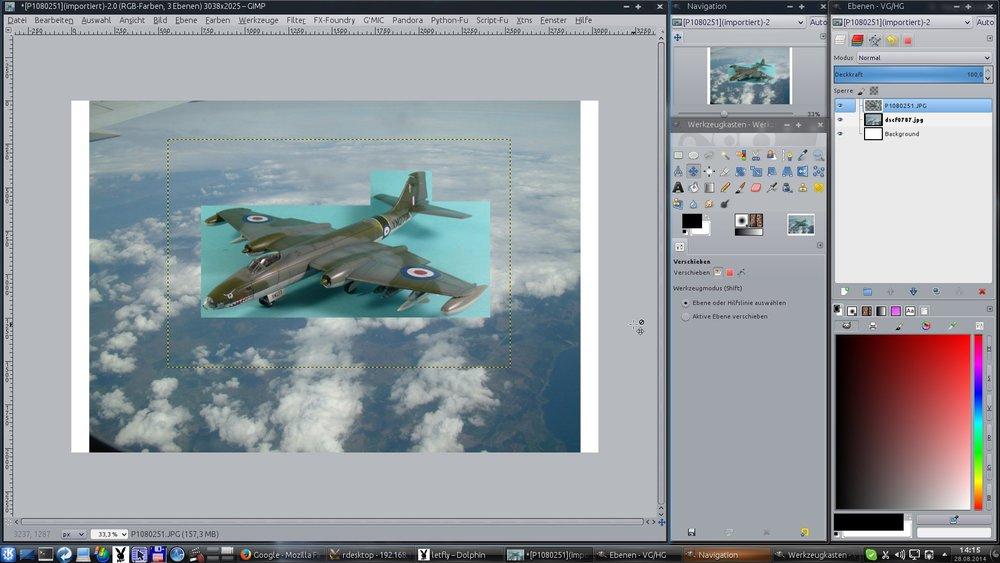
Those steps I always do up front as now the real work will begin and when looking at the image above one can decide whether the directions of light in the model image and the sky image do match or not. If the directions of light do not match, then you most probably have to find or take a different model image or sky image.
let them fly
- Impisi
- Modelling Gent and Scholar
- Posts: 2024
- Joined: November 6th, 2020, 10:28 pm
- Location: Germany
Re: let them fly
So, now its time to free the model from all the surrounding background.
This I really like in GIMP, cause here you can trace a so called path by just placing points along the airplane and then when done convert this into a selection mask – its pretty easy.
The path is done – now create a selection mask out of it
The plane now is selected. Well that's not what we want, we want to select the background. Easy, just invert the selection mask and press „del“
undo all selections and it starts to look like a flying plane
Now there is one important step. As we've just cut all the backgroud, we do have very hard edges around the plane. This just does not look right. But that's also pretty simple. As the plane on its layer is now surrounded by nothing, which in application words means empty pixels you just can soften the edges of the plane to the empty pixels.
Chose the soften commend mode
and soften the plane around the edges.
It's very subtle but thats one step which makes it a better image in the end.
Better now but not finished ...
Now in this particular case we do have another issue, we have some reflections of the blue brackground the model images was taken on – those do look blue-green and wont fit to the complete image
In this case we take the color selection tool and select those tones we want to select – for several areas just click on to the areas and hold the SHIFT key, this way all the selected color areas will be added to one selection.
After the selection is done one have to tone those areas – for this there are several ways to do – I've chosen the „equalize colors“ command in GIMP
Looks better now,
but not the way it should to get the feeling of one image. The background is a little blue-ish I would say. So now you could change the toning and such of the sky image to have a better match. I've chosen the other way, I made the plane a little more blue-ish.
For this i placed a new layer on top of the plane layer (see image above)
This layer has to be transparent when created and was named „color1“
Next steps are:
activate the plane layer again
select the surrounding transparency of the plane layer into a selection mask
invert the mask, so the plane is selected
activate the „color1„ layer
fill the selection with a blue-ish tone
tone down the transparency of the layer
looks much better now … well one step would make it better before playing
My last step before playing was to place another transparency layer on top of all. This I filled with a kind of pink. For this layer played with the layer transparency again until it looked the way I wanted it.
- Impisi
- Modelling Gent and Scholar
- Posts: 2024
- Joined: November 6th, 2020, 10:28 pm
- Location: Germany
Re: let them fly
Last step was to create one new layer out of all the others and this then was user to play with the new image
Now the real fun can start, you can play with this to get some different images – this is now the same as you would play with camera images.
The old color book prints
an old newspaper color print
an old photo
this still looks like a model, so it could be a box image
it almost looks like a photo taken, some edges of the plane are still to hard
well, still not the way I would want it – ah well play yourself
Those are not perfect, there are still some areas left which don't fit into the complete image. But it looks much better that just placed on top of a blue cardboard.
Perhaps some words on why I've chosen this image of the model. The main reason was the light reflection on the canopy where you normally would see the pilot. This way it was a very easy way to use image If you do this more often, you can collect Images of pilots and could place those into the pit. To do this, the steps are more or less the same as shown for this work flow. The second reason for choosing this image was the direction of light it almost perfect fits to the direction of light of the sky image.
All those steps you can do with any photo editing application which is able to handle layers
Some other examples I did in the past
Re: let them fly
Thanks Martin, excellent tutorial, I just have to practice my German a bit more.
It's only pain, work through it.
- iggie
- Modelling Gent and Scholar
- Posts: 23438
- Joined: July 31st, 2013, 11:04 am
- Location: North Somercotes, Lincolnshire
- Contact:
Re: let them fly
Great stuff!
Best wishes
Jim
If you can walk away from a landing, it's a good landing. If you use the airplane the next day, it's an outstanding landing
"Never put off till tomorrow, what you can do the day after tomorrow"
Jim
If you can walk away from a landing, it's a good landing. If you use the airplane the next day, it's an outstanding landing
"Never put off till tomorrow, what you can do the day after tomorrow"
- DavidWomby
- Modelling Gent and Scholar
- Posts: 11765
- Joined: May 1st, 2011, 8:09 pm
- Location: Florida, USA
Re: let them fly
Martin, thank you for that. Very comprehensive and produces great looking results.
David
David
- Impisi
- Modelling Gent and Scholar
- Posts: 2024
- Joined: November 6th, 2020, 10:28 pm
- Location: Germany
Re: let them fly
Thankswokka wrote:Thanks Martin, excellent tutorial, I just have to practice my German a bit more.
Thanksiggie wrote:Great stuff!
Thanksdwomby wrote:Martin, thank you for that. Very comprehensive and produces great looking results.
David