OK......
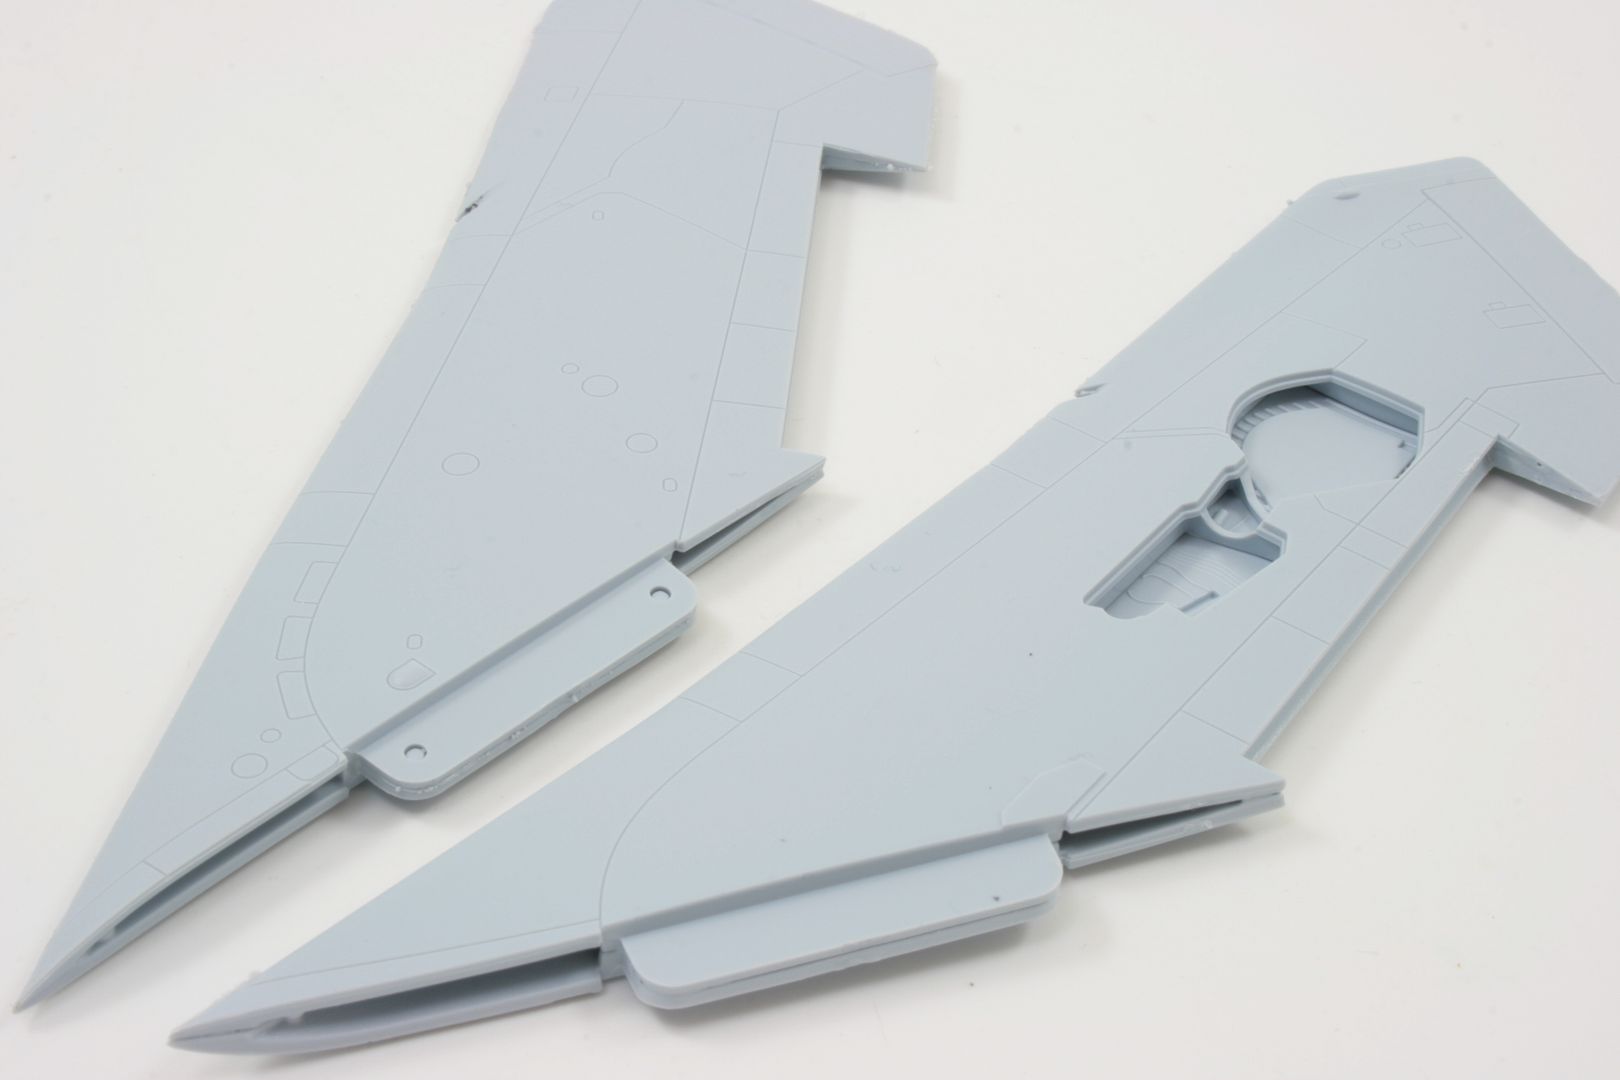
Work commenced yesterday, Boxing day, with sorting out what could be done in advance like the wings and the nose weight which I added using lead shot into the radome(no pics). The wings needed a little care assembling, all mating surfaces had a little smoothing down with a a fine grit sponge sander and the panel lines along the leading edges were deepened slightly to take the sanding when they were cleaned up. here they are all fixed up sans flaps whichI am still unsure whether to add drooped or flat, I'll decide later in the build.
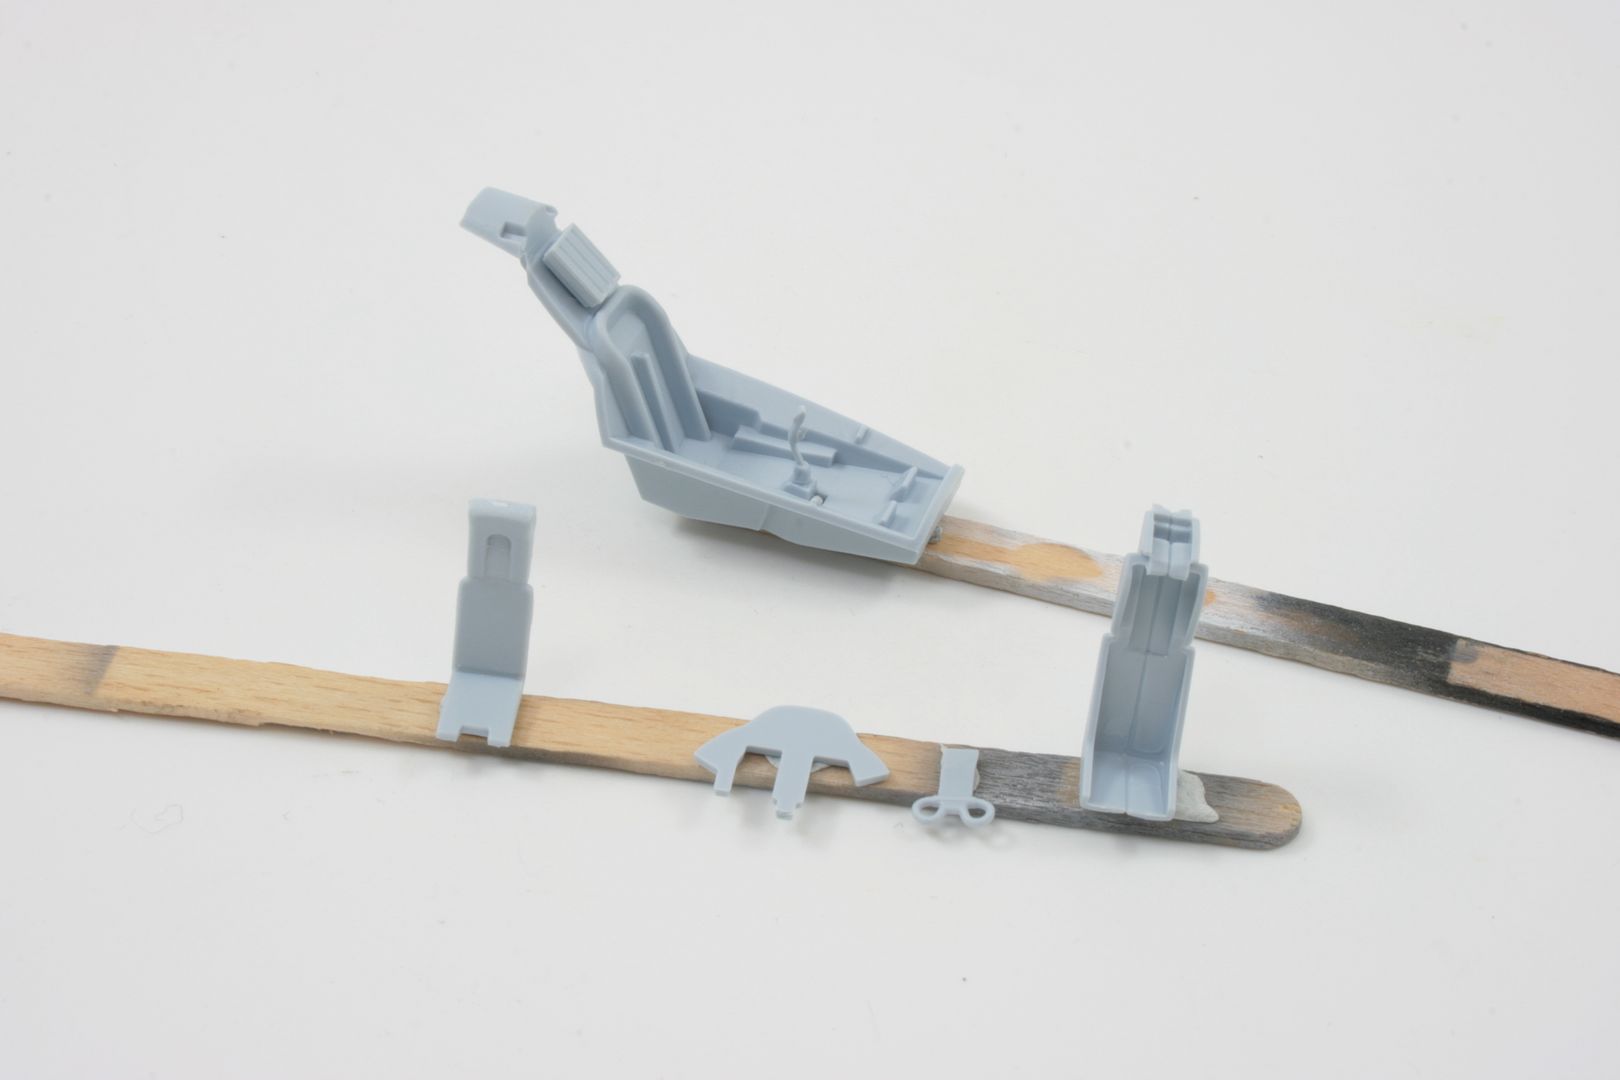
Next I sorted the cockpit components out ready, cleaned up and prepped for painting. The instructions call for Medium Sea Grey for the interior which I was not certain about seeming to recall that Lightning cockpits were all Black, but done some Googling and turns out Mr.Airfix are right, Grey it is .Great little decals are supplied for the IP and consoles so I will add them later. The seat is a little basic but will suffice until I get a replacement. The control column is VERY delicate but looks good.
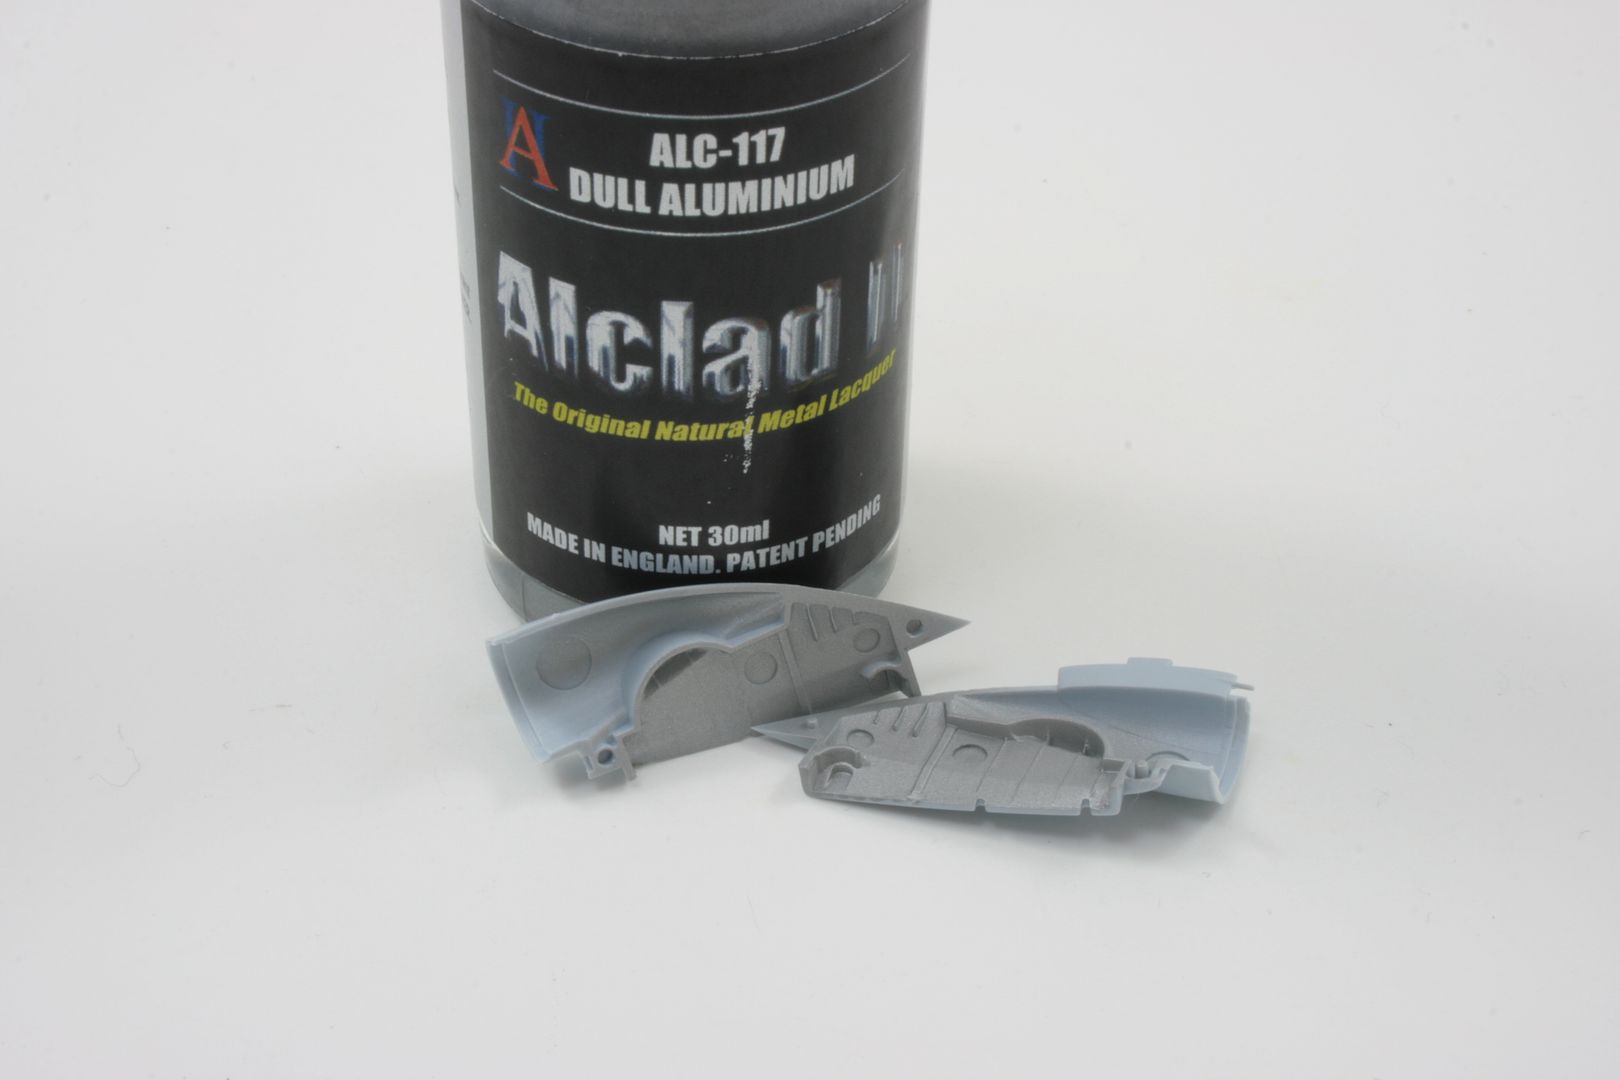
The nose wheel bay has some neat detail though little if any will be visible once assembled,anyway I primed, painted and washed it using Tamiya Sky Grey, Alclad and Smoke before assembling.


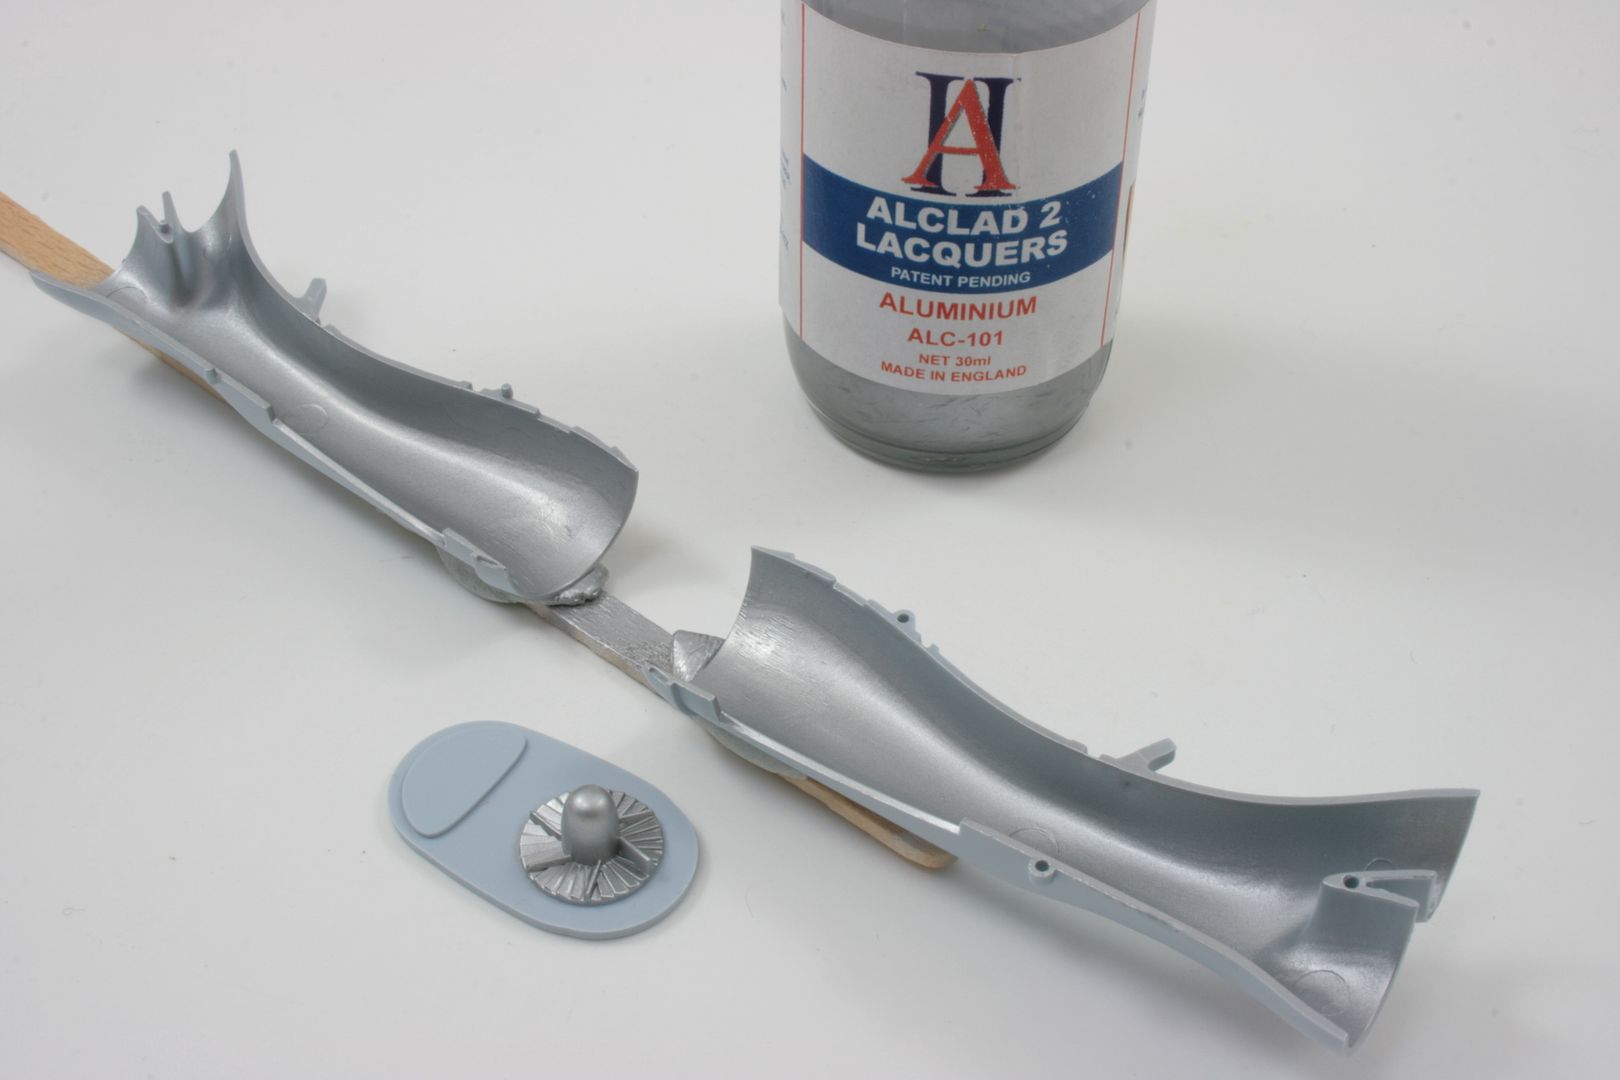
The intake needed a small amount of work to get the halves to seat together properly, the mating holes were enlarged a little and the back was sanded before a couple of prominent ejector marks were scraped out. I the sprayed the compressor fan face and the interior Alclad Aluminium.
The airbrakes were closed up too, not the best fit so will probably need a little Mr.Surfacer when the glue dries.
So far, so good then...


