Paul's Attempts

Show us a view of your workbench / work in progress and build reports too.
User avatar
PGAS
Active Participant
Posts: 826
Joined: December 17th, 2015, 2:37 am
Location: Ontario, Canada

Re: Paul's Attempts

Post by PGAS »

Here is my build of the 3R model Stryker in 1/72 scale. It is a nicely detailed kit and was fun to build.
Image

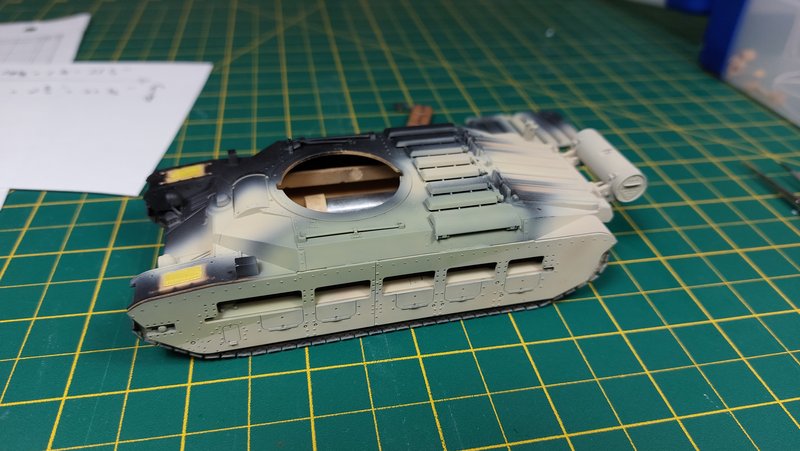
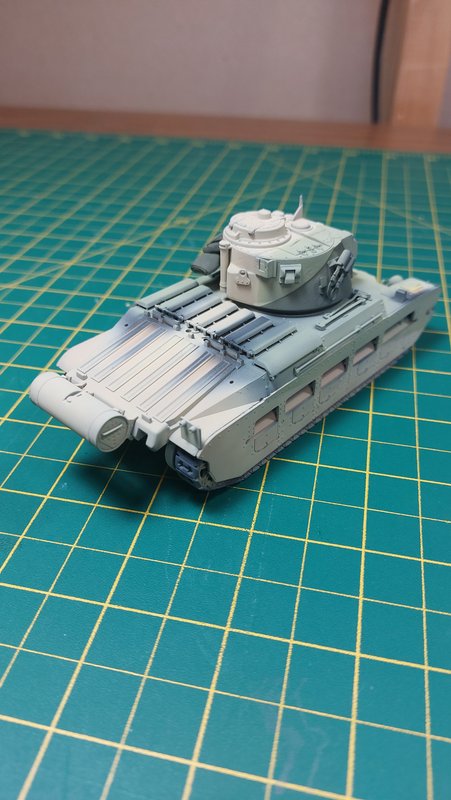
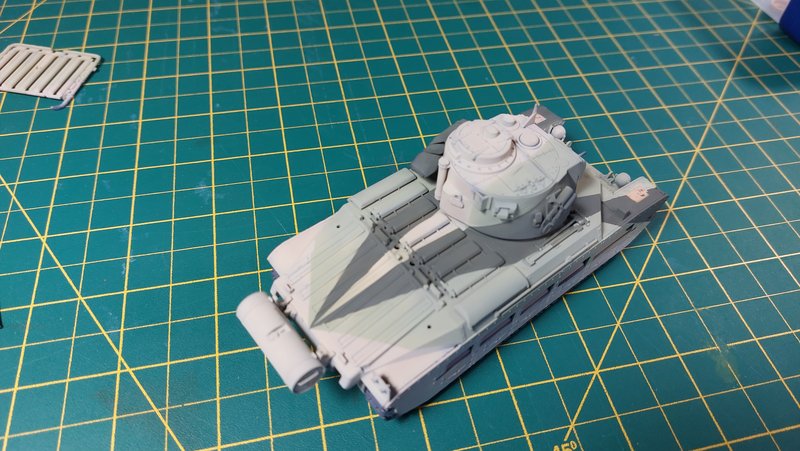
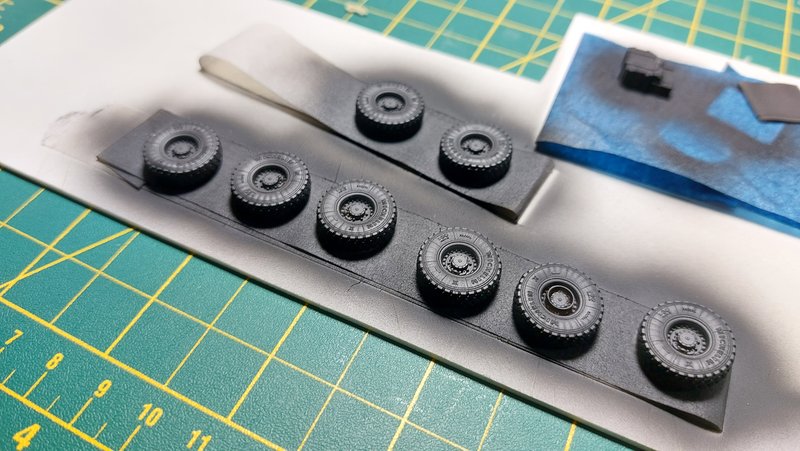
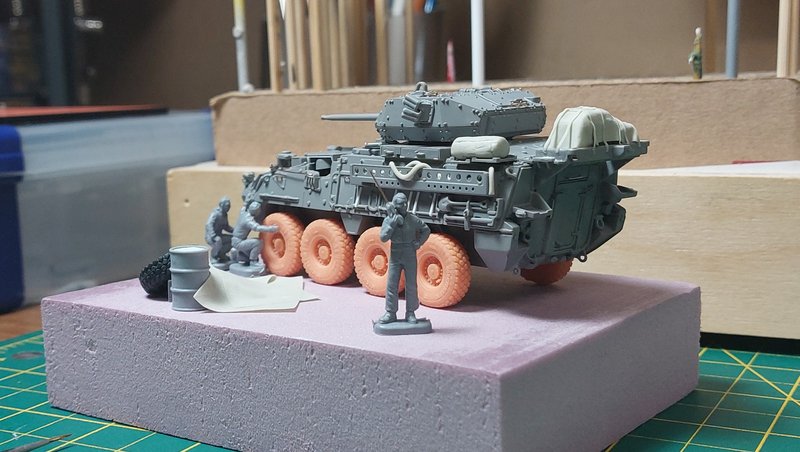
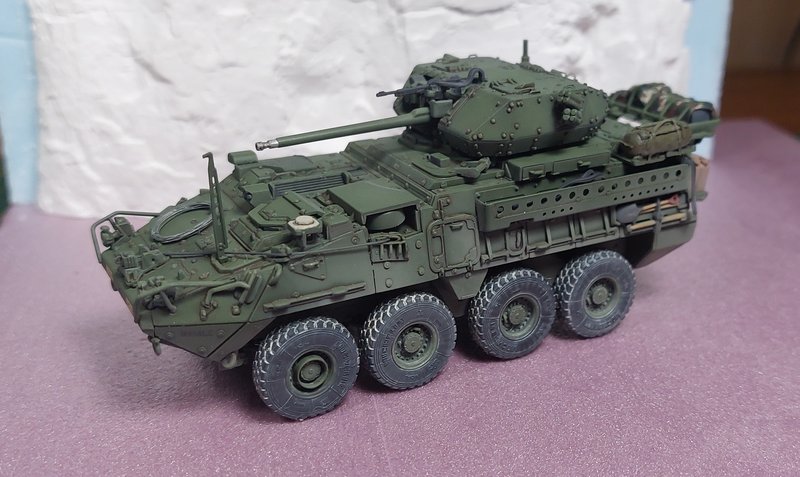
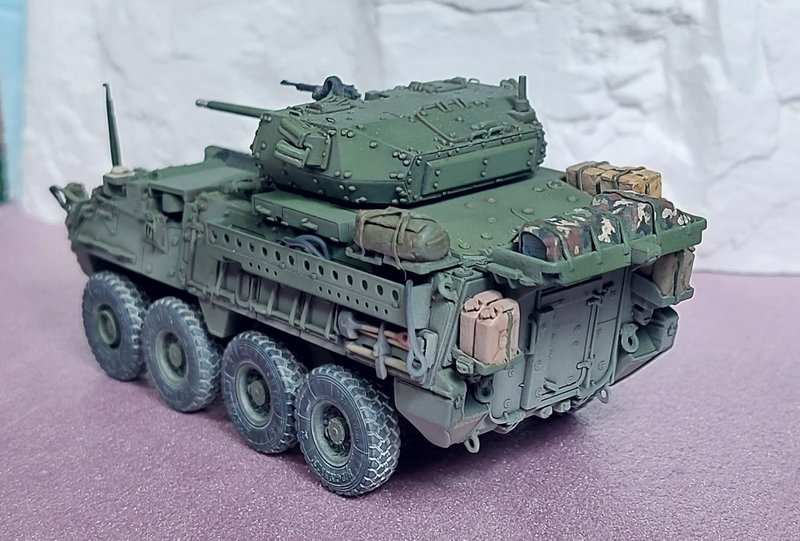
I did buy aftermarket wheels because I did not like the rubber ones in the kit. The new ones looked like they had weight to them, they had better sidewall detail (I like the side wall rib effect) and I think were a big improvement on the kit. I am glad I used them.
Image

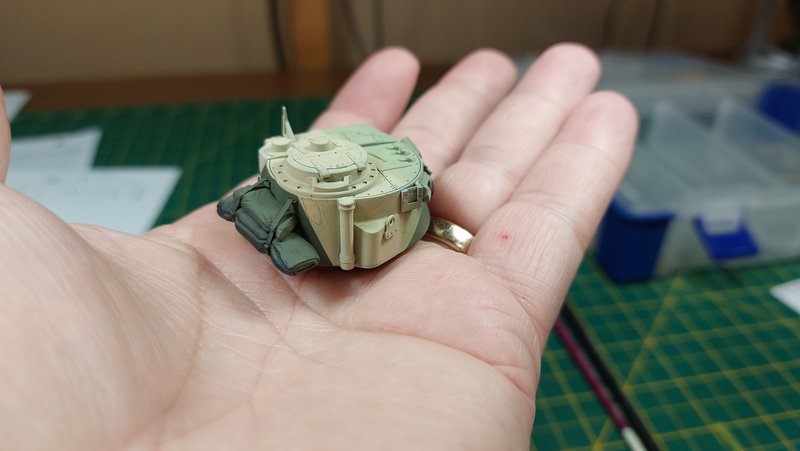
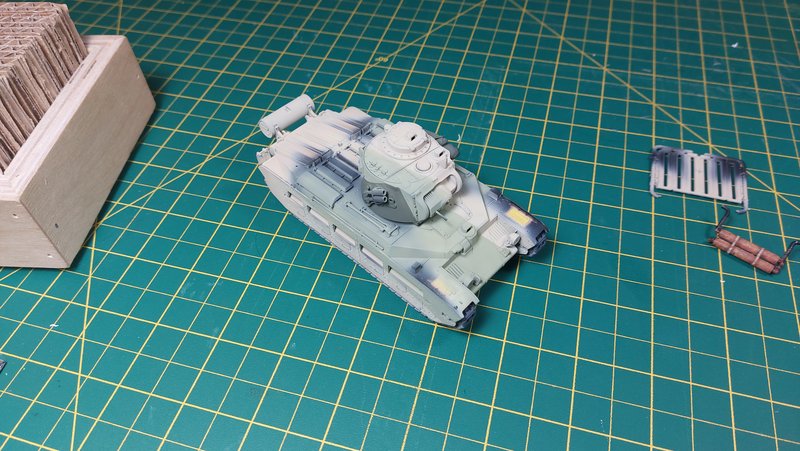
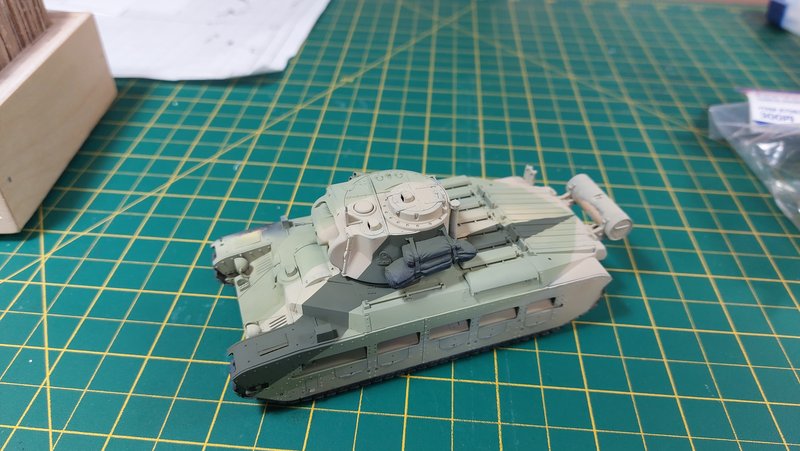
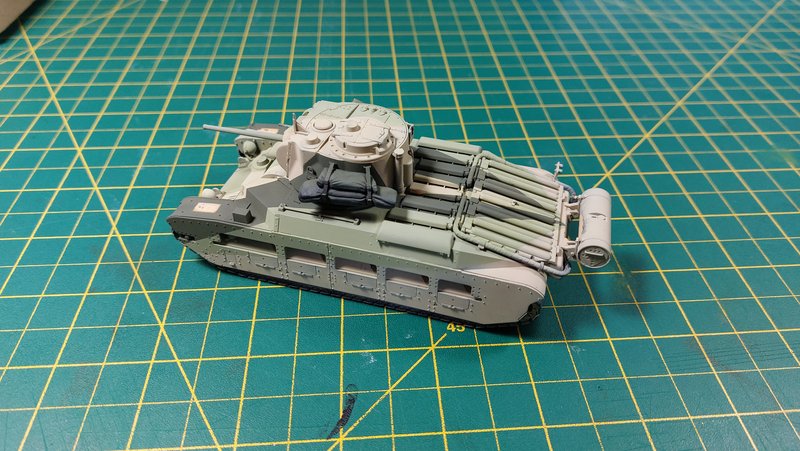
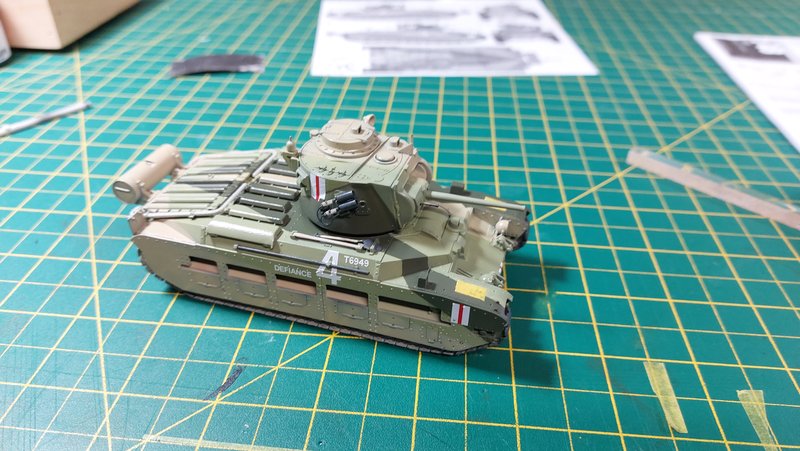
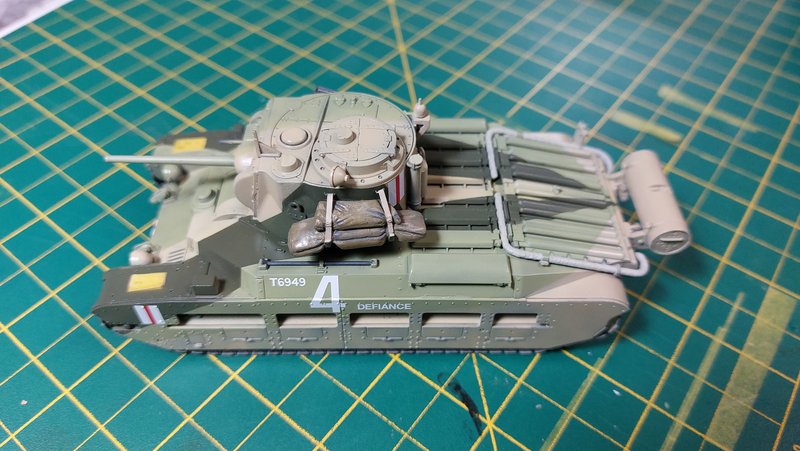
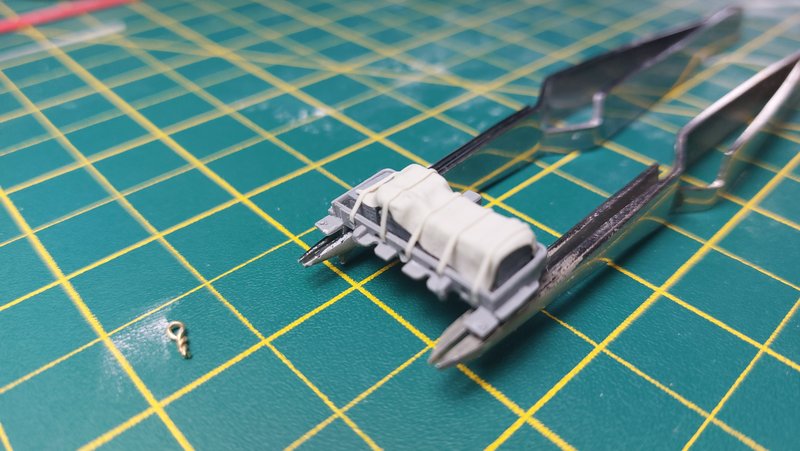
Fine cooper wire was used to replace the various handles, add barbed wire and winch cable.
Image

Image

Image

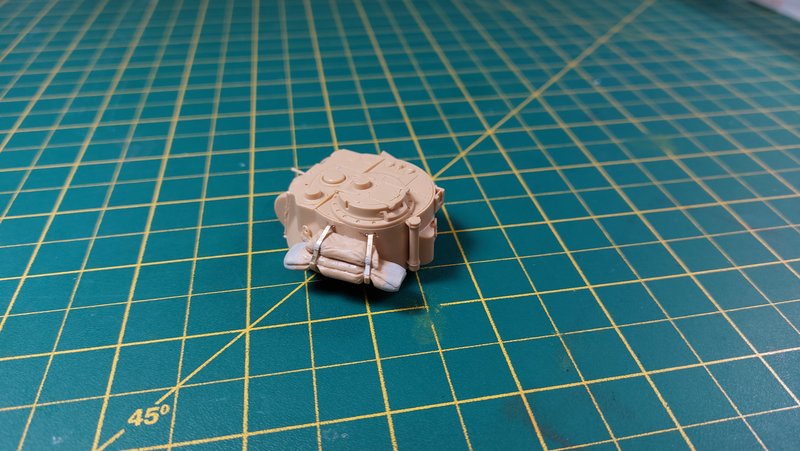
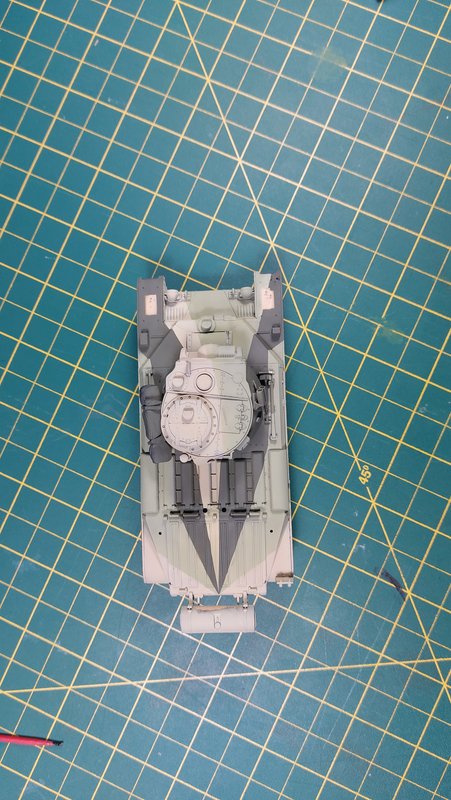
Side straps were made from plastic strip and some stowage courtesy of Apoxie Sculpt.

Image

Image

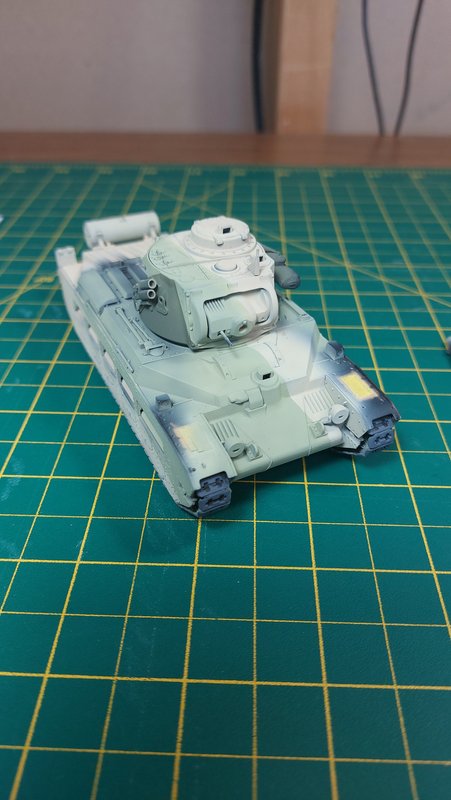
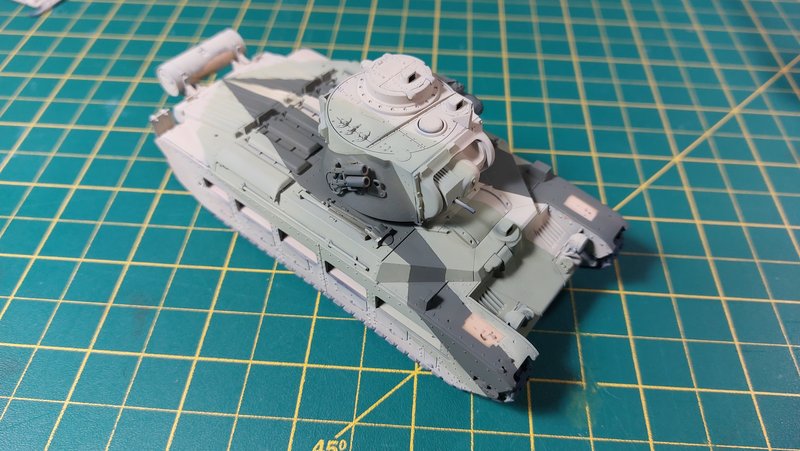
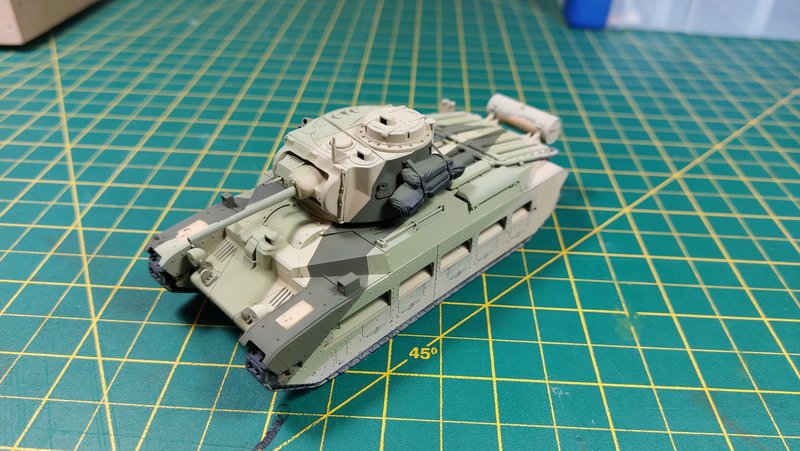
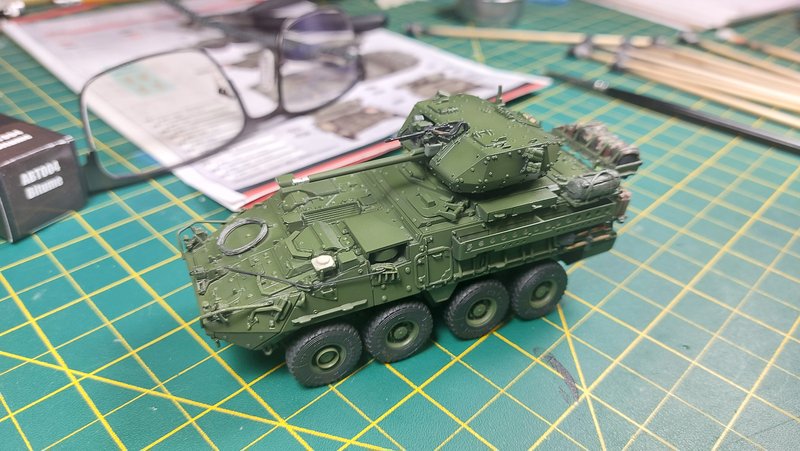
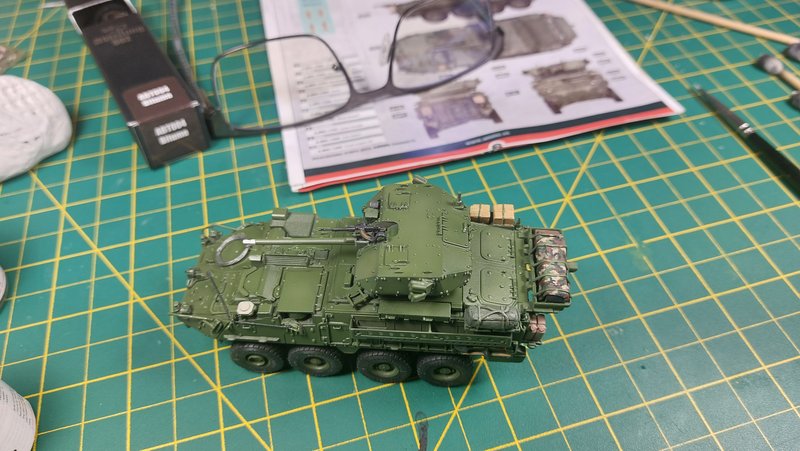
A coat of paint and dust and I think this is done.

Image

Image

Image

Image

Image

Image

Hope its not too long a post. Thanks for looking.
Paul

This is it. The moment we should have trained for.
User avatar
iggie
Modelling Gent and Scholar
Posts: 23438
Joined: July 31st, 2013, 11:04 am
Location: North Somercotes, Lincolnshire
Contact:

Re: Paul's Attempts

Post by iggie »

That's a great looking build Paul, the detail really pops and your weathering looks spot on 👍
Best wishes

Jim
If you can walk away from a landing, it's a good landing. If you use the airplane the next day, it's an outstanding landing
"Never put off till tomorrow, what you can do the day after tomorrow"
User avatar
AndrewR
In the basement lab
Posts: 24118
Joined: April 5th, 2011, 4:13 pm
Location: Ottawa, Ontario, The Great White North
Contact:

Re: Paul's Attempts

Post by AndrewR »

That's really good. Nice detail for 1/72.
Up in the Great White North
User avatar
Softscience
Staring out the window
Posts: 7491
Joined: April 5th, 2011, 4:34 pm
Location: Maryland, near Washington DC

Re: Paul's Attempts

Post by Softscience »

I like the dusty finish a lot. You seem to have captured the scaled down weathering that is so important in 1/72
User avatar
Narayan
If anyone needs me, I'll be in my office
Posts: 2602
Joined: April 10th, 2011, 7:01 pm
Location: The Middle of Nowhere in Ireland

Re: Paul's Attempts

Post by Narayan »

1/72 scale, that's fantastic.

_________________
Narayan

He's experienced about as much pain and suffering as anyone I've encountered, give or take, and he still has Hell to look forward to.

A:B 2024 1:3 2023 28:2 2022 46:09 2021 100:06 2020 113:11 2019 113:16 2018 35:05 2017 28:03 2016 27:10 2015 53:07 2014 21:04 2013 39:12 2012 20:05 2011 11:10 2010 44:12 2009 19:16 2008 16:03 Overall 526:140 Stash 386
User avatar
Clashcityrocker
Modelling Gent and Scholar
Posts: 10823
Joined: May 1st, 2011, 12:31 am
Location: Adelaide. South Australia

Re: Paul's Attempts

Post by Clashcityrocker »

Looks fantastic.

Nigel
User avatar
David Silver
Active Participant
Posts: 658
Joined: March 28th, 2022, 11:33 pm

Re: Paul's Attempts

Post by David Silver »

Wow! That is a very highly detailed kit for 1/72 and you've made a brilliant job of it.
User avatar
TeeELL
Modelling Gent and Scholar
Posts: 11633
Joined: December 28th, 2015, 4:38 pm
Location: North Wiltshire

Re: Paul's Attempts

Post by TeeELL »

My goodness, that is a terrific model all the more so for being in ‘gentleman’s scale’.
Tony

The older I get the better I was!
Current build:
Airfix 1:72 Javelin FAW9
Particular modelling interests:
Cuban Airforce aircraft, 29(F) Sqn aircraft, Aircraft I’ve flown
User avatar
PaulBradley
Staring out the window
Posts: 21219
Joined: April 6th, 2011, 3:08 pm
Location: Flagstaff, AZ

Re: Paul's Attempts

Post by PaulBradley »

Very nice!
Paul

За демократію і незалежний Україну

"For Democracy and a Free Ukraine"
User avatar
skypirate
Modelling Gent and Scholar
Posts: 7303
Joined: May 1st, 2011, 6:13 am
Location: Port Macquarie, Australia

Re: Paul's Attempts

Post by skypirate »

I am not an Armour modeller, but I really like the look of that!
Top job!

David
User avatar
Canuck2016
Active Participant
Posts: 535
Joined: March 6th, 2016, 4:03 pm

Re: Paul's Attempts

Post by Canuck2016 »

Great work on the Stryker, Paul! I'm always amazed at the results you get especially considering the small scale. The stowage and the dust effect on the lower hull look amazing! :O
User avatar
PGAS
Active Participant
Posts: 826
Joined: December 17th, 2015, 2:37 am
Location: Ontario, Canada

Re: Paul's Attempts

Post by PGAS »

Thanks for the comments on the Stryker. For the next kit I decided to try strange scale. For me at least. My least favorite scale in fact. 1/48. Too small to be impressive in stature like 1/32, but to big to be compact and impressive by being small like my favorite, 1/72 scale. I know opinions may vary! ;-)

Anyways, I wanted to try something different so I went with the Tamiya 1/48 scale Matilda in the Caunter scheme. As usual from Tamiya, the kit is beautiful. The engineering and fit is second to none. In fact the issues I had were from my own choices. I chose to build and paint the model in sub sections and this affected the fit of some of the parts. For example I left the side skirts off because of the caunter scheme and painted the primer and base coat I had some trouble getting a nice fit afterward. All my problem. If I had to do it again I would paint inside the mud slides then attach the side skirts, then mask and paint the main body together.

The only addition I did was to add straps to the stowage made out of brass stock and some wires to the smoke dischargers from copper wire.
Image

Image

I had issues with the paint peeling on the turret which was frustrating, but a re-mask and paint fixed this.
Image

Image

Painting was done in single stripe stages meaning I masked one stripe and painted verses all the one colour at the same time. I left the grill at the back as separate pieces to help with getting a good paint line over all the bumps. It was a bit messy at times but it came together. Very, very slowly!
After much gnashing of teeth I was happy with it.
Image

Image

Image

Image

Image

Image

Image

Image

Image

Image

Image

Image

Lastly it was time for the decals.
Image

Image

Next it will be onto the weathering. Sorry for all the photos but i was happy after all the masking work with how the Caunter scheme went together so I went a bit hard on the progress pics.

Cheers,
Paul

This is it. The moment we should have trained for.
User avatar
Stuart
Raider of the Lost Ark Royal
Posts: 19451
Joined: February 25th, 2013, 4:55 pm
Location: North Wales
Contact:

Re: Paul's Attempts

Post by Stuart »

WOW! that looks excellent!
Stuart Templeton I may not be good but I'm slow...

My Blog: https://stuartsscalemodels.blogspot.com/
User avatar
iggie
Modelling Gent and Scholar
Posts: 23438
Joined: July 31st, 2013, 11:04 am
Location: North Somercotes, Lincolnshire
Contact:

Re: Paul's Attempts

Post by iggie »

Excellent work on the masking Paul; I gave up trying to mask my 1/32nd Matilda a few weeks back and put it back in the box for another time... so you have my admiration for getting all those lumps and bumps masked :grin:
Best wishes

Jim
If you can walk away from a landing, it's a good landing. If you use the airplane the next day, it's an outstanding landing
"Never put off till tomorrow, what you can do the day after tomorrow"
User avatar
PGAS
Active Participant
Posts: 826
Joined: December 17th, 2015, 2:37 am
Location: Ontario, Canada

Re: Paul's Attempts

Post by PGAS »

iggie wrote: March 12th, 2024, 6:31 pm Excellent work on the masking Paul; I gave up trying to mask my 1/32nd Matilda a few weeks back and put it back in the box for another time... so you have my admiration for getting all those lumps and bumps masked :grin:
Thanks. To be honest, if you could see all the date time stamps on the photos, you would see quite the space in the sequence! It made its way back and forth from the shelf to the desk several times. :-D
Paul

This is it. The moment we should have trained for.
Post Reply

Return to “Workbench Window”