Page 9 of 174
Re: TeeELLs kitchen crafting kit creations
Posted: April 28th, 2017, 11:23 am
by TeeELL
Thank for your comments. I am hoping to have the fuselage halves together today. I will have to order a gallon each of the appropriate Humbrol enamels to camouflage this beast!
Re: TeeELLs kitchen crafting kit creations
Posted: April 28th, 2017, 3:37 pm
by ShaunW
Great work on the office, I think you have made a wise choice of aftermarket add-ons for this build Tony. The Javelin is indeed a biggie even in 1/72nd and it will absorb a fair amount of paint!
Re: TeeELLs kitchen crafting kit creations
Posted: April 28th, 2017, 6:12 pm
by TeeELL
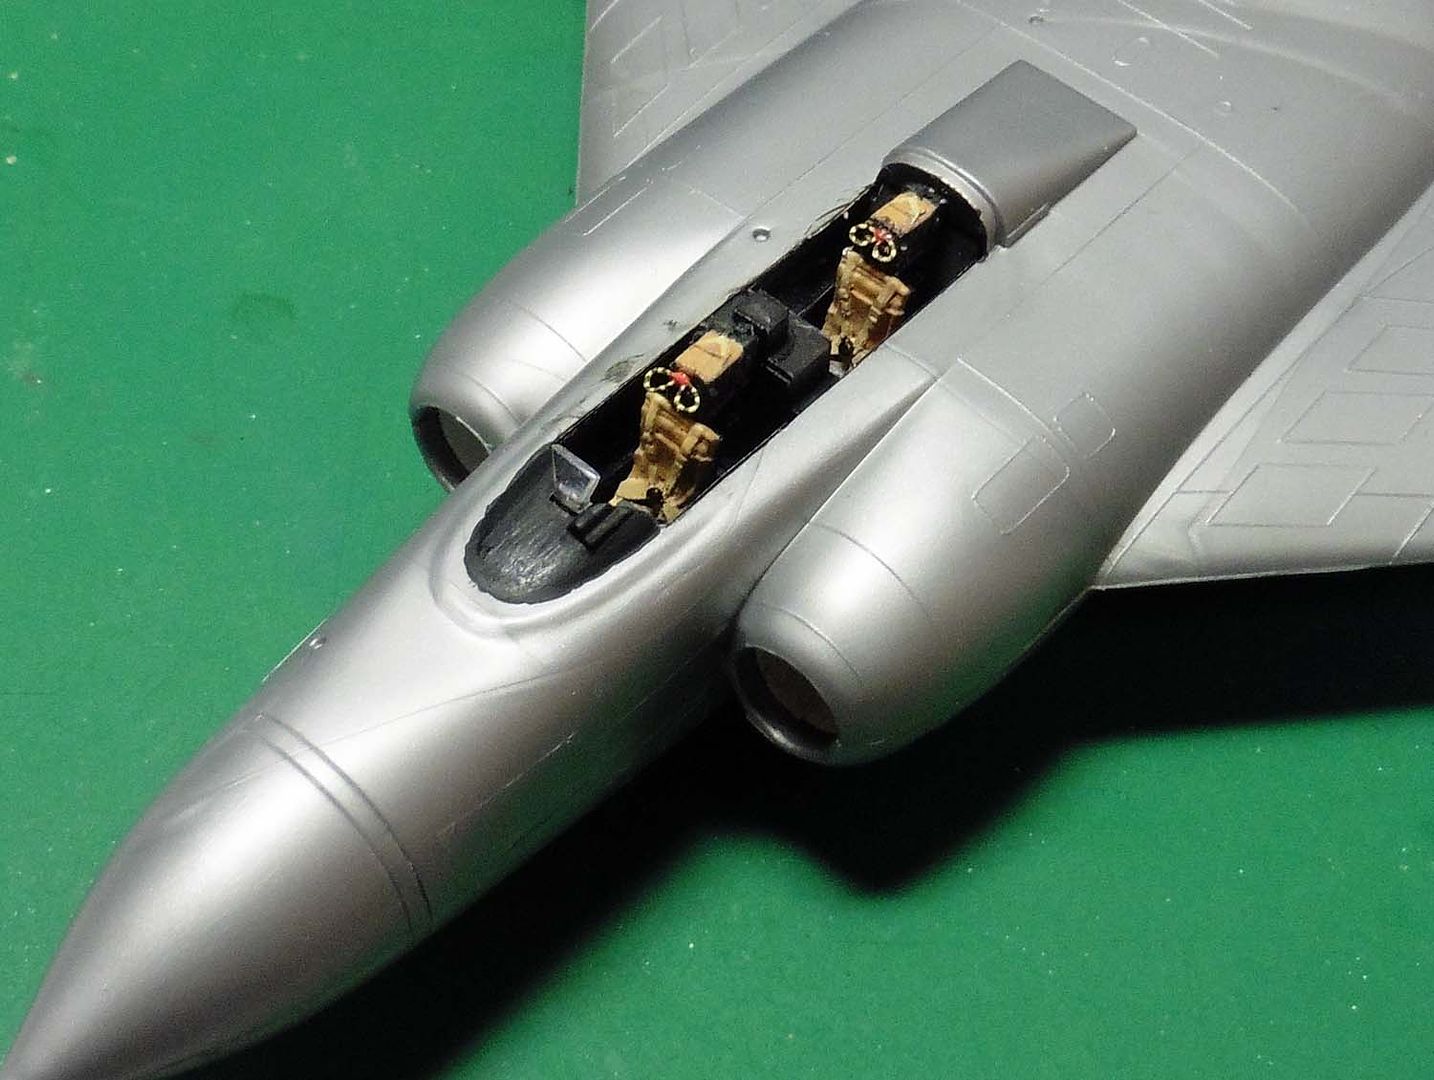
Well, I've not managed to put the fuselage together, there was more work required on the cockpit fitting some side panels for the front and rear cockpit. I've added the fuselage fuel tanks, fitted the intake 'tubes' and weights in the nose. The canopy and wind screen have been 'Futured' ready for masking and then attaching to the fuselage.
Re: TeeELLs kitchen crafting kit creations
Posted: May 1st, 2017, 12:48 pm
by TeeELL
I've been exercising my contruction skills this weekend. I've been putting together cast walling! Trouble is it is 12" to the foot scale. :-(
Re: TeeELLs kitchen crafting kit creations
Posted: May 2nd, 2017, 6:27 am
by skypirate
The Javelin is looking great already!
In the past I have built the Novo kit, and then replaced it with the Airfix model, which is now looking very long in the tooth.
So I have the lovely 1/48 kit, but it is a monster and may never be built!
cheers,
David
Re: TeeELLs kitchen crafting kit creations
Posted: May 3rd, 2017, 11:43 am
by TeeELL
Well, it seems I have lost a post that I compiled earlier this morning!! Here we go again then:
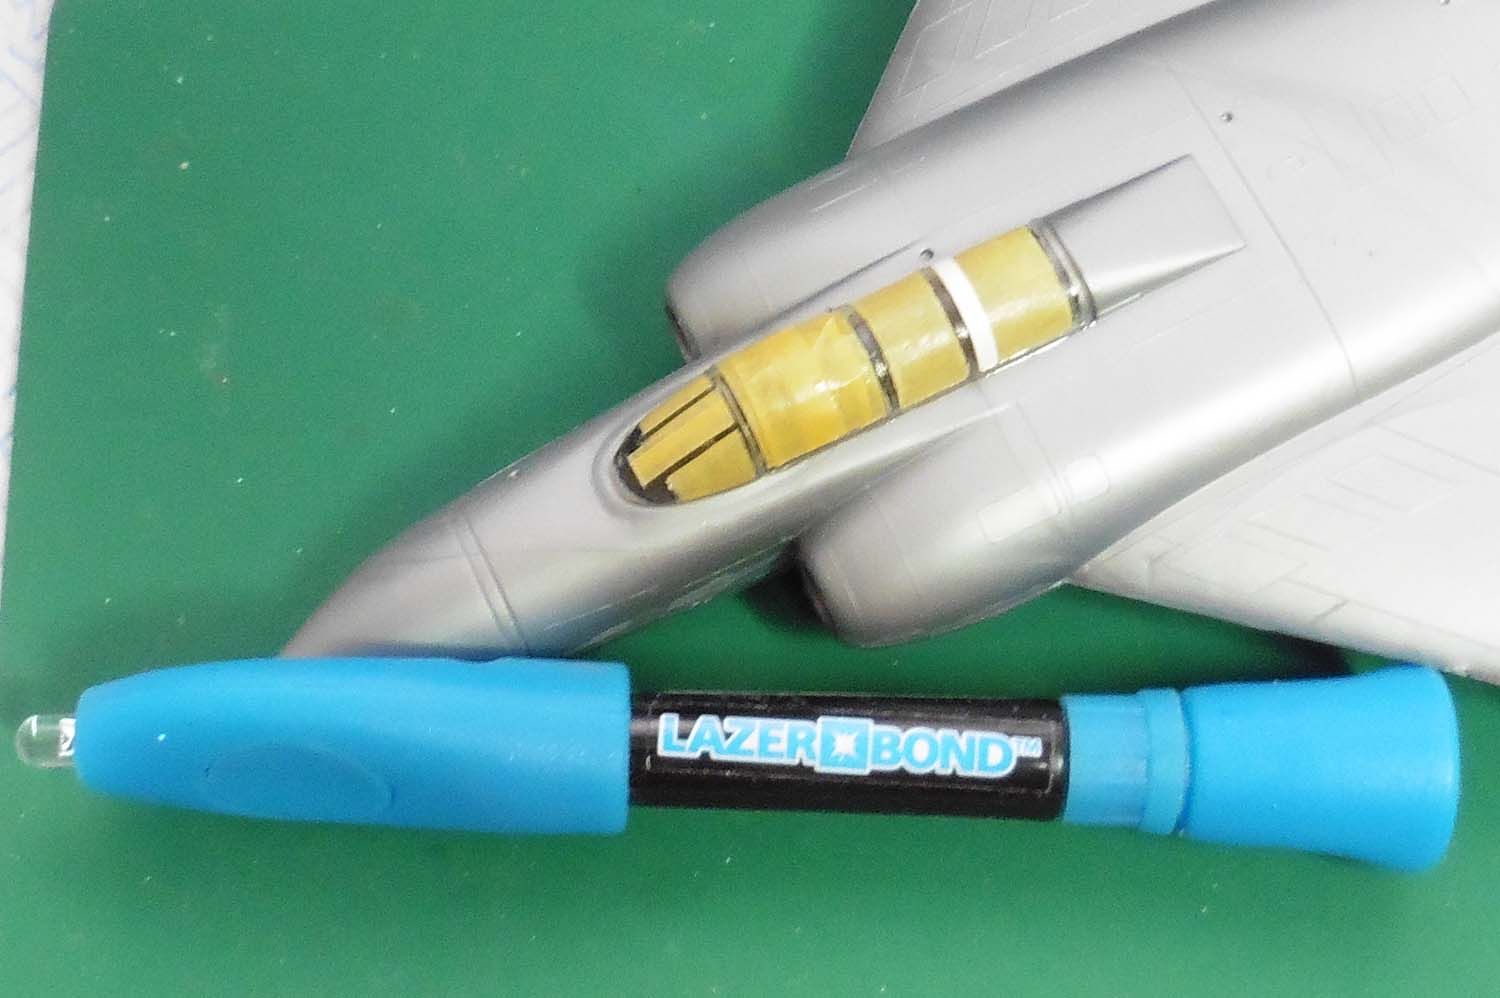
I secured the cockpit tub into the upper fuselage using a combination of Revell Contacta liquid glue and LaserBond UV activated glue. Once that was completed I started sewing the upper and lower halves together. A dry fit showed it was necessary to start with the nose cone and then work round the join in stages. I ended-up doing about 5 sections with each section being undertaken once the previous was dry. I used Tamiya Extra Thin and capillary action to seal each section, held together with silicone faced clothes pegs.
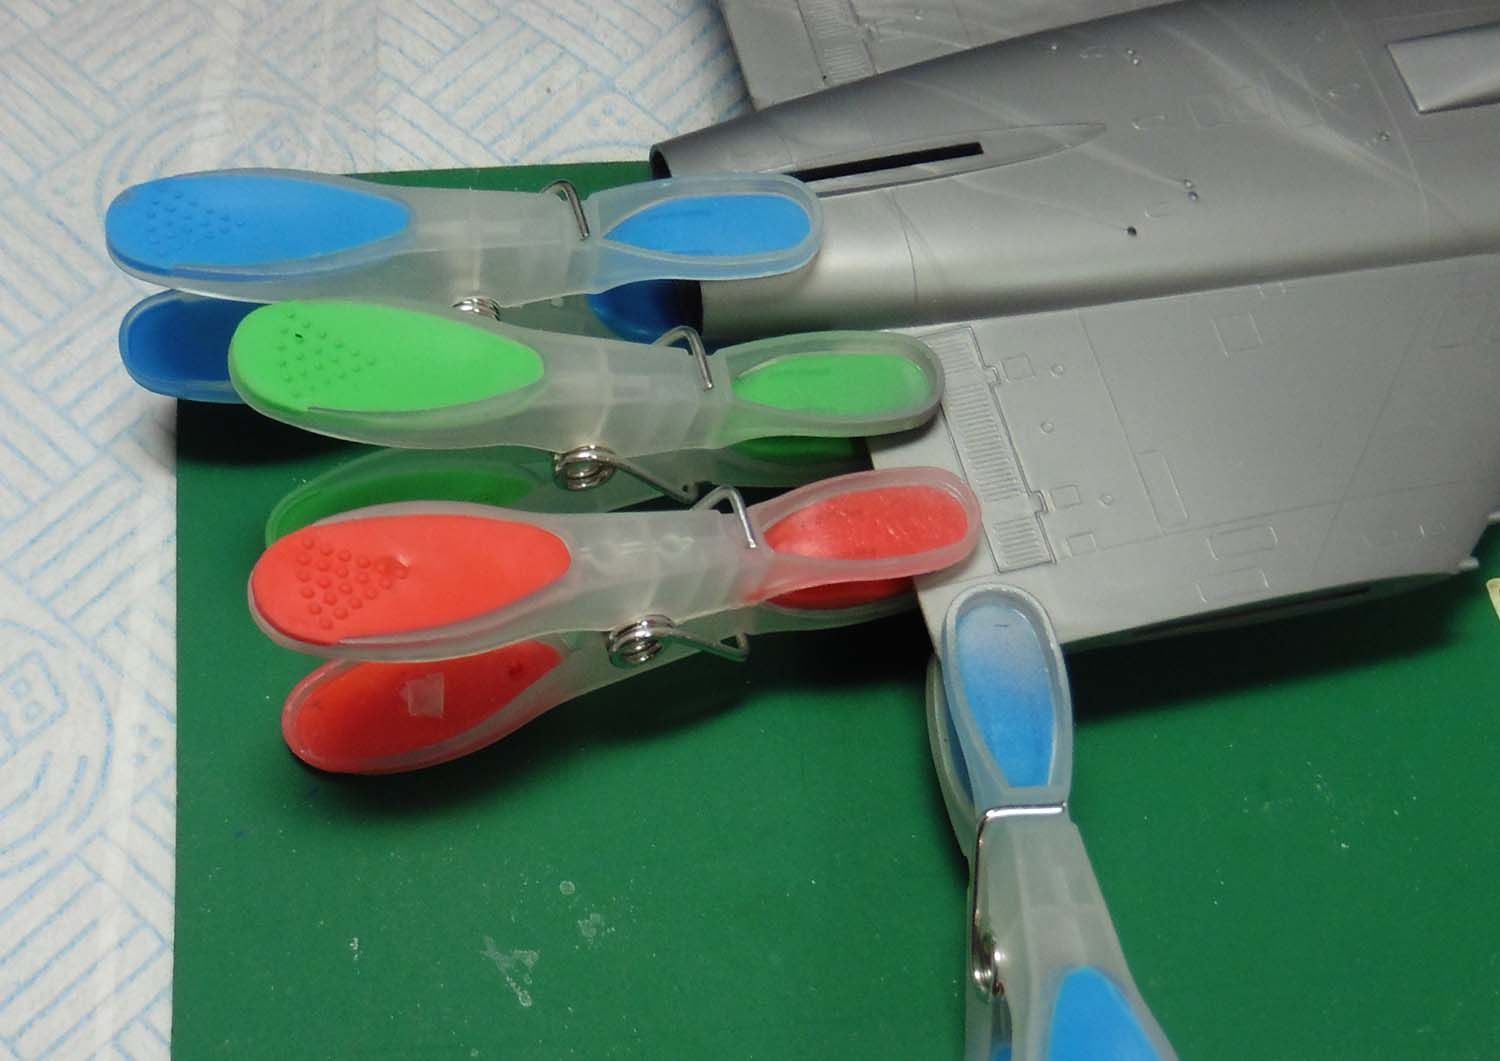
Between each section I got on with masking the canopy:
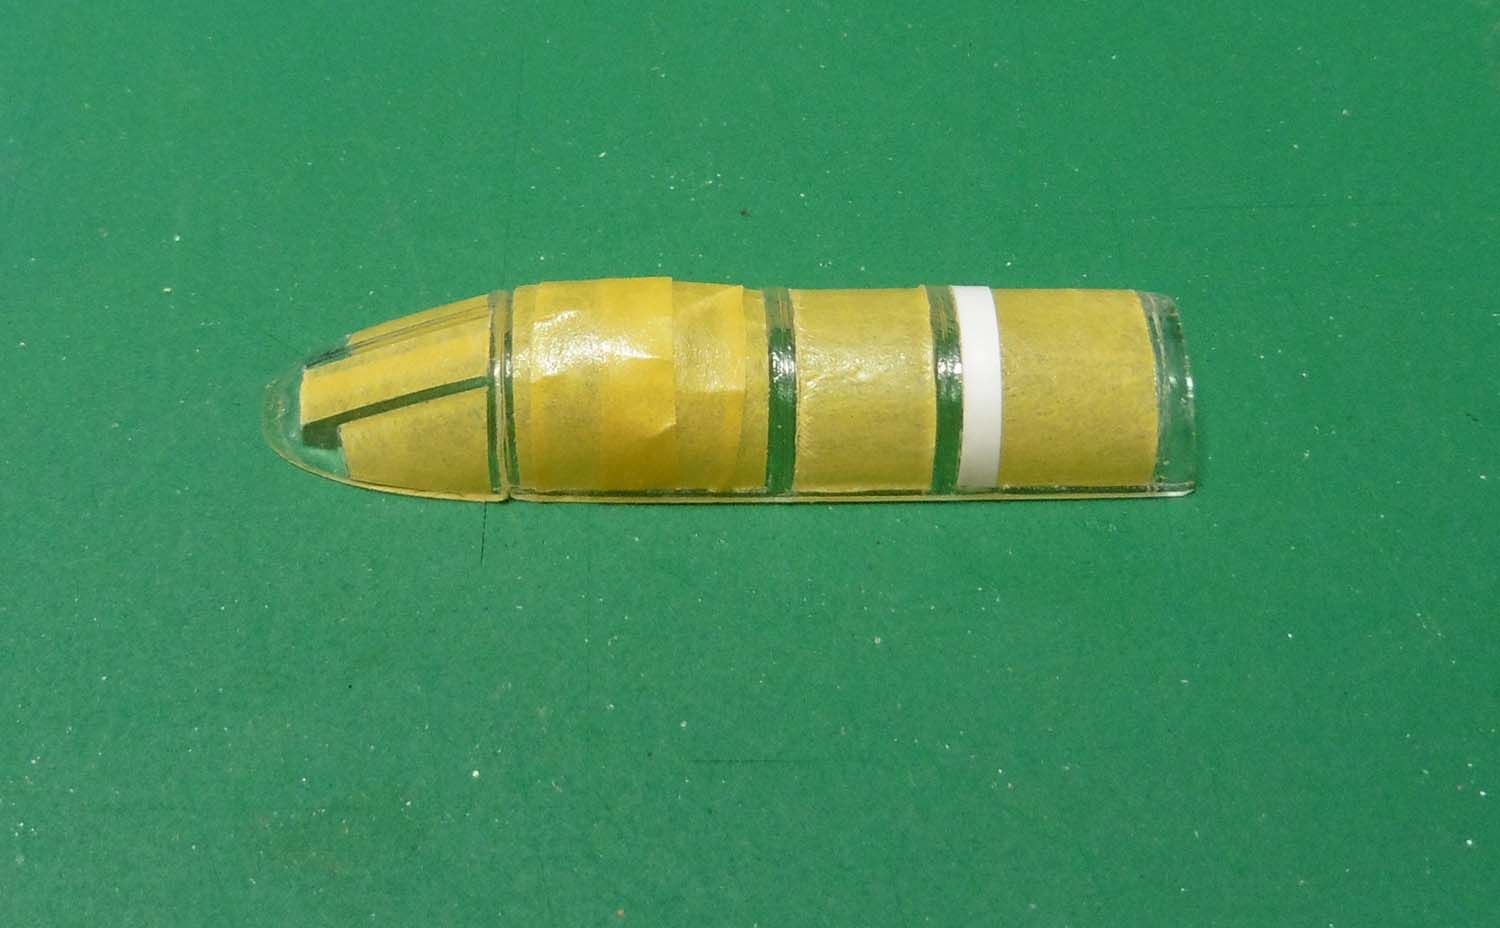
Finally, last night, I put all the major components together to see how it all looked and to see what problems I could look forward to resolving:
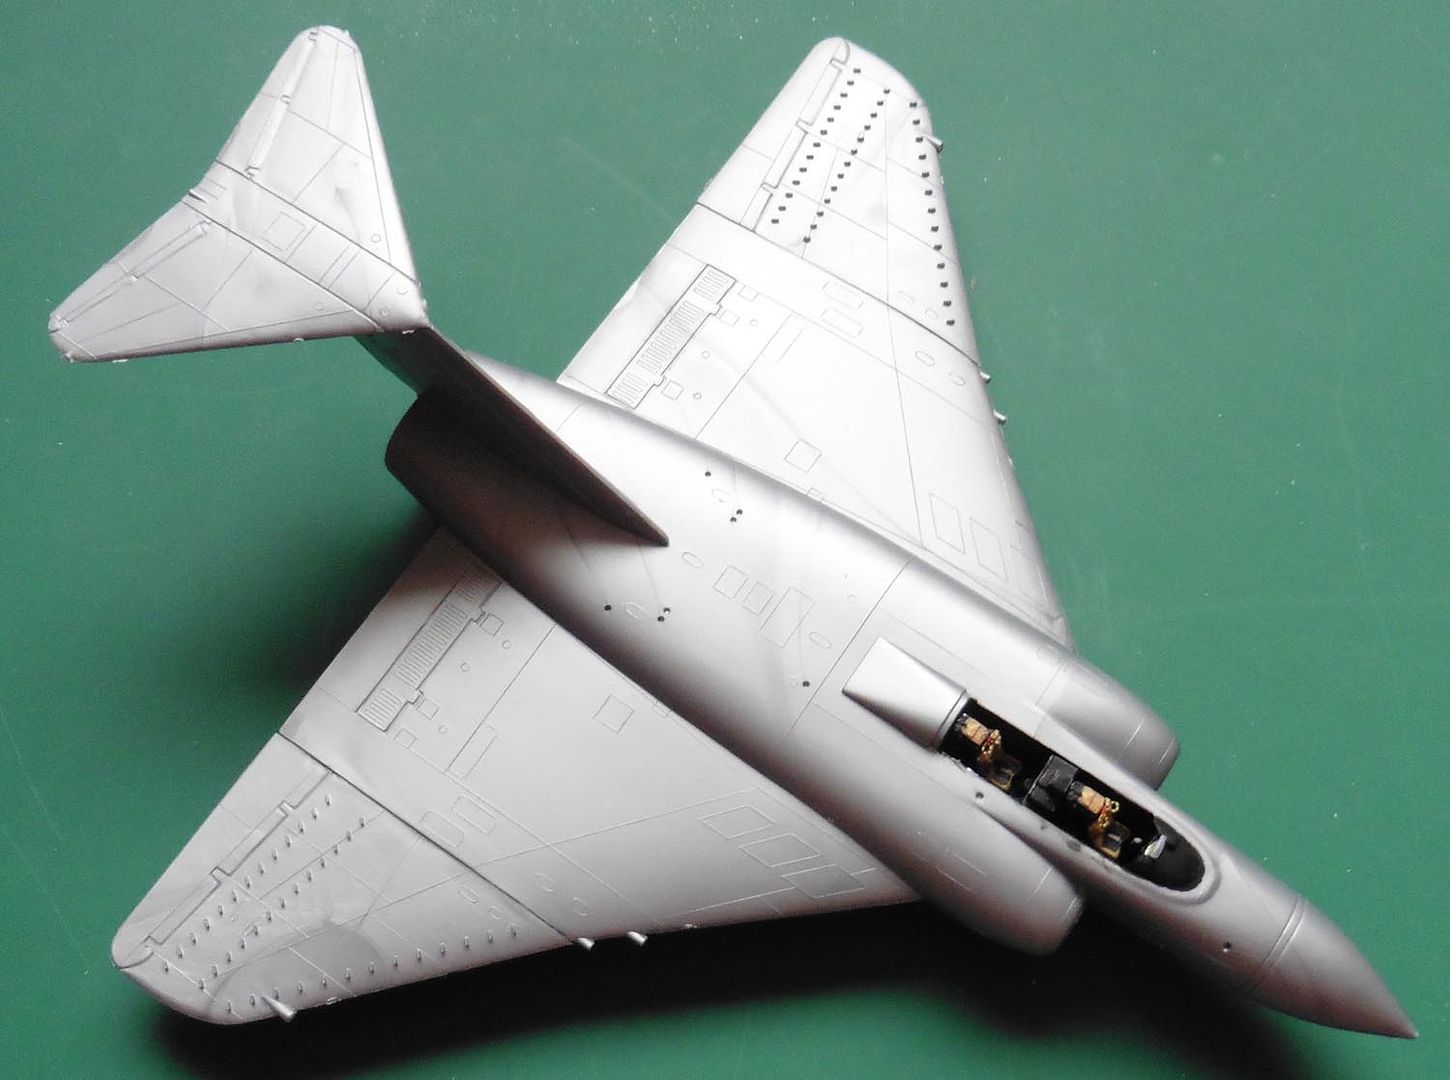
The outer wing sections have a slightly longer chord, readily resolved by the removal of a little plastic from the ends of the main wing sections.
The base of the fin needs some filler at the forward end and the top needs levelling in order to achieve a close fit with the tail-plane. I am not planning to attach the tail-plane until after painting and decaling so a good fit is essential.
Re: TeeELLs kitchen crafting kit creations
Posted: May 3rd, 2017, 11:48 am
by DavidWomby
Looks good but it is an amazingly big aircraft compared to its contemporaries, isn't it? Great cockpit.
David
Re: TeeELLs kitchen crafting kit creations
Posted: May 3rd, 2017, 12:24 pm
by iggie
Nice work so far; it certainly occupies a fair bit of shelf space!
Re: TeeELLs kitchen crafting kit creations
Posted: May 3rd, 2017, 1:12 pm
by TeeELL
I look at it and the panel lines cry out to be scribed - but I've neither the time nor the patience! In many ways, removing them would be a better option but I'll live with them.
I attached the canopy today (again, previously posted but vanished!!). I decided to try LaserBond U/V acticated glue. It proved to be as good as PVA with little or no mess (easily removed if required, prior to zapping). Once the canopy was in place all I had to do was use the U/V light and 'voila' job done - and a very firm 'fix' as well. The windscreen was attached in the same way. The glue dries clear, which is a bonus, all the gaps appear filled - I'll check again later.
Re: TeeELLs kitchen crafting kit creations
Posted: May 3rd, 2017, 3:35 pm
by mjatx
Very cool glue! That cockpit is great. Nice work going on here.
Re: TeeELLs kitchen crafting kit creations
Posted: May 3rd, 2017, 4:03 pm
by ShaunW
Excellent work, that is a nice and tidy bit of construction Tony. That Lazer Bond adhesive is the stuff of science fiction, 'tis sorcery I tell you!
Re: TeeELLs kitchen crafting kit creations
Posted: May 4th, 2017, 9:03 am
by TeeELL
ShaunW wrote:Excellent work, that is a nice and tidy bit of construction Tony. That Lazer Bond adhesive is the stuff of science fiction, 'tis sorcery I tell you!
Shaun,
It is, indeed, the magic wand of the modelling world! I have been using it for a variety of modelling tasks and, thus far, it has proven most satisfactory. I originally planned to use it to secure the canopy on the 1/72 Airfiix Hawker Hurricane I built last year, but the order never arrived! All I would say is - make sure the glue 'can see the light' otherwise it will not cure (oh, and don't let the LED touch the glue during the curing process, otherwise .......... !!!
Re: TeeELLs kitchen crafting kit creations
Posted: May 6th, 2017, 11:20 pm
by TeeELL
I did a reasonable amount of construction on Friday (in hind-sight, perhaps too much!). The outer wing sections were applied as was the fin. Seams rubbed down and then filler applied, I forgot my method of applying - using masking tape either side of the gap - so had a fair amount of cleaning-up to do.
NOTE: If anyone else is looking to make this model; be aware that the rear of the fuselage and the tail extension do not have the same profile! I overcame this by using a couple of my silicone pegs to slightly flatten the rear of the fuselage so that it matched that of the tail section. Delighted to report that the amount of sanding required to smooth things out was minimal :-)
I mentioned 'too much' in my opening sentence - Hmmmm , well I added the refuelling boom and now realise that it will make painting the canopy rather more difficult, classic one pace forwards and 2 back! But, I am used to doing dumb ass things like that! One of the rear fuselage intakes is missing from the kit so I am going to have to fabricate a replacement, I should have that done on Monday so it will be off for priming, Halfords rattle can I think (hope one can will be enough???).

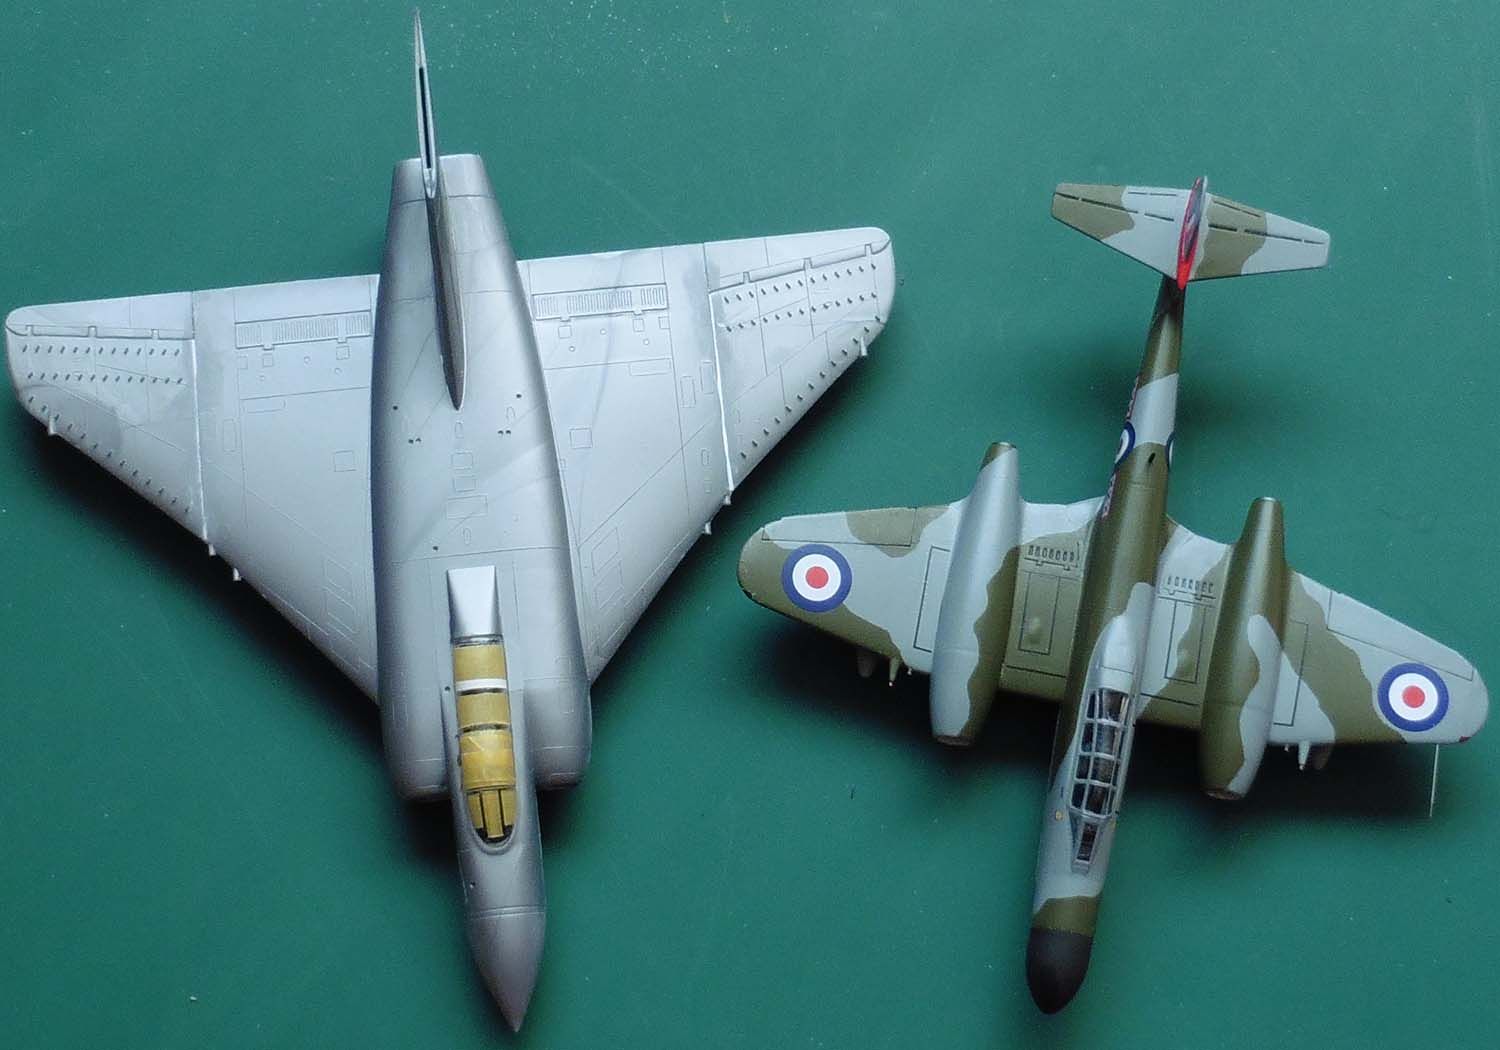
I plan to model the aircraft as in the Near East when 29(F) Sqn were based at RAF Akrotiri, Cyprus. Having seen the faded colours of NEAF Vulcans on their return to the UK (compared to the RAF Waddington Vulcans) the green will need to be more yellow and the grey lighter. I've found a photo that pretty much confirms the FAW 9s had 'silver' lower surfaces, in addition I also found a comment from an old 'liney', who serviced Javelins, saying he had only ever seen silver lower surface finishes.
Here is a comparison with its predecessor:
Re: TeeELLs kitchen crafting kit creations
Posted: May 7th, 2017, 9:27 am
by ShaunW
Good progress Tony and that is an interesting size comparison with the Meteor. During the construction phase of a build I like to attach as many of the major parts as possible prior to painting in order to avoid having to fit a lot parts and/or deal with fit issues on top of the final paint scheme. This works on many occasions and I am only left with the delicate items such as antennae and u/c doors to fit over my paint job. However, I also regularly get carried away and miscalculate the effect that the fit of certain parts will have upon the masking (I always apply main paint by airbrush) and experience the one step forward and two back that you describe

Re: TeeELLs kitchen crafting kit creations
Posted: May 8th, 2017, 5:11 am
by PGAS
Very nice work on the Javelin Tony. The detail on the seats look great. When I see the small detail work you have done on your previous models I find it difficult to believe you are going to have much difficulty working around the probe!
