Turned out beautifully.
Nigel
Migrant's Cabin
-
Clashcityrocker

- Modelling Gent and Scholar
- Posts: 10827
- Joined: May 1st, 2011, 12:31 am
- Location: Adelaide. South Australia
-
JamesPerrin

- Looks like his avatar
- Posts: 13695
- Joined: April 5th, 2011, 8:09 pm
- Location: W. Yorkshire
- Contact:
Re: Migrant's Cabin
Even with the iffy canopy, it's a super model.
Classic British Kits SIG Leader Better to fettle than to fill
(2024 A:B 5:2) (2023 13:8:7) (2022 21:11) (2021 15:8) (2020 8:4:4)
(2024 A:B 5:2) (2023 13:8:7) (2022 21:11) (2021 15:8) (2020 8:4:4)


Re: Migrant's Cabin
Brilliant, Mike. It looks lovely, as ever, and full marks for patience and battling on in adversity!
best,
M.
best,
M.

Re: Migrant's Cabin
You made it Mike. A worthy completion.
Besting 60 years of mediocre building of average kits in the stand off scale
-
Stuart

- Raider of the Lost Ark Royal
- Posts: 19451
- Joined: February 25th, 2013, 4:55 pm
- Location: North Wales
- Contact:
Re: Migrant's Cabin
Beautiful work Mike!
Stuart Templeton I may not be good but I'm slow...
My Blog: https://stuartsscalemodels.blogspot.com/
My Blog: https://stuartsscalemodels.blogspot.com/
-
KellerModeller

- The Bug Has Well And Truly Bitten
- Posts: 348
- Joined: February 19th, 2024, 1:40 pm
Re: Migrant's Cabin
The beautiful rest of the model perfectly distracts from the canopy issue. Also the "wrong area" of the canopy is assembled in auch a clean way that it almost looks like it should be that way. If still in doubt, just put it in the display cabinet with the propeller pointing to the viewer  (which most people do anyways I guess...
 )
)

 )
)I like to carve old kits into something roughly aircraft/tank shaped... 
-
Lone Modeller
- Modelling Gent and Scholar
- Posts: 5345
- Joined: April 1st, 2013, 6:45 pm
Re: Migrant's Cabin
Very colourful indeed. I doubt whether many viewers would see the canopy problem.
-
ShaunW
- NOT the sheep
- Posts: 26188
- Joined: November 26th, 2011, 6:11 pm
- Location: Pontefract West Yorkshire
Re: Migrant's Cabin
Seems to have been some issues with this Academy Storch, Mike, but you have overcome them with aplomb. What a superb result and it looks really great in that Swiss scheme.
Doing - Tamiya 1/35th Universal Carrier.
Work is the curse of the modelling classes!
IPMS#12300
Work is the curse of the modelling classes!
IPMS#12300
-
Stamford

- Modelling Gent and Scholar
- Posts: 2240
- Joined: May 1st, 2011, 7:42 am
- Location: Klågerup Sweden
Re: Migrant's Cabin
I'd forgotten how depressing it was to see your modelling!
running at the edge of their world
-
Migrant

- Happily Landed after Many Circuits and Bumps
- Posts: 2428
- Joined: April 5th, 2011, 8:33 pm
- Location: Calgary, Canada
Re: Migrant's Cabin
Thanks for your comments guys! I was looking at various builds of the Academy and the Heller Storch online and it looks like they all have the same issue with the canopy, which is somewhat validating. Anyhow, it's tucked away at the back of the cabinet and it's time to move on.
I am hoping to fit in another, more successful, Blitzbau next week but in the meantime I've resumed work on the Hasegawa He 51 which has lain dormant for several years.
I am hoping to fit in another, more successful, Blitzbau next week but in the meantime I've resumed work on the Hasegawa He 51 which has lain dormant for several years.
-
Migrant
- Happily Landed after Many Circuits and Bumps
- Posts: 2428
- Joined: April 5th, 2011, 8:33 pm
- Location: Calgary, Canada
Re: Migrant's Cabin
I started this project a few years ago then got distracted by Shiny New Kits, but I've decided to pick it up again. I know there's a newer ICM kit which is much more detailed but it looks wrong to my eyes. The old Hasegawa kit is basic but fits together well, has nice sharp trailing edges and just looks right. And I have it in my stash. I'll be finishing it in the pre-war yellow/grey scheme of 5 Staffel II./JG 234, Koln Aerodrome.
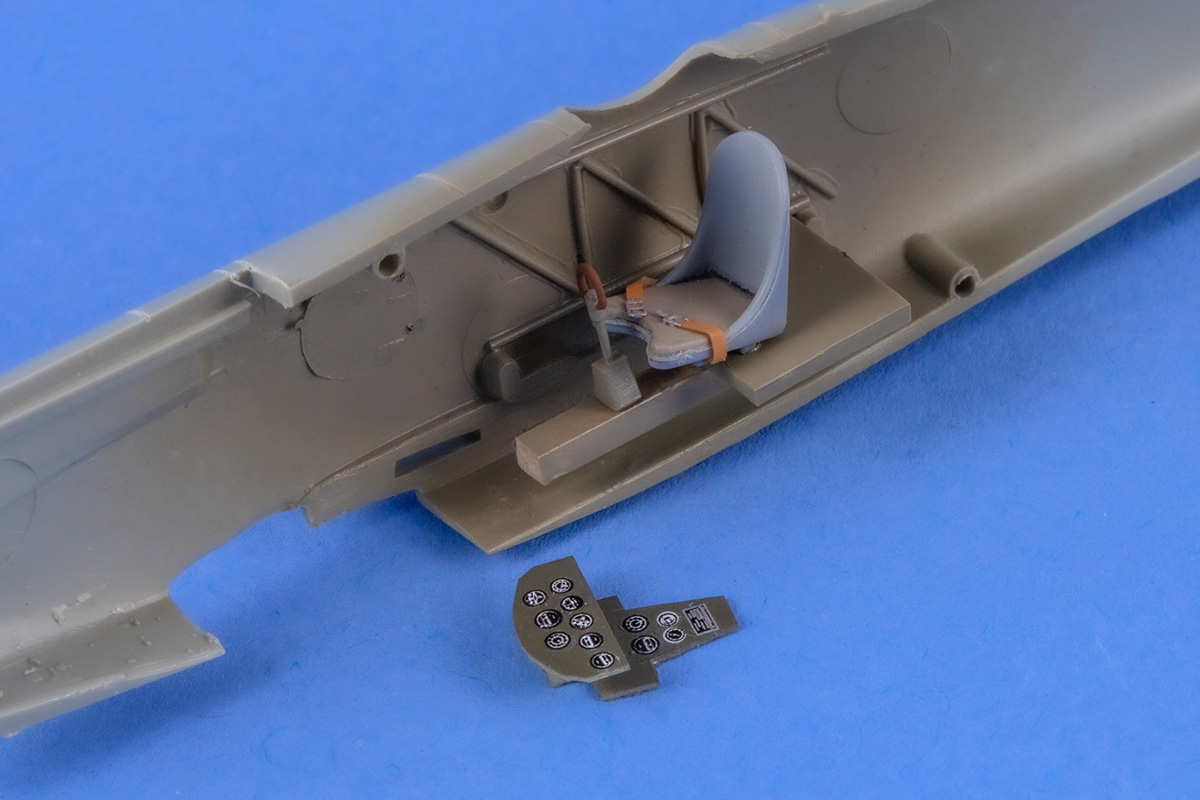
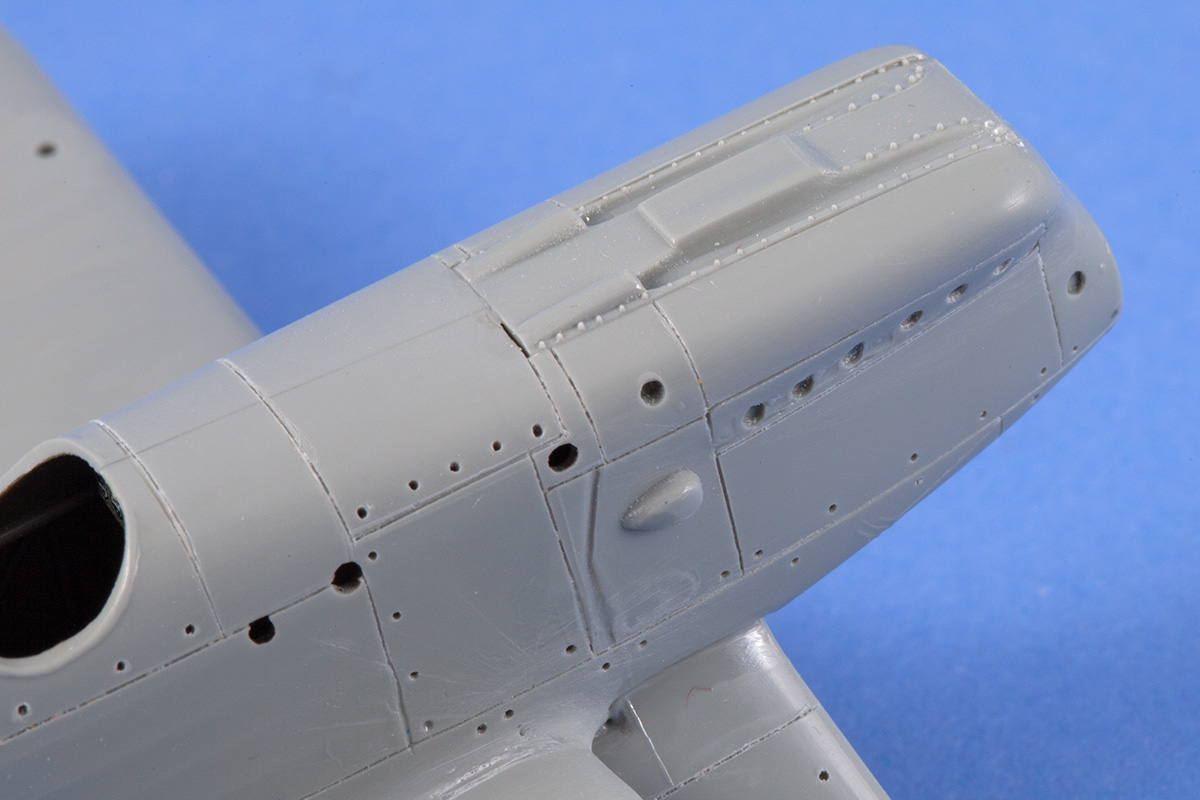
So far I've engraved the surface detail around the nose and added some simplified stringer detail in the cockpit, using stretched styrene. I'll replace the kit seat and add a joystick and instrument panel, but that will suffice. I've also started filling in the unrealistic slots in the upper wing, where the struts attach. Hasegawa don't provide a drop tank so I've created/3D-printed one, I think the tank improves the look of the He 51.


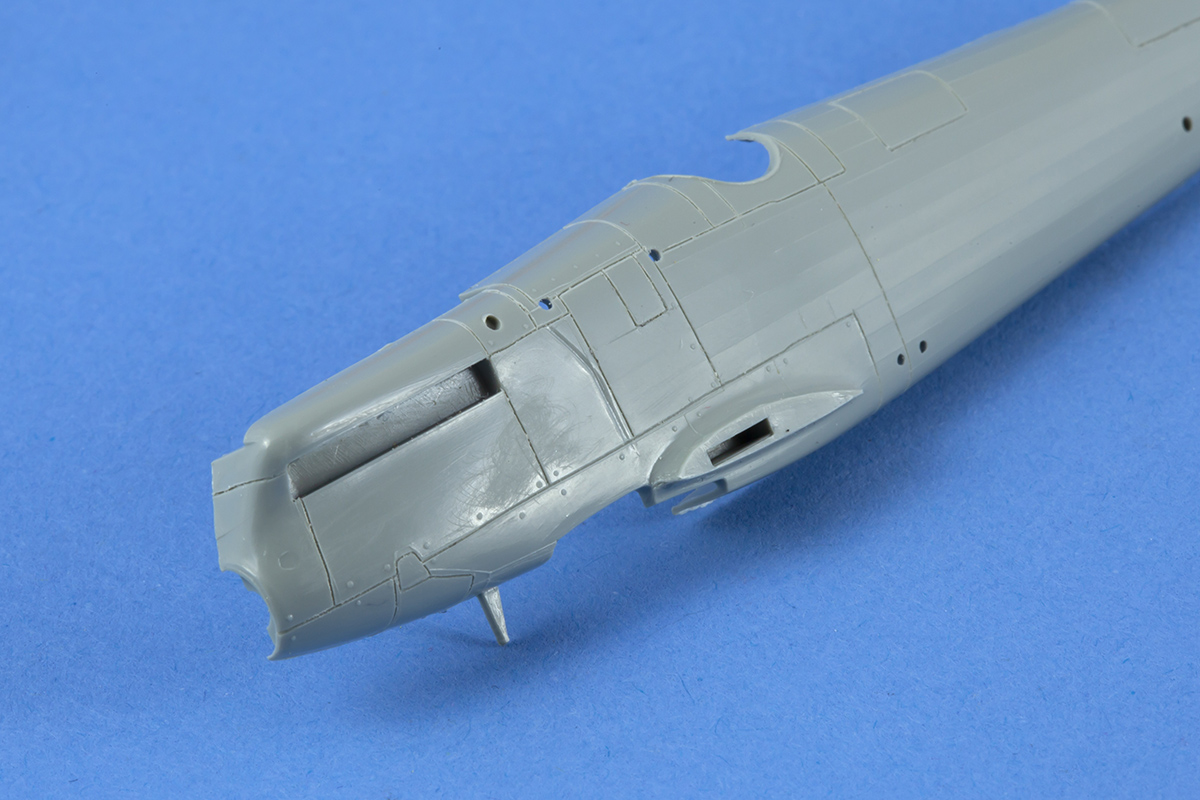
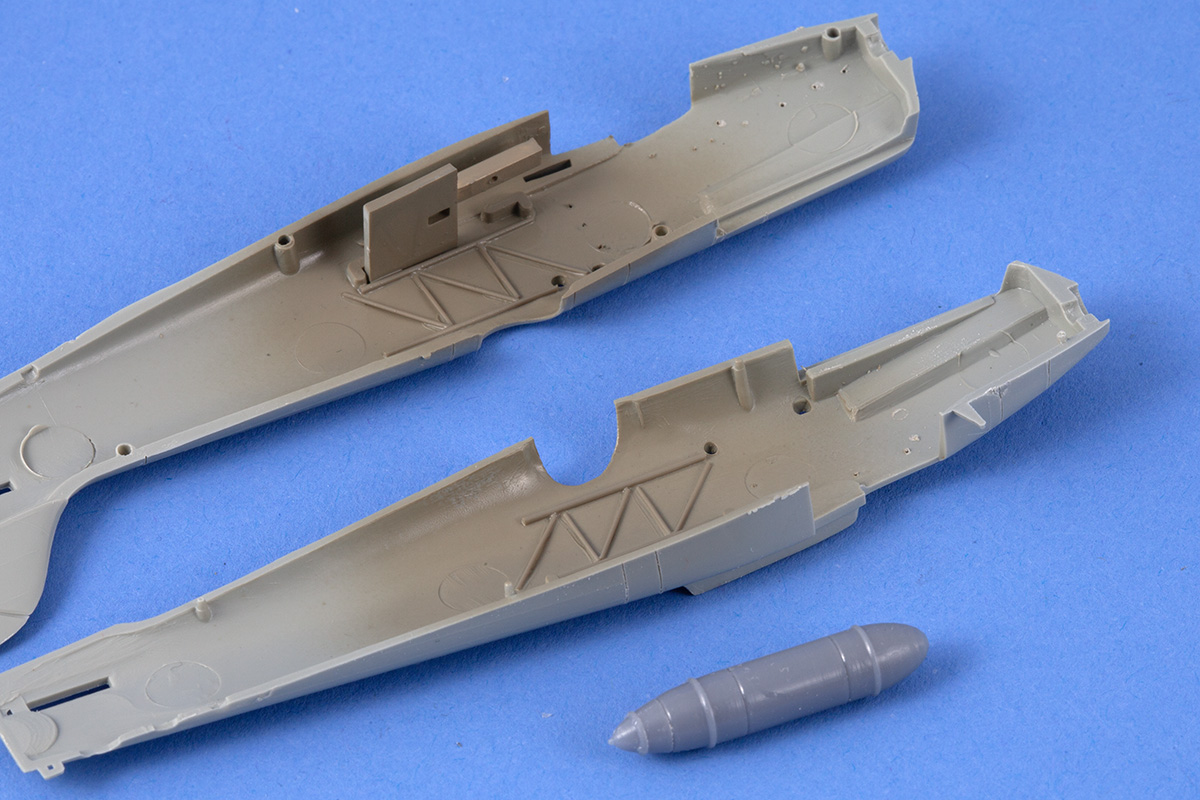
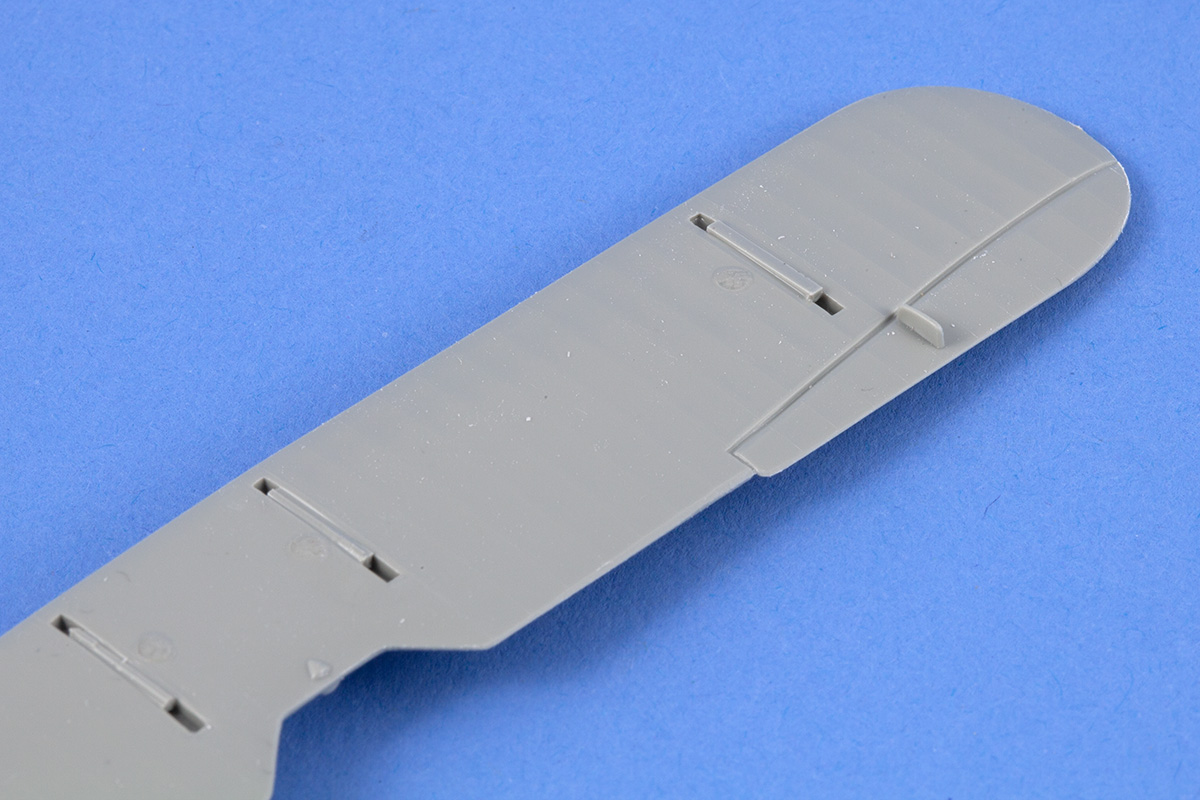
So far I've engraved the surface detail around the nose and added some simplified stringer detail in the cockpit, using stretched styrene. I'll replace the kit seat and add a joystick and instrument panel, but that will suffice. I've also started filling in the unrealistic slots in the upper wing, where the struts attach. Hasegawa don't provide a drop tank so I've created/3D-printed one, I think the tank improves the look of the He 51.
-
Stamford
- Modelling Gent and Scholar
- Posts: 2240
- Joined: May 1st, 2011, 7:42 am
- Location: Klågerup Sweden
Re: Migrant's Cabin
The clean lines you desire! Some lovely scheme's from that era and you pick them out!
running at the edge of their world
-
Migrant
- Happily Landed after Many Circuits and Bumps
- Posts: 2428
- Joined: April 5th, 2011, 8:33 pm
- Location: Calgary, Canada
Re: Migrant's Cabin
I'm making a bit of progress on this. Cockpit is quite rudimentary but so little can be seen of it anyway through the small cockpit aperture.
There's only supposed to be a touch of dihedral on the lower wing but for some reason I glued the wings on in Stuka mode. Fortunately I realised before the glue had properly cured so I was able to bend them back and hold in place with tape, which did the trick.

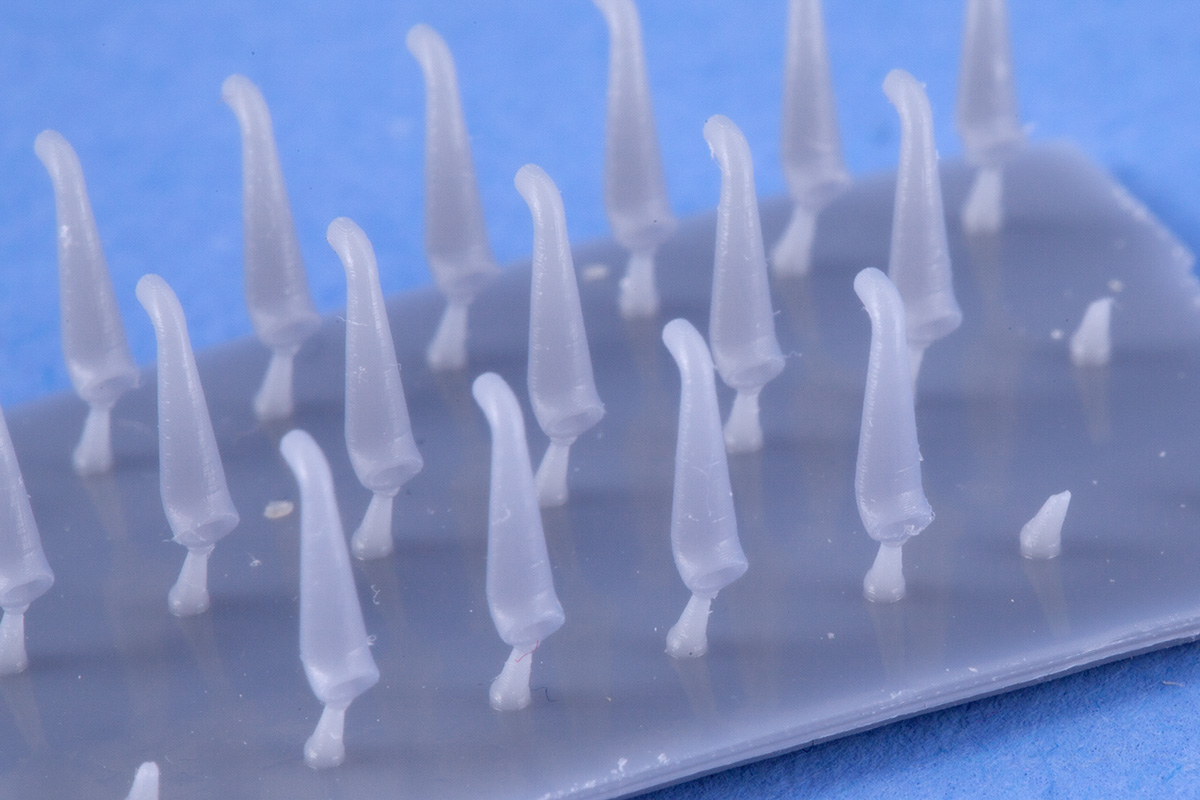
The scheme I'm doing has a yellow cowling with a white stripe that runs behind the exhaust pipes. Hasegawa supply each set of six pipes as one piece, so I cut them off, drilled holes and 3D-printed some individual pipes. That should enable me to paint the whole nose, then stick the painted exhausts on last.
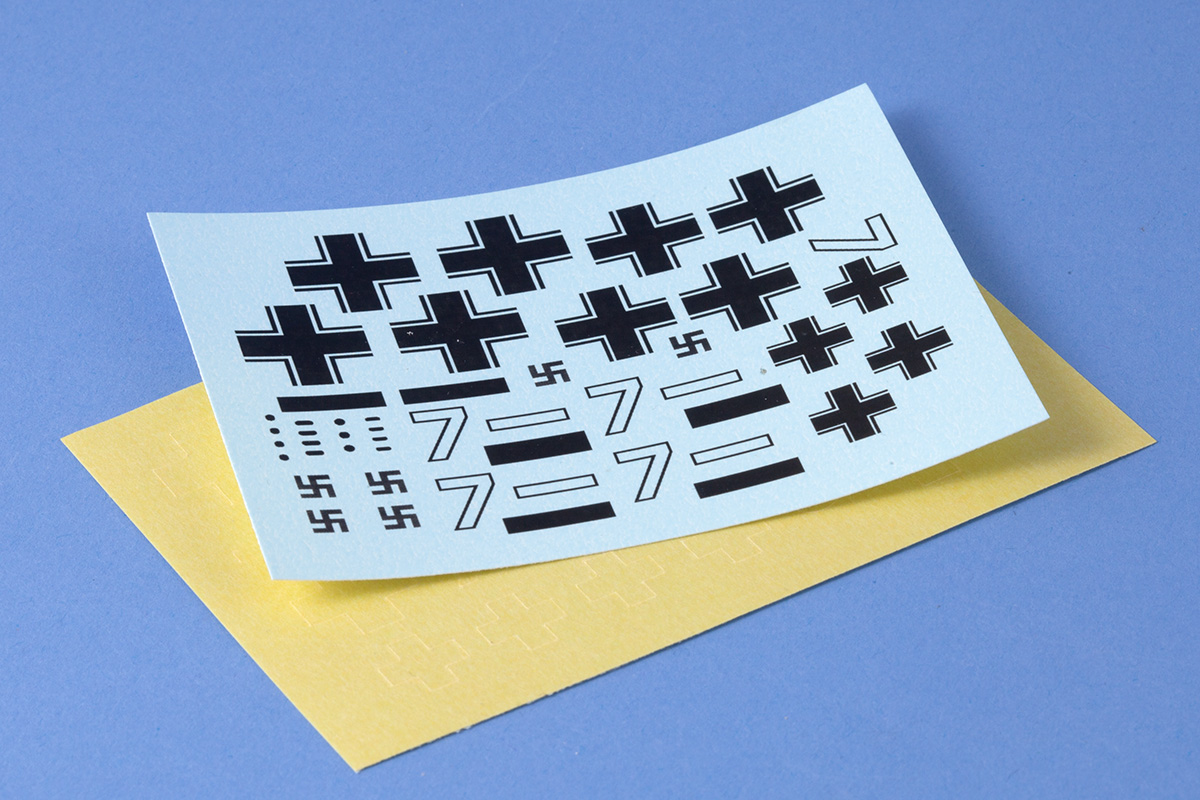
Decals are black laser-printed on to clear decal paper. I've made masks using the same artwork so I can paint the white areas of the crosses, numerals etc.
There was a surprising amount of bodywork on this, especially underneath where the wings and undercarriage meet the fuselage. The model's all undercoated with Tamiya white primer, and ready for some colour.


There's only supposed to be a touch of dihedral on the lower wing but for some reason I glued the wings on in Stuka mode. Fortunately I realised before the glue had properly cured so I was able to bend them back and hold in place with tape, which did the trick.
The scheme I'm doing has a yellow cowling with a white stripe that runs behind the exhaust pipes. Hasegawa supply each set of six pipes as one piece, so I cut them off, drilled holes and 3D-printed some individual pipes. That should enable me to paint the whole nose, then stick the painted exhausts on last.
Decals are black laser-printed on to clear decal paper. I've made masks using the same artwork so I can paint the white areas of the crosses, numerals etc.
There was a surprising amount of bodywork on this, especially underneath where the wings and undercarriage meet the fuselage. The model's all undercoated with Tamiya white primer, and ready for some colour.

Re: Migrant's Cabin
Such amazing and clean work. What I also find great is how your painting looks so thin and light. Never feels think. I hope you know what I mean, sorry I don't know how to say what it is or how you do it but it just catches the eye so much. You keep the details so crisp.
What do you use when doing the curved engraving such as on the bottom portion of the vertical stabilizer?
What do you use when doing the curved engraving such as on the bottom portion of the vertical stabilizer?
Paul
This is it. The moment we should have trained for.
This is it. The moment we should have trained for.