Page 1 of 2
Normandy Panzer
Posted: February 22nd, 2018, 8:47 pm
by 59North
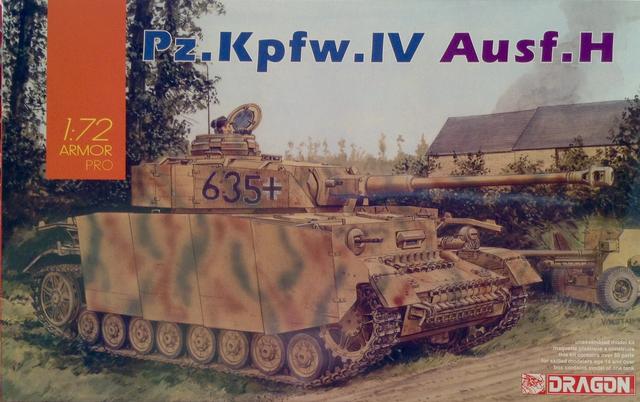
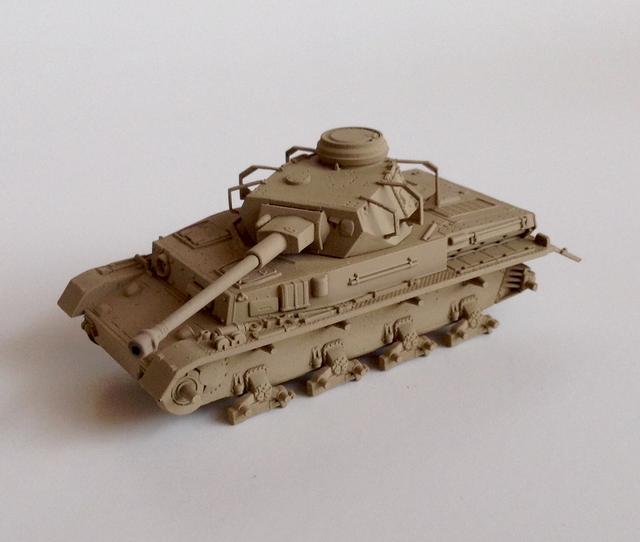
This little Dragon boxing is a fine kit; wonderfully detailed. The fit is very good. I'm no tank expert, but, it sure looks like a Panzer IV to me.
I'm building the Panzer along side a 72nd Hasegawa Stuart. Both models have been primed, then a coat of Humbrol rust followed by the Tamiya top coat. In this way, I can use the alcohol rub method to age them up abit.

Here is the Stuart, which I am generally messing up good.
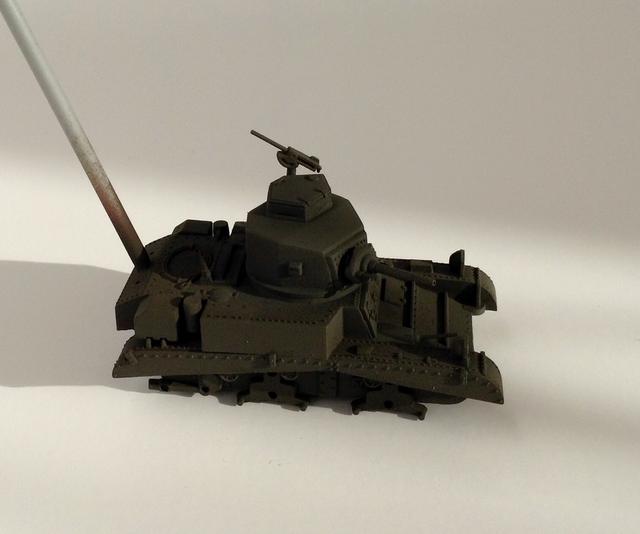
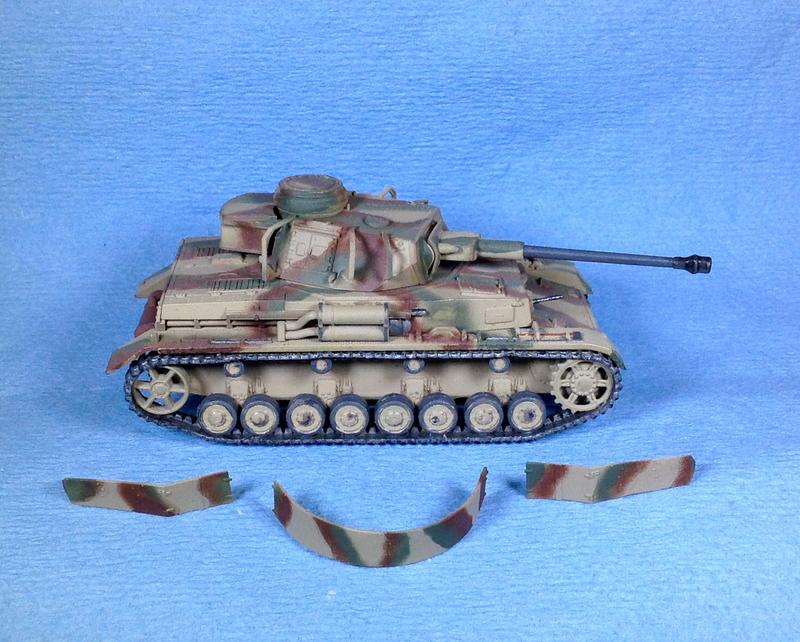
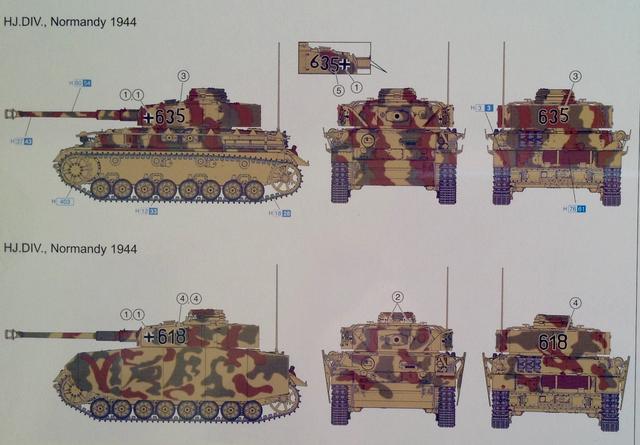
This afternoon, I intend to begin the Panzers two color camo scheme. The box top looks nicer to me than the 3-view scheme drawings. So I'll try to give it a more streaked camo than a patch camo. I'm certainly not going to be a bolt counter; just going to try my best.
Re: Normandy Panzer
Posted: February 23rd, 2018, 4:50 pm
by 59North
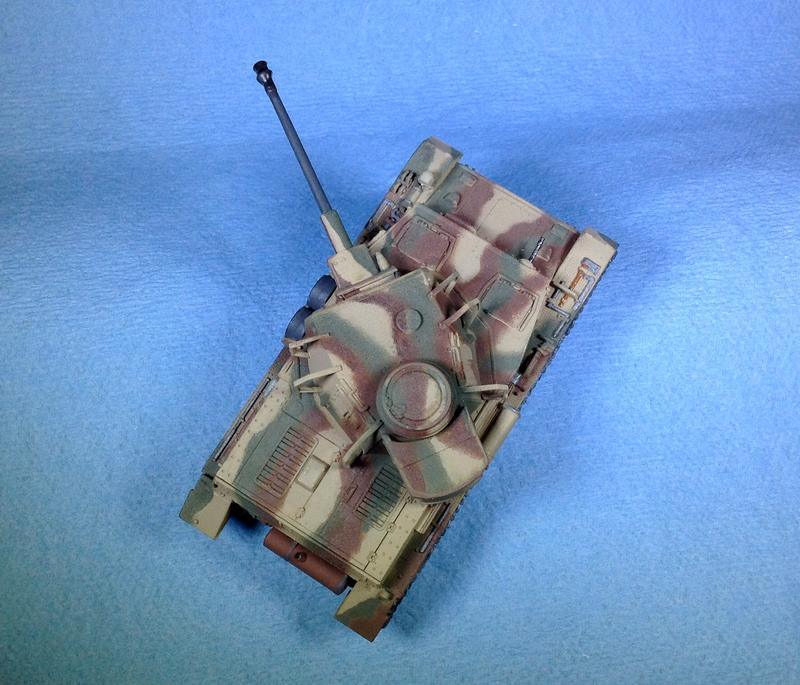
As it is, this was the best I could do with my trusty, slightly beat-up, general purpose Iwata. The nozzle was 1/4" away from the model, and I still failed to get thinner lines.
Ah well, I'll have clean up the overspray with a little brush work. Then I can paint all those moulded on tools.
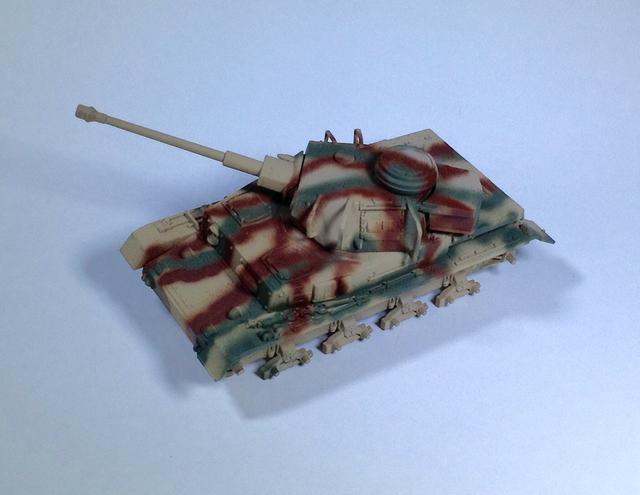
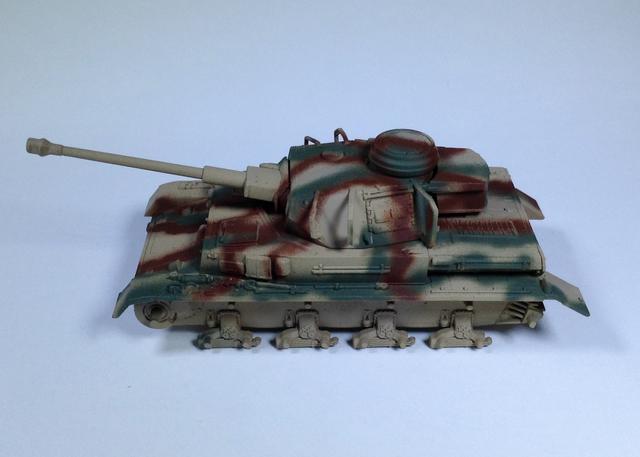
Top colours are all Tamiya: Buff, Field Gray, and NATO Brown.
Re: Normandy Panzer
Posted: February 23rd, 2018, 6:43 pm
by ShaunW
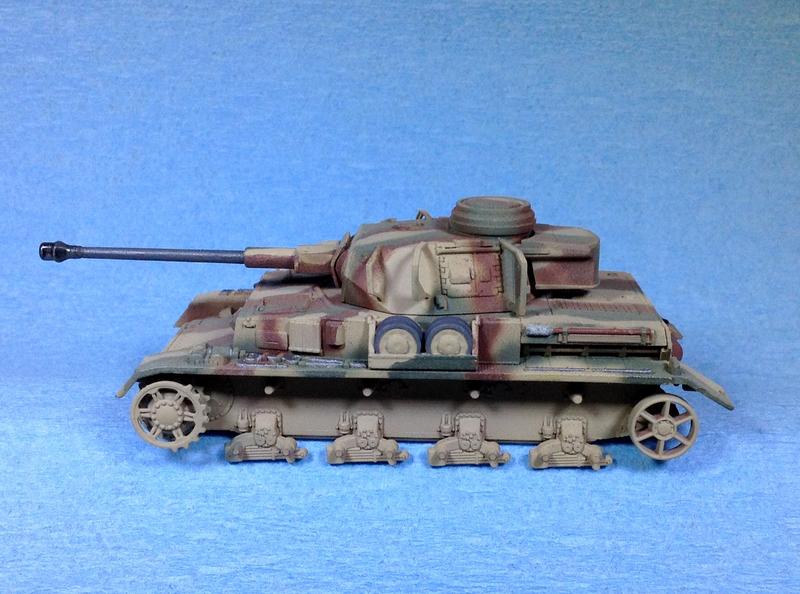
I think that's a good effort, 59er, braille scale tanks aren't the easiest models to freehand spray like that. What I often do is apply a very light overspray of the base colour, buff in this case, over all of the camo which, if done correctly, gives a slightly faded look and helps to tie all of the colours in together. Great care has to be taken and, of course, it is all too easy to apply too much of the base coat, covering the whole thing up and ending up back at square one. You can probably guess how I found that out.
Re: Normandy Panzer
Posted: February 23rd, 2018, 9:41 pm
by 59North
Thanks Shaun. It's a little bit hard to see on my modelling table, so either it's too small or the camo is working. I'm still thinking the job is somewhat harsh. Your light overspray idea is definitely something I'm considering as a fixer.
Re: Normandy Panzer
Posted: February 23rd, 2018, 11:56 pm
by PGAS
Great looking tanks, especially the Panzer. I don't understand how you guys can work on the small WWII tanks. Very difficult. I found silly putty helped me with my 1/72 tank. It was pretty easy to put on and take off and left a nice pattern. The overspray would blend the colours in nicely I think too.
On a side note, what is an alcohol rub?
Re: Normandy Panzer
Posted: February 24th, 2018, 12:24 am
by 59North
PGAS wrote:On a side note, what is an alcohol rub?
Hi, PGAS. An alcohol rub is an old style weathering technique that I've used extensively on aircraft interiors with green over aluminum underlay. Simply prime the plastic and then apply an enamel coat in a weathering color (rust eg.). Patience is required as the enamel must be given proper set time. The top coat would be Tamiya or similar, as it's not as hard as the enamel. Then you can use an alcohol dipped Q-Tip to gently rub corners and such to expose some of the enamel rust underlay.
Little is more in this effort, and it can look very nice. Of course, there are more modern ways today, with the Mig's and the AK's.
Re: Normandy Panzer
Posted: February 24th, 2018, 12:46 pm
by ShaunW
The use of a light over spray of base colour is itself quite an old technique, 59 and one that I picked up on a number of years ago from modelling magazines. As I said above though, some care is needed to avoid accidentally obliterating the cam scheme and having to start again. I usually hold the airbrush much further back than I would for the actual spraying of the camo, at least 12 inches away and spray in a light cloud pattern, keeping the brush in constant motion. The last model I used the technique on was my recent Me-109E Trop build, which I think is still on page 1 of the aviation section and the over spray of desert yellow base coat helped blend in and lightly fade the olive green mottles of the scheme.
Re: Normandy Panzer
Posted: February 24th, 2018, 2:22 pm
by 59North
I certainly liked the Me-109, Shaun. I'm going to try a light overspray today, but with AK dust effect instead of the Tamiya buff. I've already brushed up the camos overdone overspray, and it don't look to bad.
Sadly, I have to tile up the bathroom floor today as well(wife's on my back), so it looks like the Panzer will get proper dry time.
Re: Normandy Panzer
Posted: February 25th, 2018, 3:36 pm
by 59North
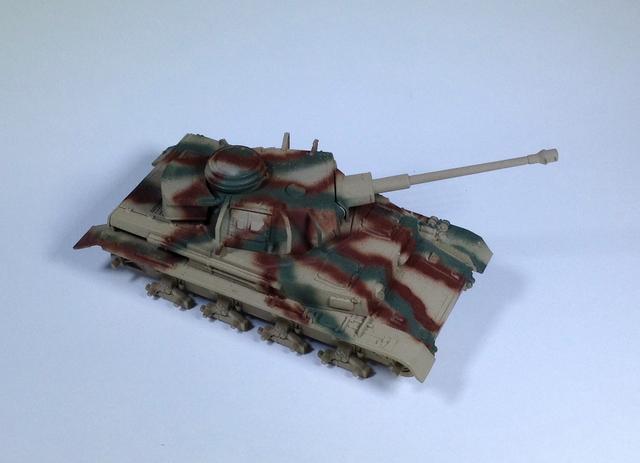
As it turns out, I took Shaun's advice with a dust coat of the Tamiya Buff, instead of AK dust effect. I thought the AK was too grainy for the Iwata.
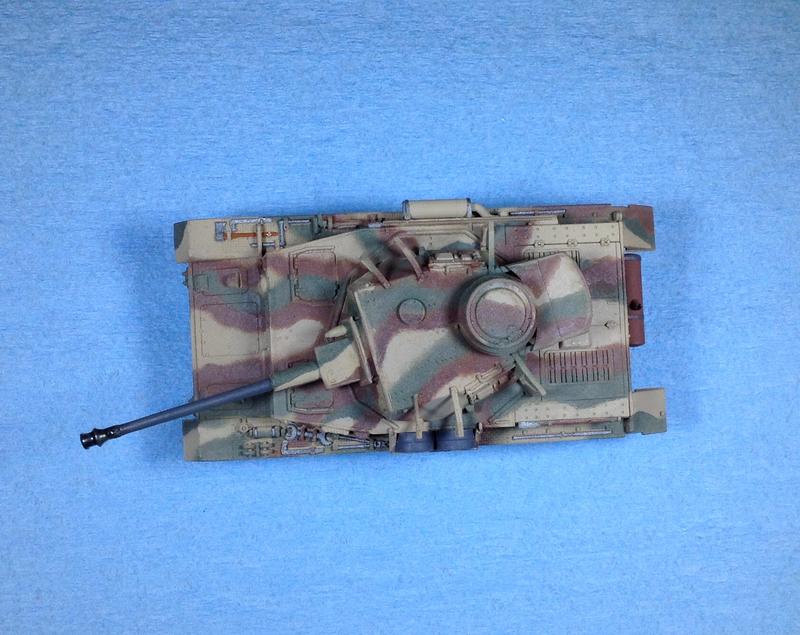
Now it has to be gloss coated and a pin wash applied. I'm still considering what color the wash should be.
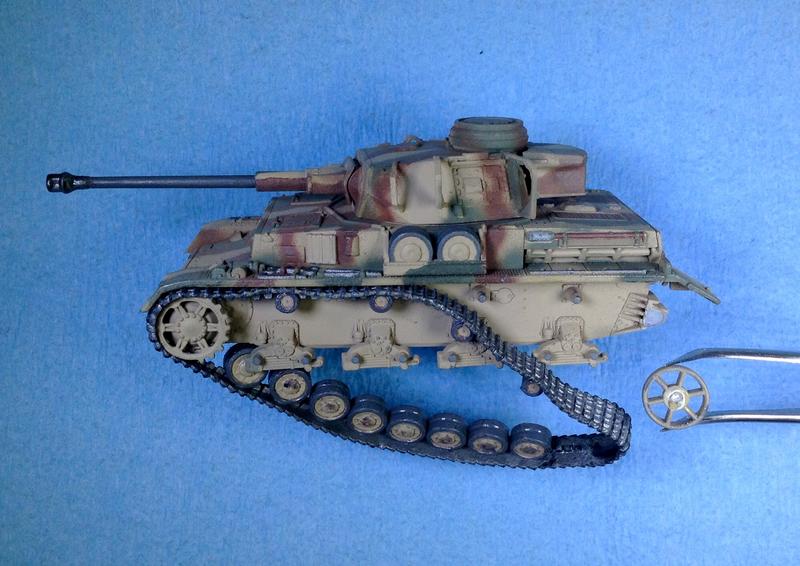
I very much dislike the rubber tracks. I've washed them, primed, and painted, but, everything has such a hard time drying. It's been 3 days drying, and still when I pick them up my finger tips discolour, and the paint will rub off easily. These are the rubber tracks with the road wheels moulded onto the track. There is some kind of oil in those tracks that doesn't agree with modelling. Right now, they are sitting on the heat register. I'm hoping that will settle the issue.
Re: Normandy Panzer
Posted: February 25th, 2018, 8:37 pm
by iggie
That's looking very good!
Maybe try washing the tracks in white spirit or alcohol (best not scotch or gin.....) to shift any oil or grease?
Re: Normandy Panzer
Posted: February 25th, 2018, 10:21 pm
by PTB11
Excellent bit of airbrushing 59N. The camo scheme looks top class.
Re: Normandy Panzer
Posted: February 26th, 2018, 2:11 am
by 59North
Cheers, fellas!
I was just reading in here about a fellow modeller having to replace axles due to breakage from stretching on rubber tracks. I thought, with that heads up, I could just be extra careful.
So here it begins; I'm replacing axles with brass tube:
Re: Normandy Panzer
Posted: February 26th, 2018, 5:11 pm
by ShaunW
That is really looking good, 59! Rubber band tracks can be a nightmare and it isn't uncommon for them to over stress the wheel mountings. Replacing the plastic axles with brass is a good idea. Other techniques for reducing track tension include clipping off some of the teeth from the drive sprockets where they engage with the track and moving the idler wheels forward a little - moving the idlers can sometimes require a degree of surgery to the hull, however.
Re: Normandy Panzer
Posted: February 27th, 2018, 2:59 pm
by 59North
Re: Normandy Panzer
Posted: February 27th, 2018, 5:25 pm
by ShaunW
Well you've certainly beat the tracks into submission, 59 and they look very good to me. It's very common to see Mk IV's in period photos with no side plates left at all and only the turret armour in place. The plates were only quite thin sheet metal and were sacrificial, being originally designed to dissipate the energy of rounds from Soviet anti-tank rifles and not bazooka-type HEAT (High Explosive Anti-Tank) rounds as is more commonly thought.